Final Project: Wind Chimes
Assignment Details
Design and digitally fabricate an object of your choosing using the techniques you have learned in class. It can be any kind of object with any kind of intended audience, but it must follow the plan you presented in proposal week.
Phase 1: Ideation & Sketching
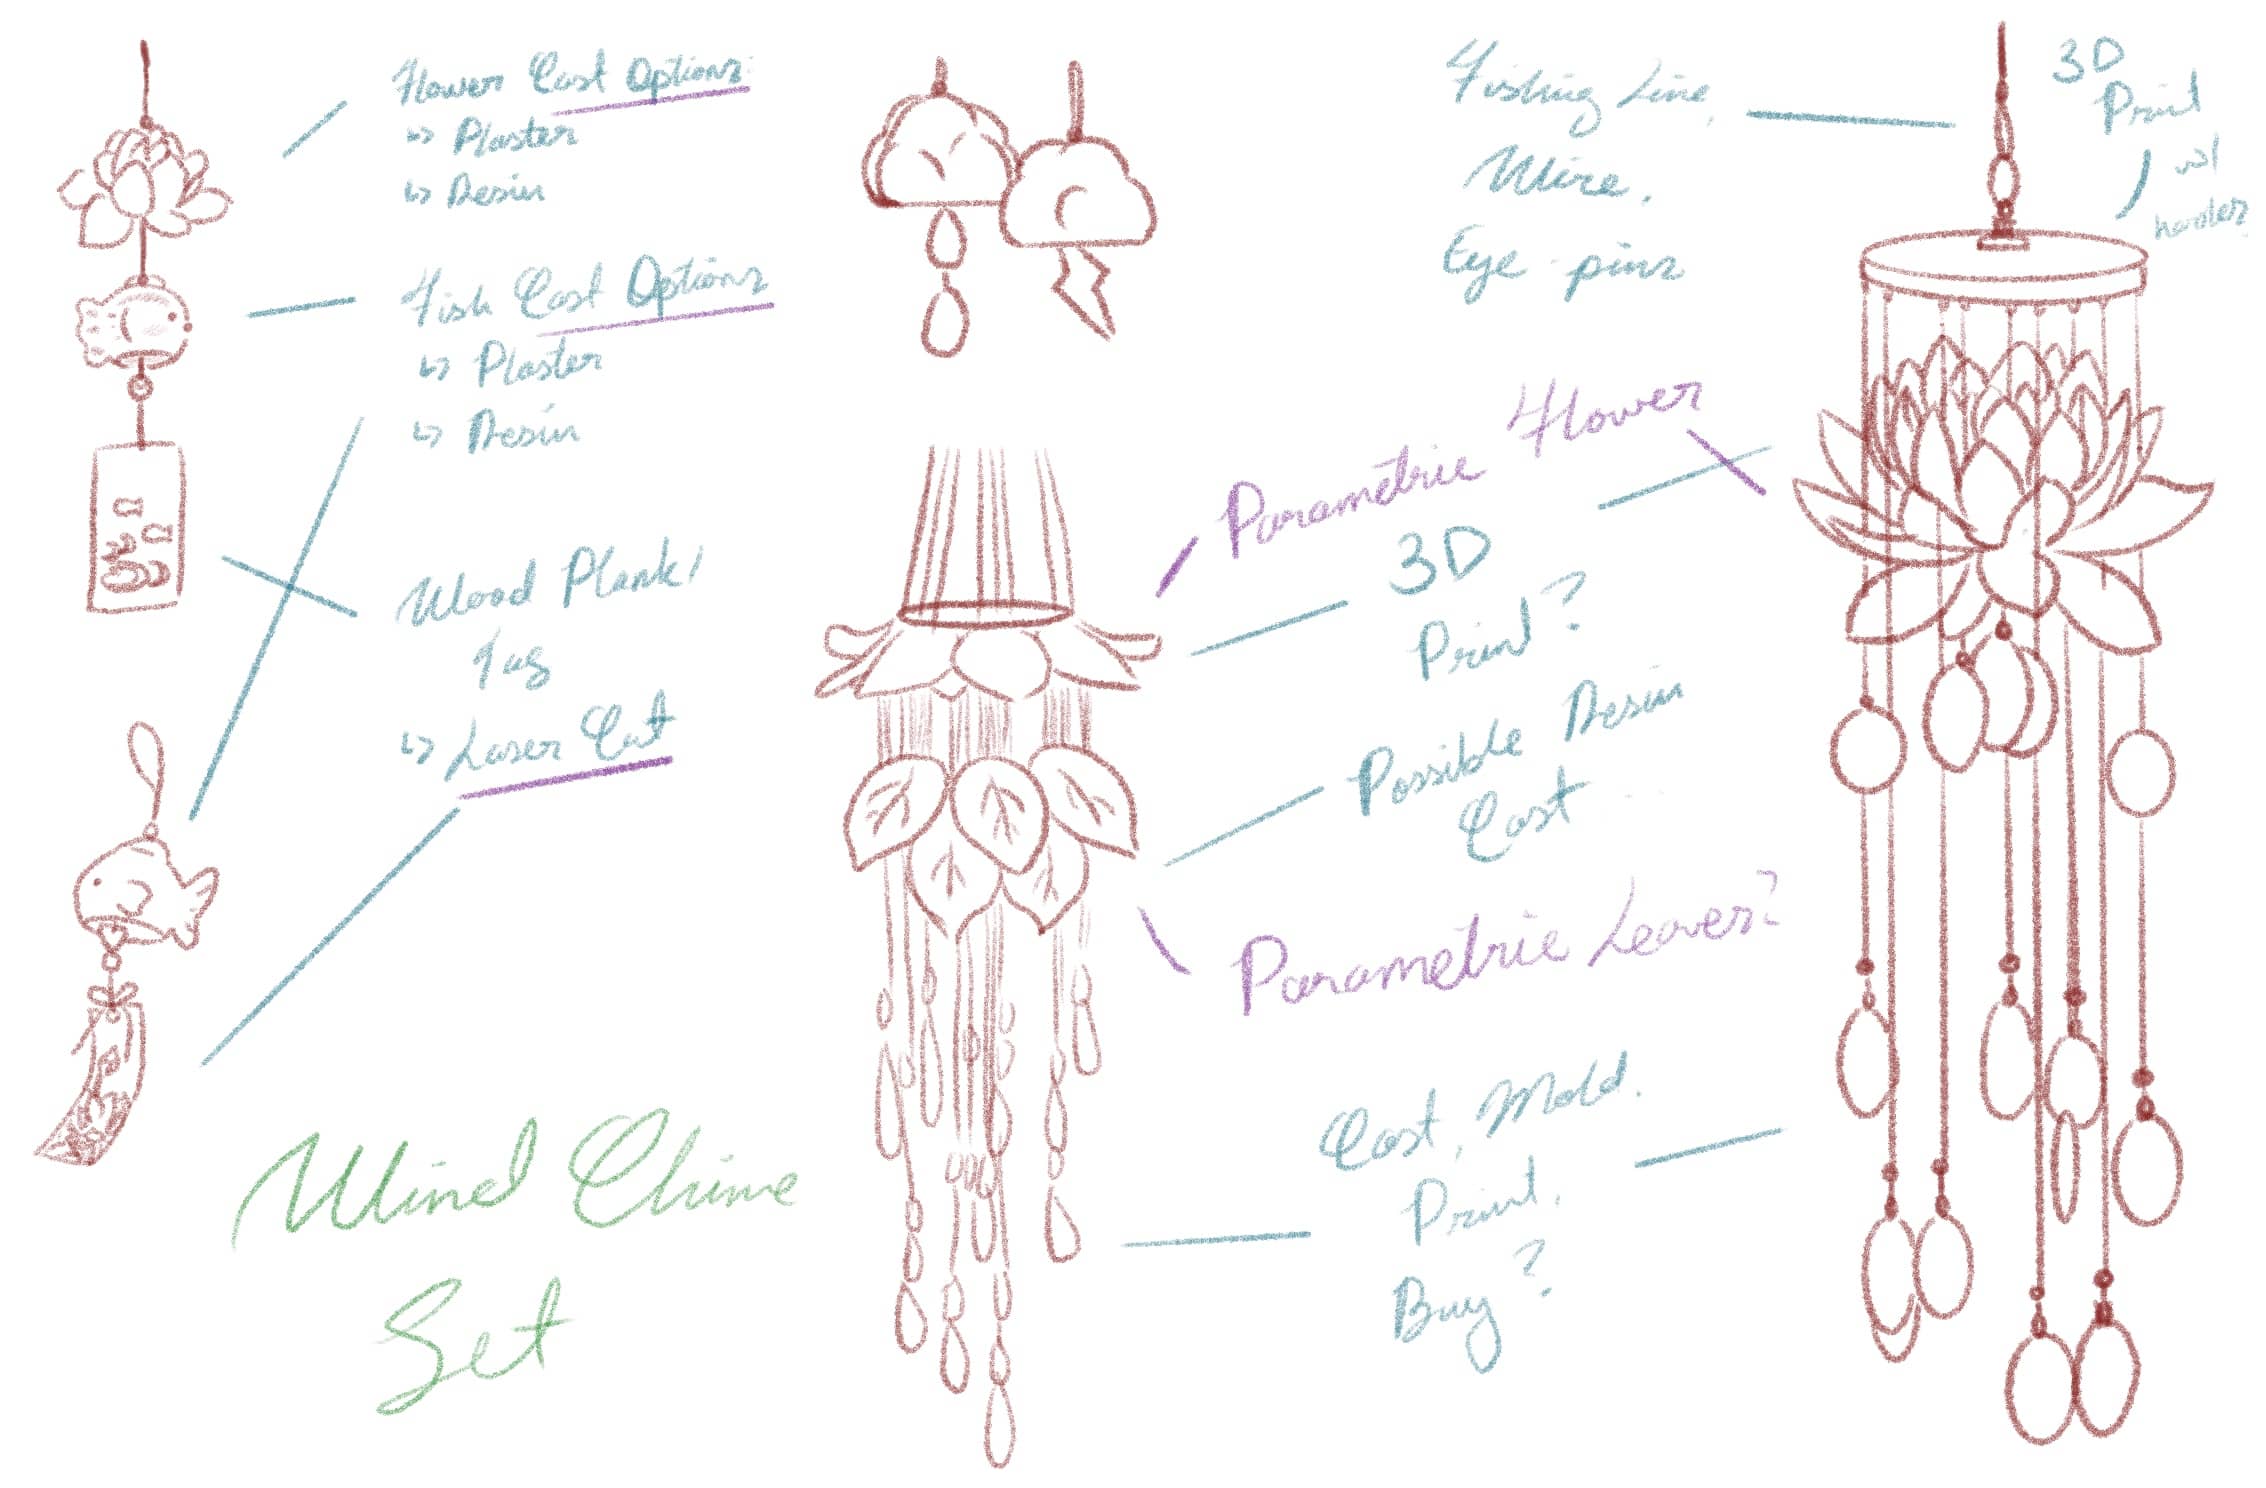
From Assignment 7, I wanted to make a Wind Chime set. The idea behind this was to fabricate a set of components that can be assembled to form different variations of a wind chime.
After some thinking, I decided to focus on fabricating the larger components (Lotus Flower and Fish), and source the smaller beads and tubes for the sake of time.
Phase 2: Modeling the Fish in Fusion 360
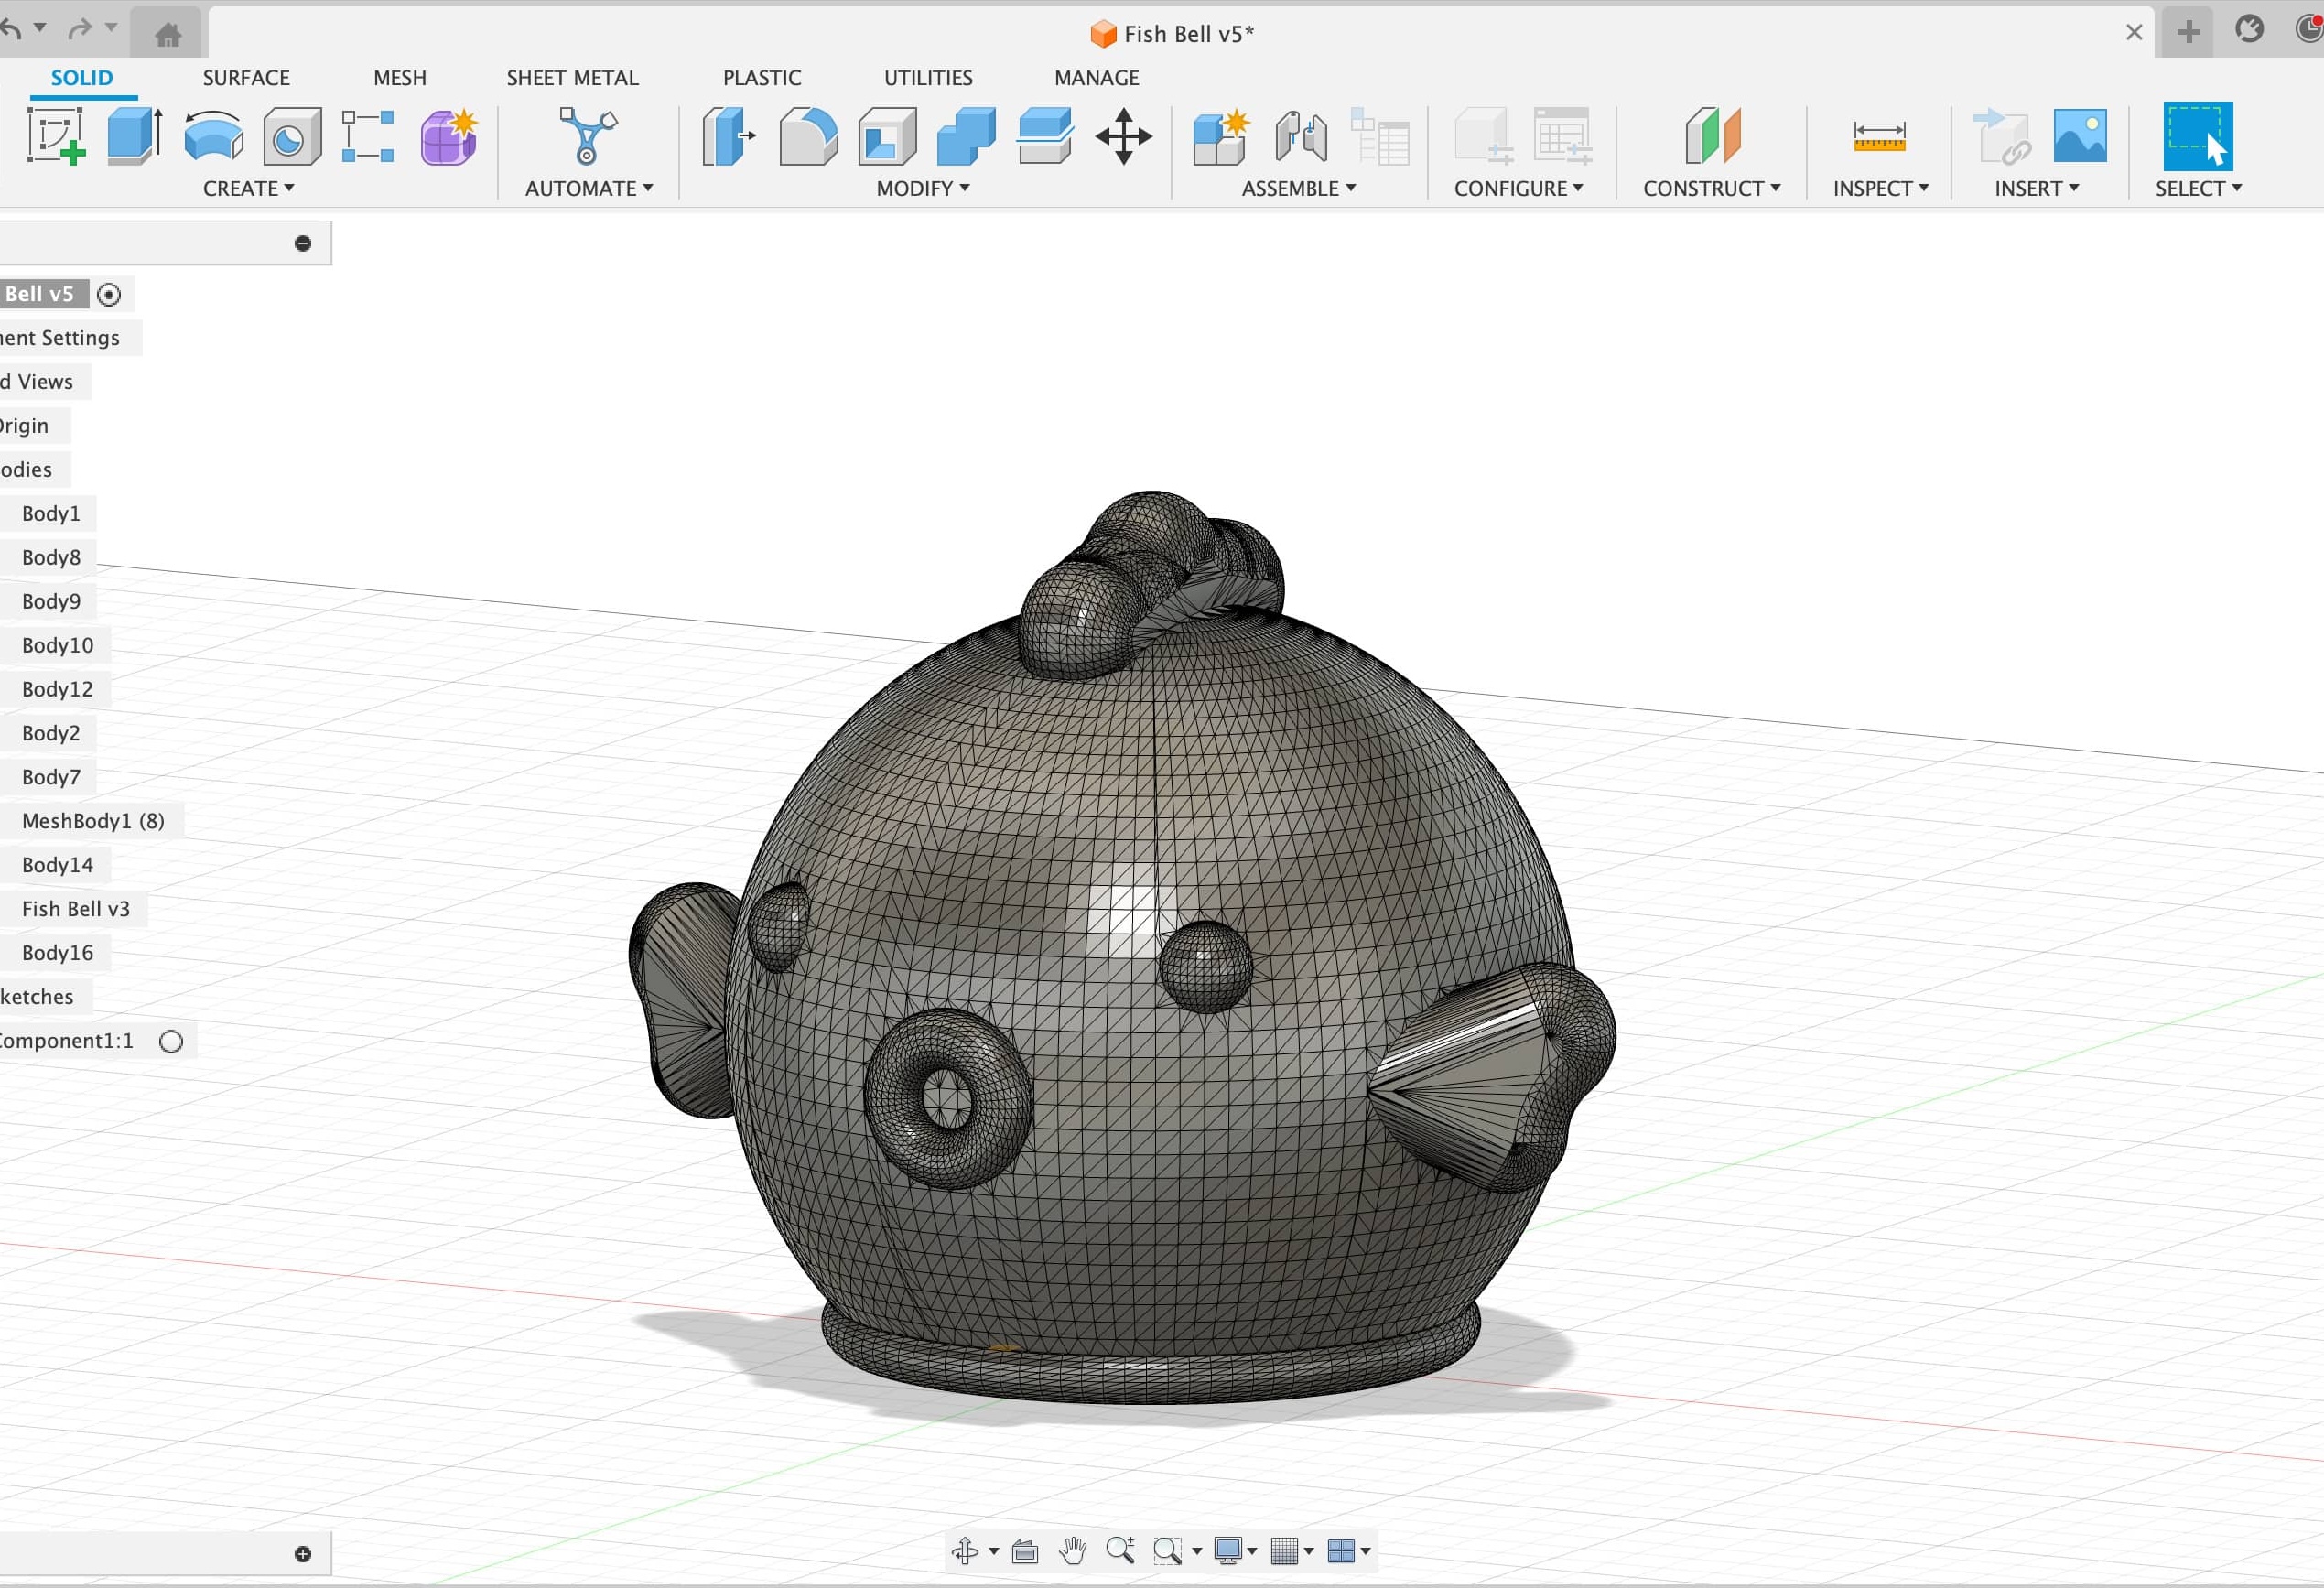
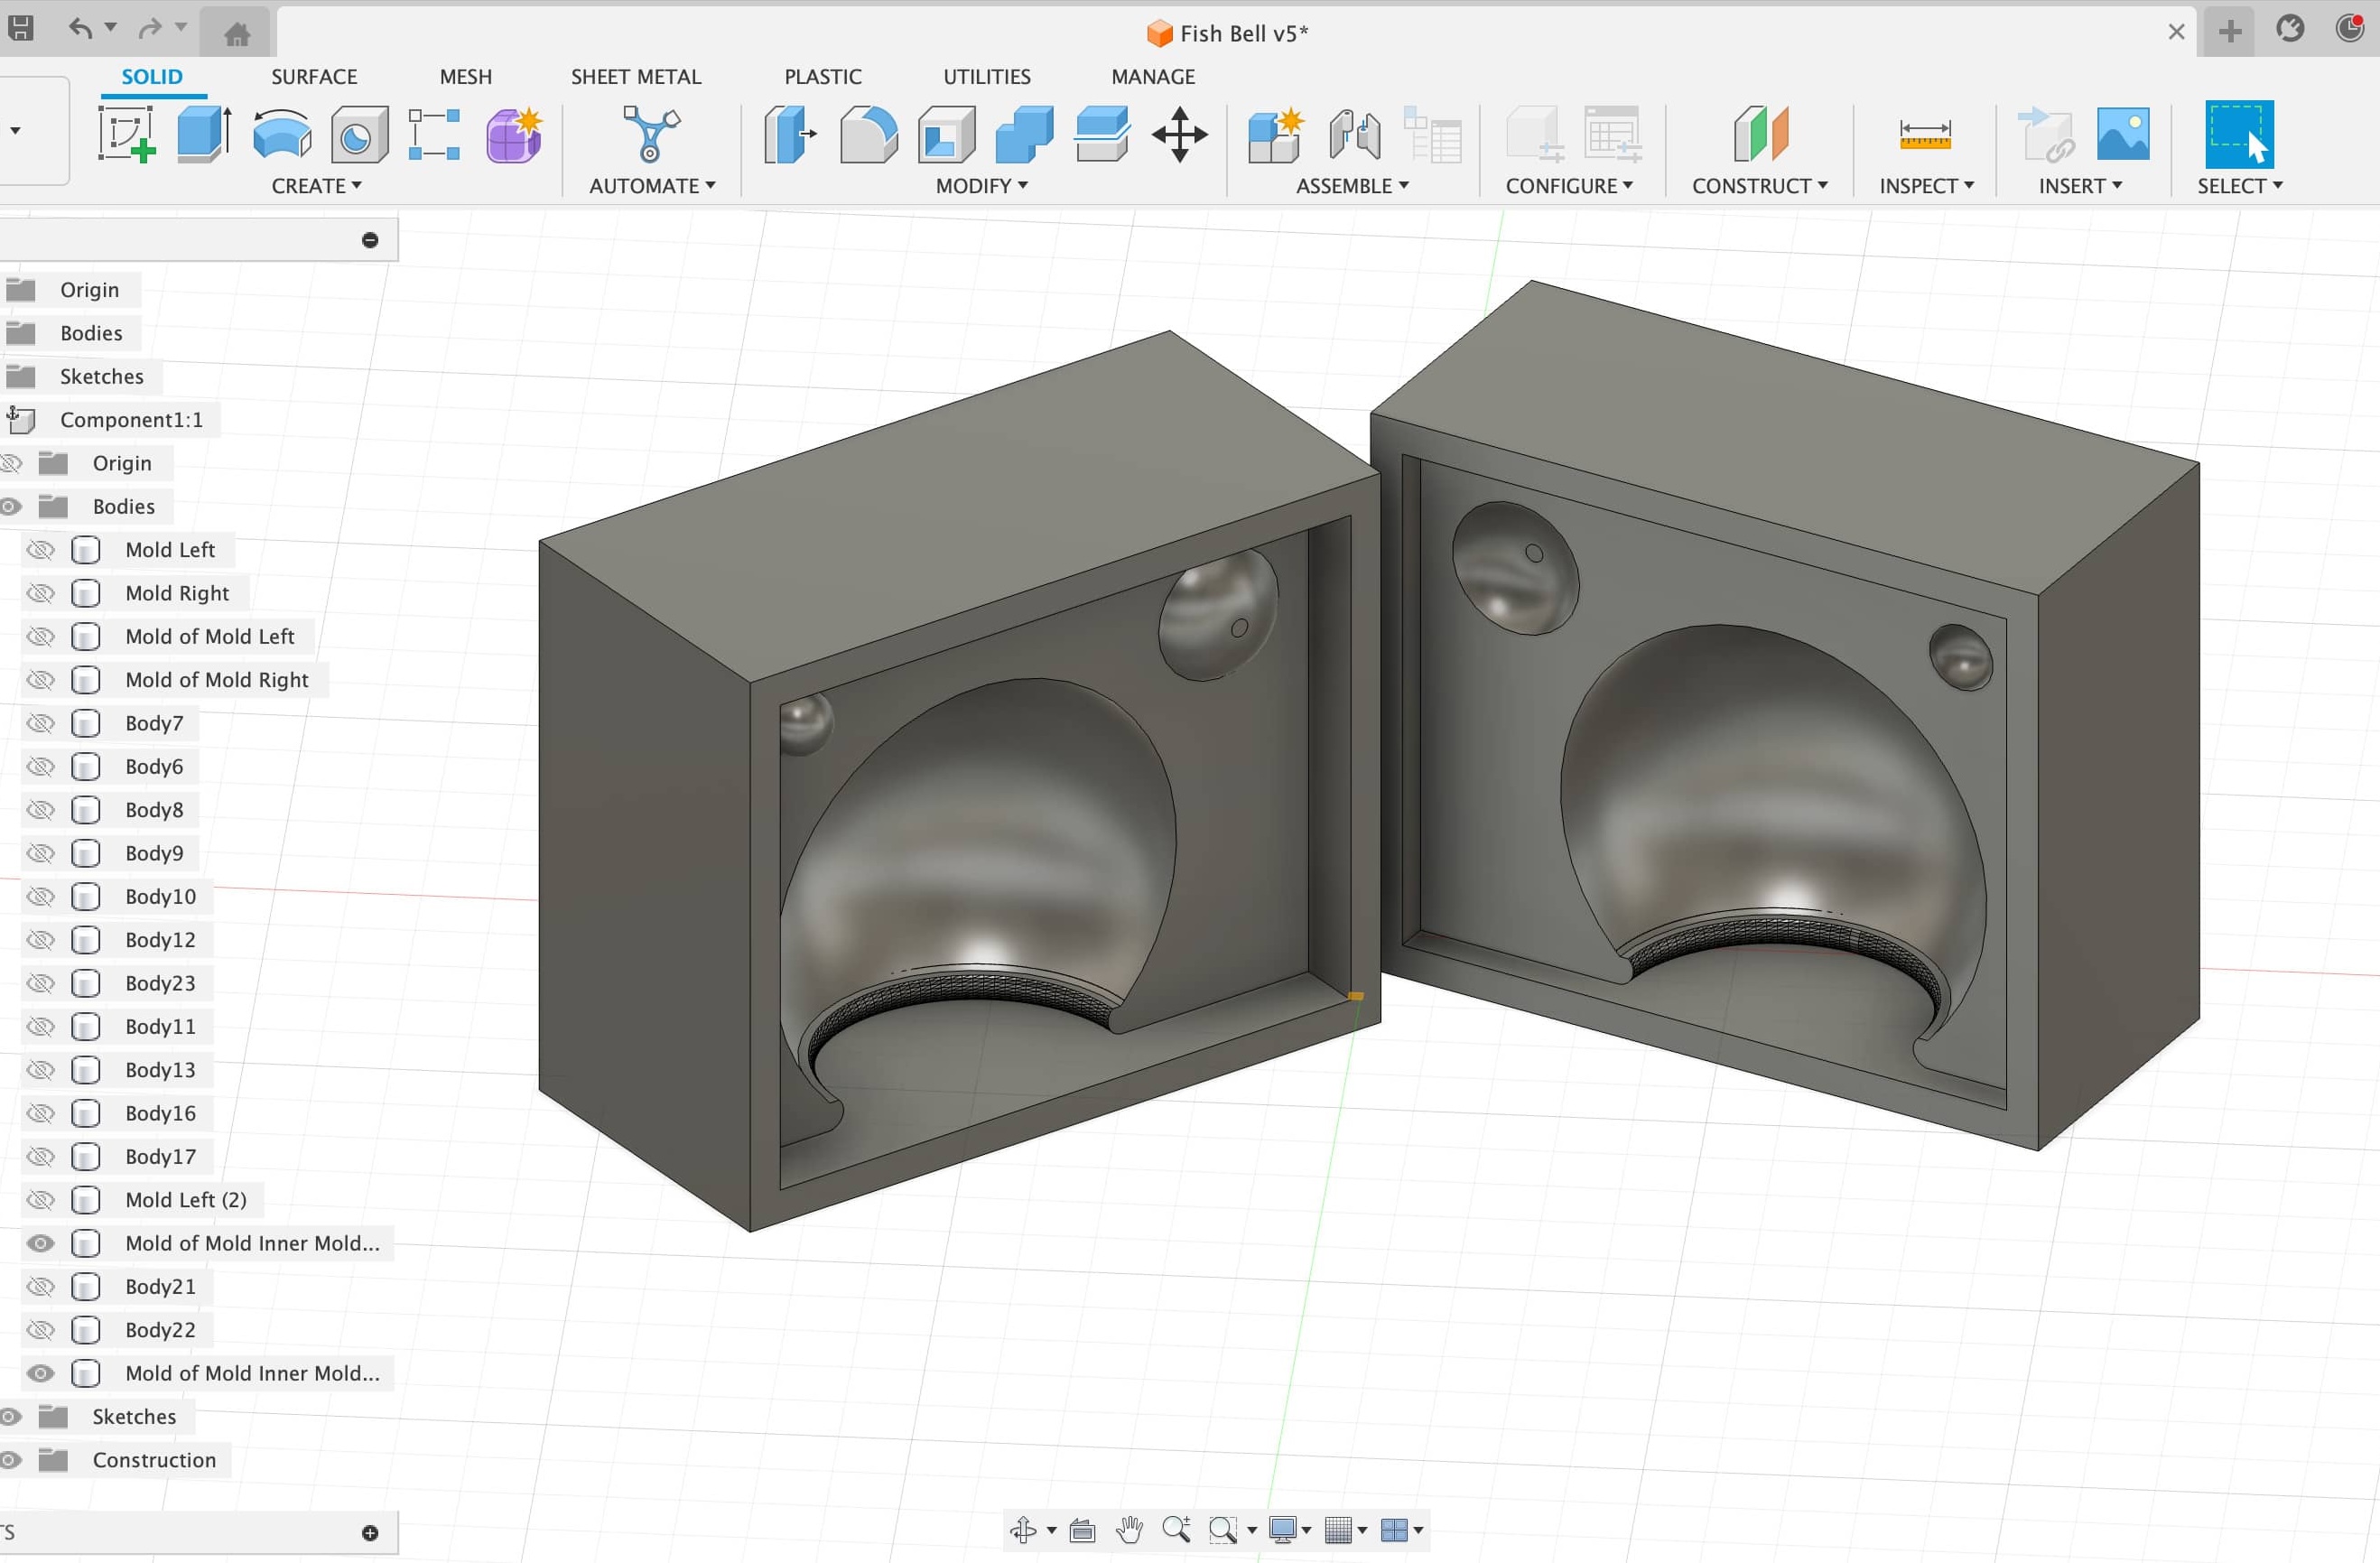
I made a model of my fish sketch in Fusion360. This was a relatively straightforward process and I knew that I needed to leave a hole at the top to thread through the component.
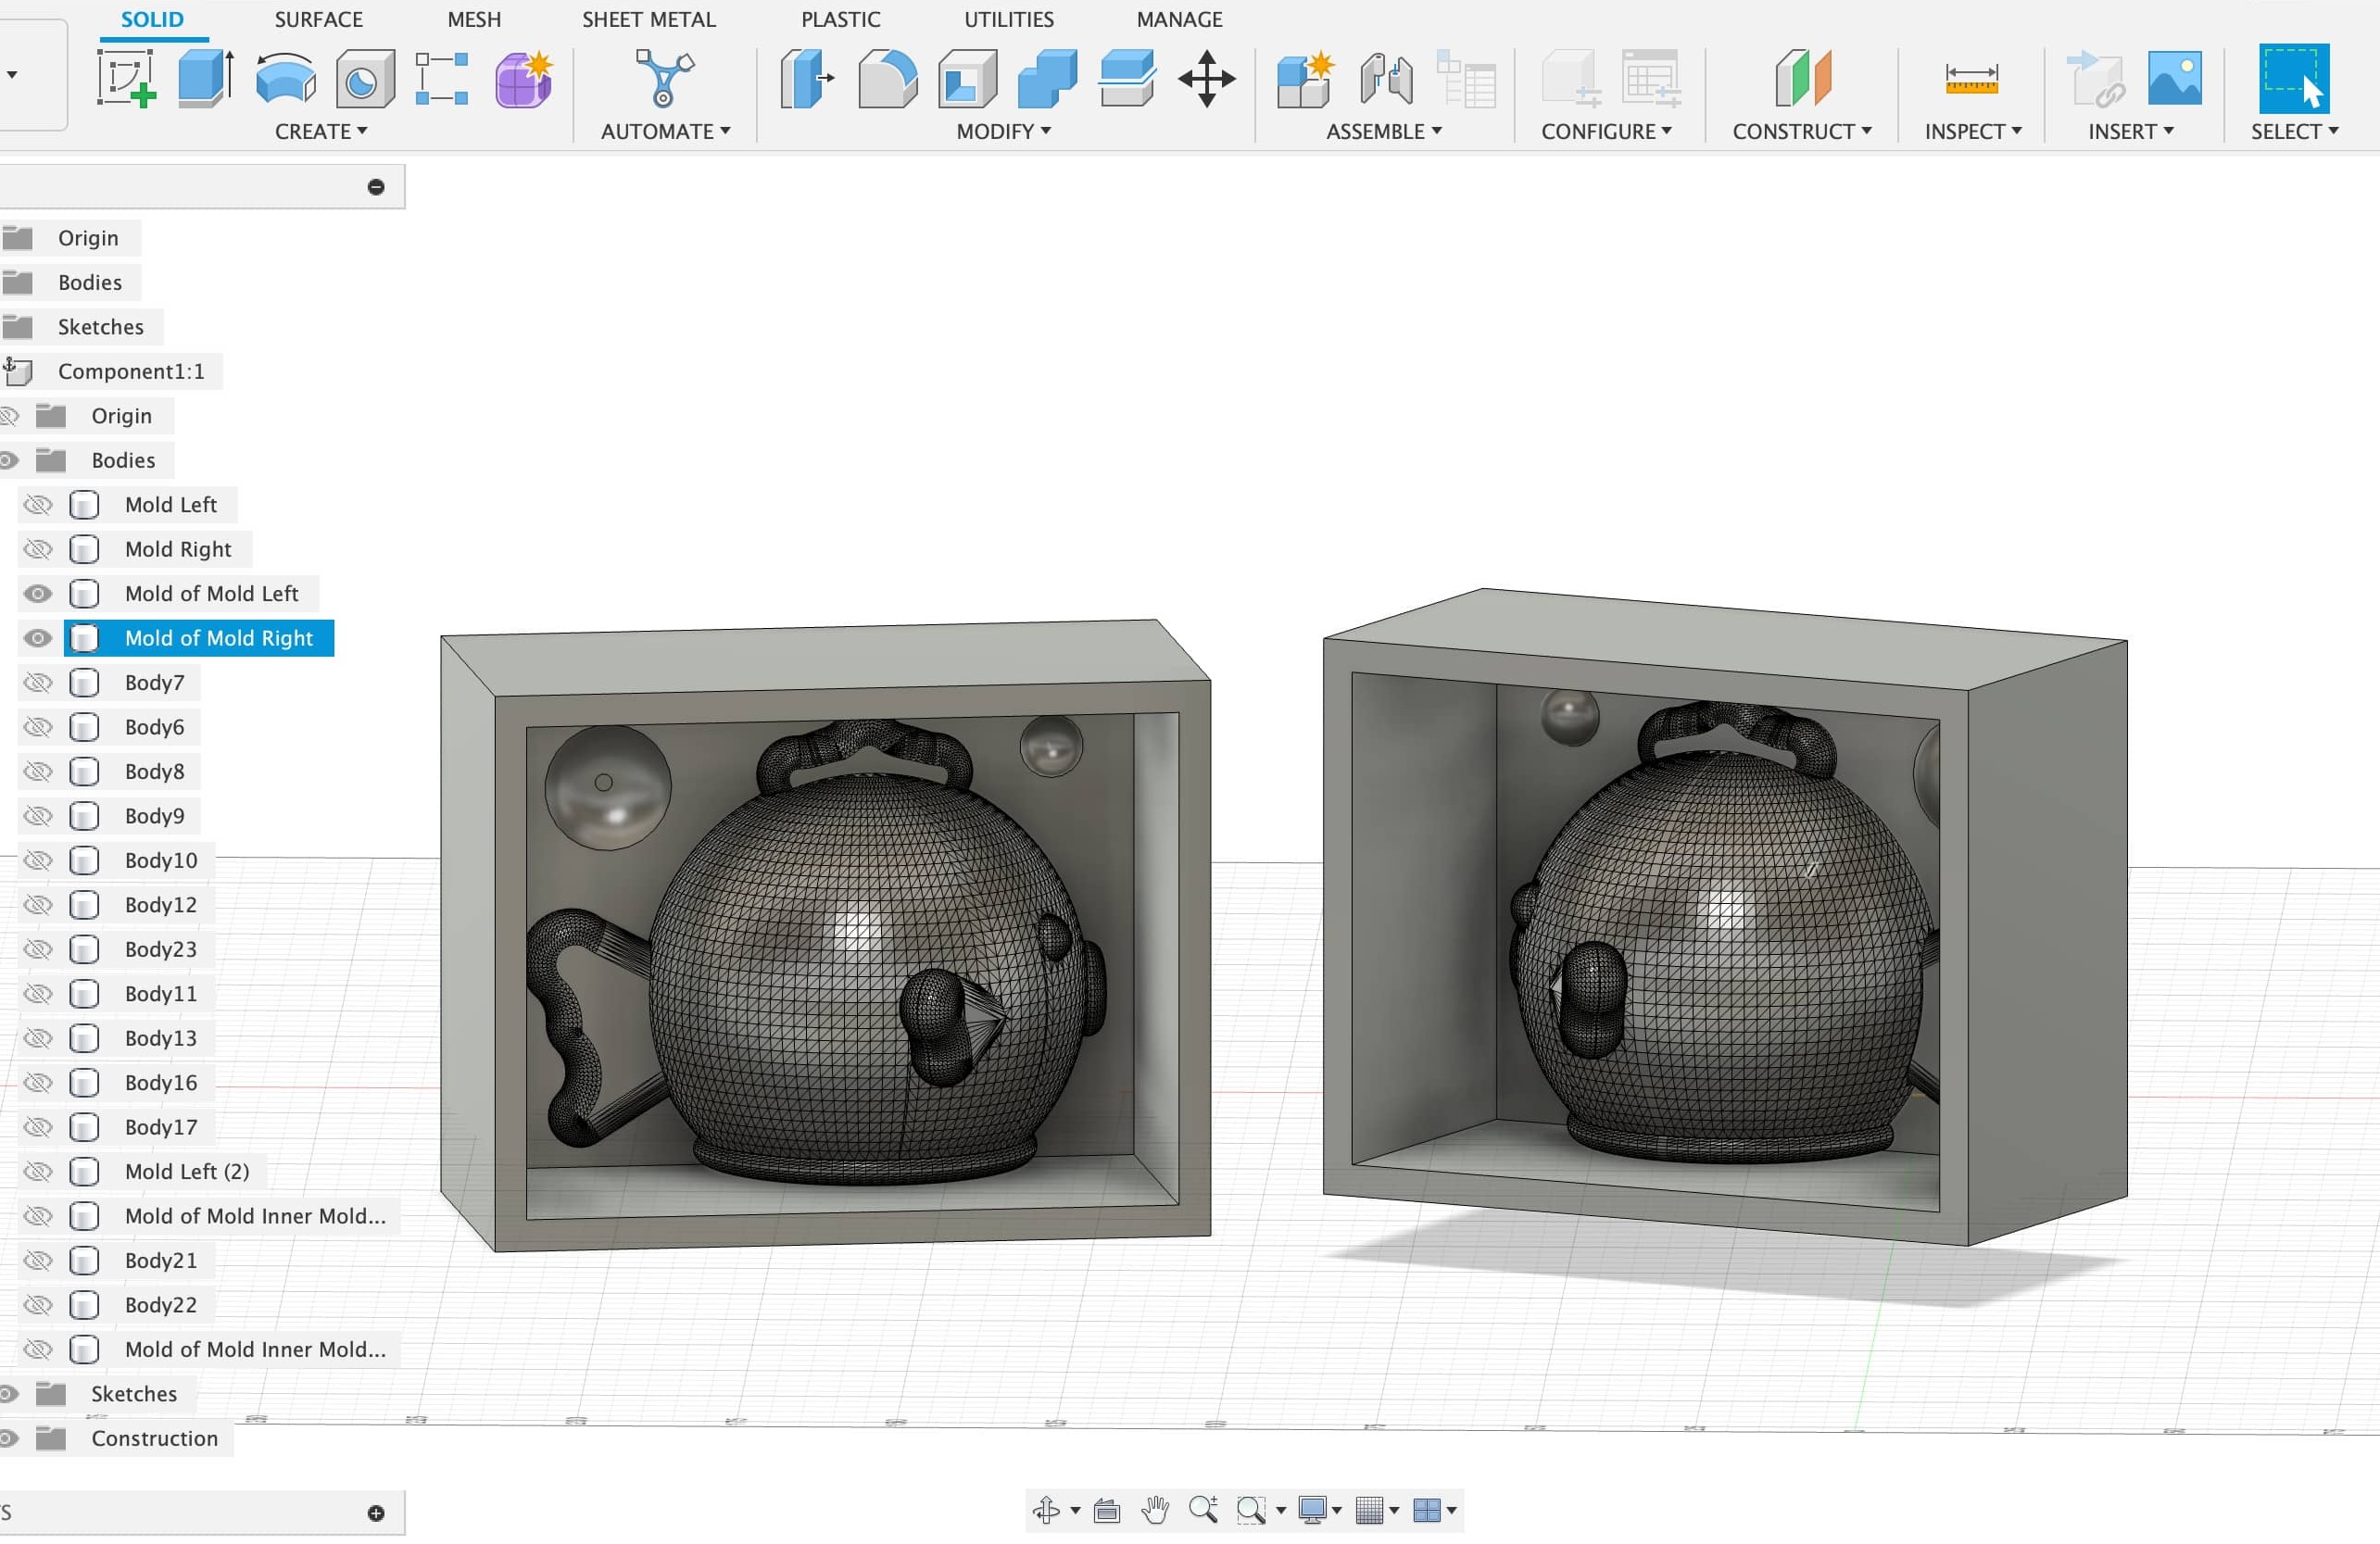
What was difficult for the fish component was the creation of the mold (that I ended up not using) since the inside of the fish is hollow. So technically I made a half mold and an internal half mold. I ended up not using this mold just because it printed so well in different materials (Copper PLA).
I ended up printing a smaller version of the mold and decided to make keychains out of the smaller casts.
Phase 3: Parametric Lotus Flower
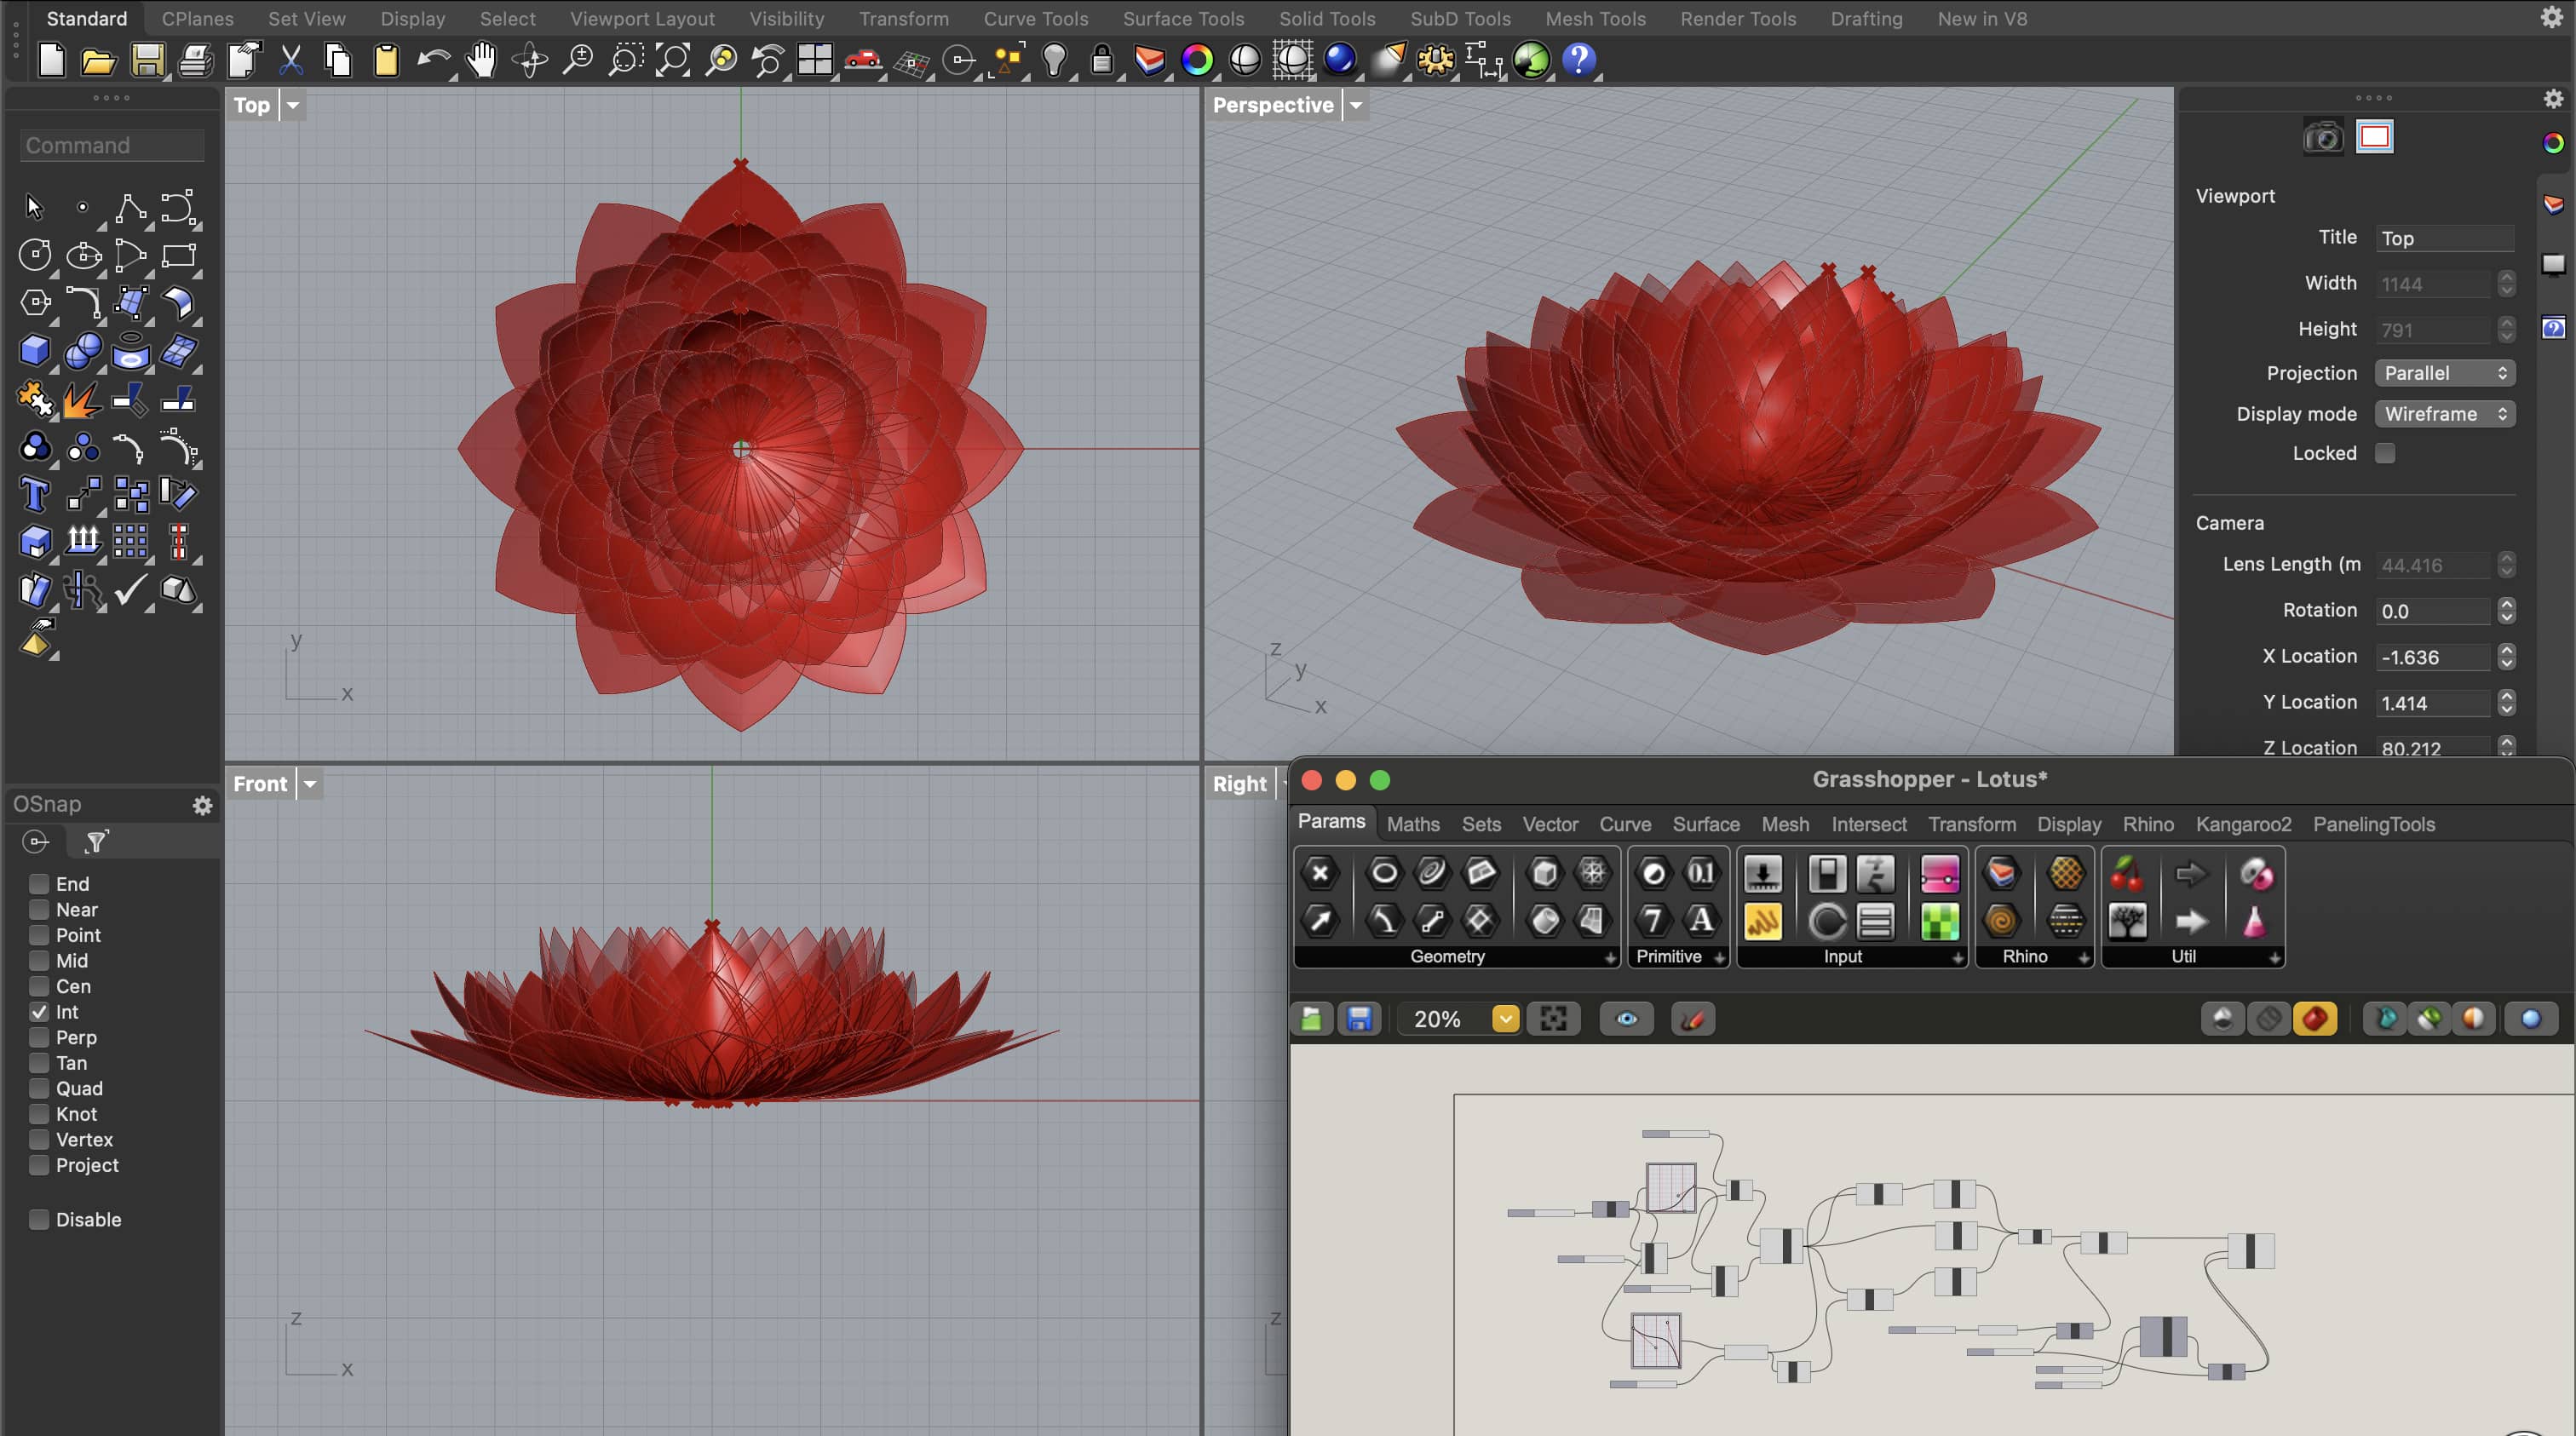
The next thing I had to tackle was creating a parametric lotus flower in Grasshopper.
As I have said before: I hate Rhino/Grasshopper. So this was probably the most mentally exhausting part of the fabricating process. Luckily there is a lovely Youtube Tutorial on how to do this that I followed, altered and layered in order to create the lotus flower mesh.
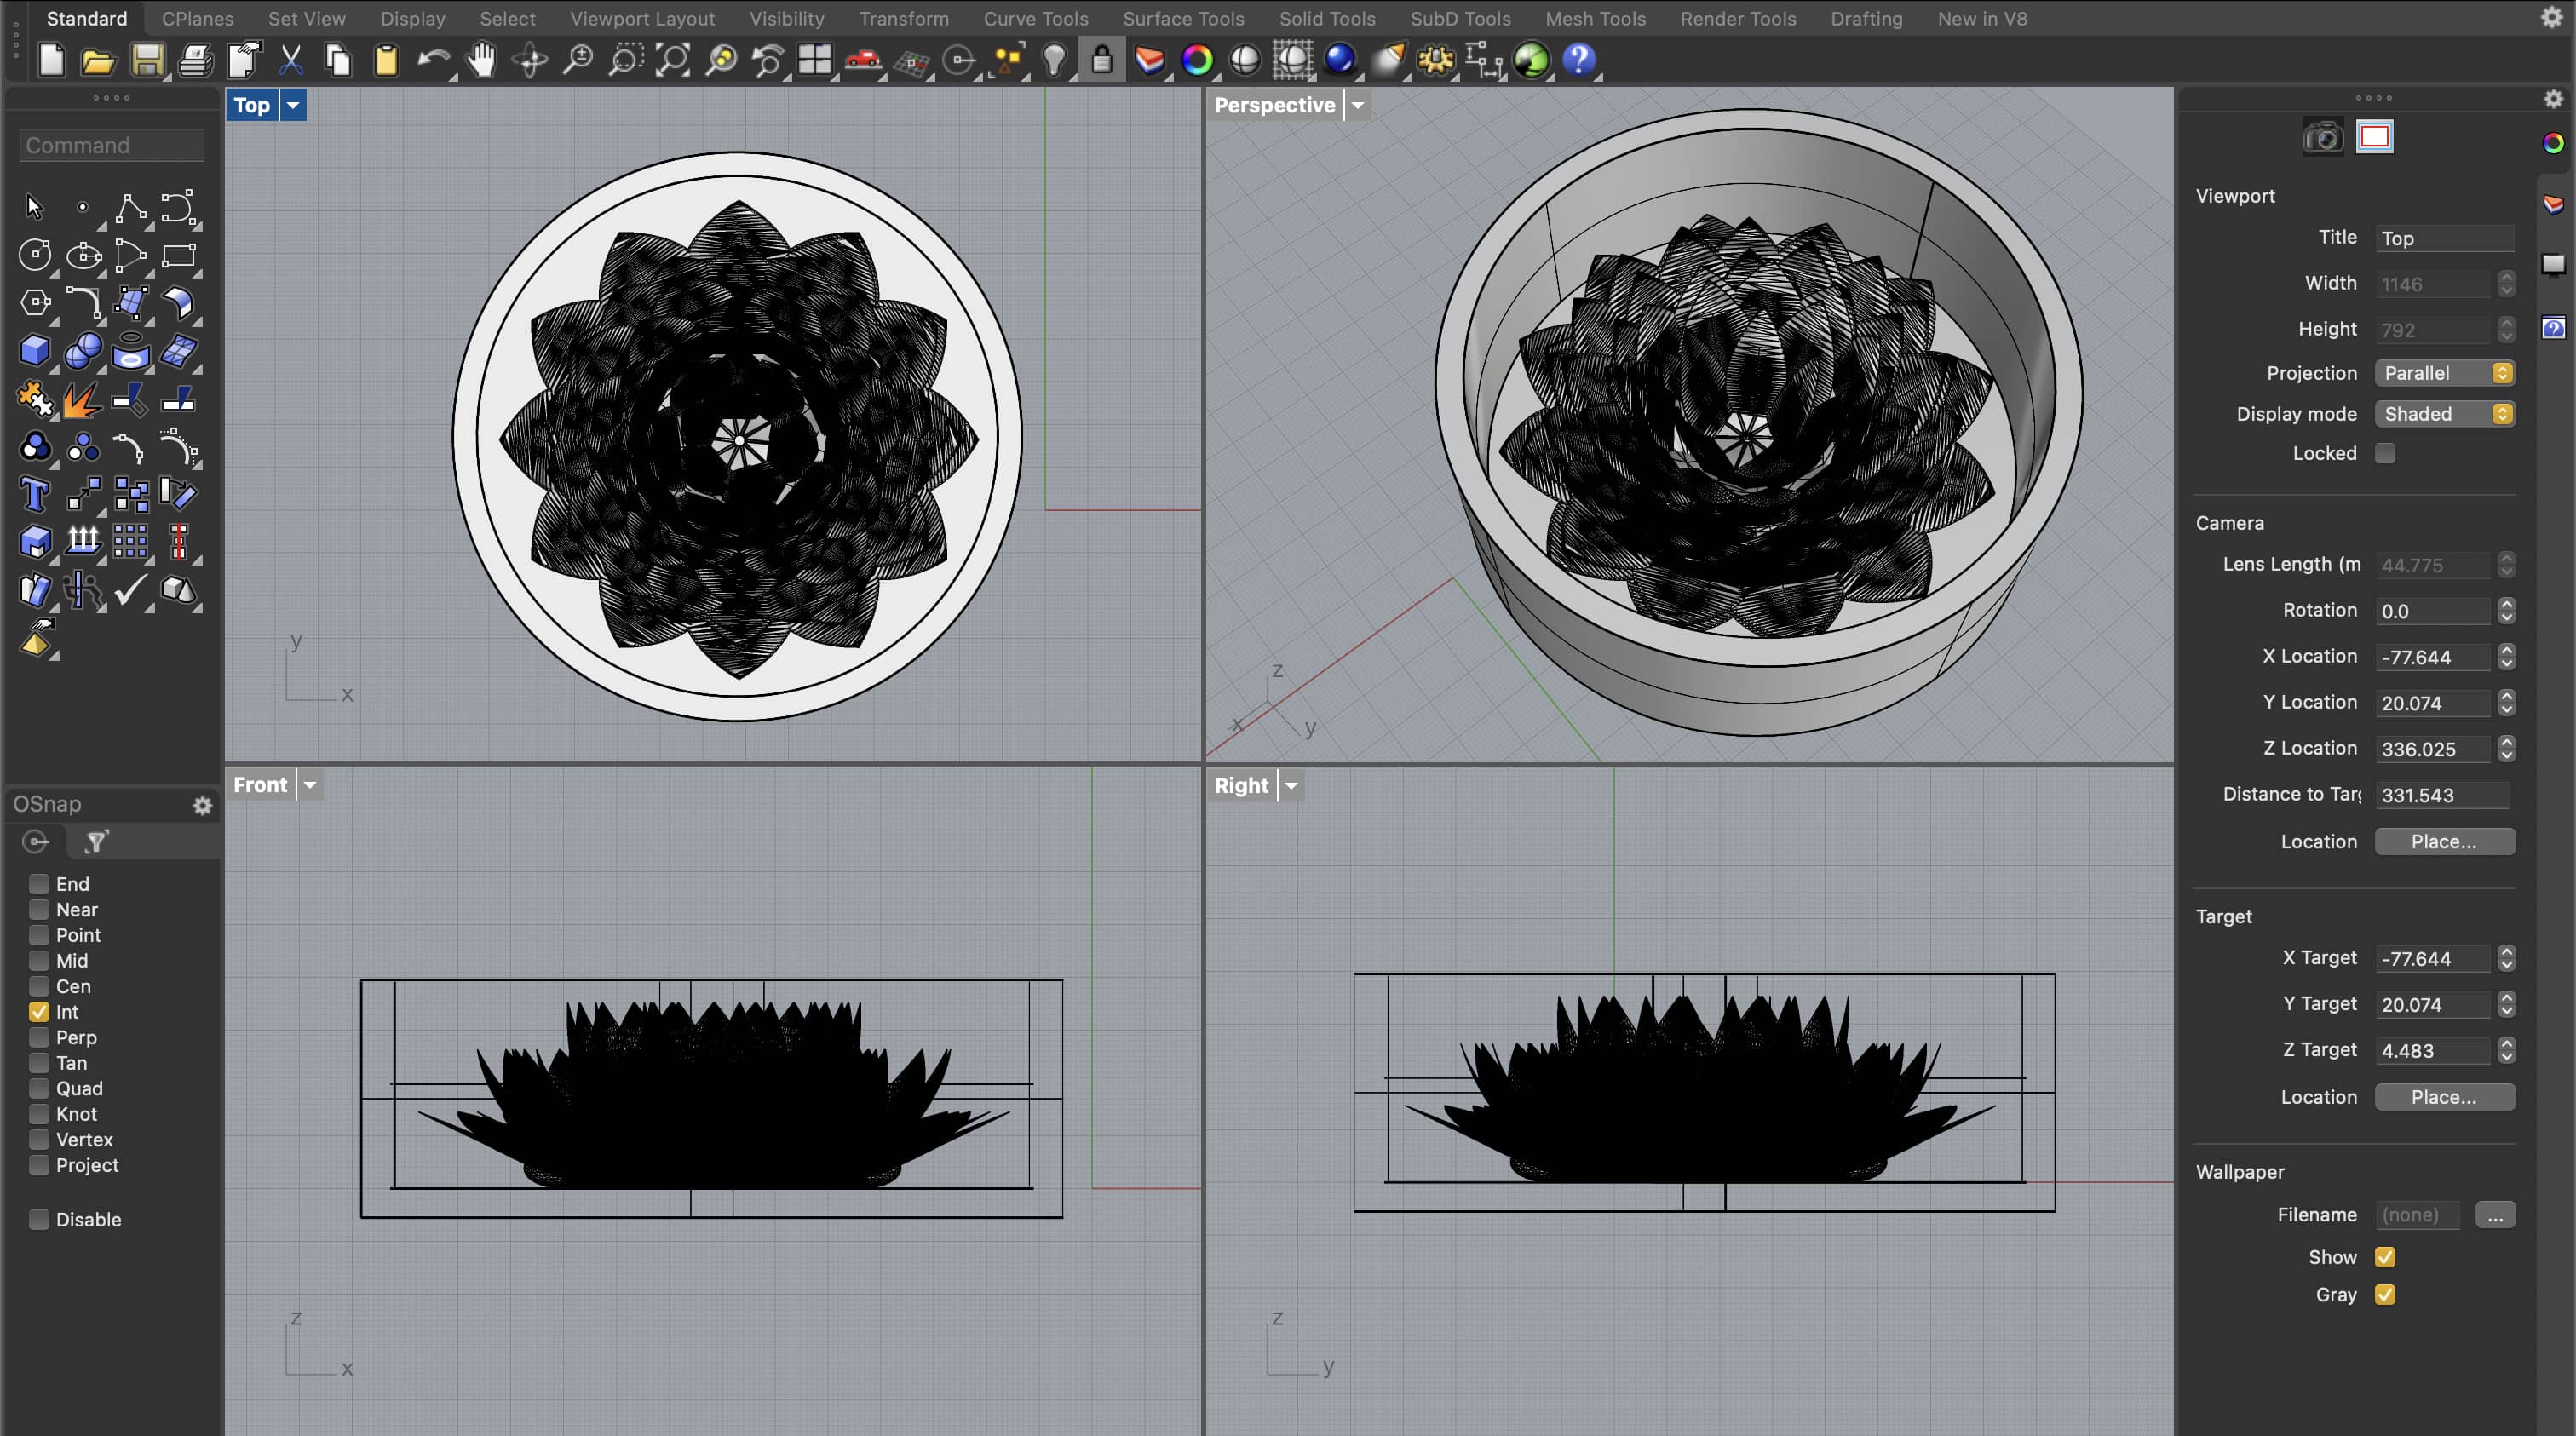
For the lotus flower mold, I considered creating a one piece mold for ease. So I modeled a circular mold box for the lotus flower.
Phase 4: Printing the Models and Molds
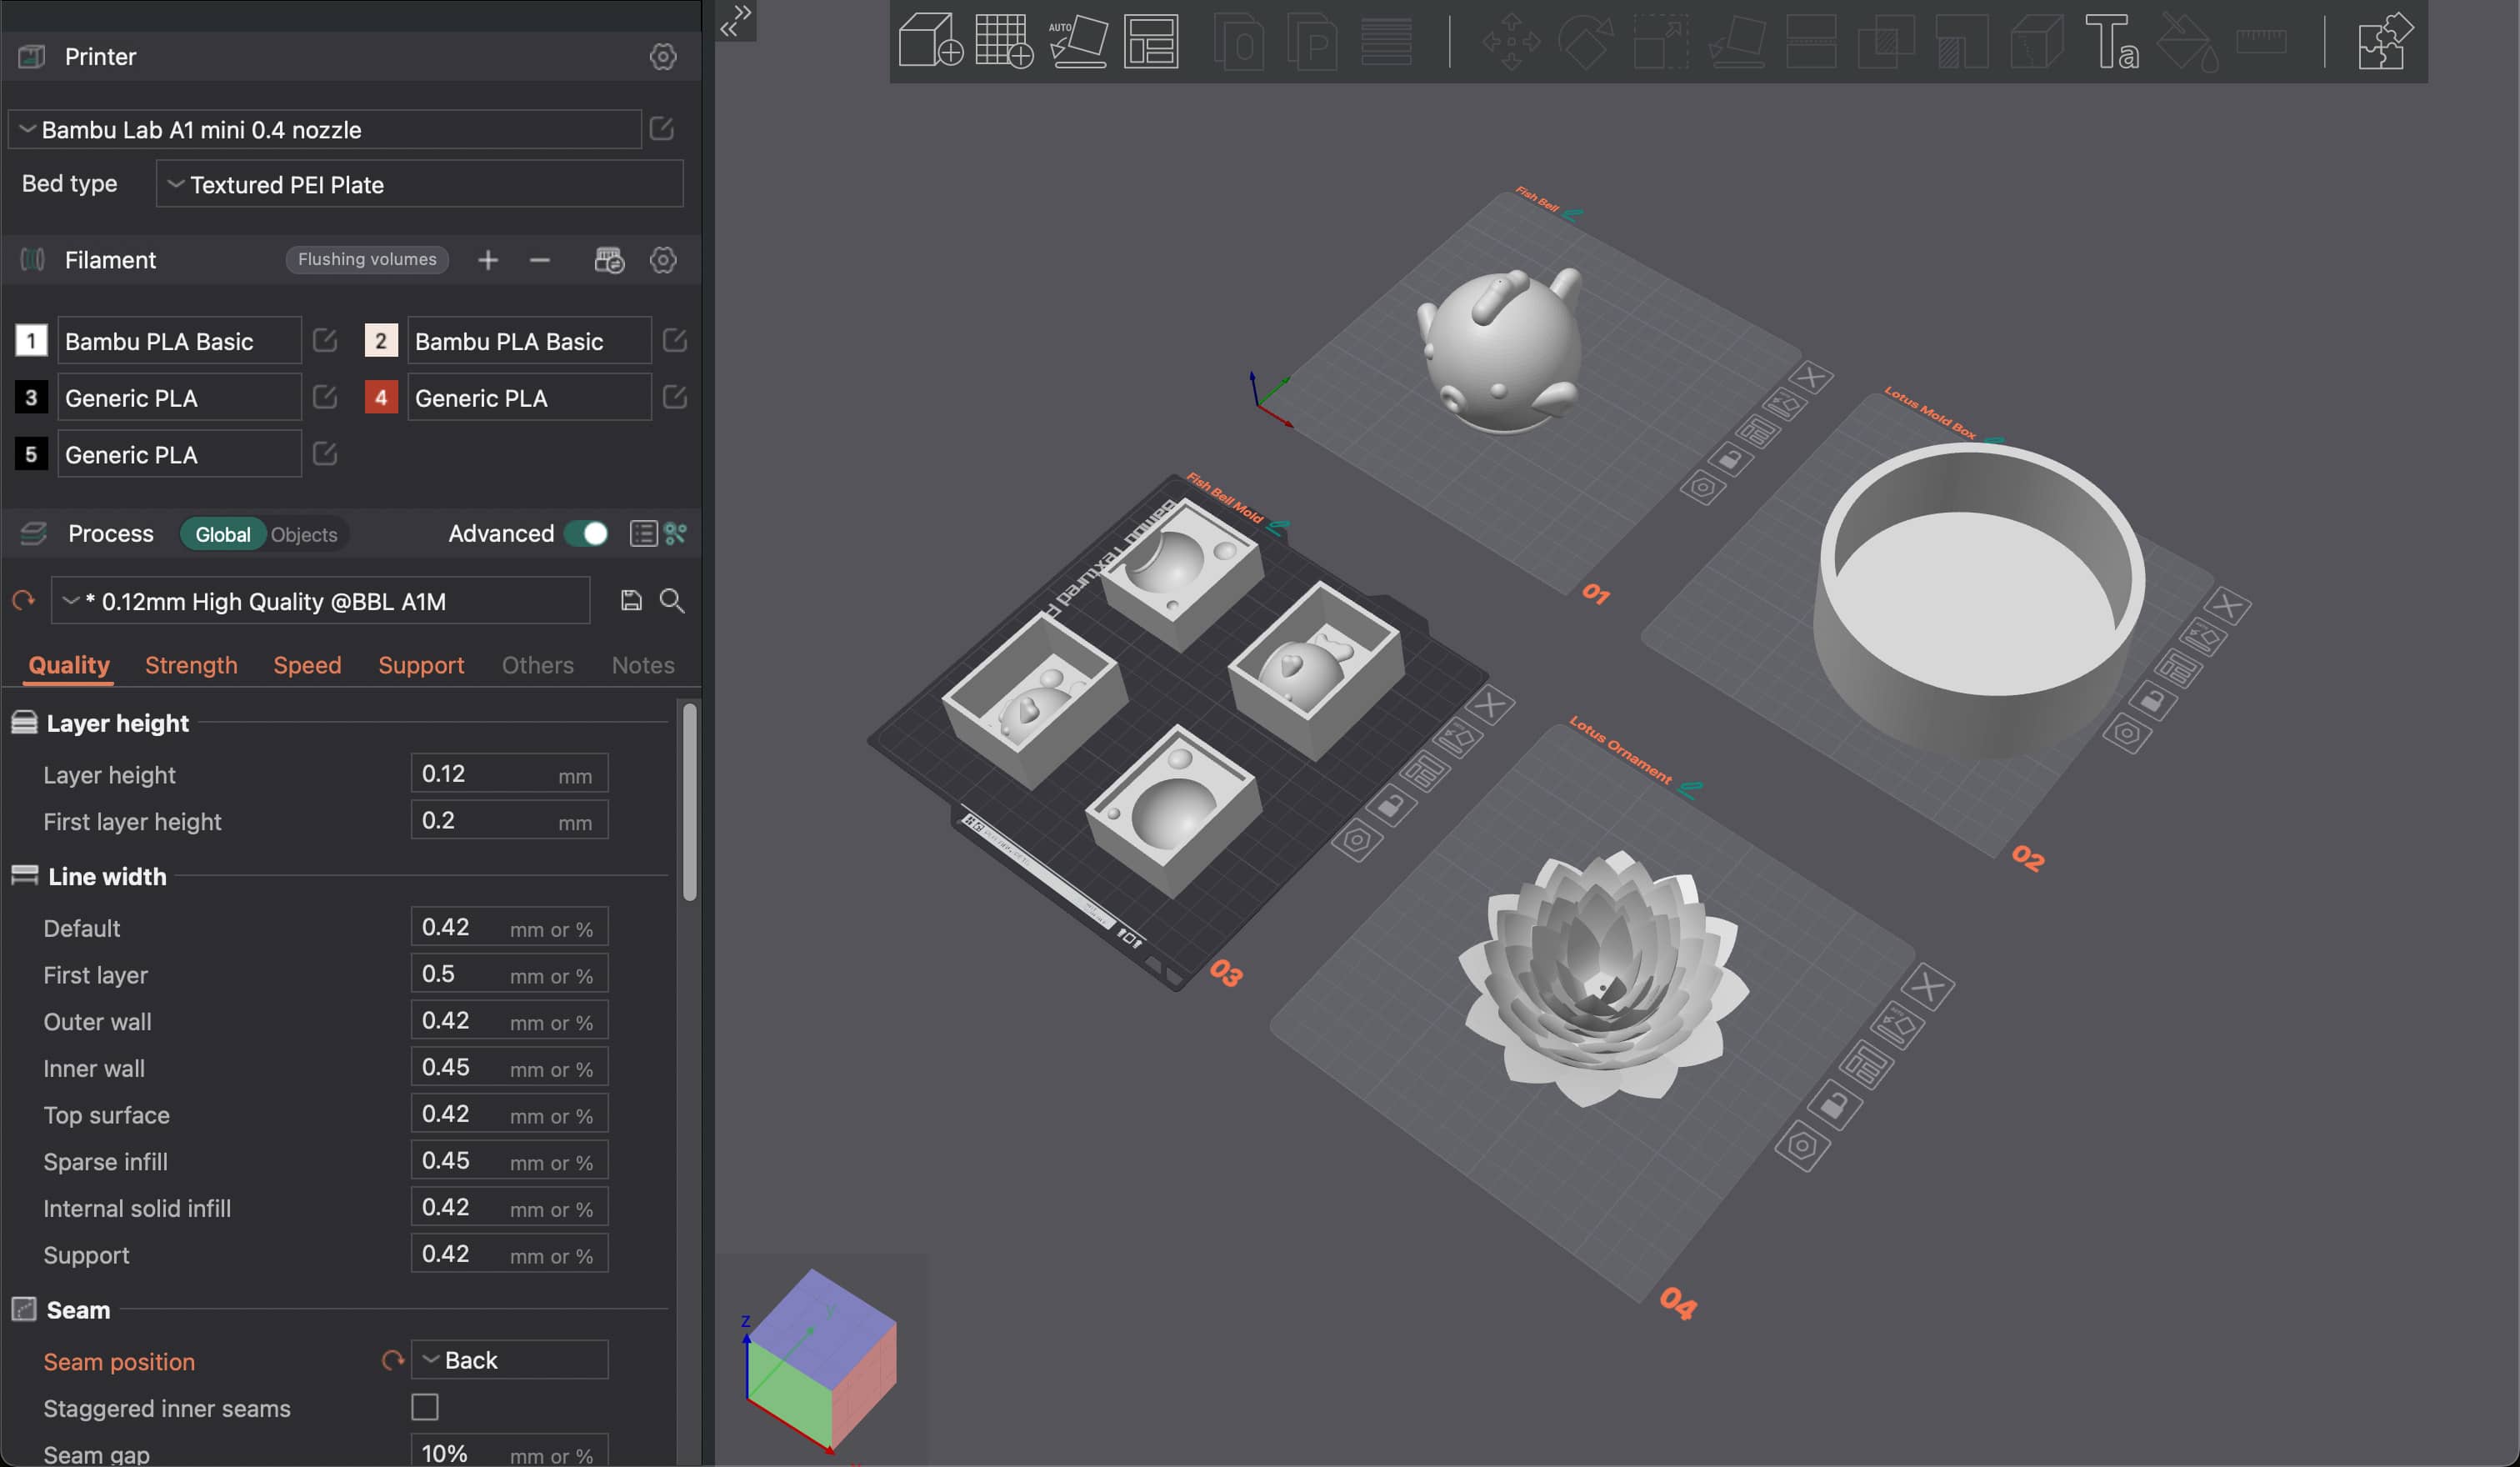
After modeling, I 3D printed some test models to make sure my print settings provided the best final print.
I ended up having to customize some of the tree supports for both the fish model and the lotus model and lowering the print speed in order for both prints to print smoothly.
However, I realized that while my models printed fine in PLA, other materials did not result in the same flawless print. In fact, printing in copper PLA proved to be the most difficult, since there were many strings of filament on the final product that needed to be cleaned off.
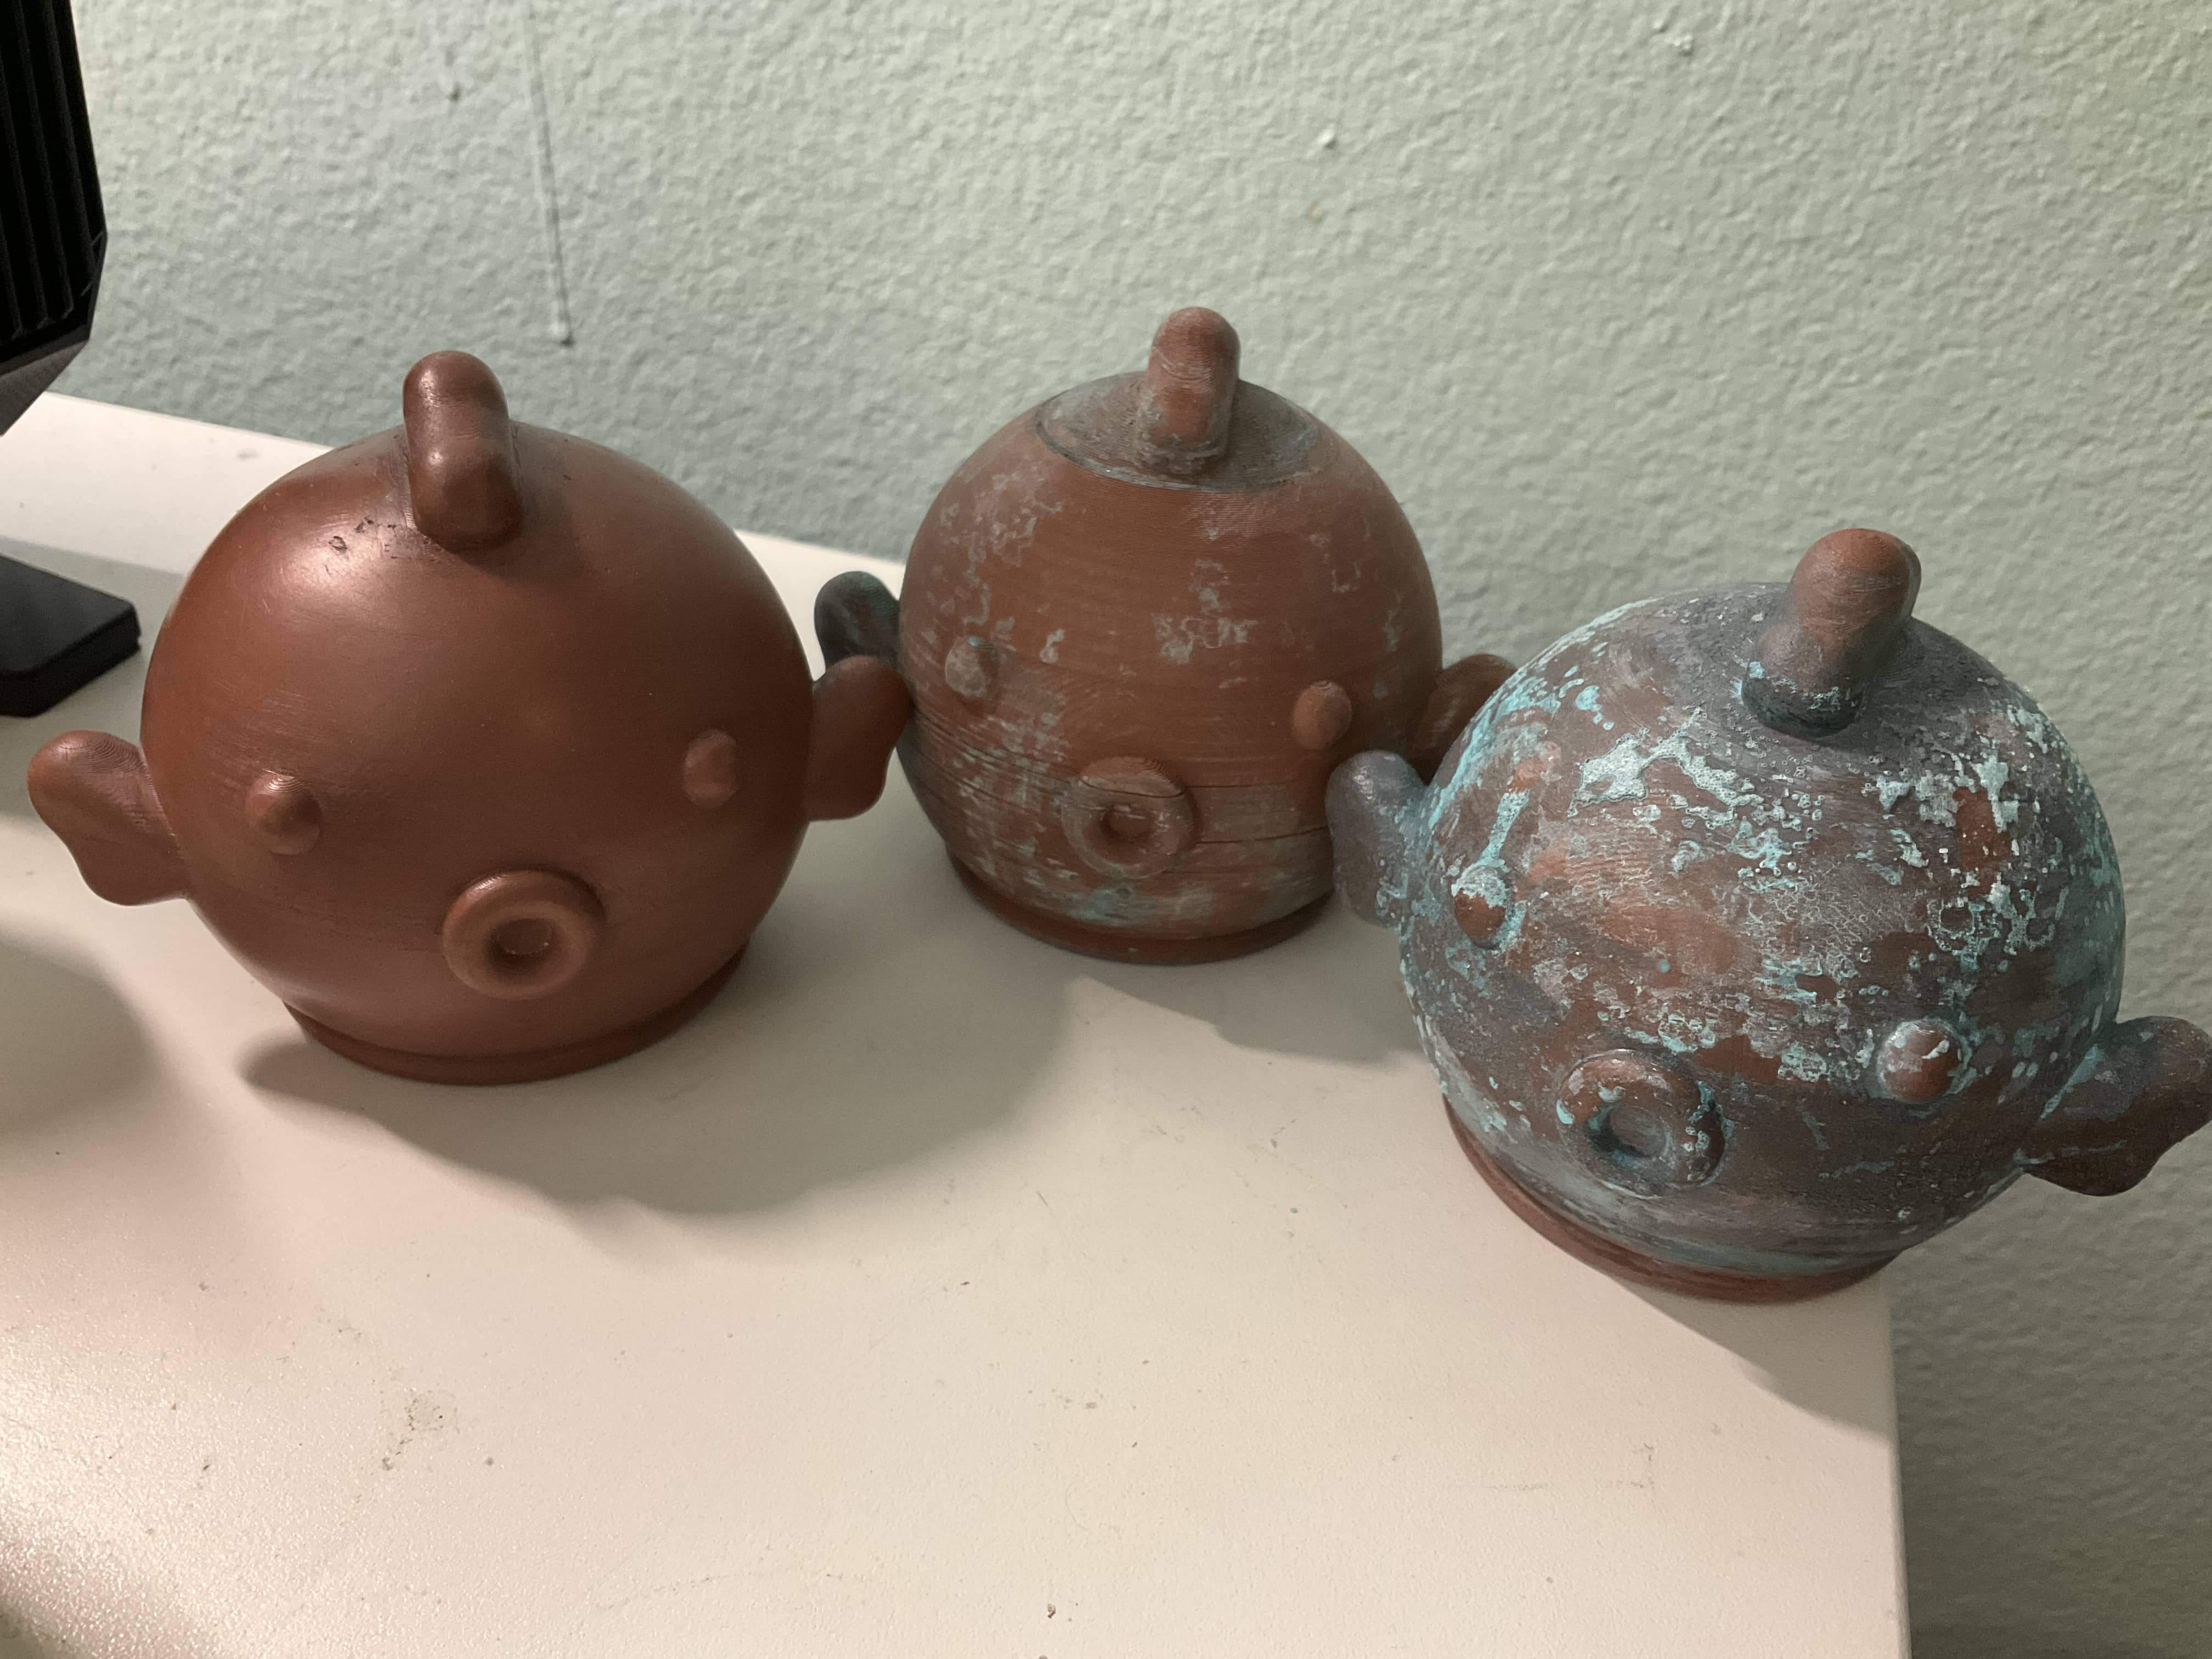
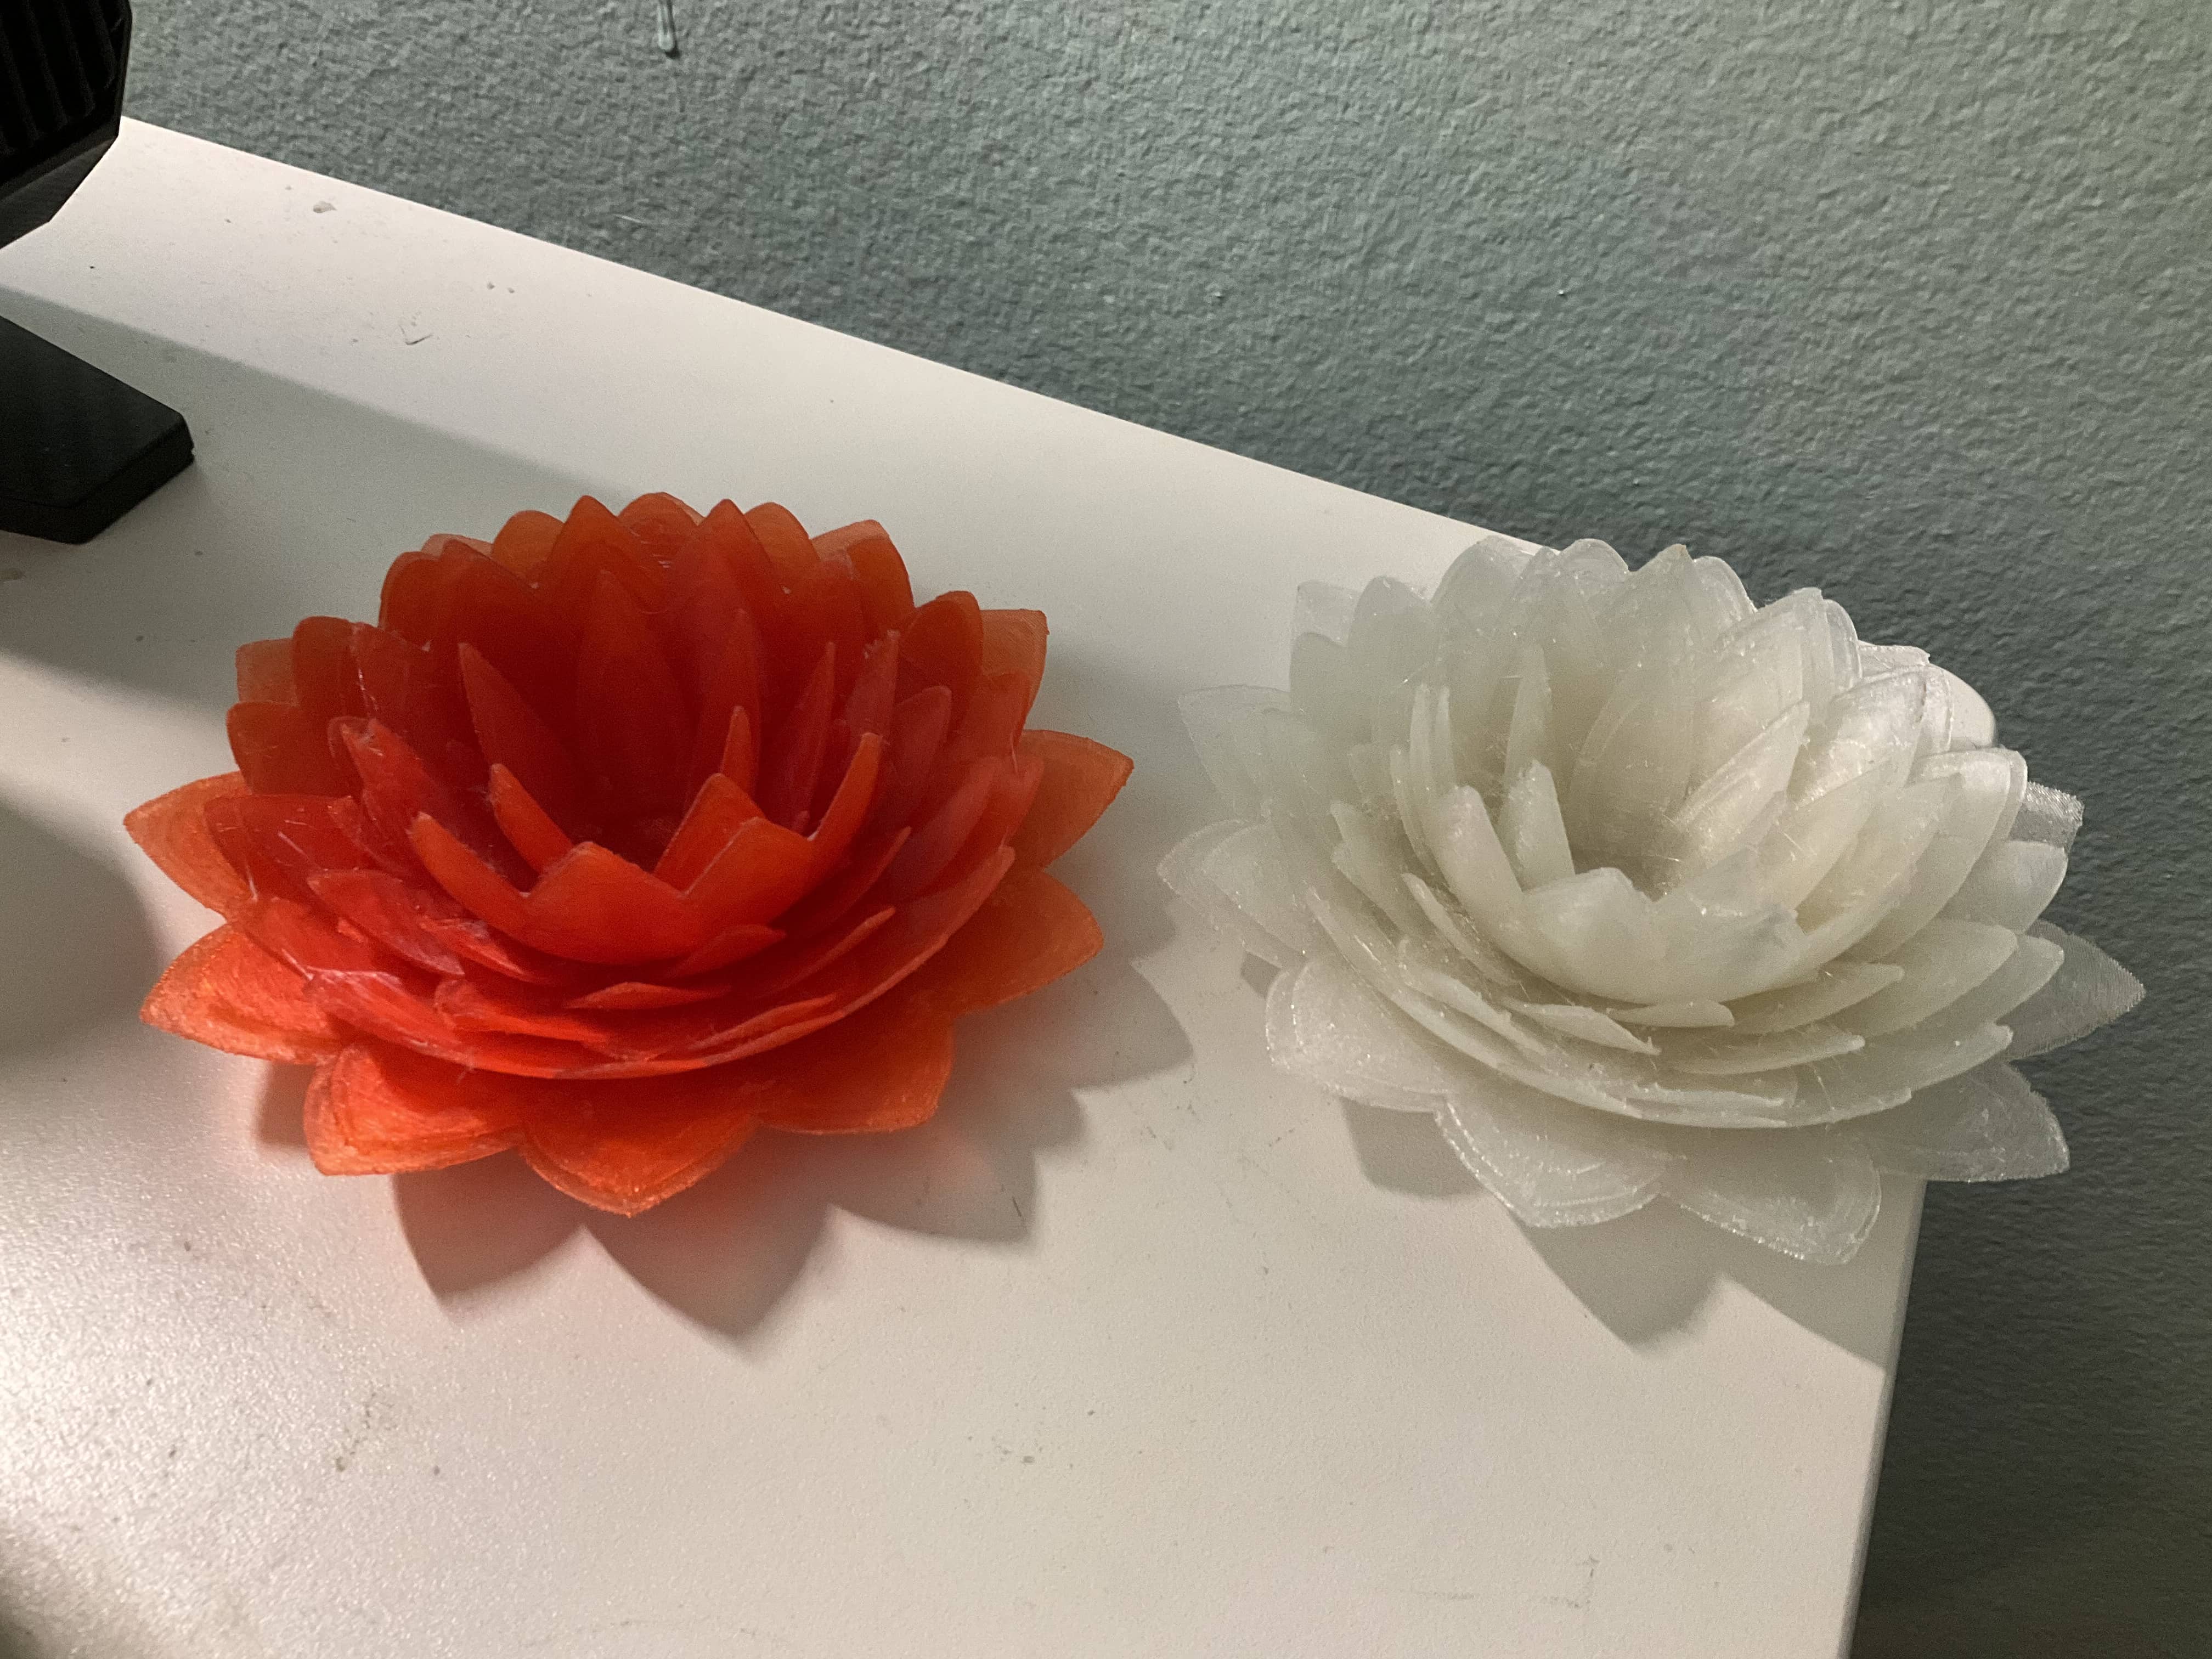
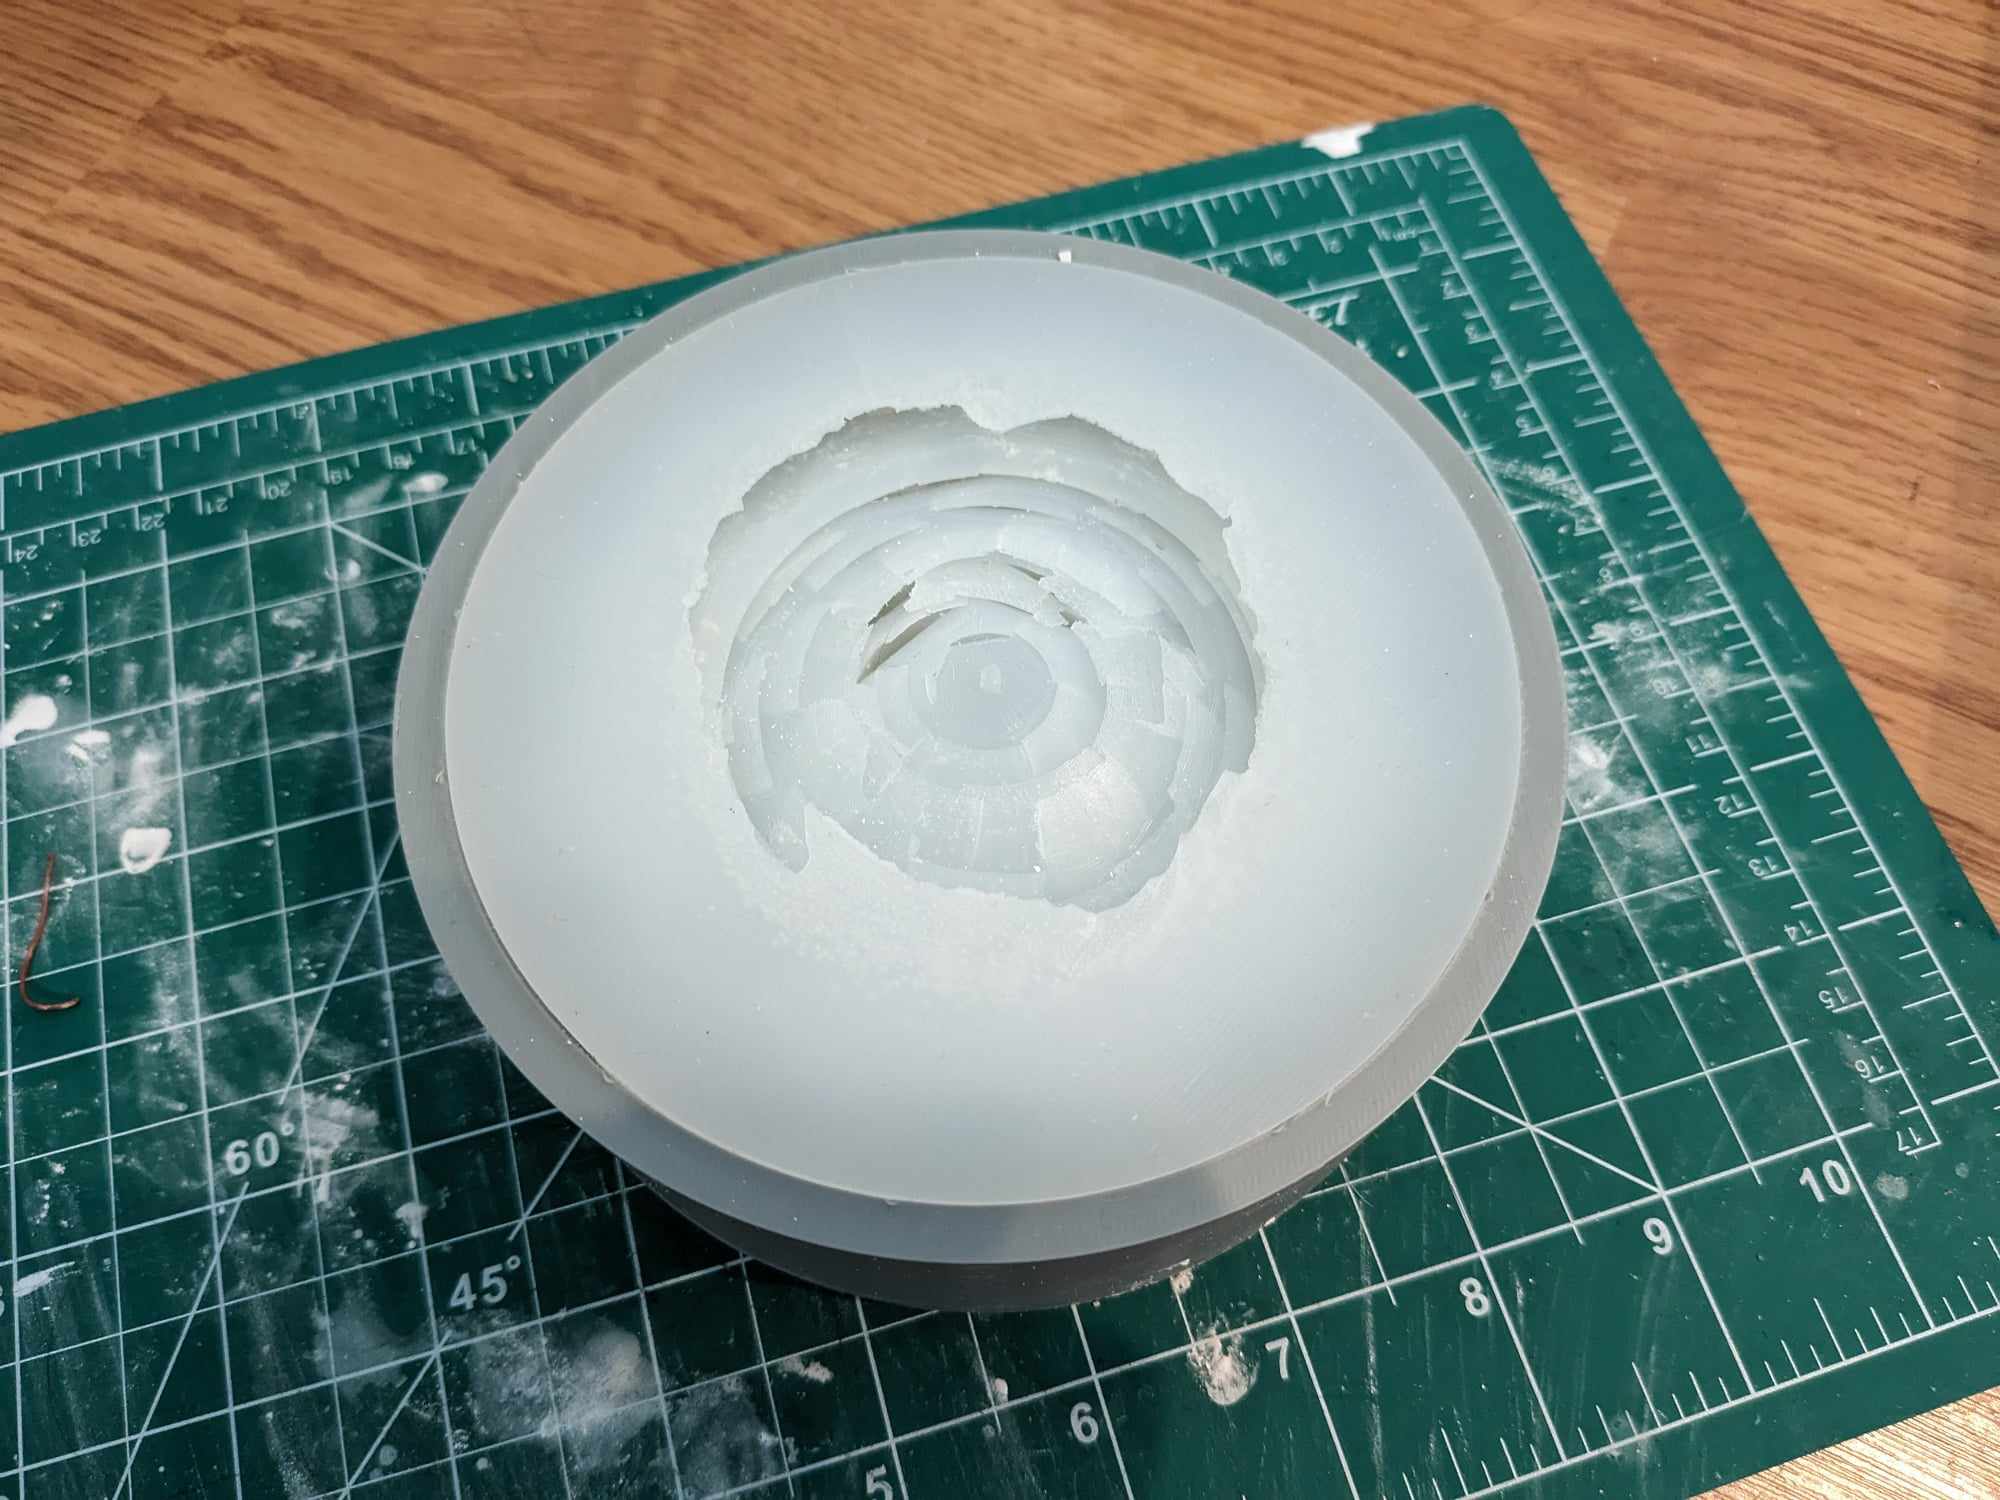
After printing in multiple materials, I found that the most visually appealing and durable prints for the fish was Wood PLA and Copper PLA. The lotus flower had the best print with Clear PLA and Silk PLA. The lotus flower print had very thin petals on certain points that would not be durable in brittle Copper PLA.
Phase 5: Wooden Tags
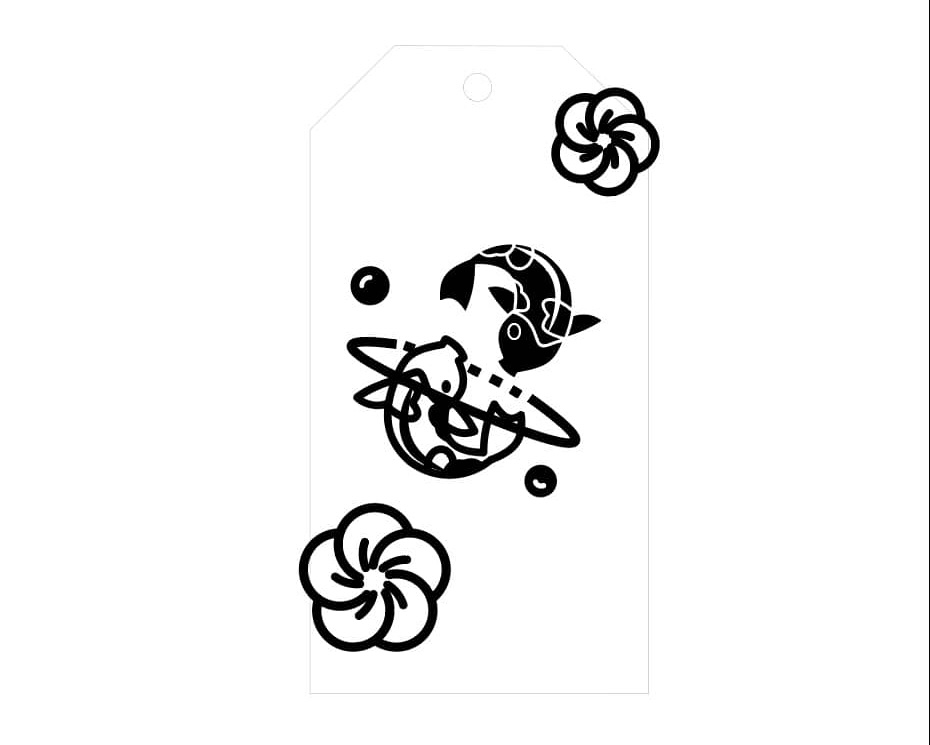
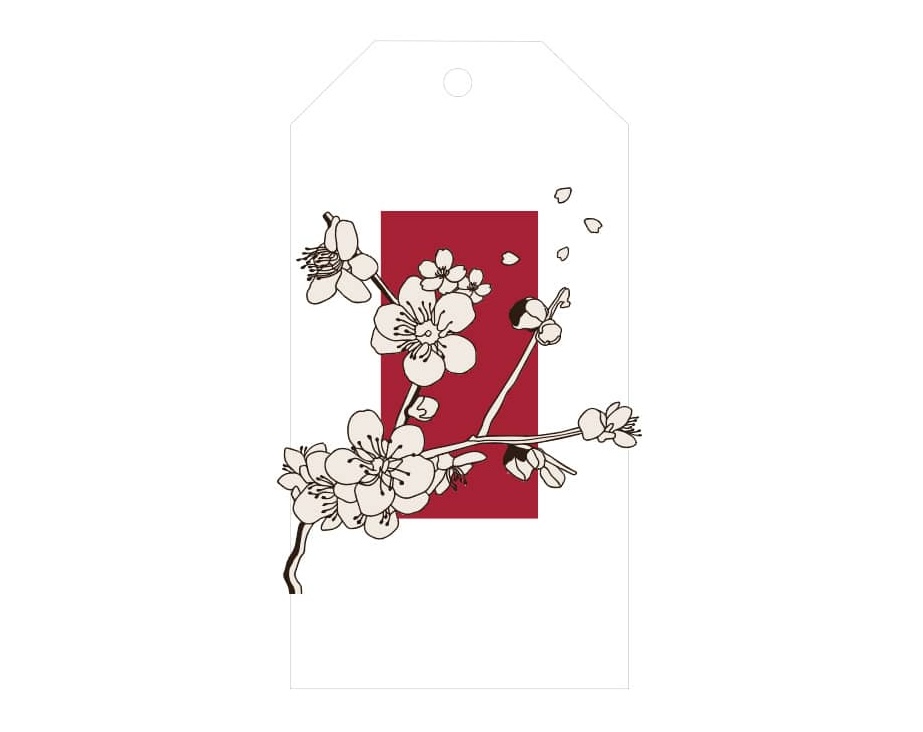
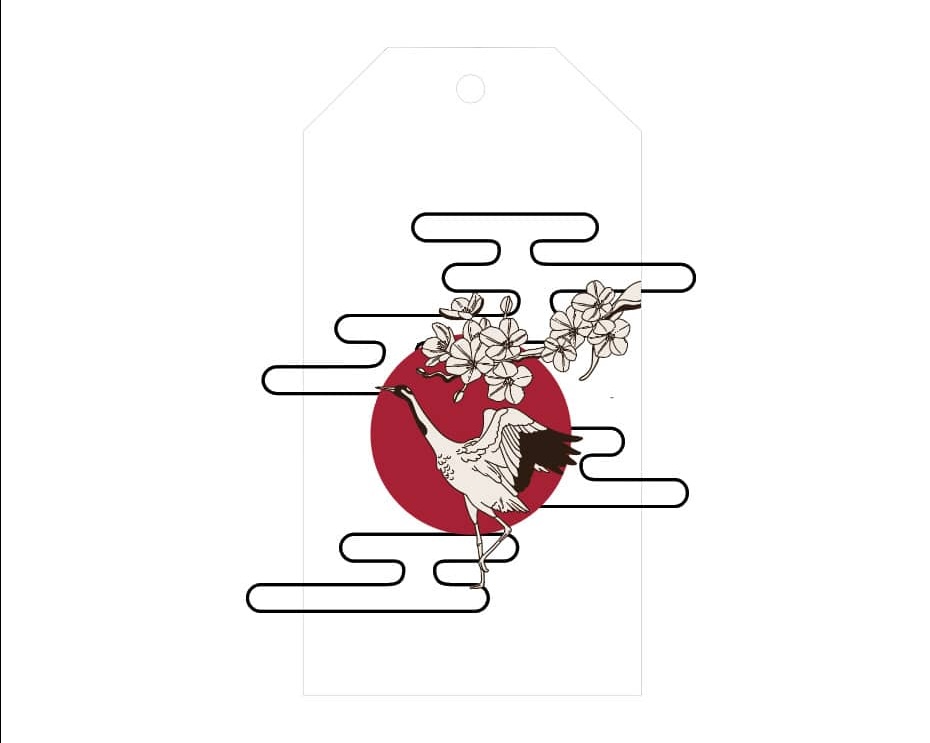
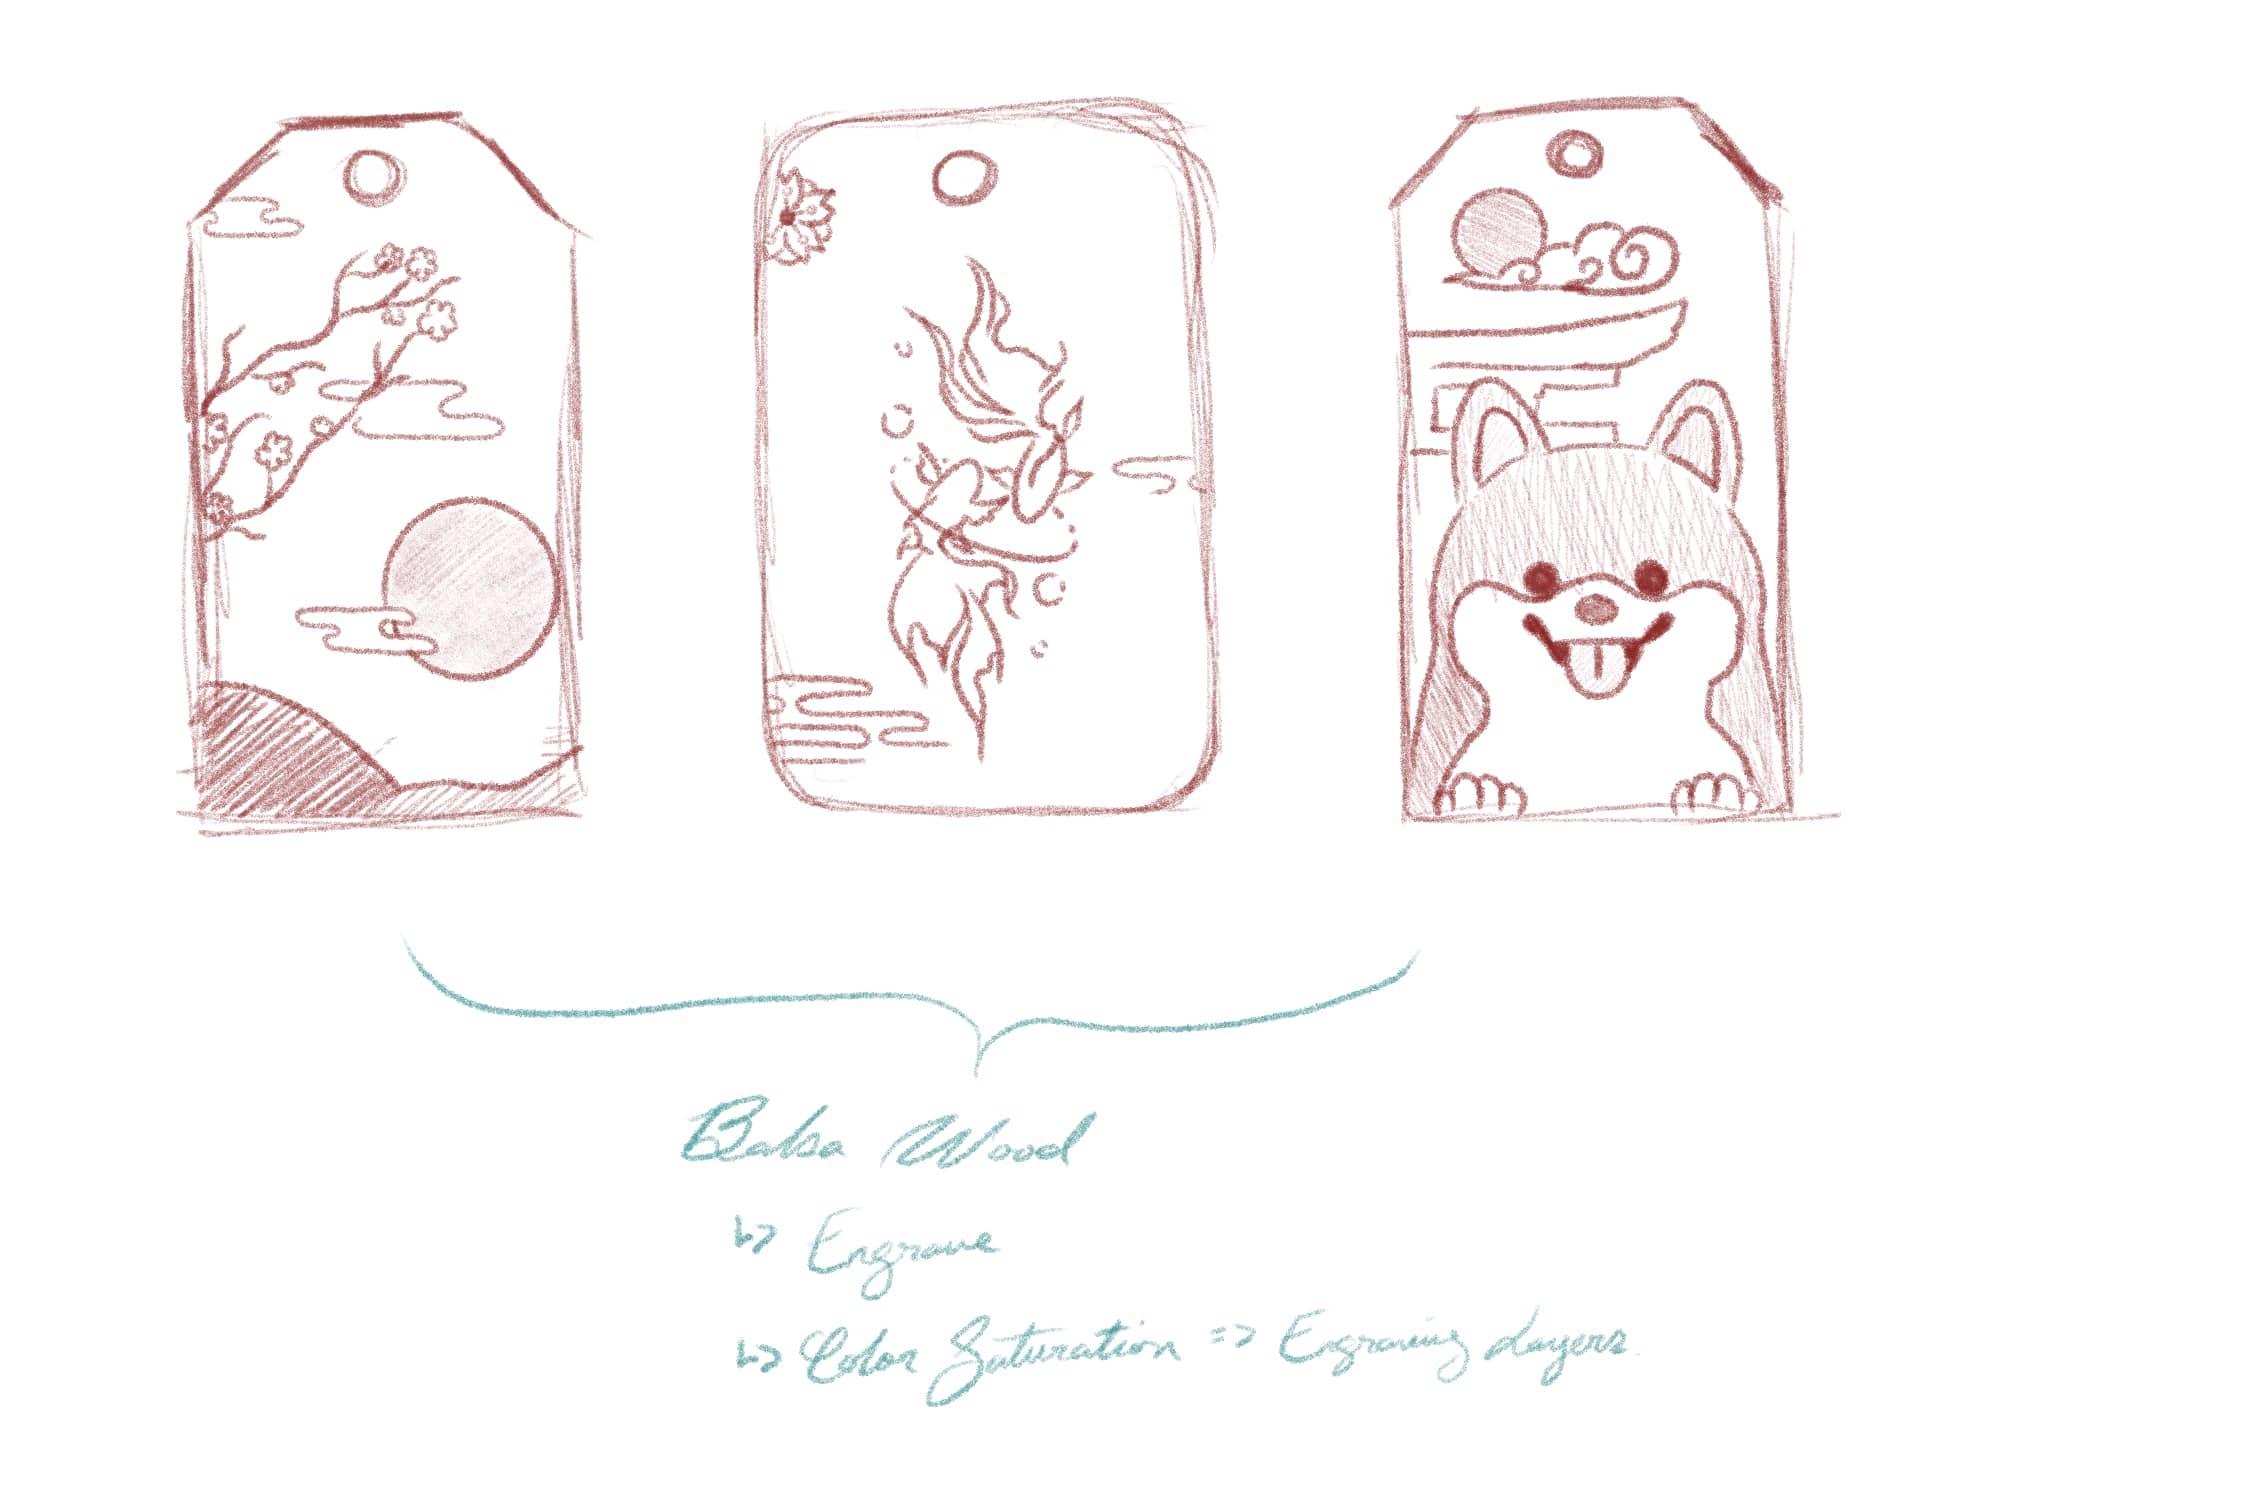
One of the components I wanted to include for the wind chimes is a wooden tag that would catch wind. I created a general tag shape in Rhino and exported the SVG into Adobe InDesign. For each of the designs on the tag, I ended up tracing real-life images in Procreate and exporting them as SVGs into Adobe InDesign for layout organization.
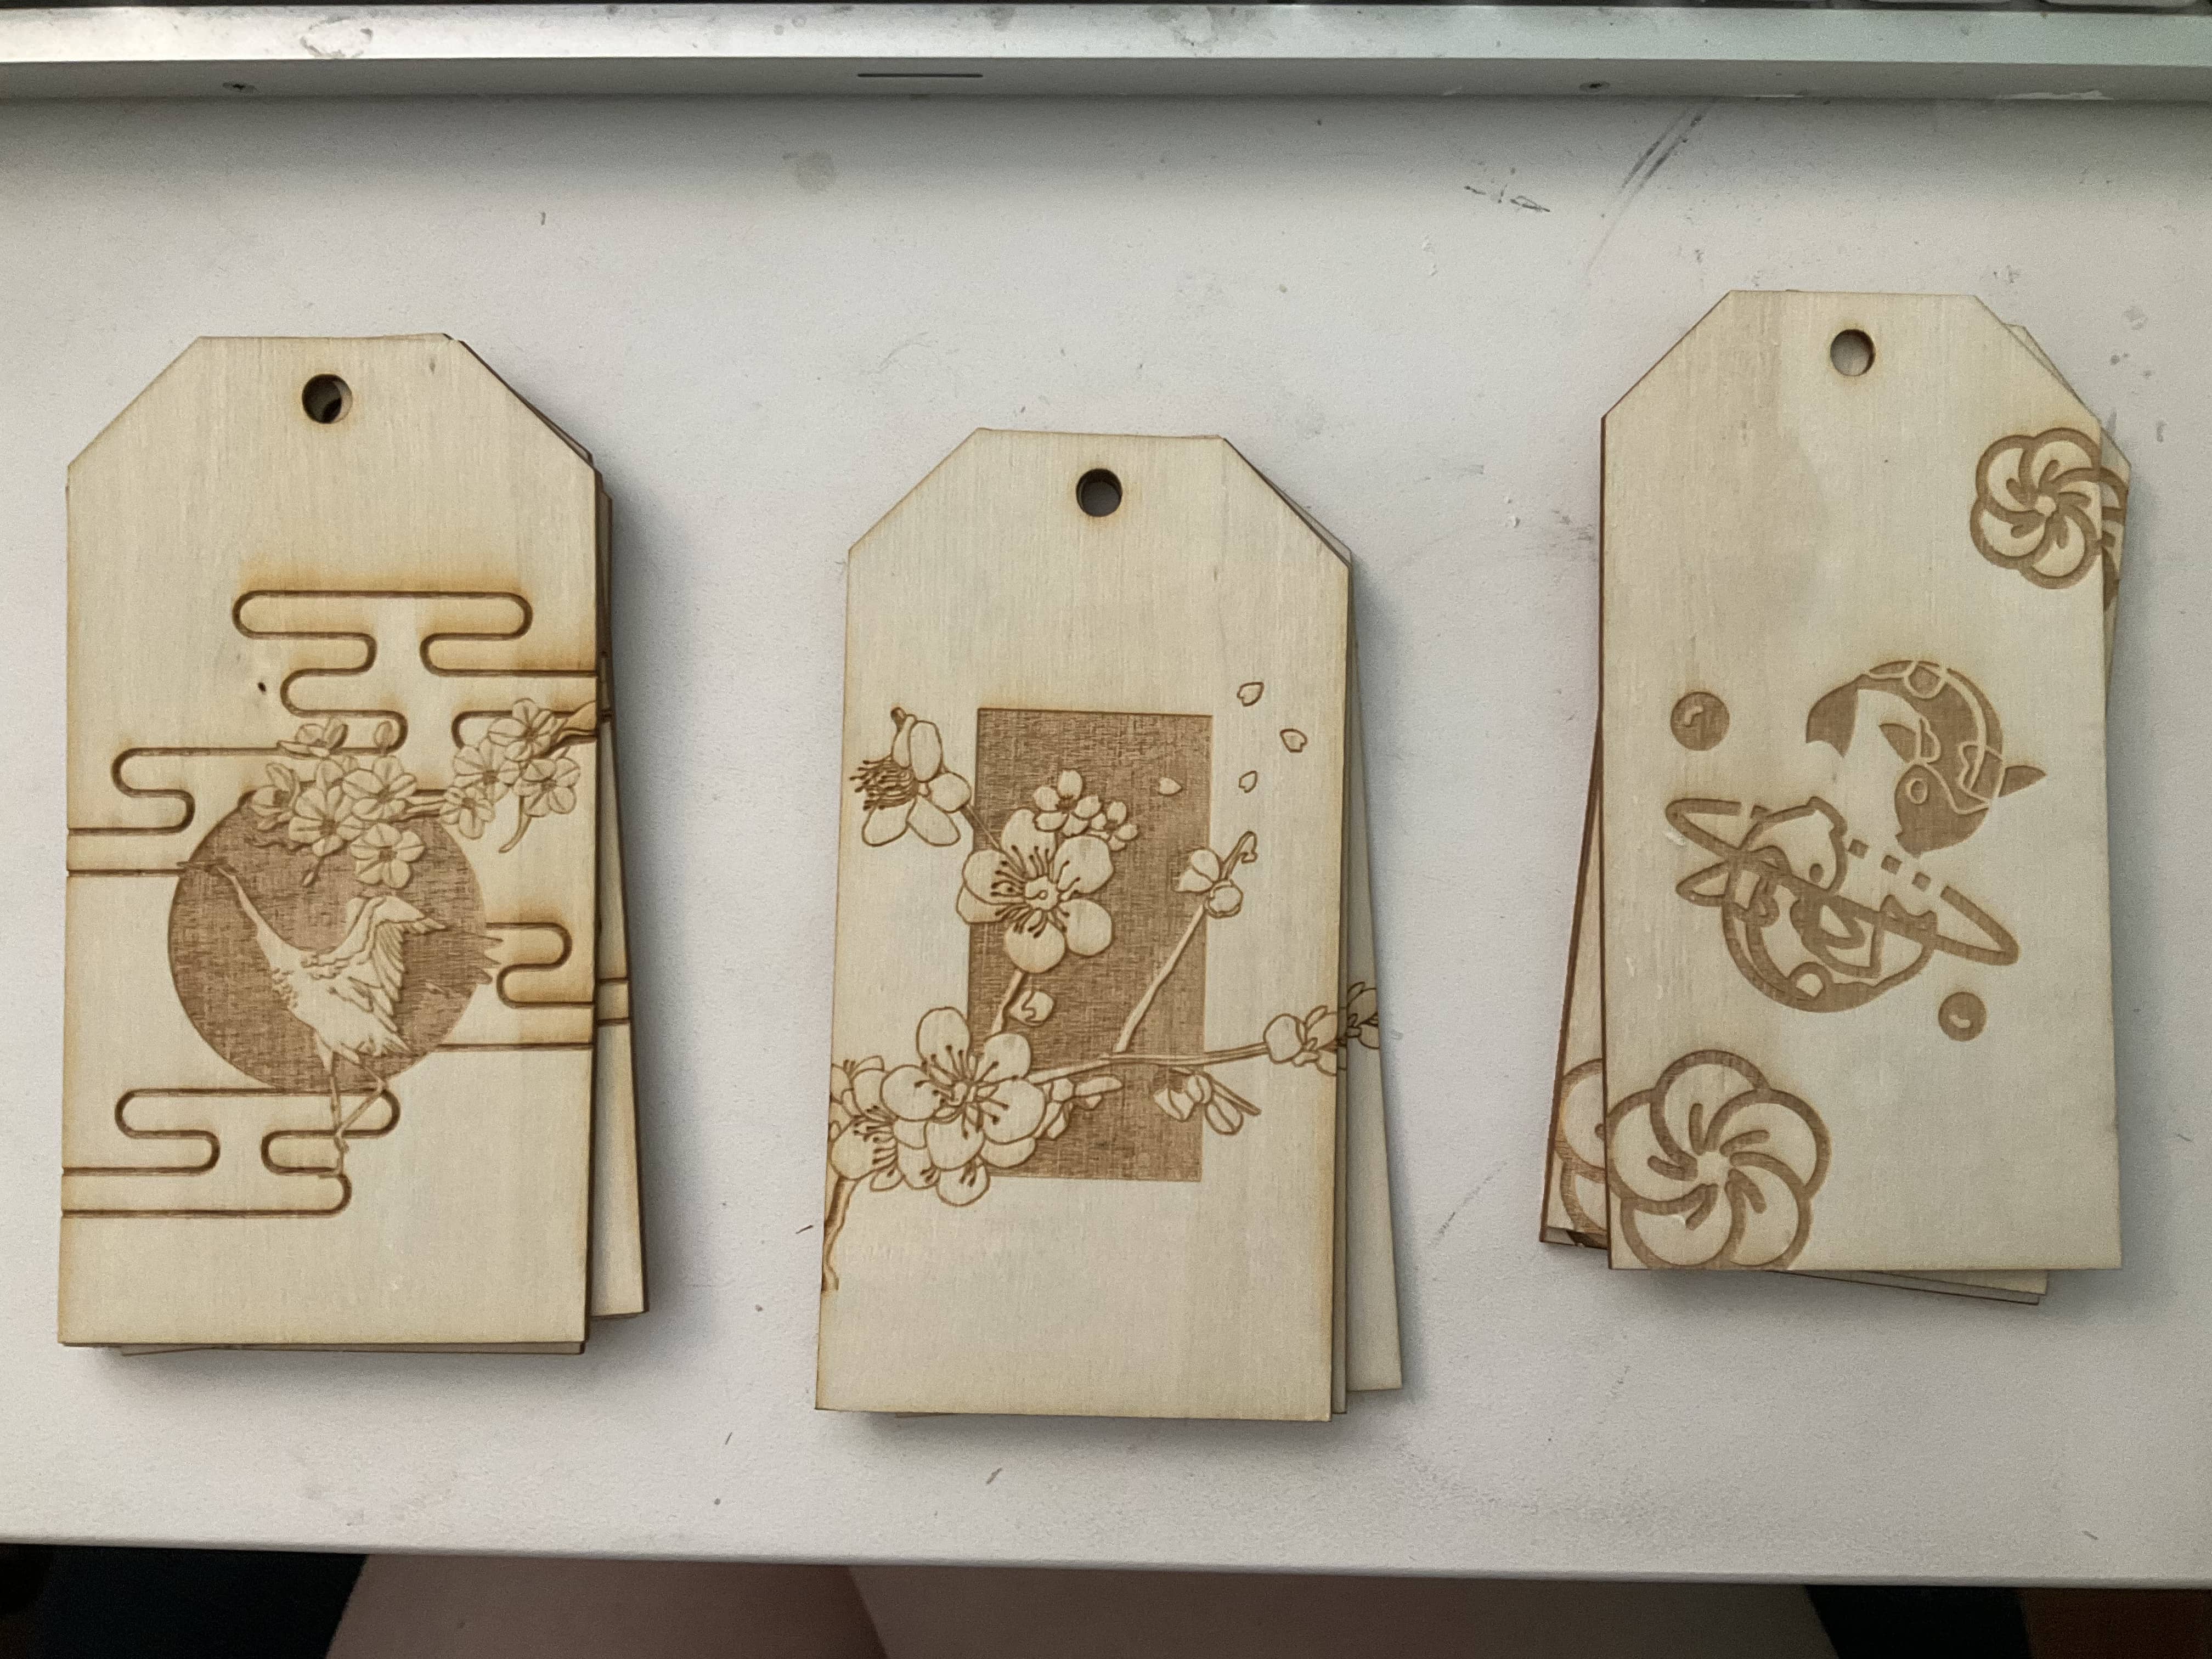
I went to the MILL and did a few test prints in order to achieve the best engraving (raster) results. The most optimal results included 60% speed and 55% Power for the Raster and 10% Speed, 15% Power, 50% Frequency for the vector cutting. I ended up making multiples of the tags, just because they turned out so well.
Phase 6: Getting a Professional Finish
I wanted to achieve a more polished finish for my components, so I experimented with sanding, polishing, and staining my components.
I first started with my Copper PLA fish prints because I wanted to achieve two different finishes. I wanted to oxidize one print to achieve a green/blue patina and polish the other print to achieve a shiny copper finish.
The lotus flower prints already had a visual appeal from the Clear PLA, so I decided to leave those prints be since they were also more fragile than the fish components.
I had to sand the Copper PLA prints, which took FOREVER. I started with 200 grit sandpaper to remove as much of the layer lines as possible then progressively moved to 400 grit, 800 grit, and 1200 grit. I ended up buying a sanding attachment for my rotary tool and that helped quicken the sanding process. In order to expose more of the copper particles in the print, I went over the sanded print with some fine steel wool.
I cleaned the prints with some copper polish and was happy with the result. For one of the prints, I decided to add a patina, so I applied a salt and vinegar solution on the exposed print and left it exposed to ammonia vapors in order to achieve a more blue patina.
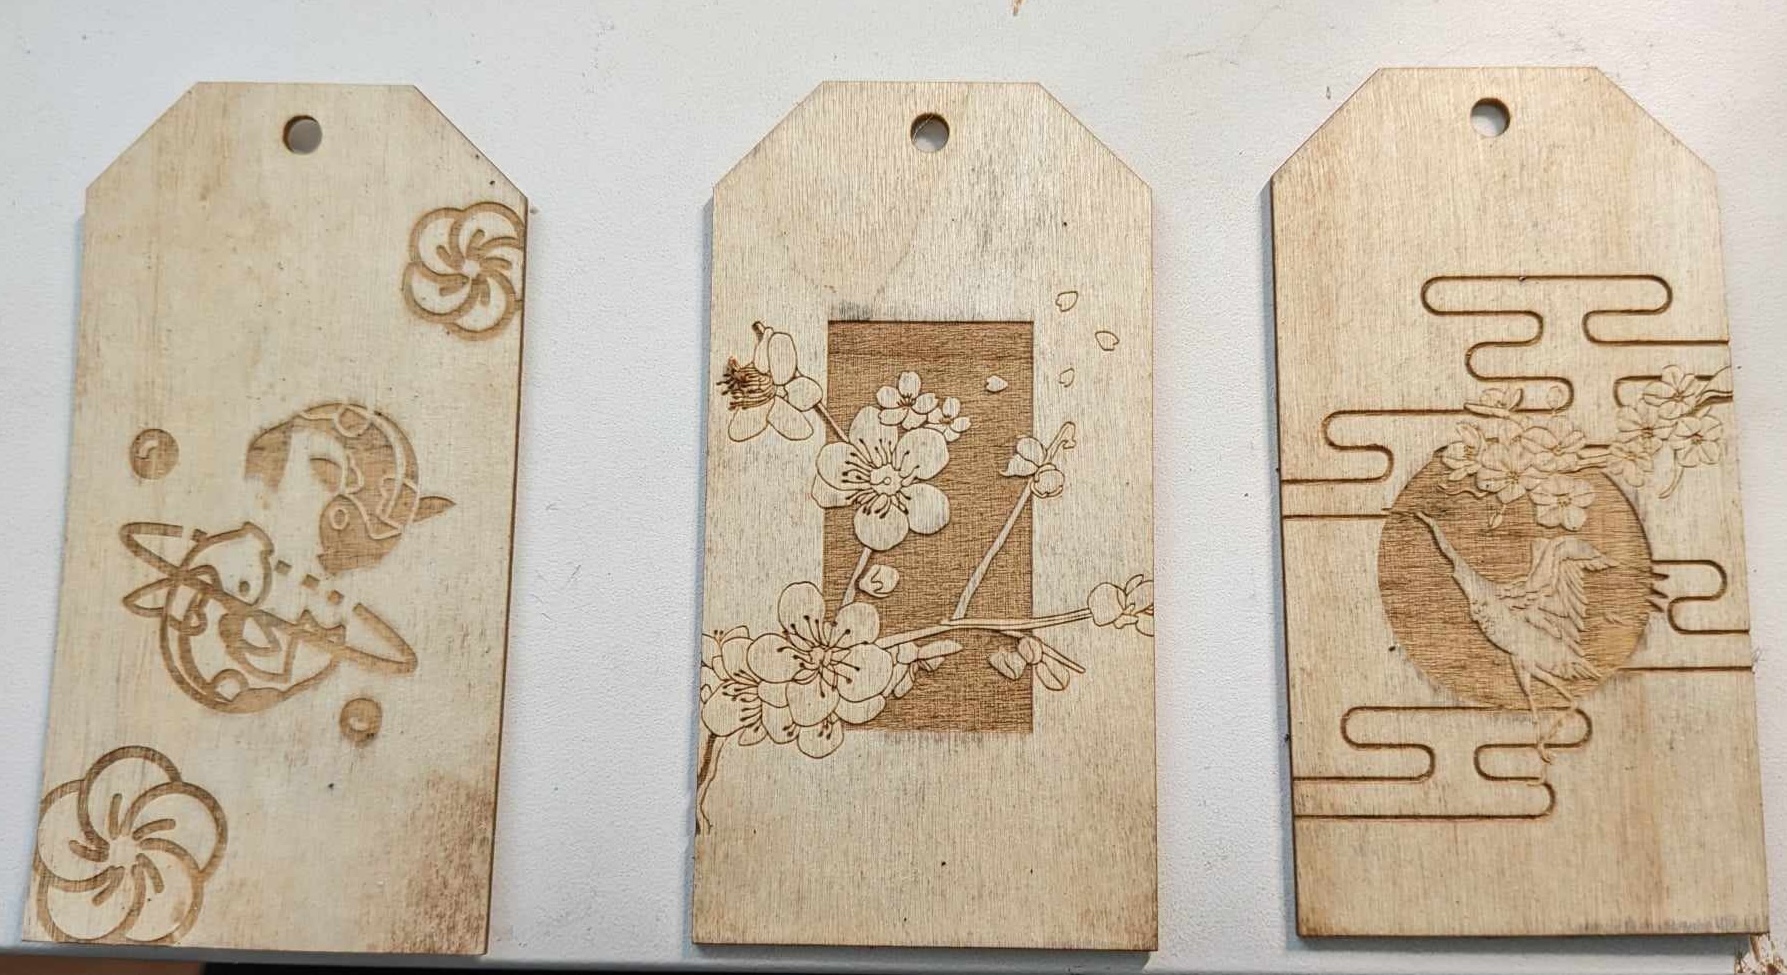
For the wooden tags, I noticed that they looked a bare and too pristine, so I went over them with a chestnut wood stain and wiped off the excess to distress the wood texture on the balsa.
Happy with the finishes, I sprayed a satin finish top-coat over all of my components in order to make them resistant to the weather and preserve the finishes.
Phase 7: Assembly and Conclusion
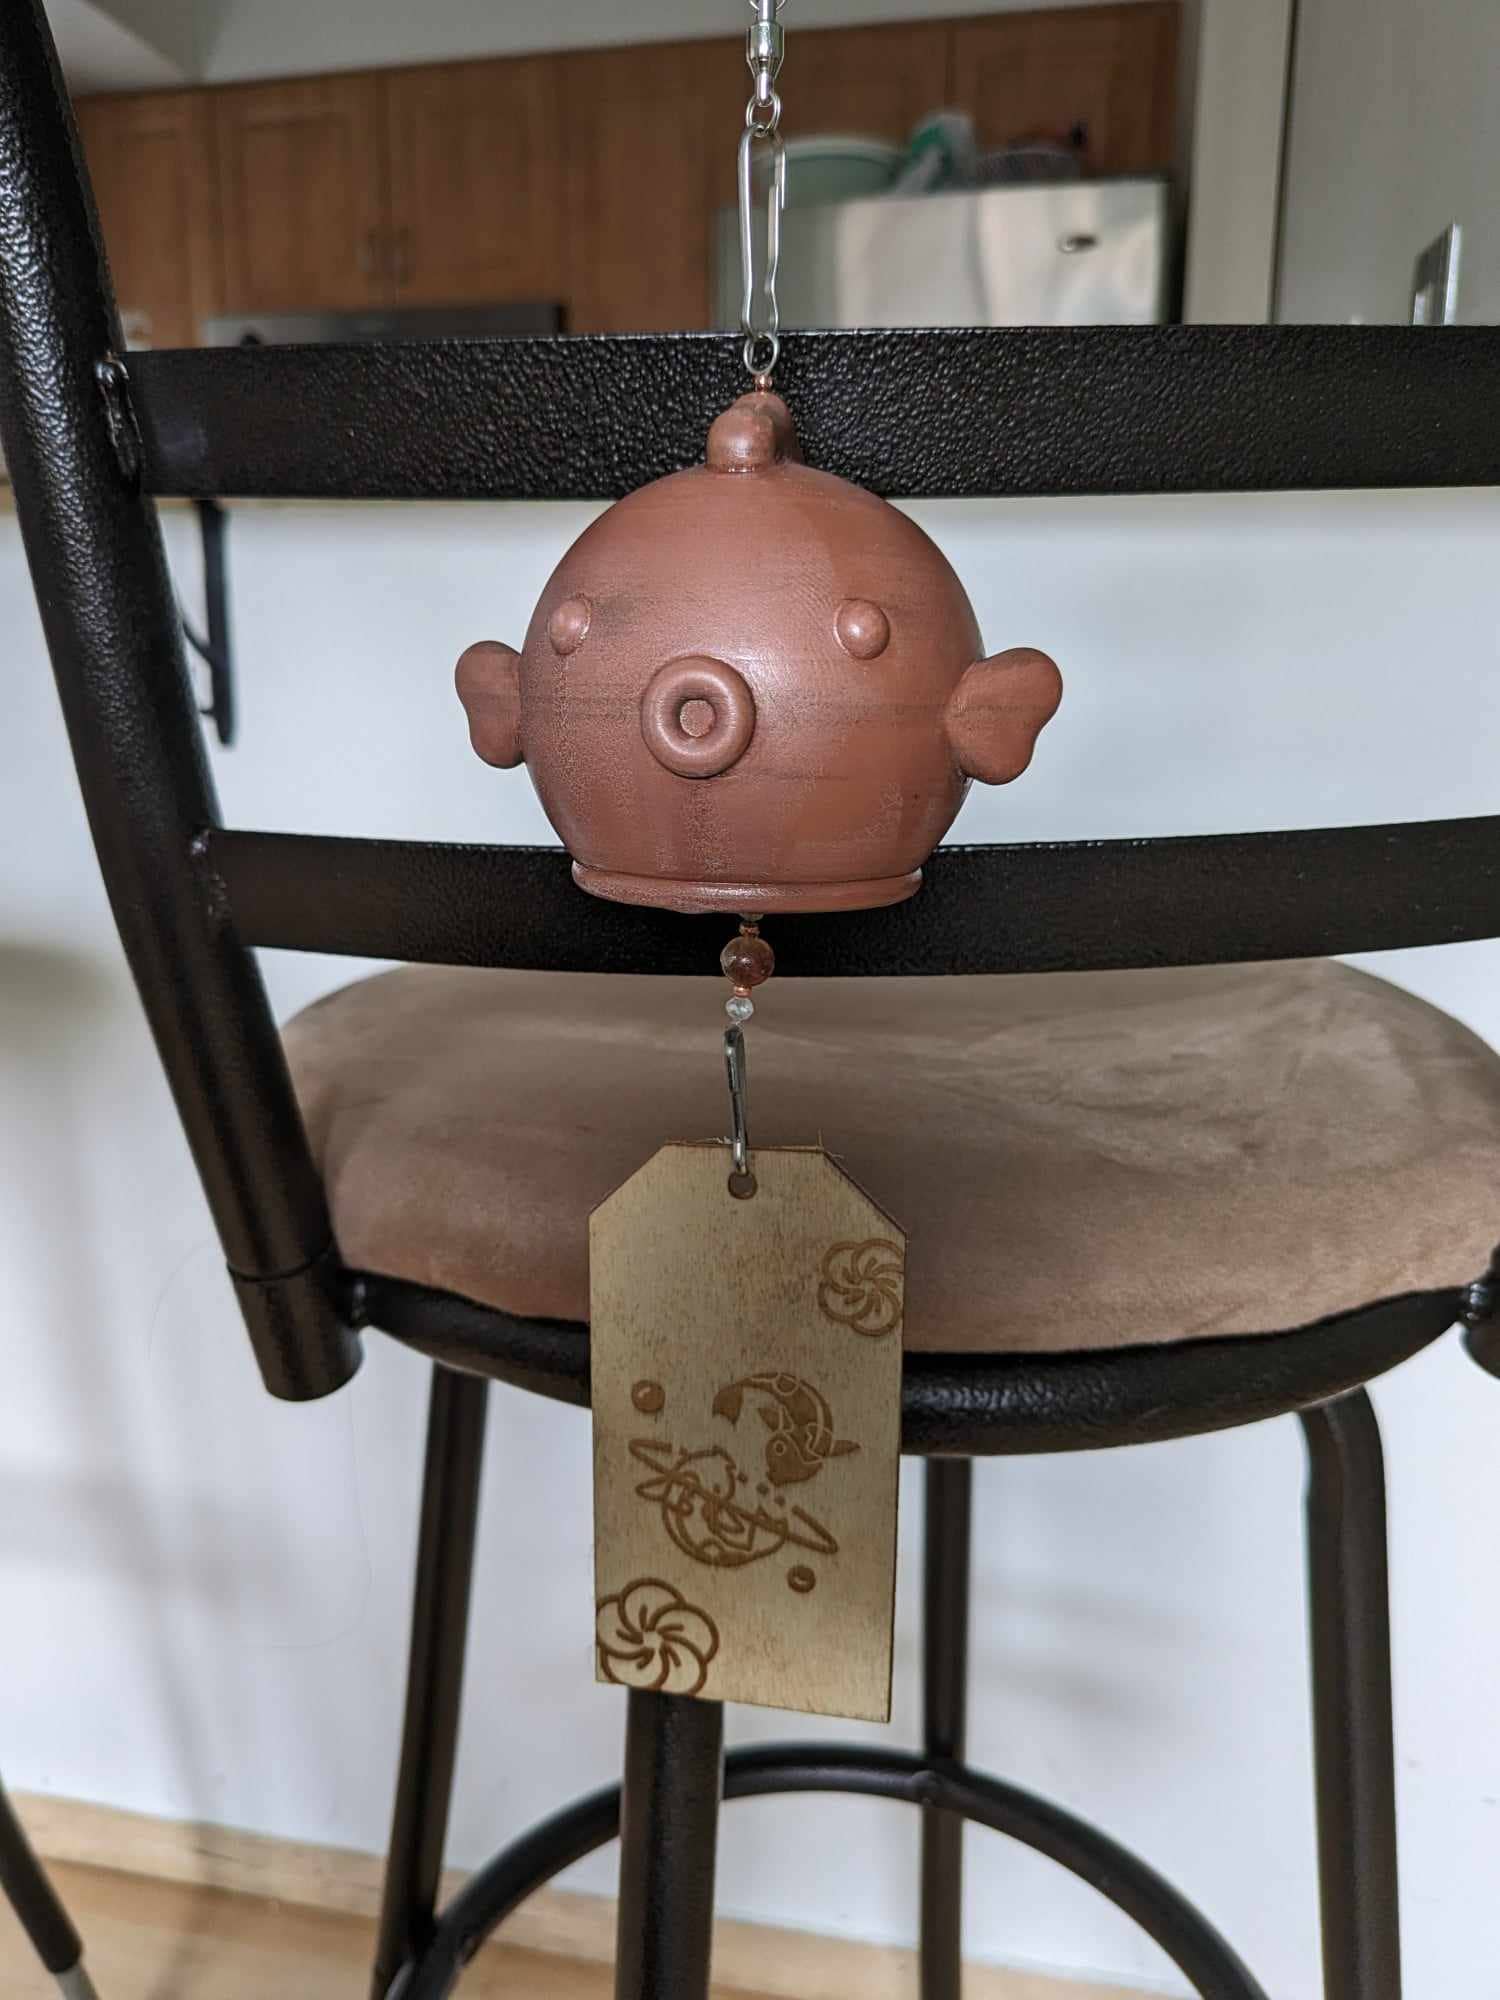
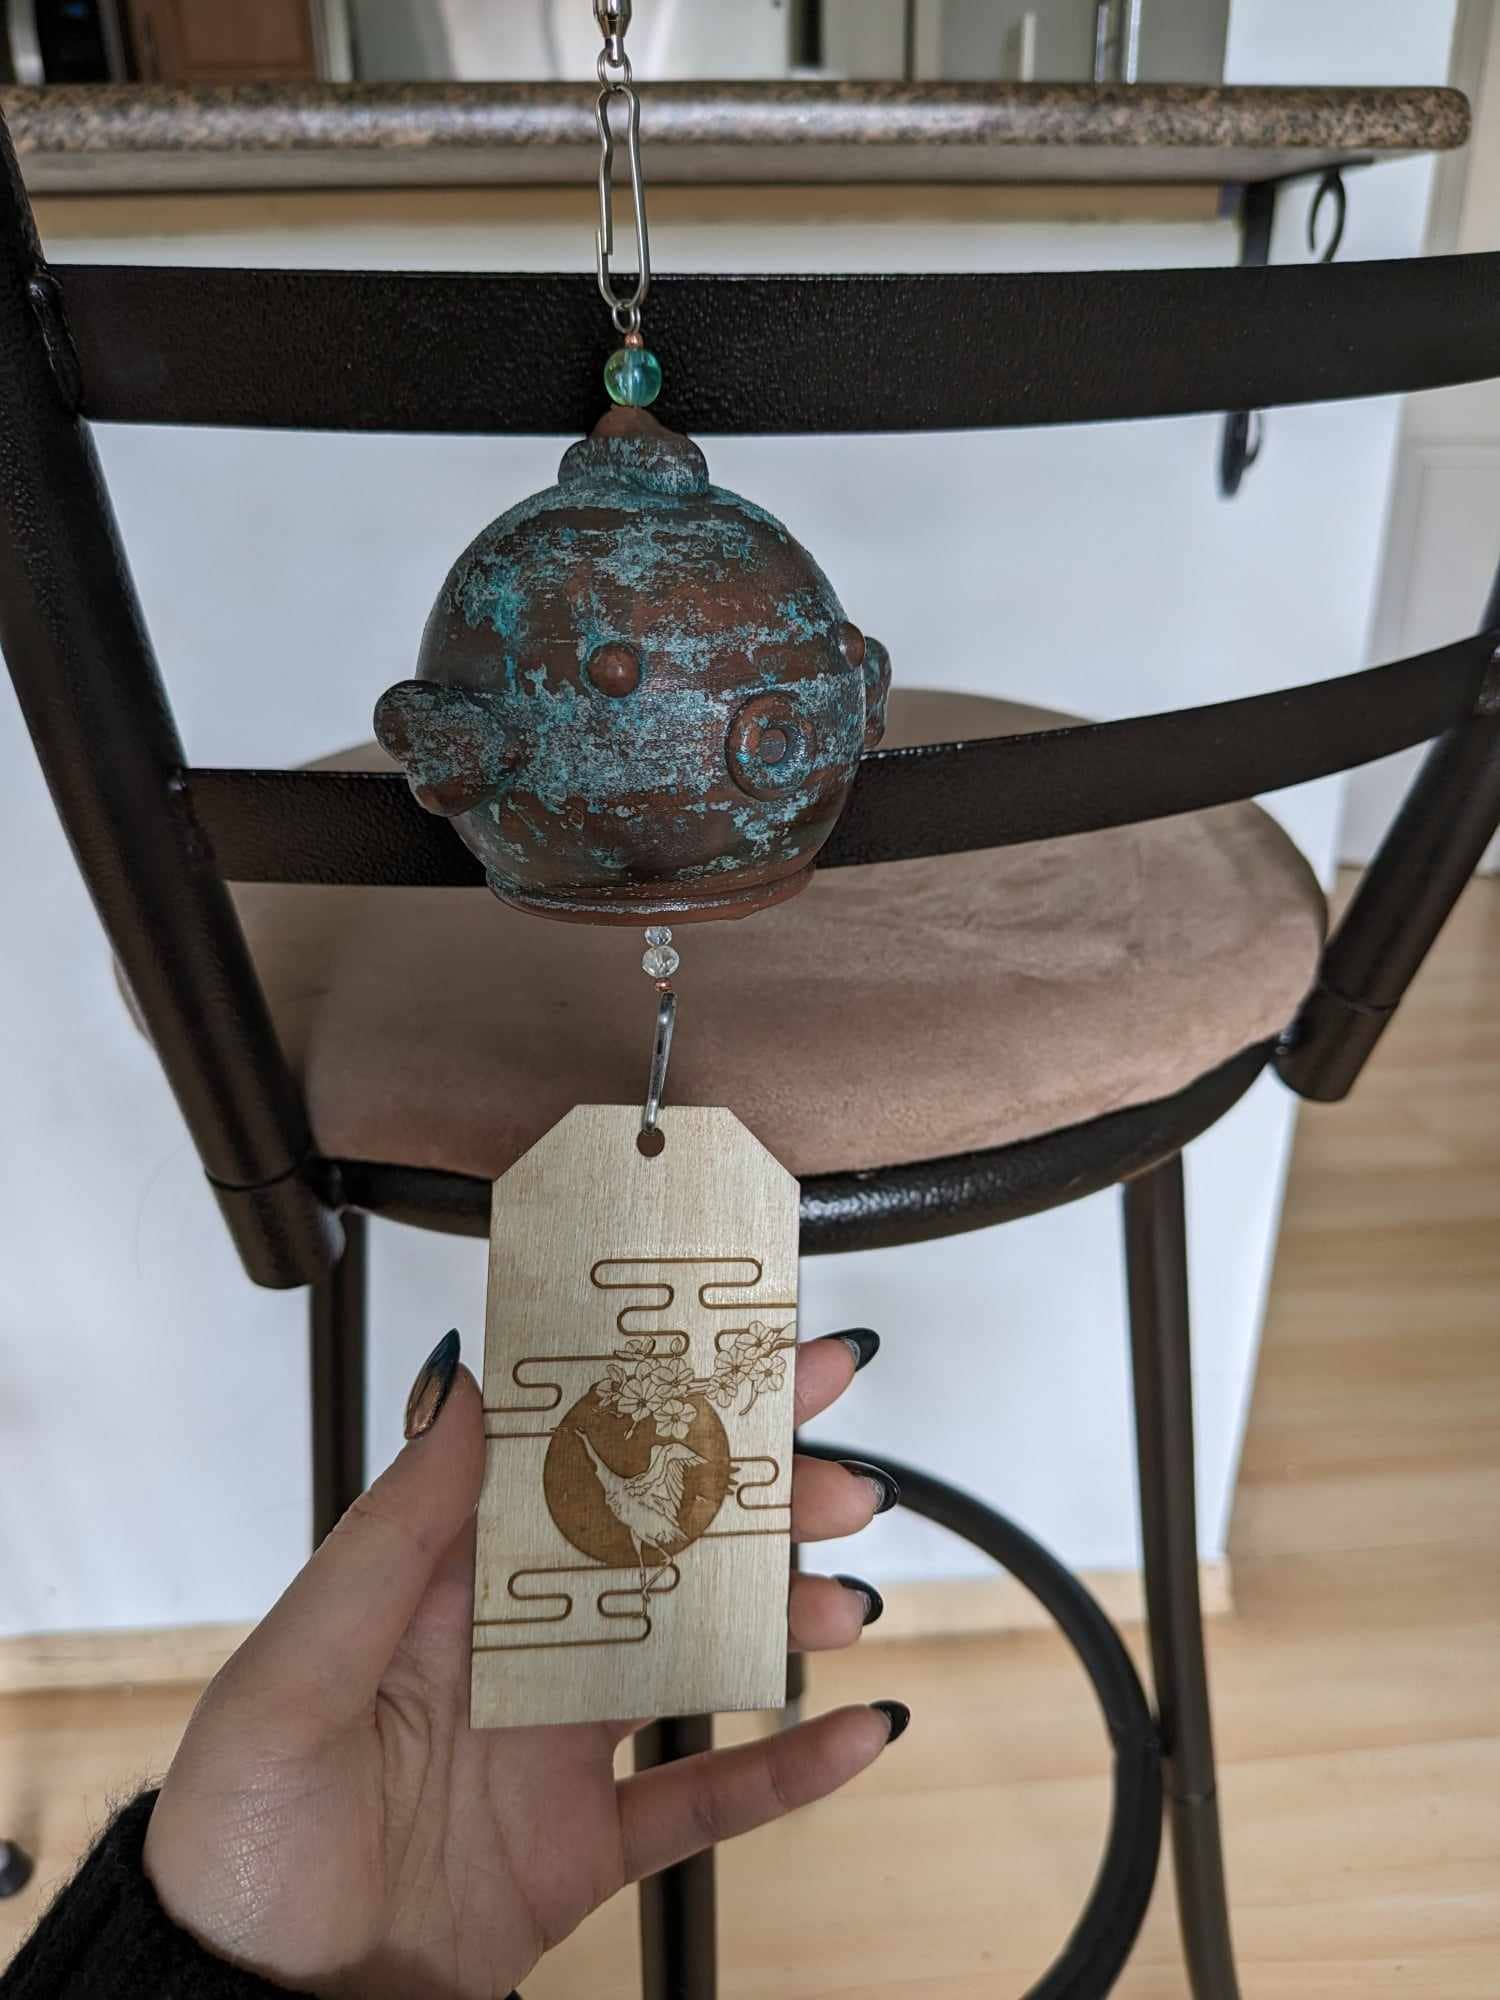
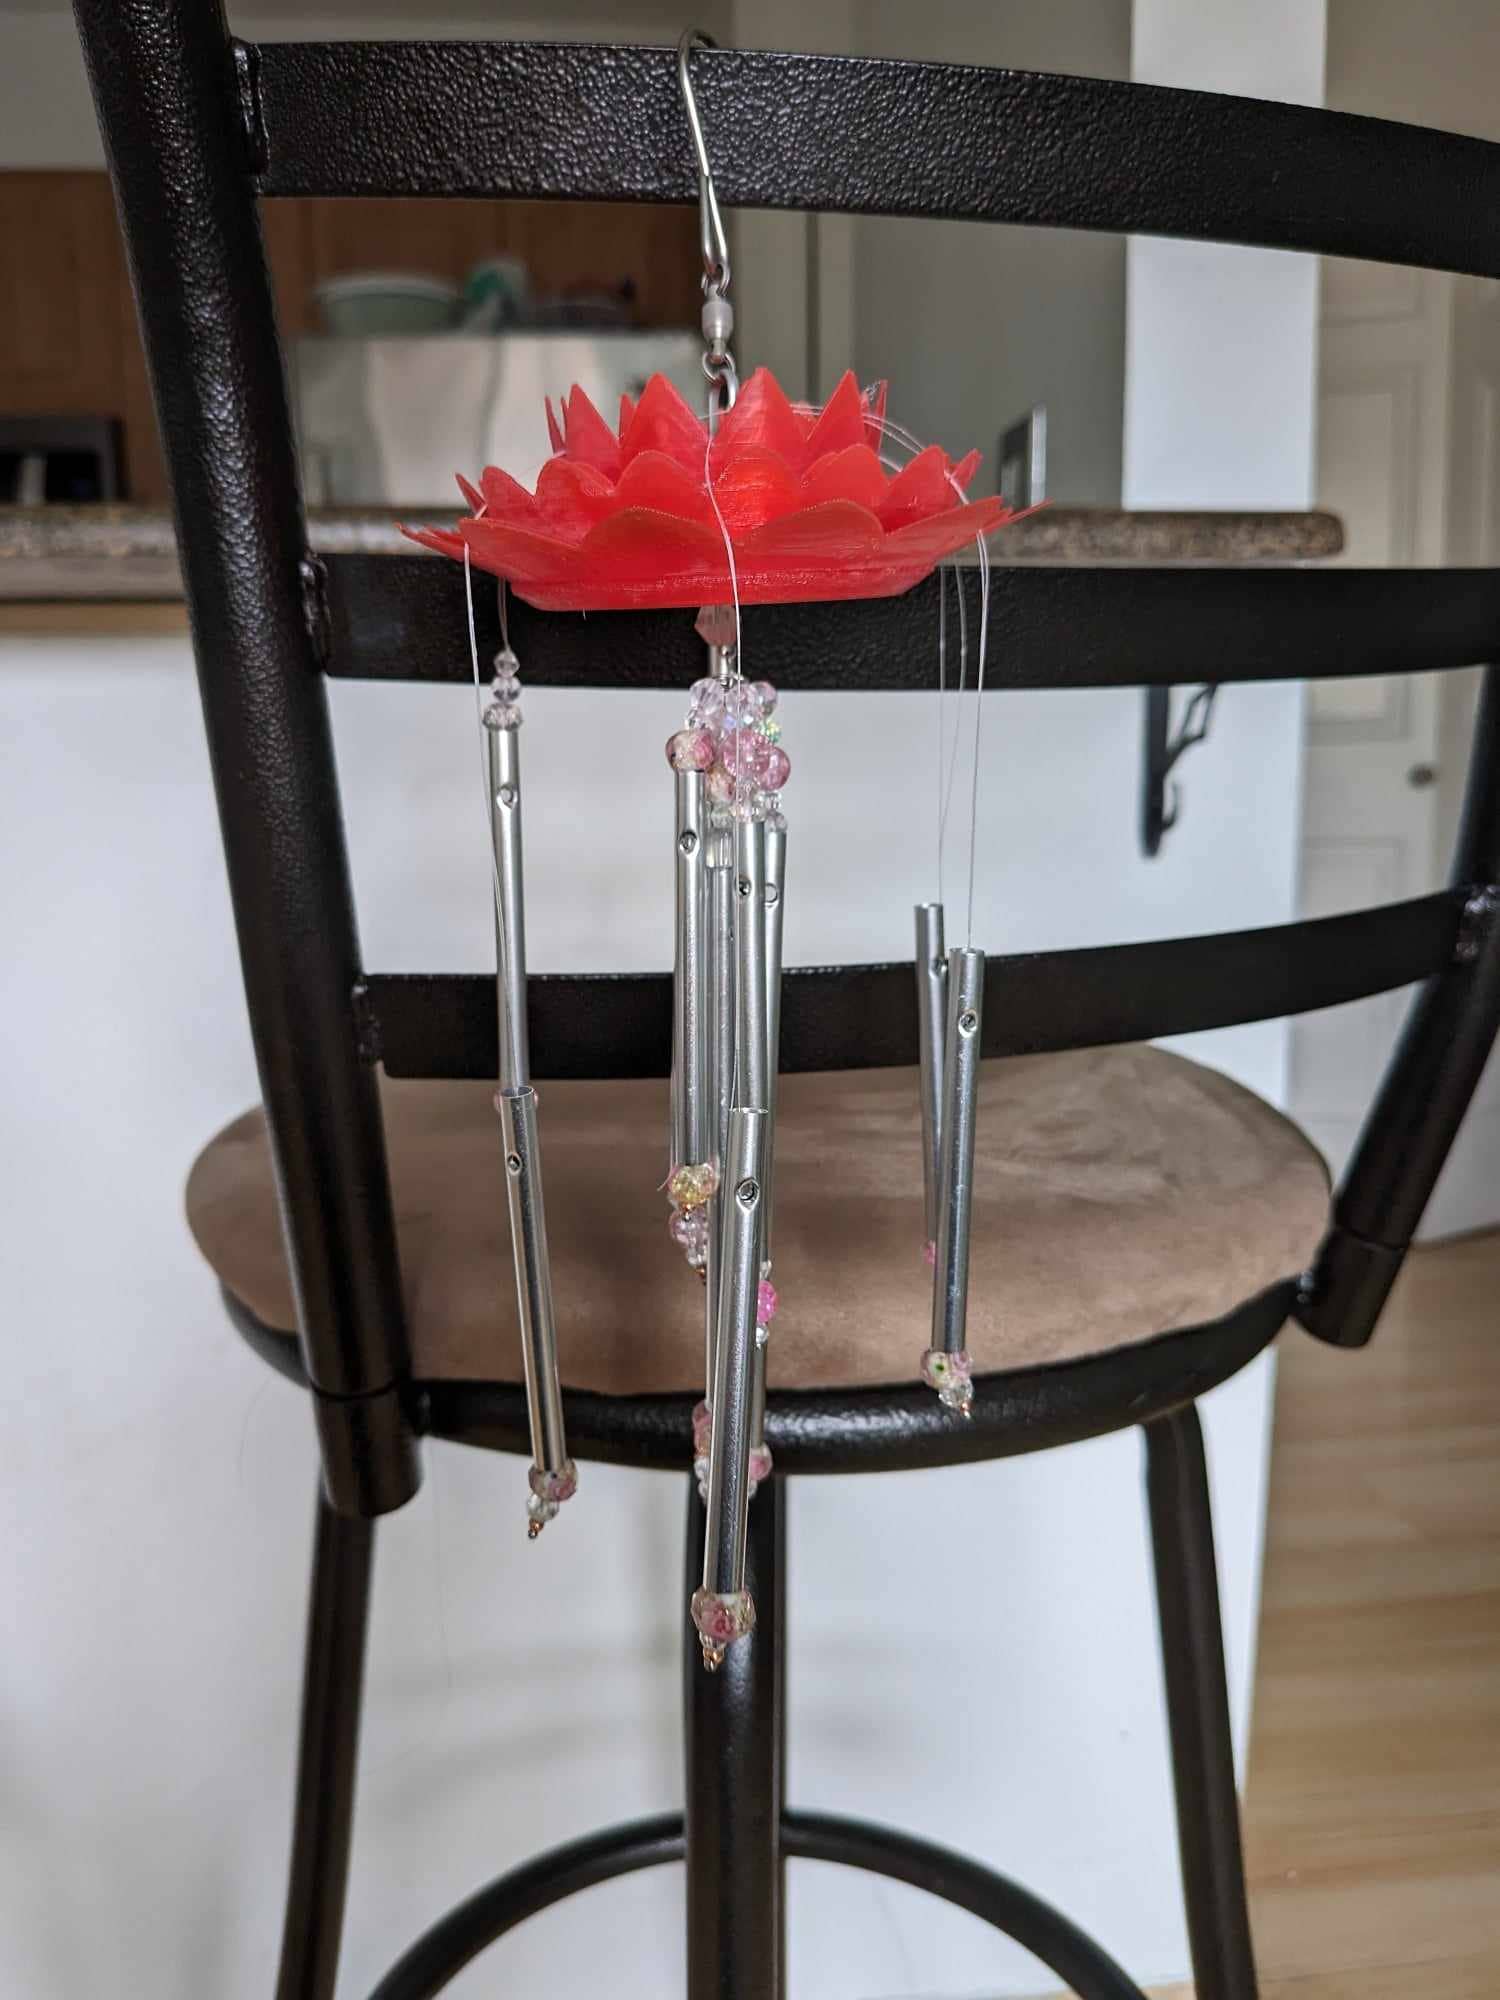
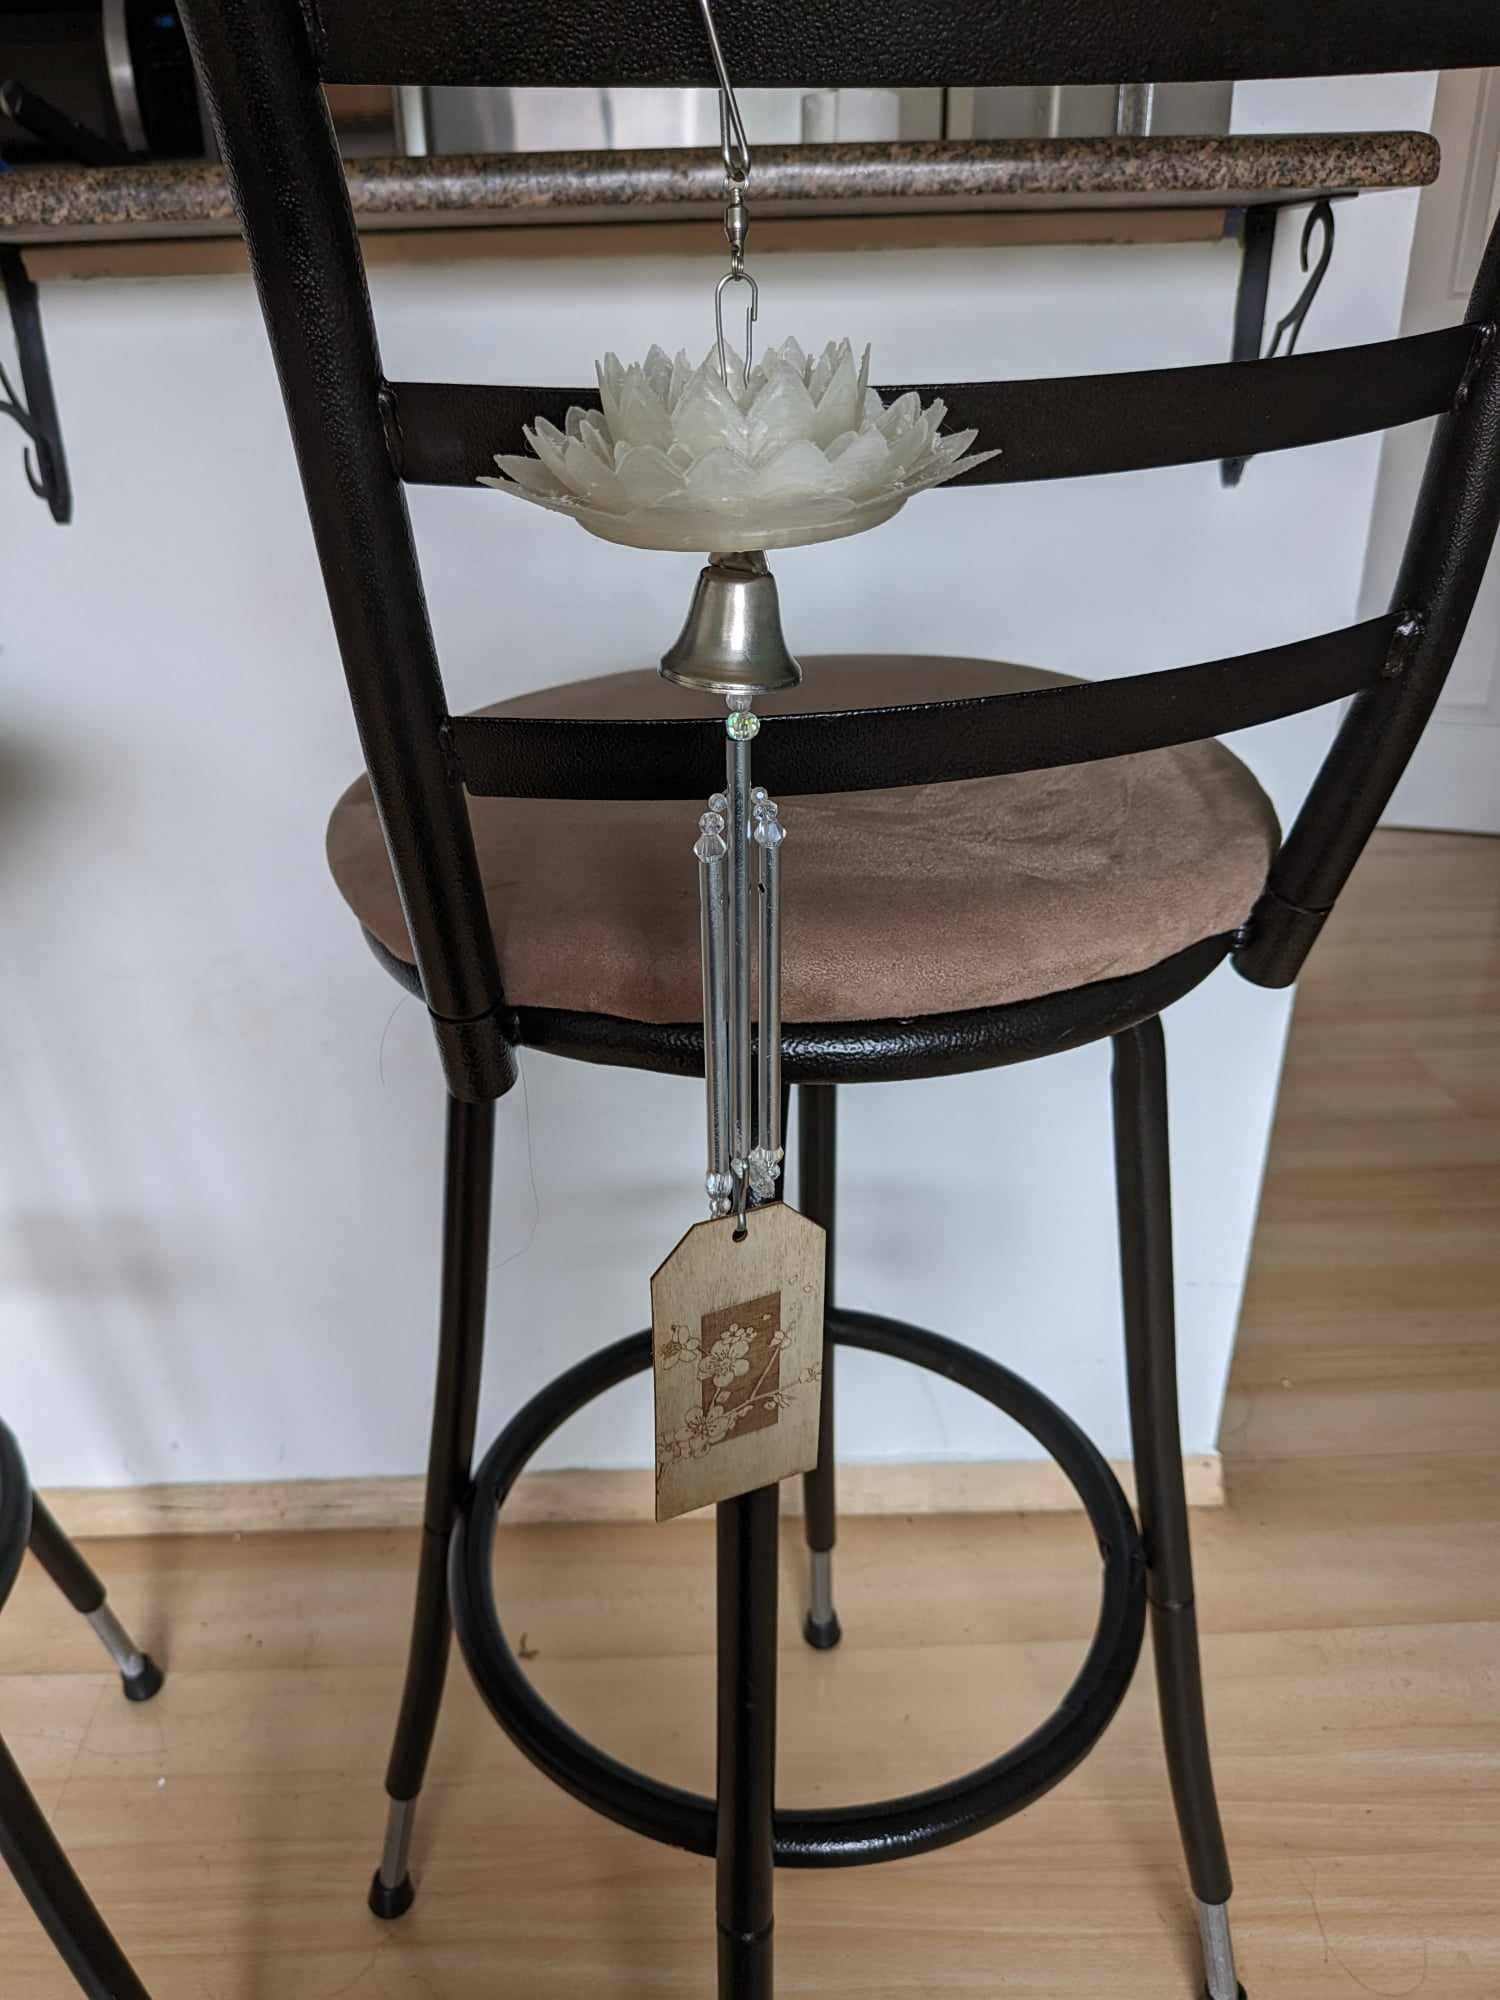
Once all of my components were ready, it was time to assemble the the wind chimes. This was a more tedious process since I had to assemble the chimes vertically and test (with a fan) the chime-ability.
Using beads, fishing line, eyepins and metal tubes, I assembled segments of chimes and attached them to the components. I ended up recycling some old christmas ornament bells and attaching those to add to the overall sound of the wind chimes.
Overall, I felt as though I was able to incorporate many of the things I have learned during this quarter and apply them to this final project.
Making more than one item was quite taxing, but I enjoyed the process of envisioning an idea and bringing it to life. I ended up not using all of the components I had intended for this project, but I think I tried to achieve the best composition for the final project I envisioned.