Assignment 6: Molding & Casting
Assignment Details
Part 1: Design and begin fabrication of a 2-part (silicone) mold. Next week you will need to use the mold to cast at least 4 identical parts (e.g. in plaster). Design your master part in CAD first, then design your mold, then design a mold to cast your mold in. You need to 3d print your molds-for-molds. For this week, please test issues such as printing keys, parting lines, and sprues.
Part 2: You need to 3d print your molds-for-molds. Then you need to cast your molds! Then you need to cast your parts!
Phase 1: Ideation & Sketching
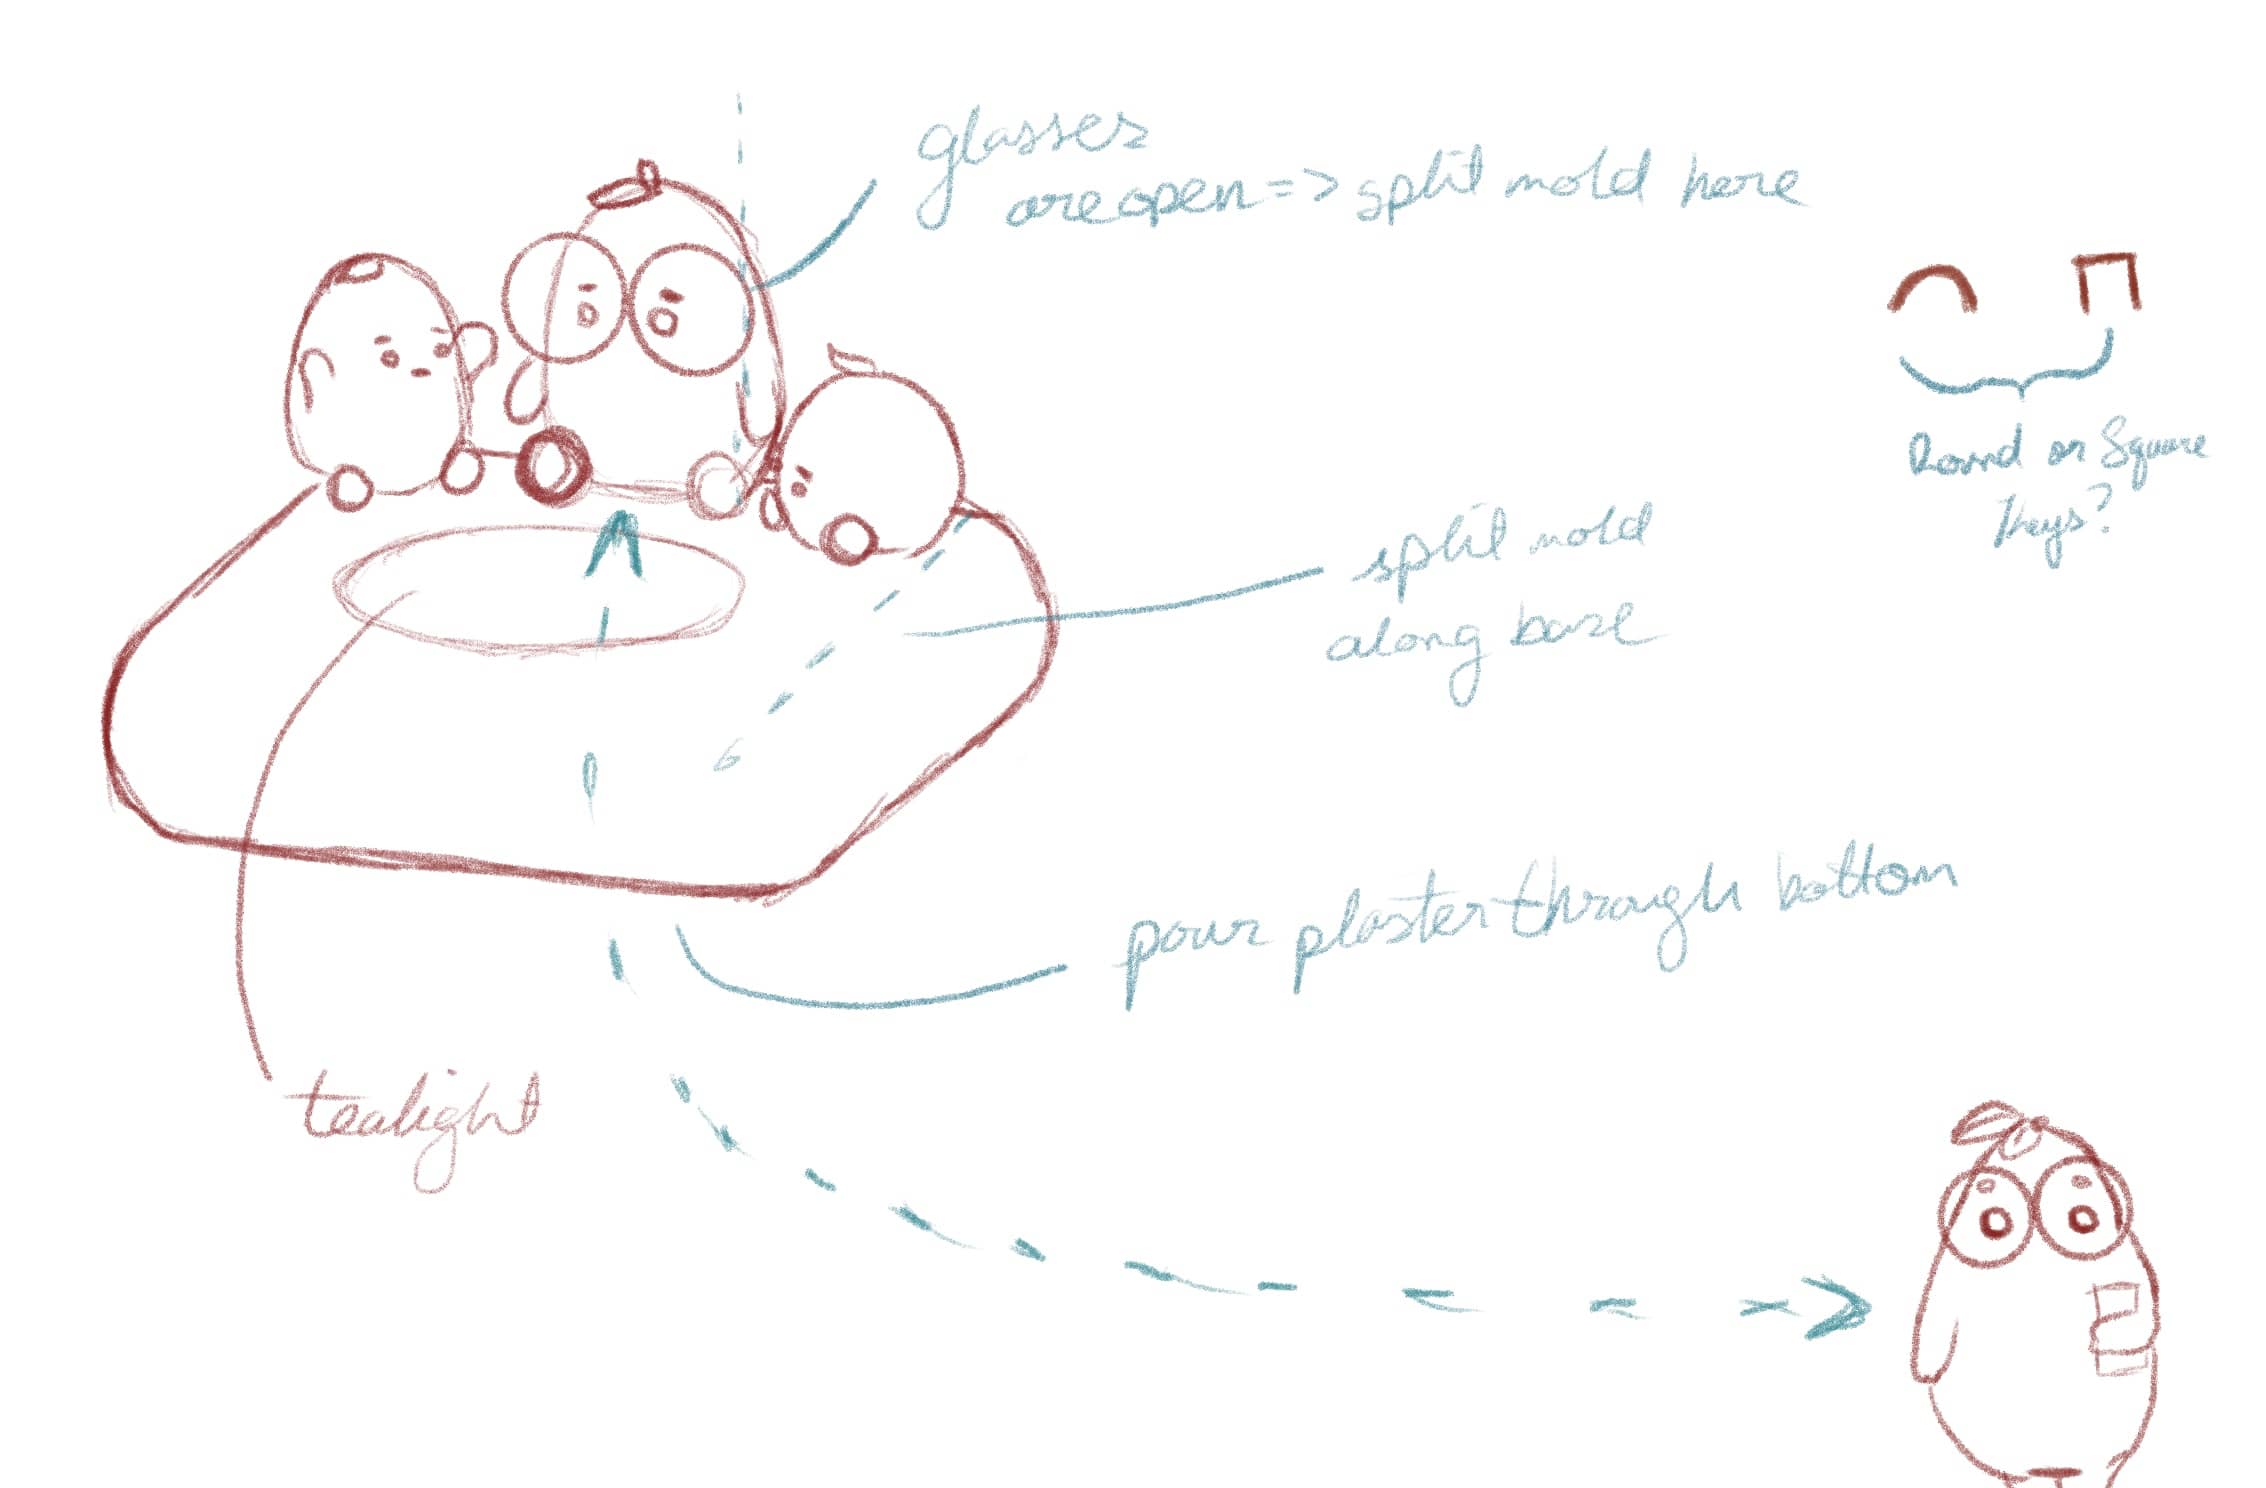
As usual, I began with an idea for an object I wanted to mold and cast in plaster. After being sent some tealight candles from my cousin, I decided to make a tealight candle holder.
I decided to make a basic base for the tealight to sit in and have 3 characters sit around it like a campfire. These were characters I had sketched out a while ago and wanted to incorporate into this design. However, later on I would come to realize how difficult it would be to cast given some the components.
Phase 2: Modeling in Fusion 360 & Mold Test prints
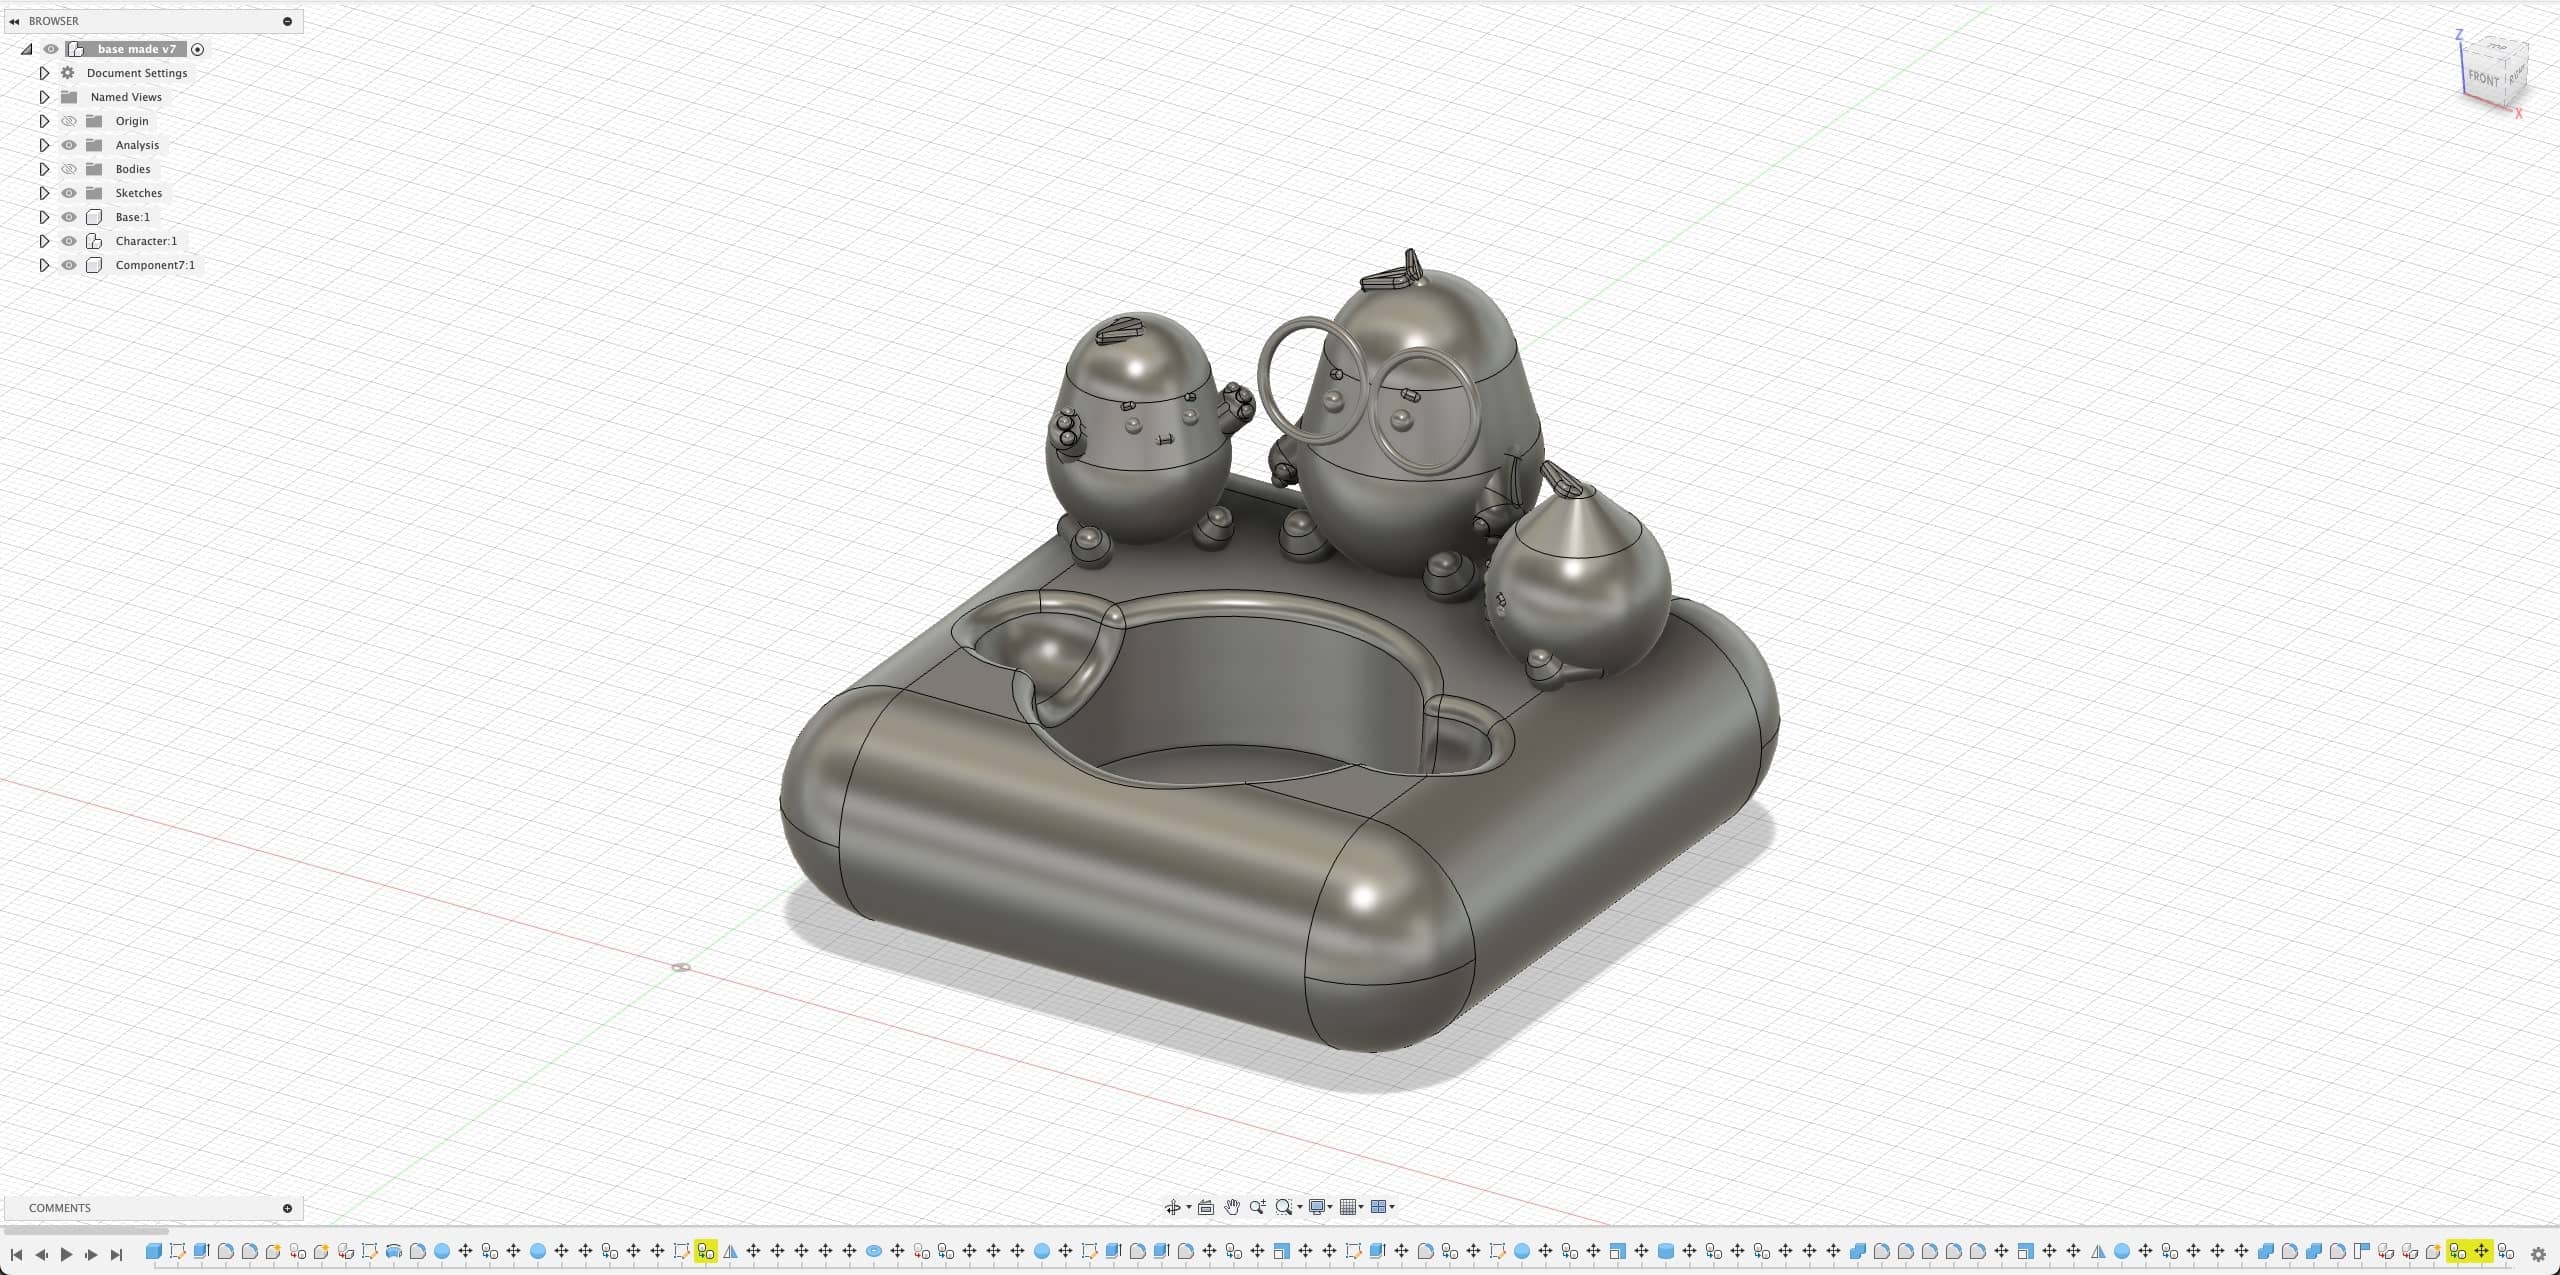
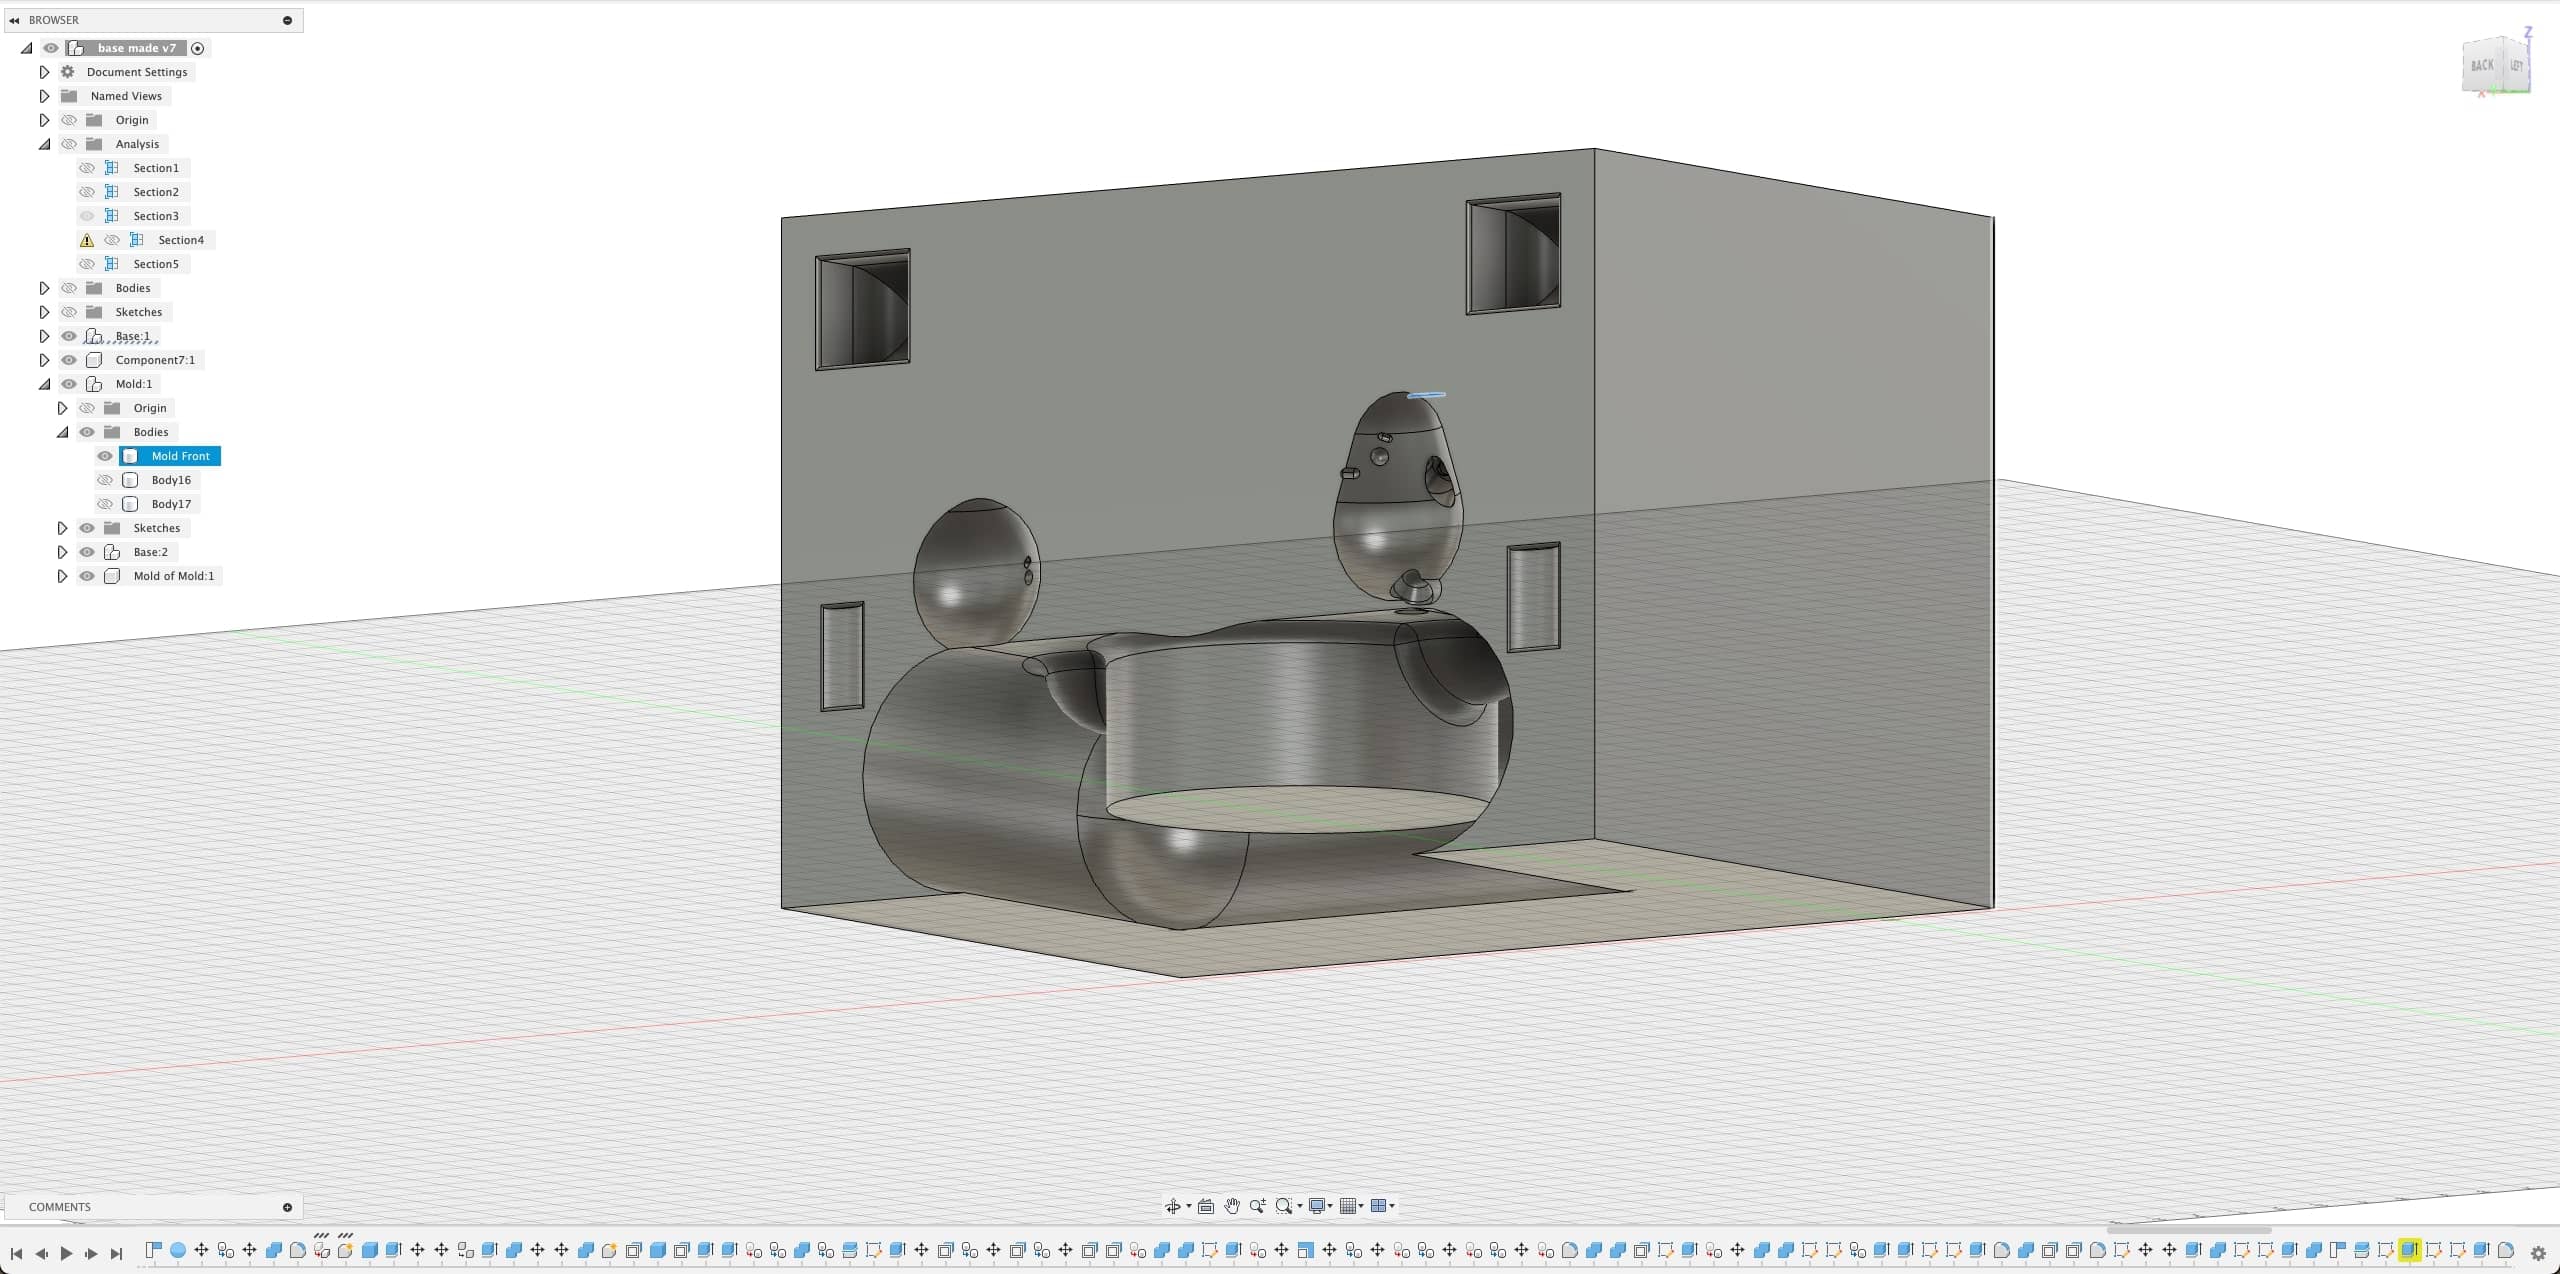
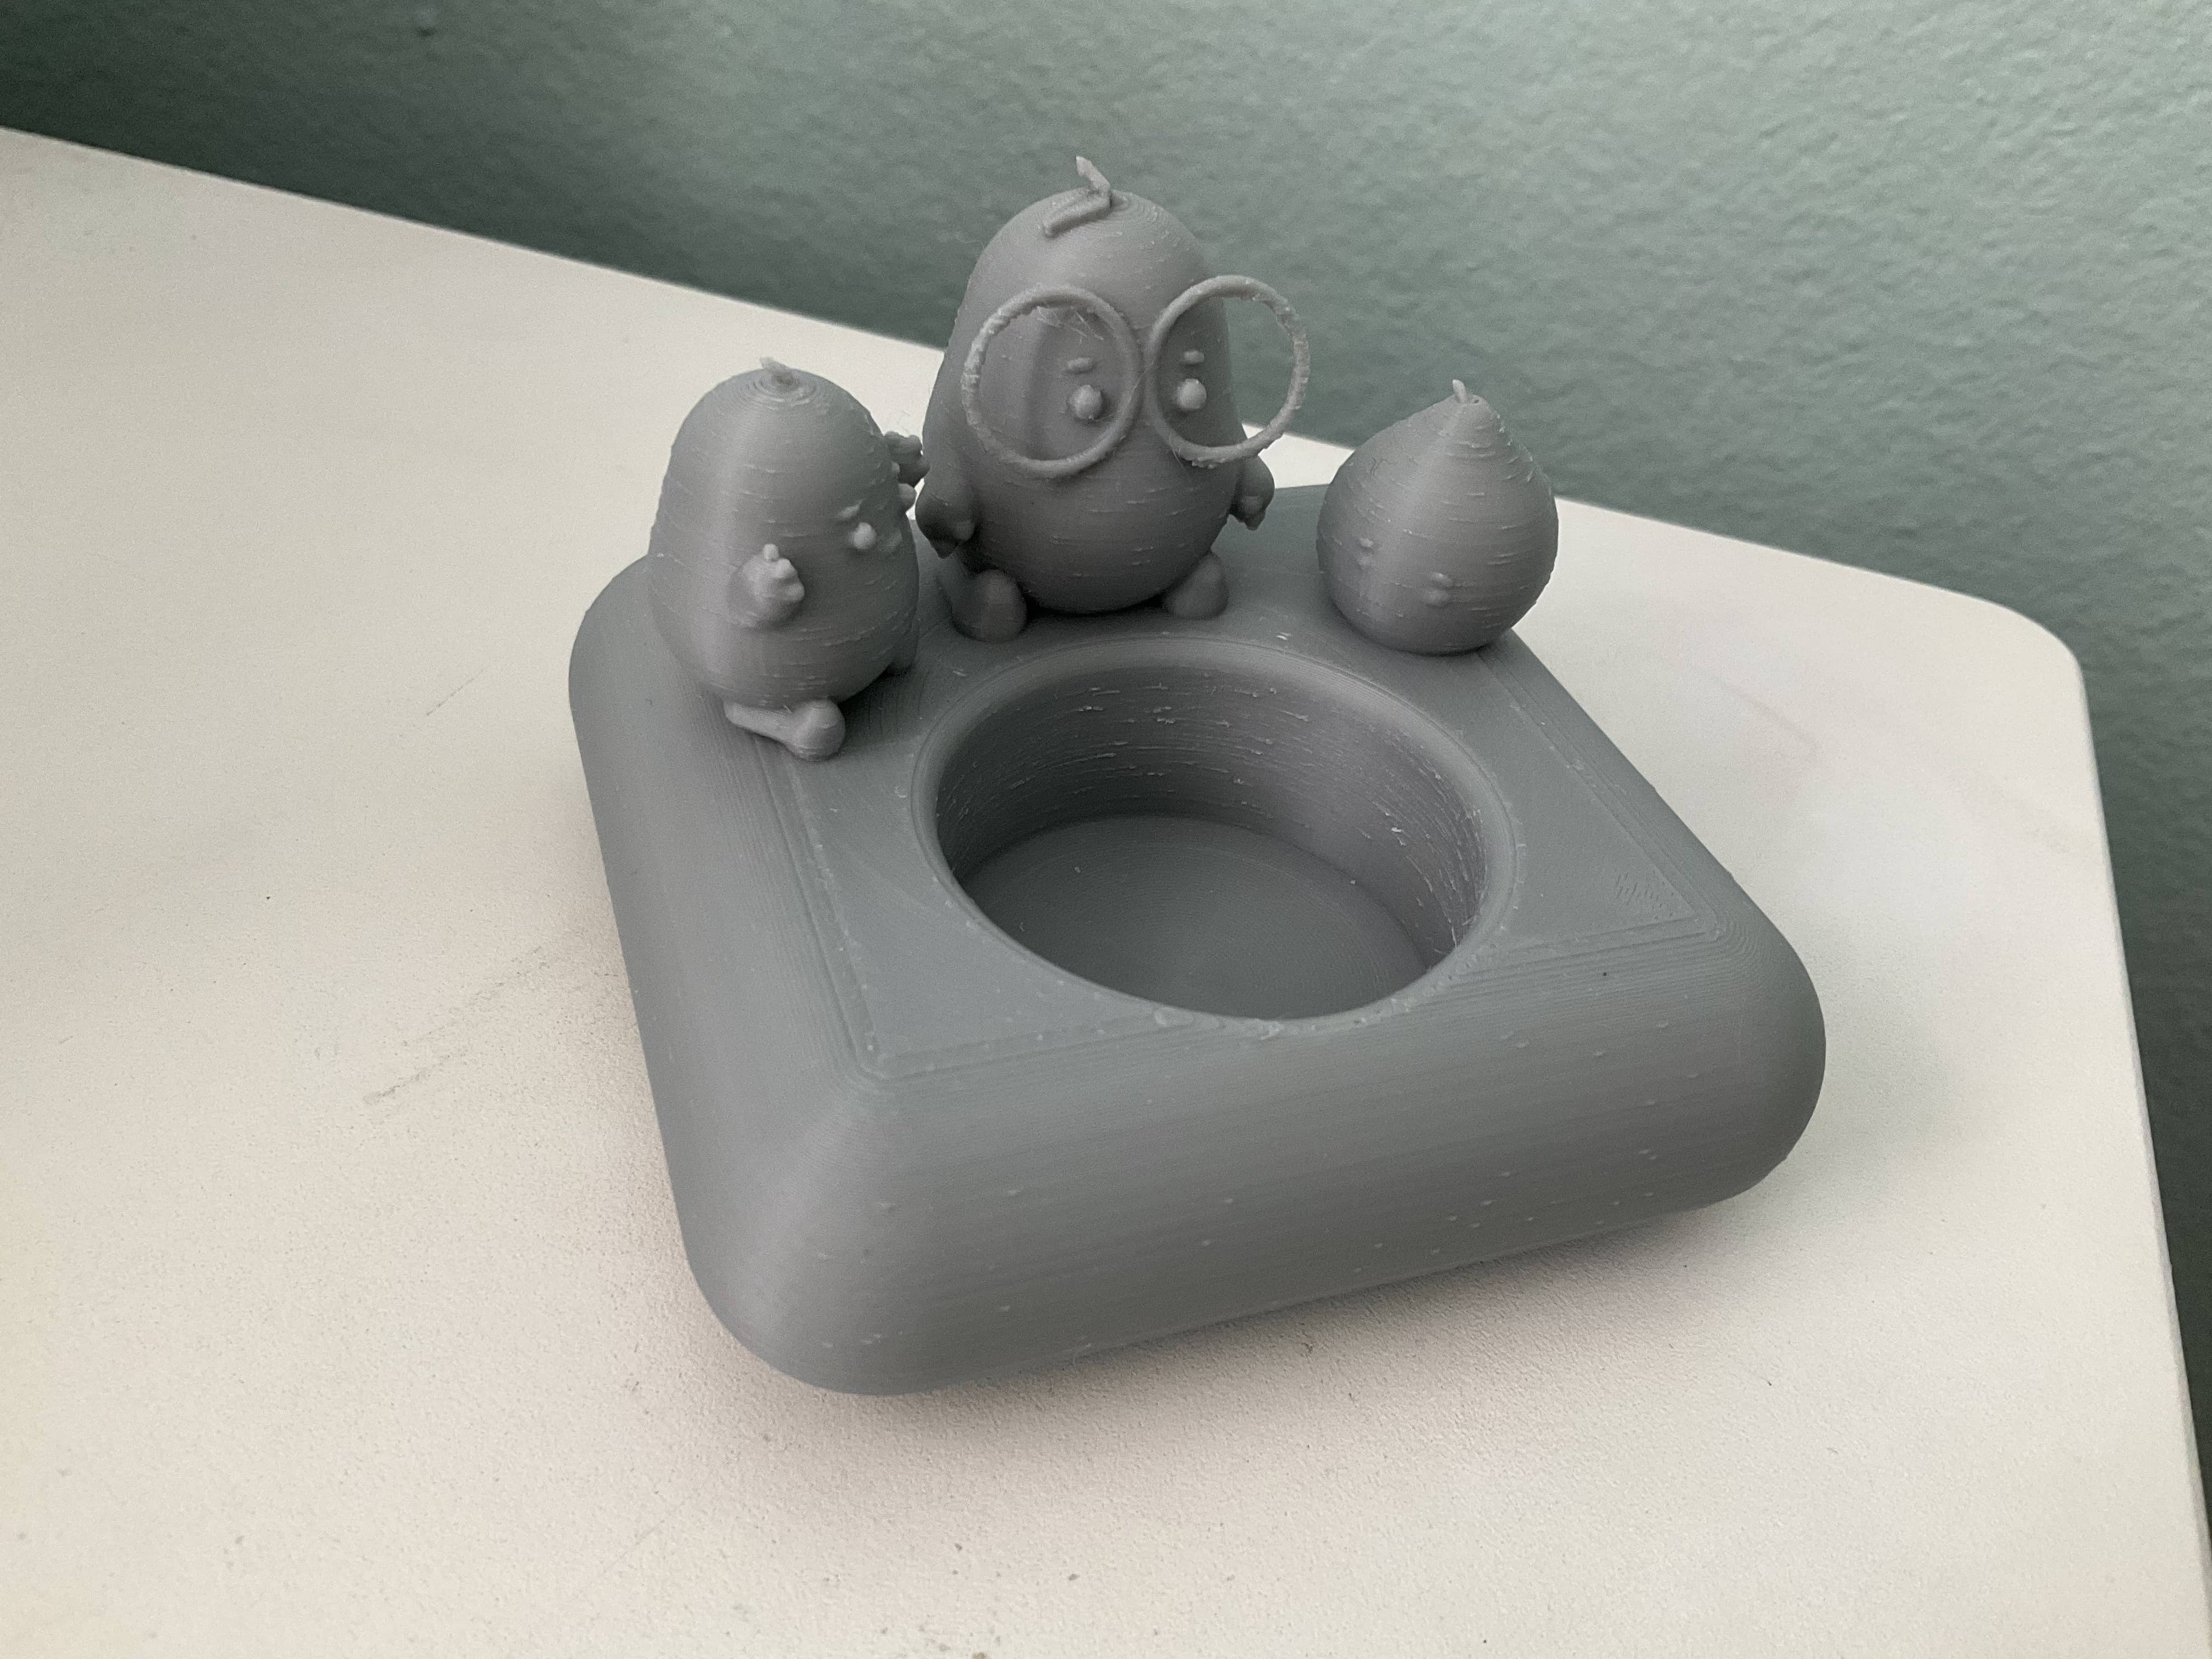
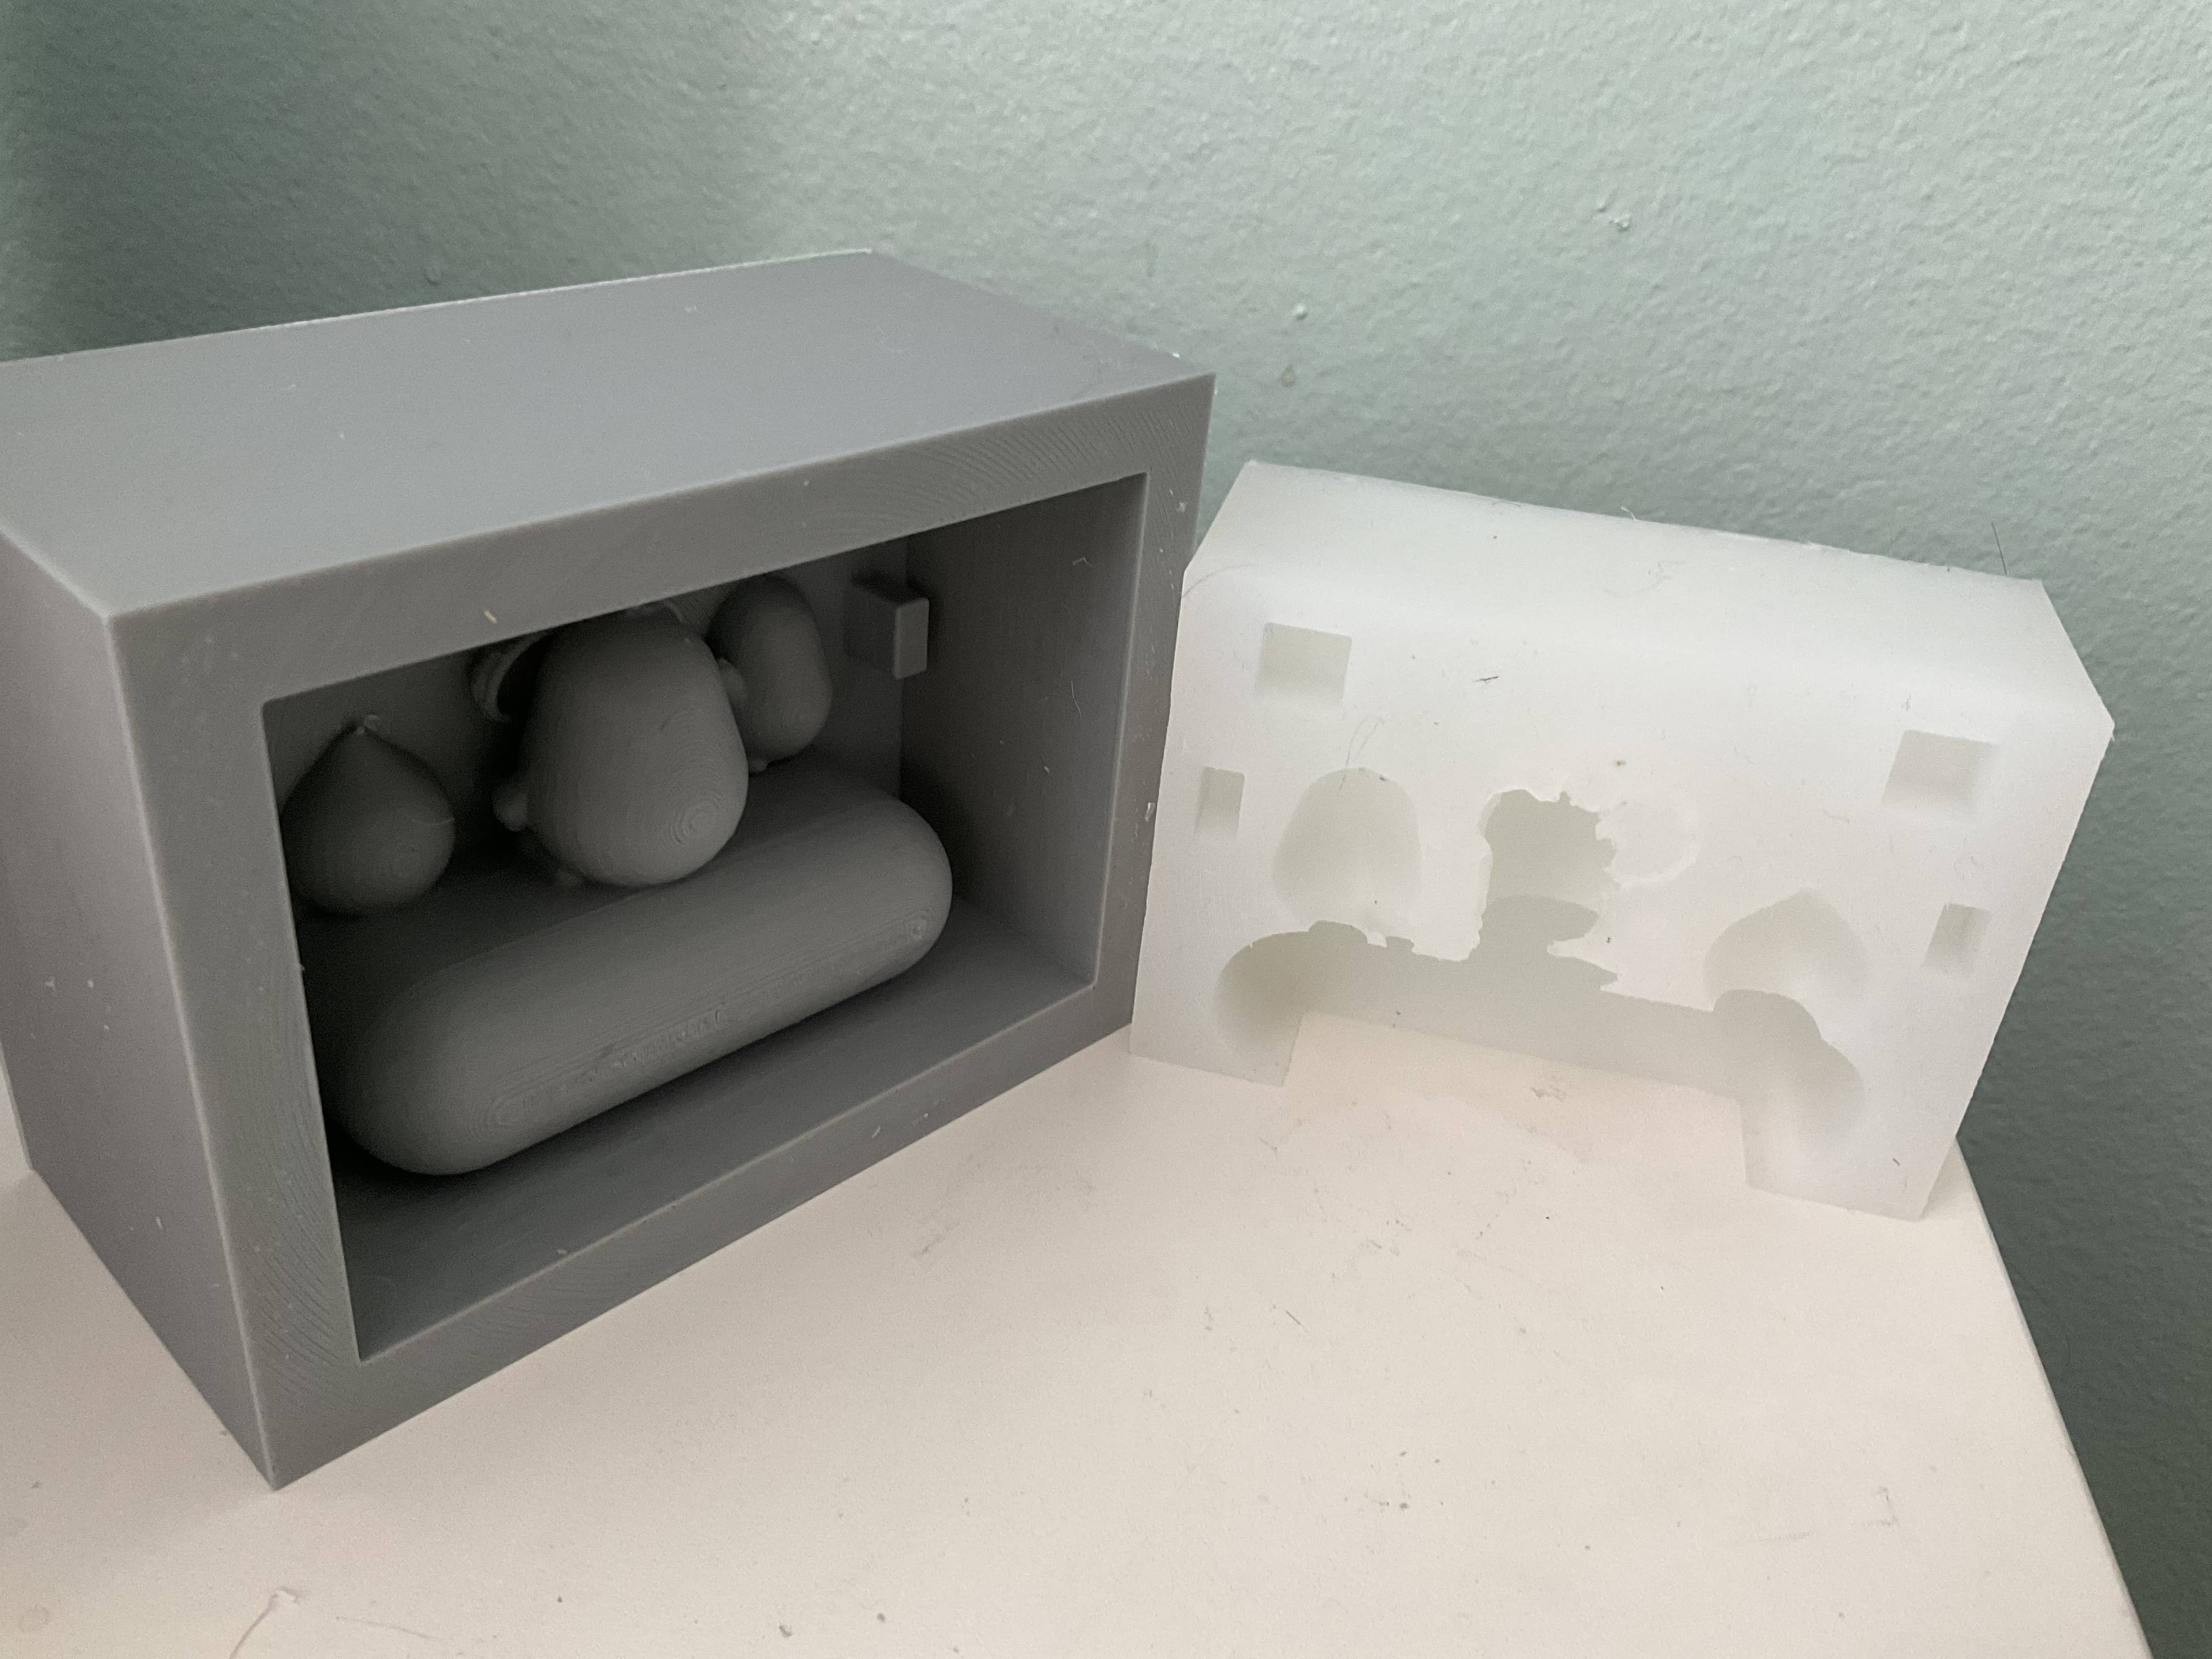
I made a model of my sketch in Fusion360 and printed it to observe where to cut my mold and where to add keys or sprues.
After doing my initial print, I realized that I should add additional features to allow the tealight to be removed more easily. Also, I realized that I could make a two part mold and have the bottom of the base be the area in which I pour in the plaster since it is flat and no one would see the bottom anyway.
So I split my mold in half and added in 4 square keys (a mistake). I printed out both parts and realized multiple mistakes.
The first mistake I made was realizing I had to split the mold of my mold into 3 pieces since the tealight area prevented the silicone from being removed. Therefore, I needed to split the mold of my mold in half where the tealight area was and add keys to this split section. I hope the silicone does not leak through the split however.
The next mistake I realized was the keys. Because silicone has a rubbery texture, fitting a thicker square into recessed square was difficult. I opted to change the keys into a hemisphere so my pieces are aligned, but did not receive that much resistance when being fit into another recessed area.
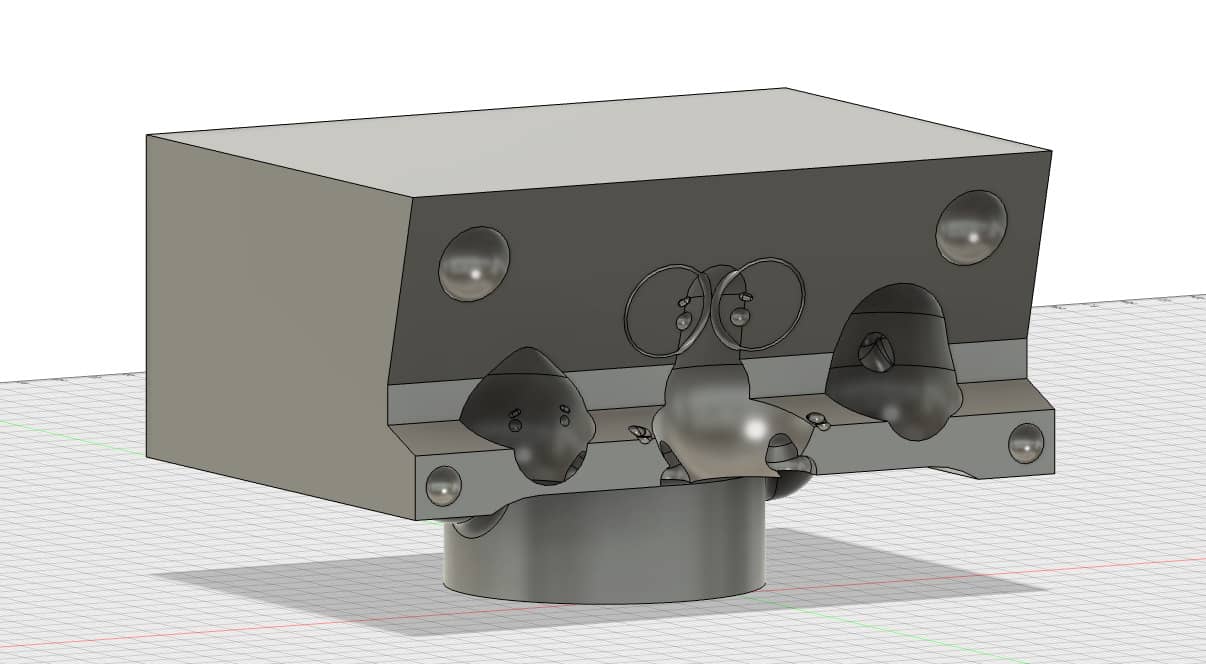
The last mistake I made was with my original mold split. The glasses I have on my figure would allow the silicone to flow through and prevent the silicone from being removed from the mold. Therefore, I needed to cut my mold directly where the glasses begin or end to prevent the silicone from seeping through and locking the silicone into the mold.
Phase 3: Second Iteration
For my second iteration, I made a different split in my mold to avoid having the silicone lock in the 3D print mold.
I tried to split my mold in areas where I could pull the silicone out in one direction. Therefore, I ended up with a three part mold and made appropriate keys (hemispheres) to align my mold pieces together. I also modeled a mold box to keep my mold pieces together and avoid warping.
- 3MF FileTealightHolder.3mf
- Fusion360 FileTealightHolder.f3d
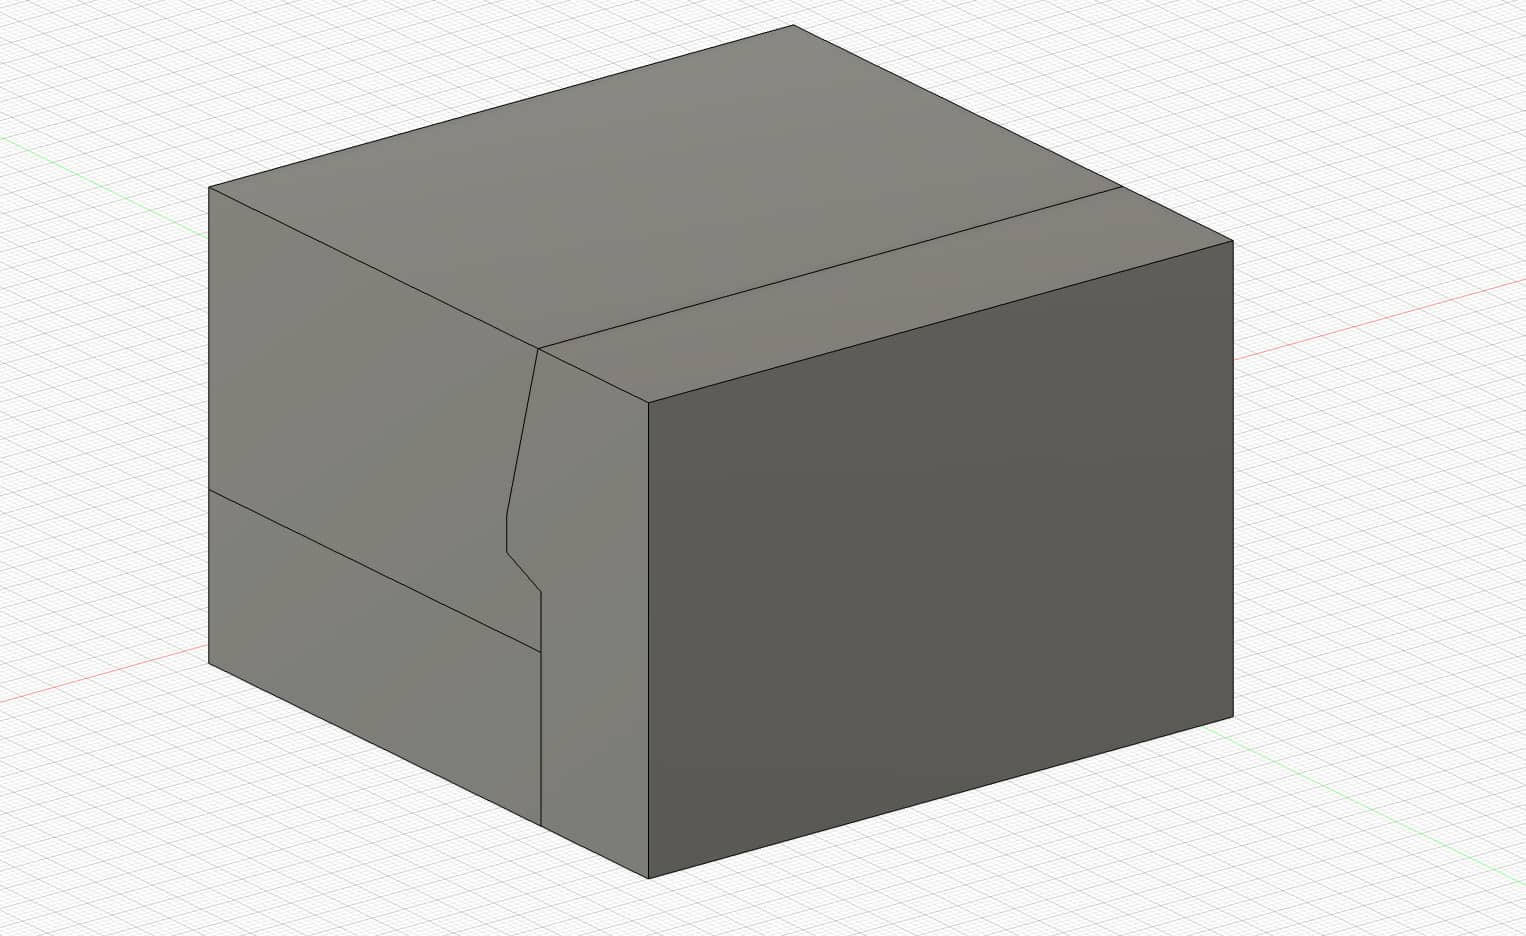
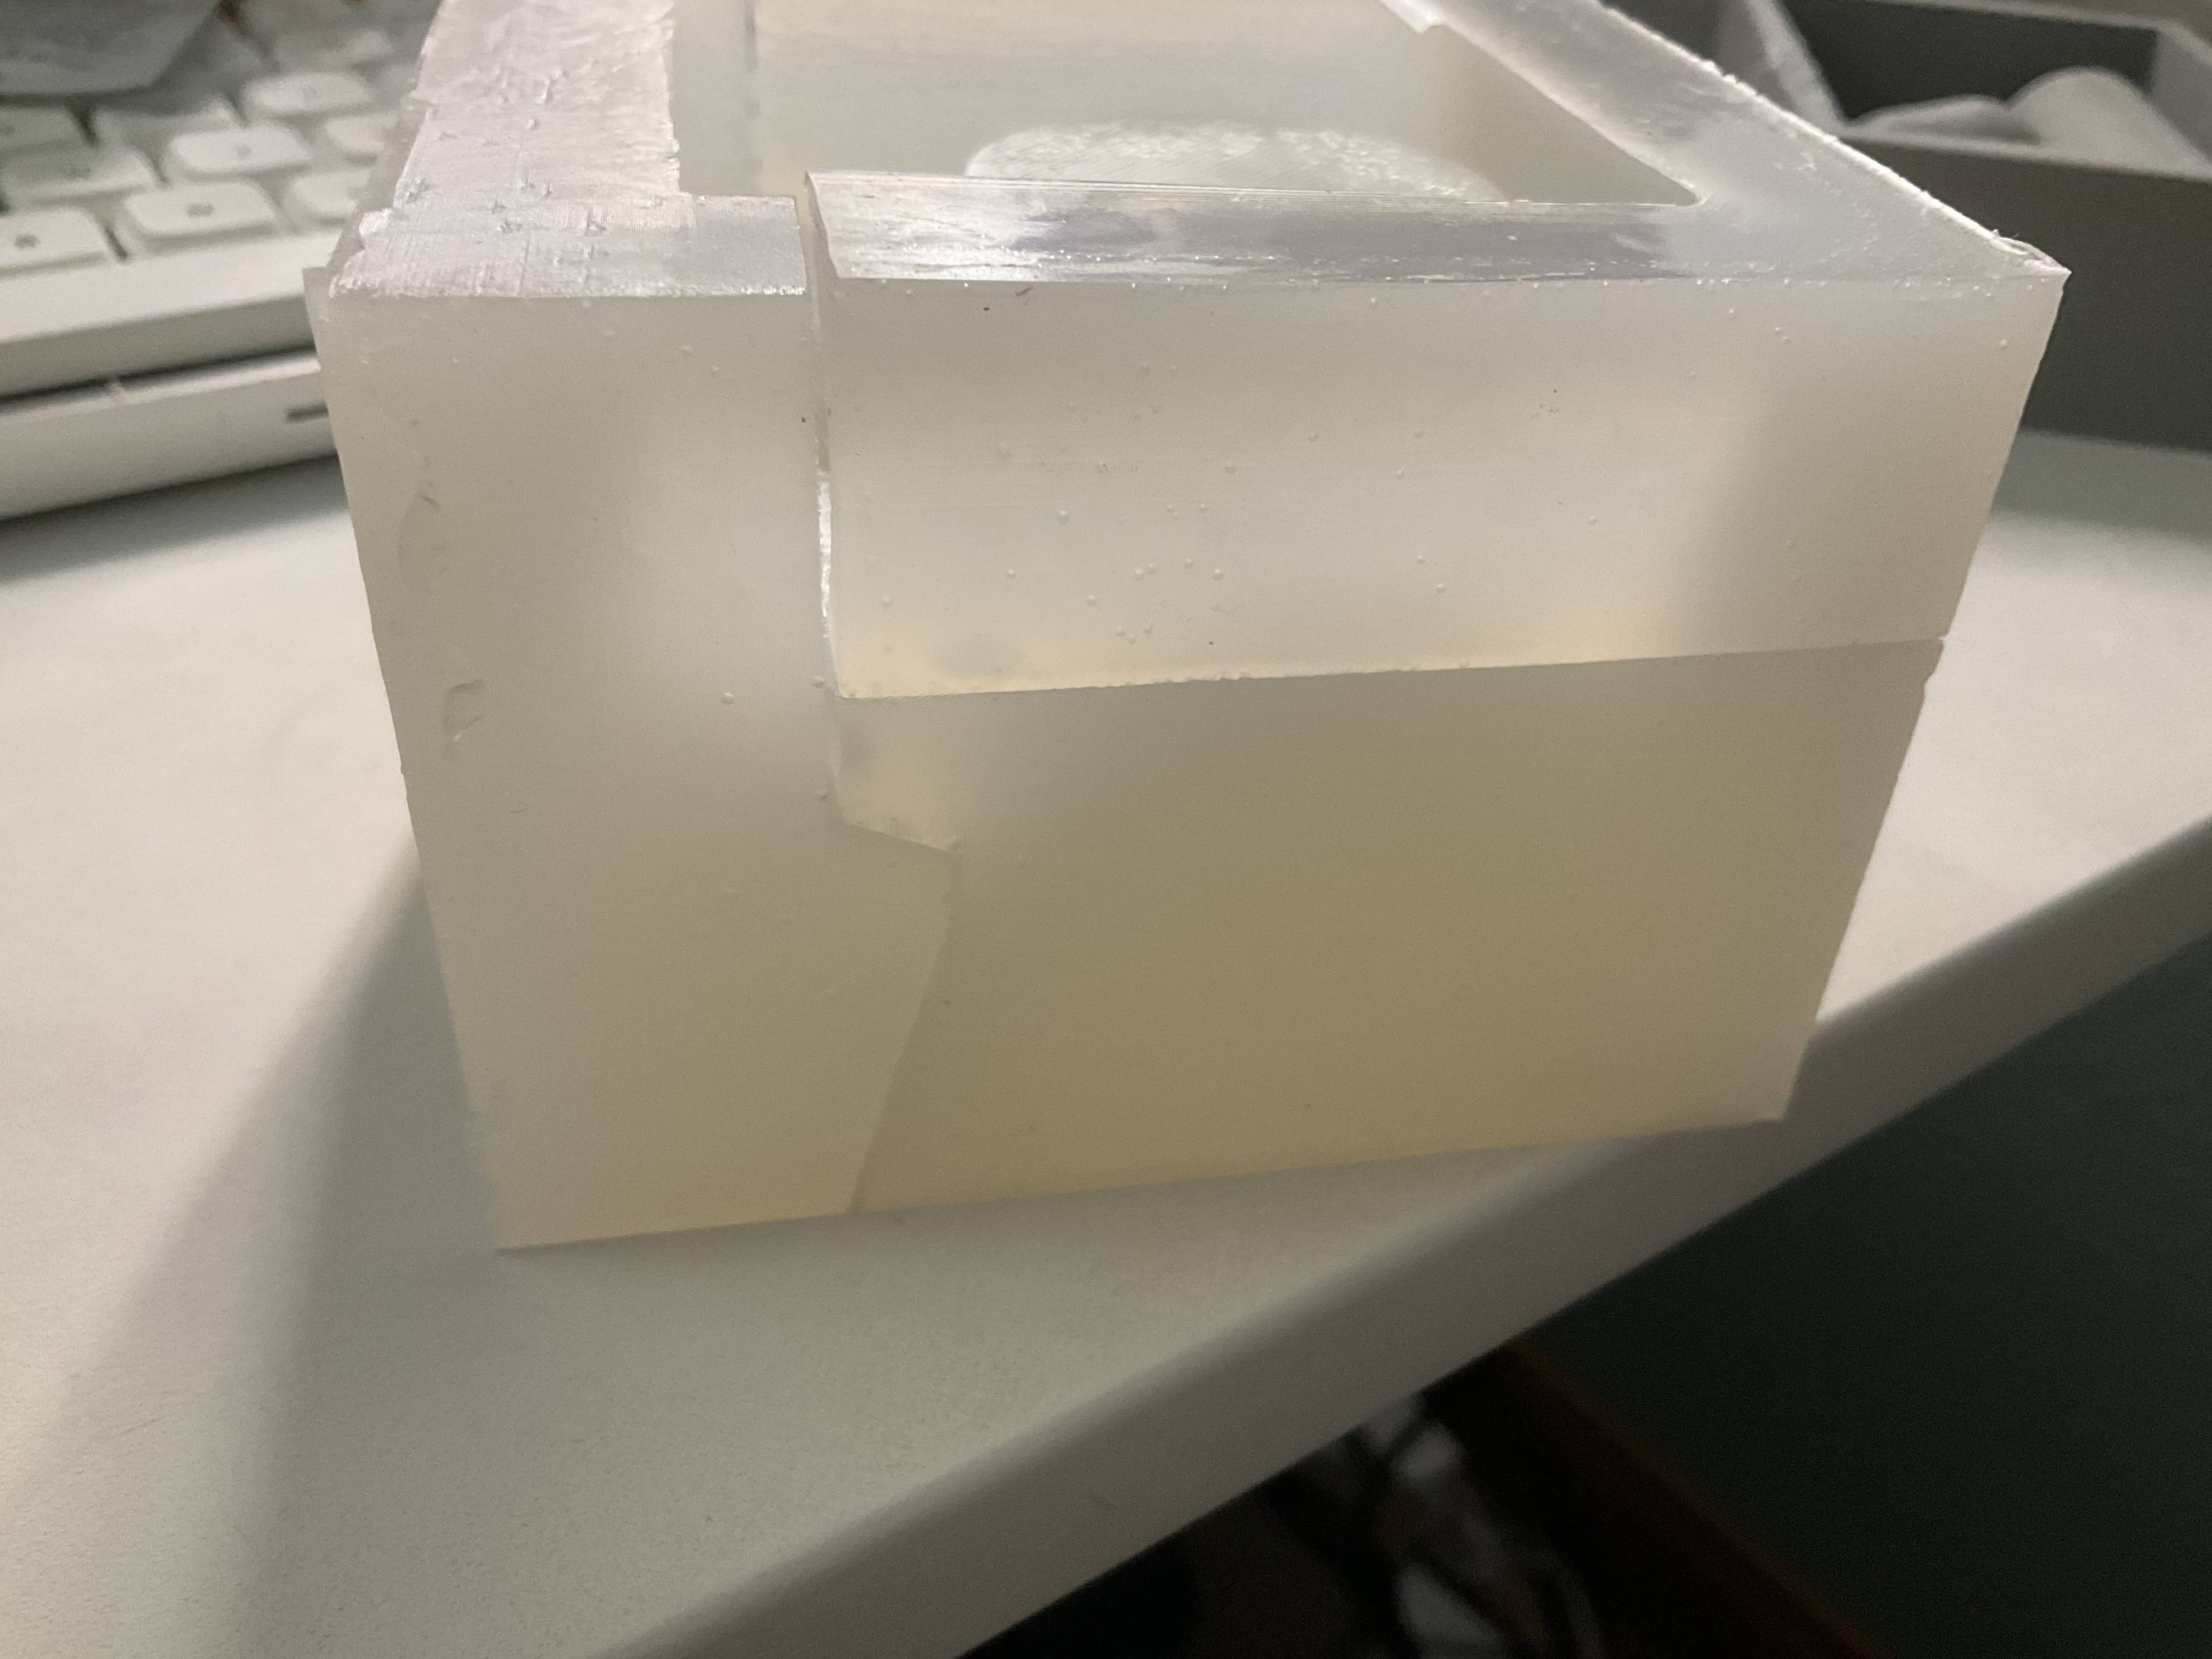
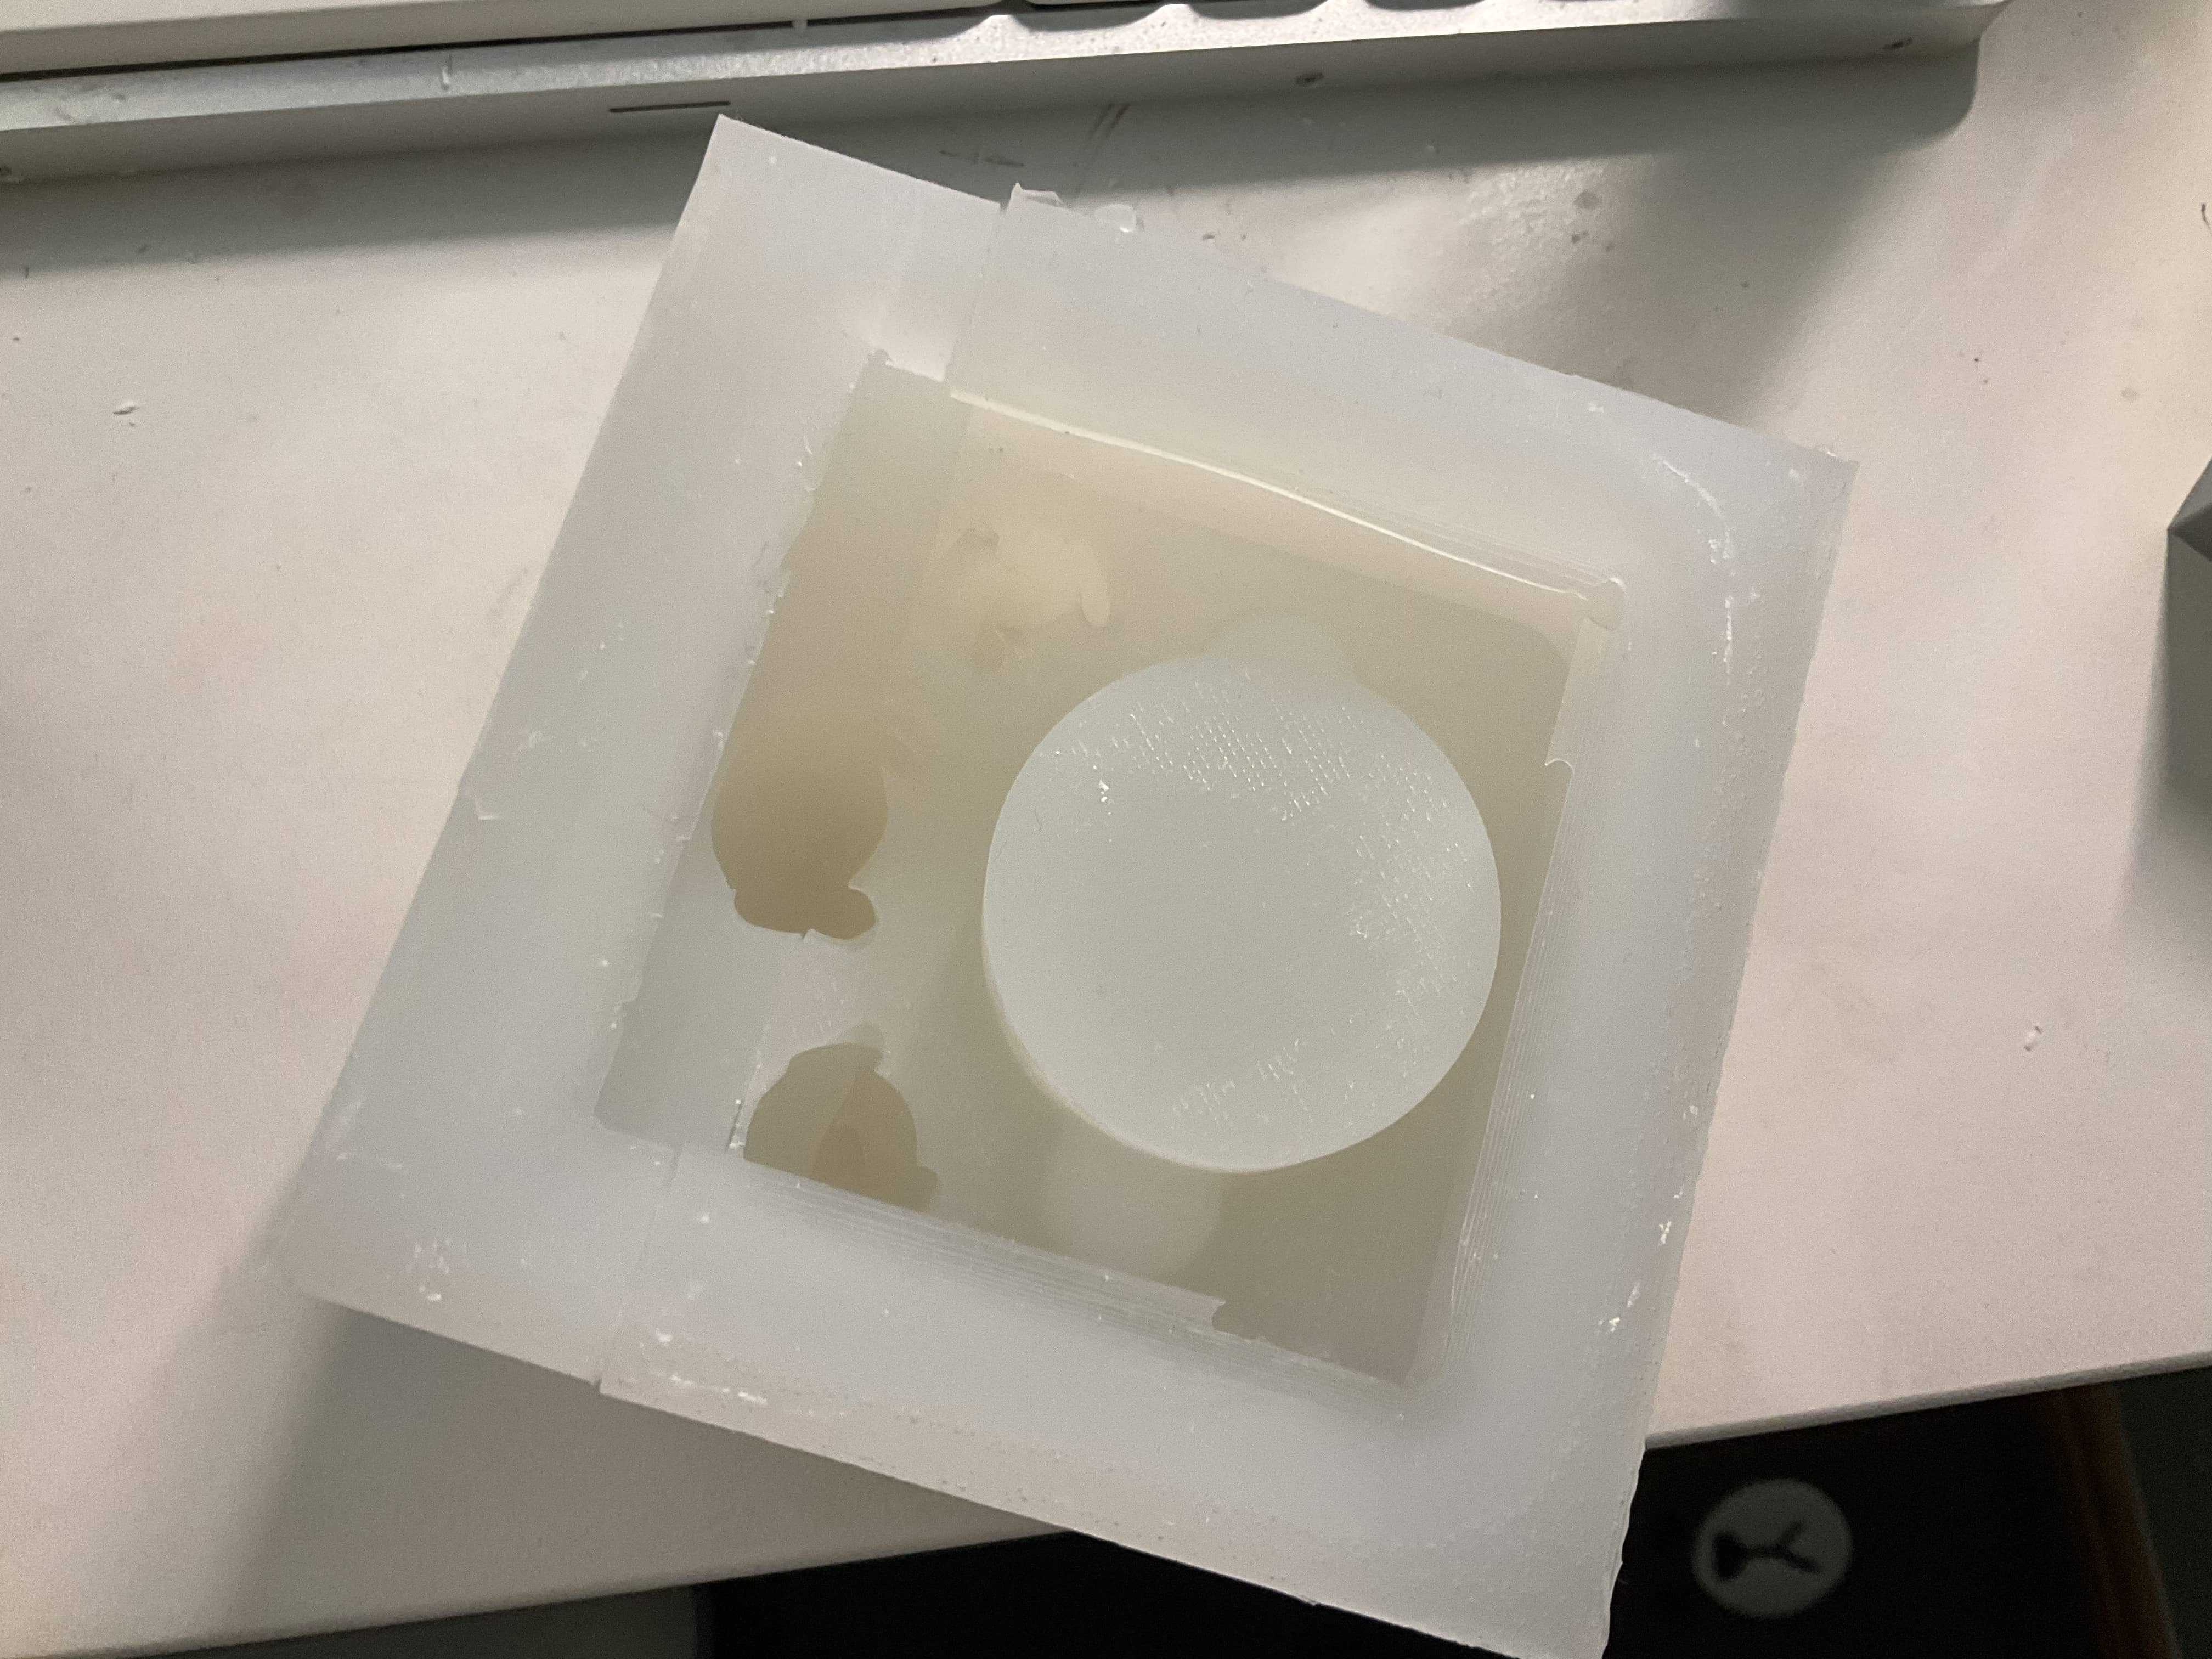
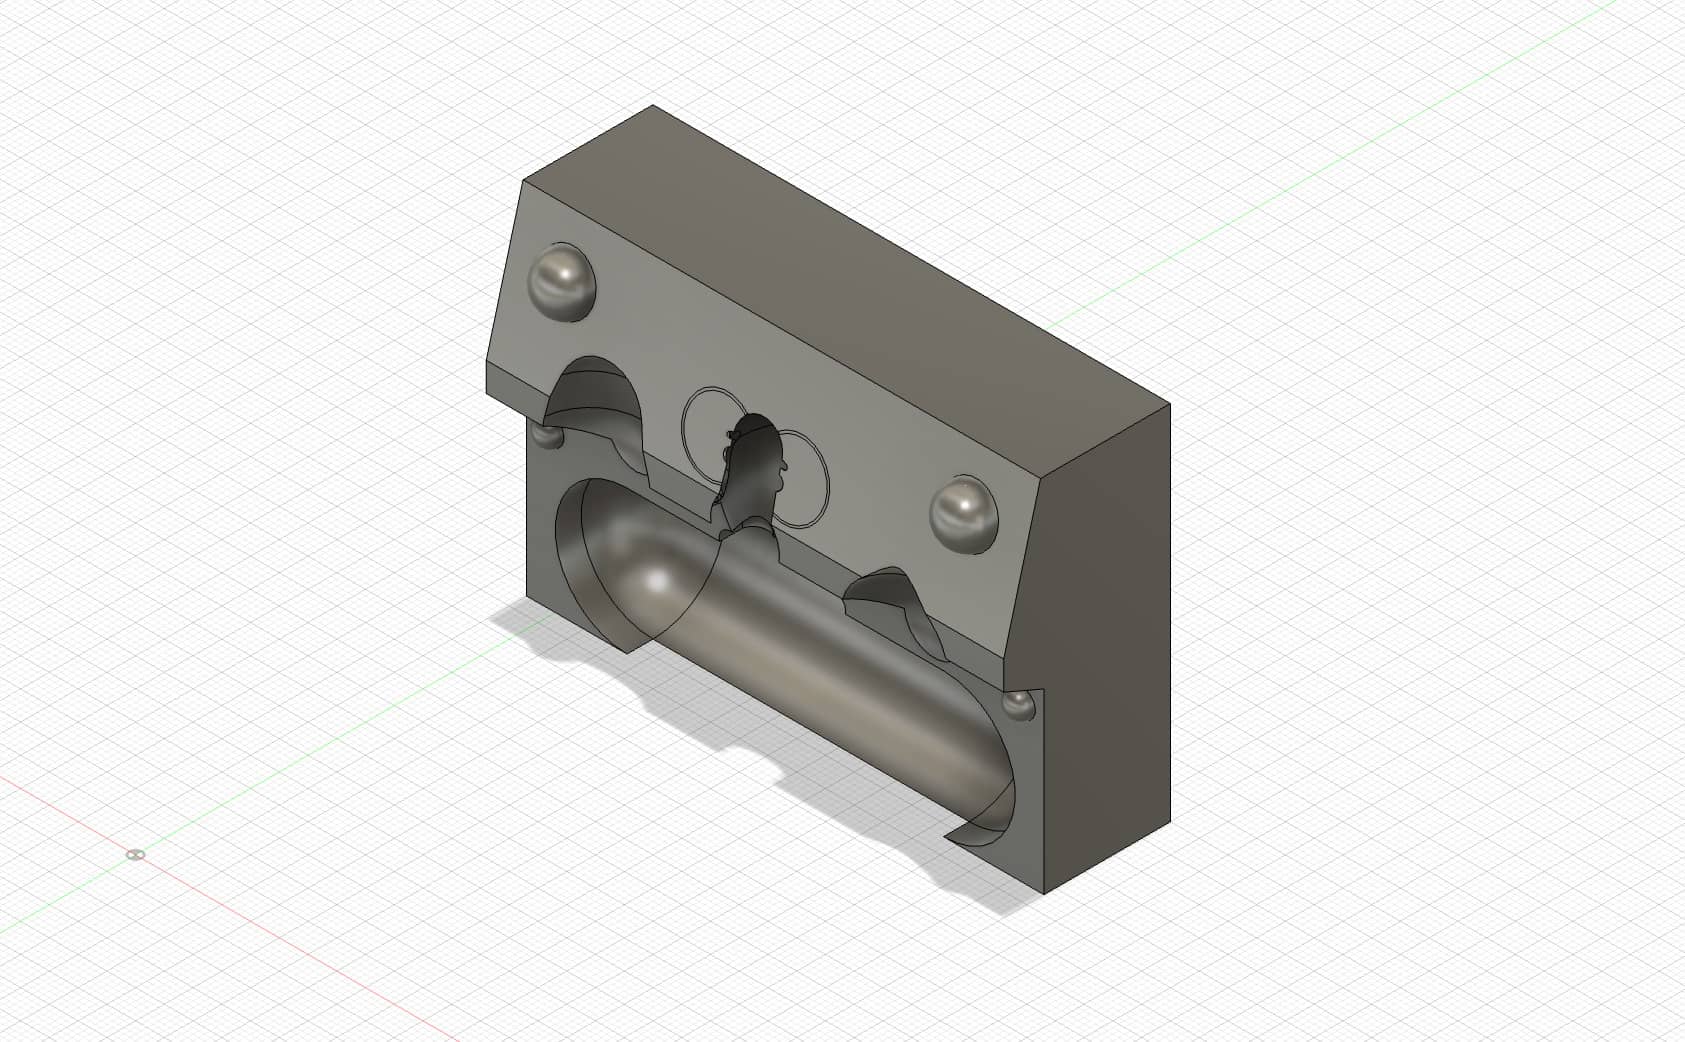
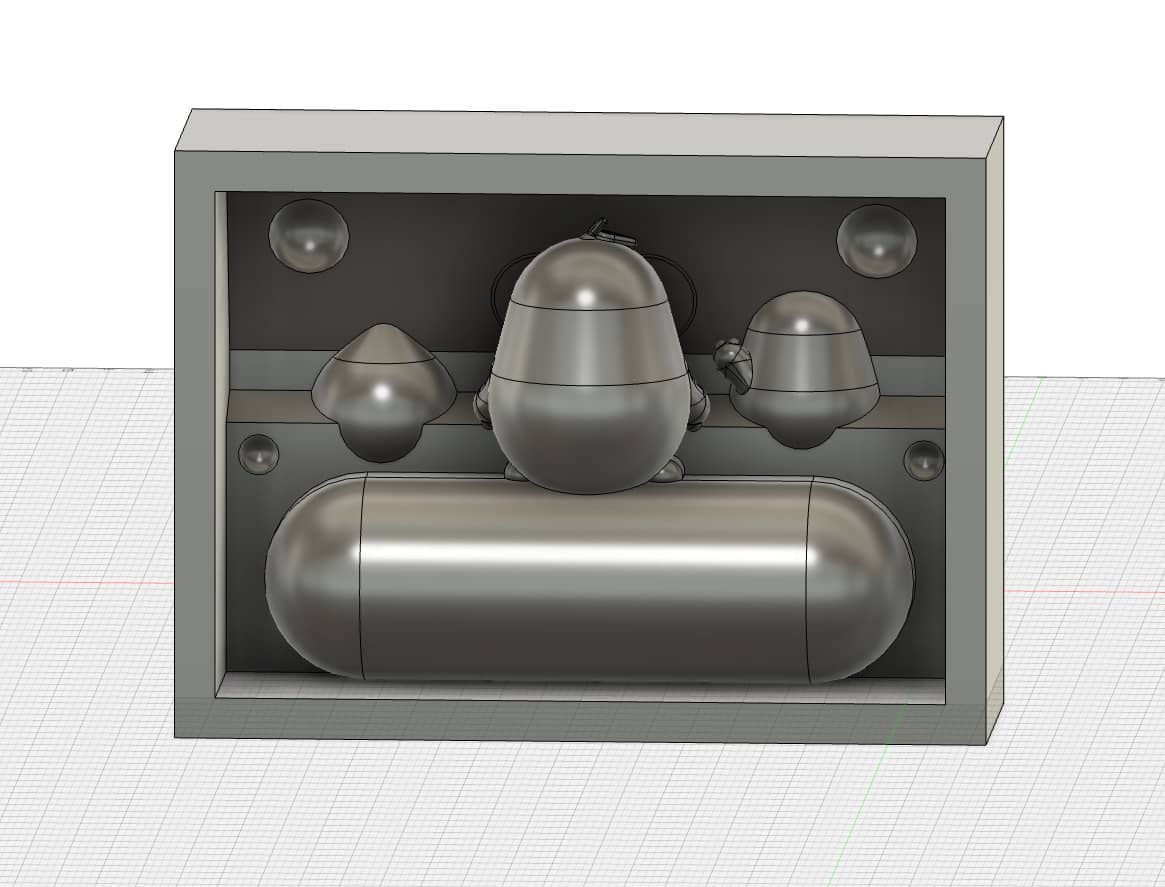
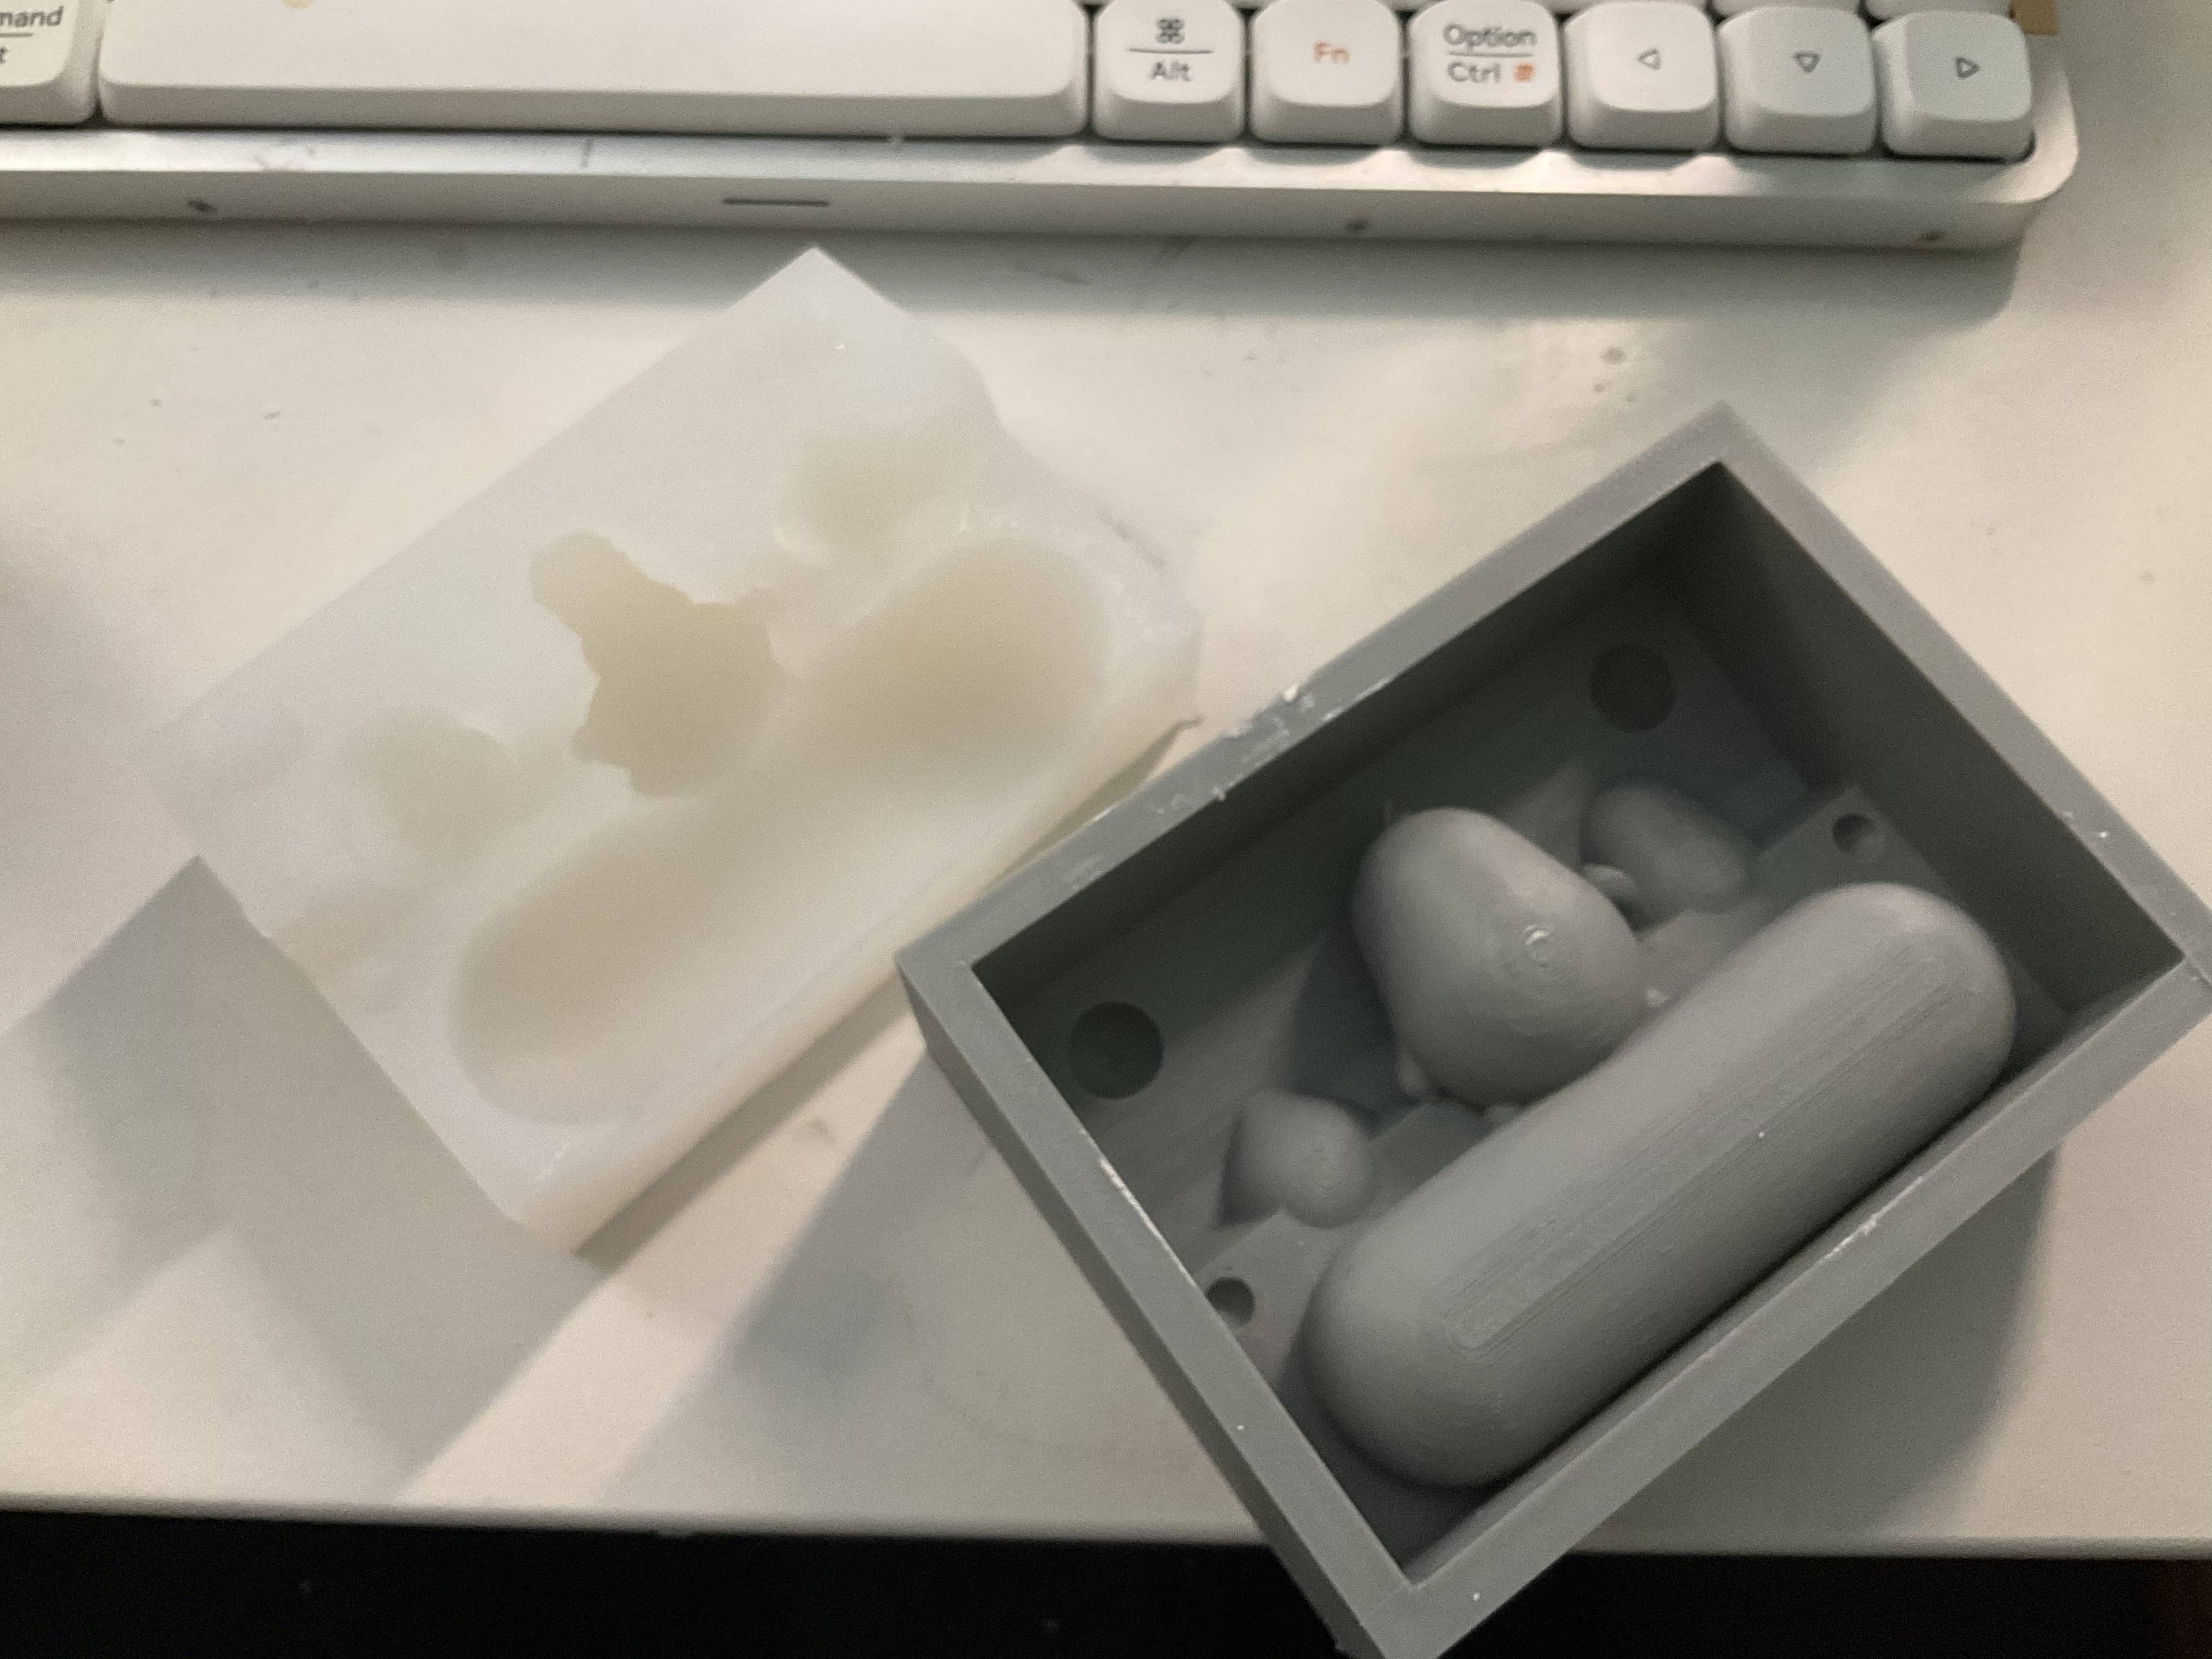
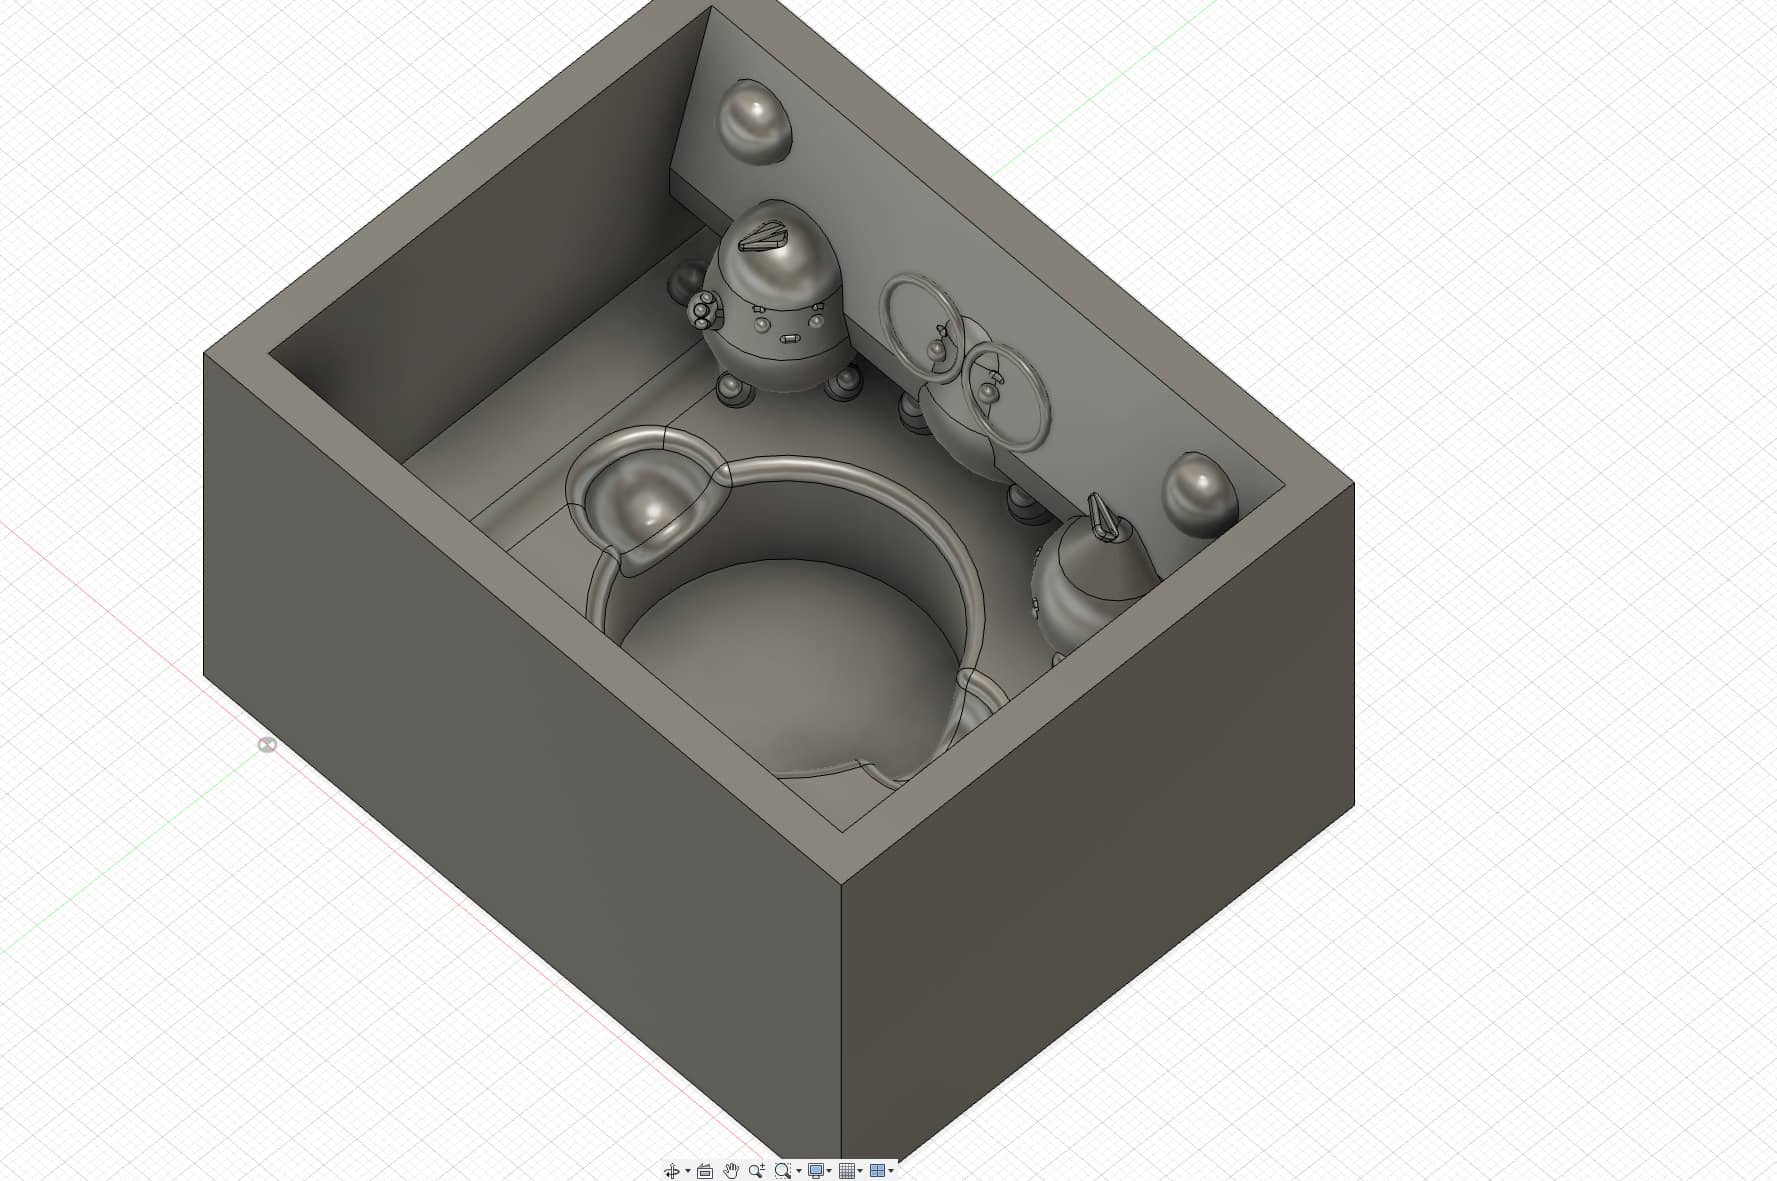
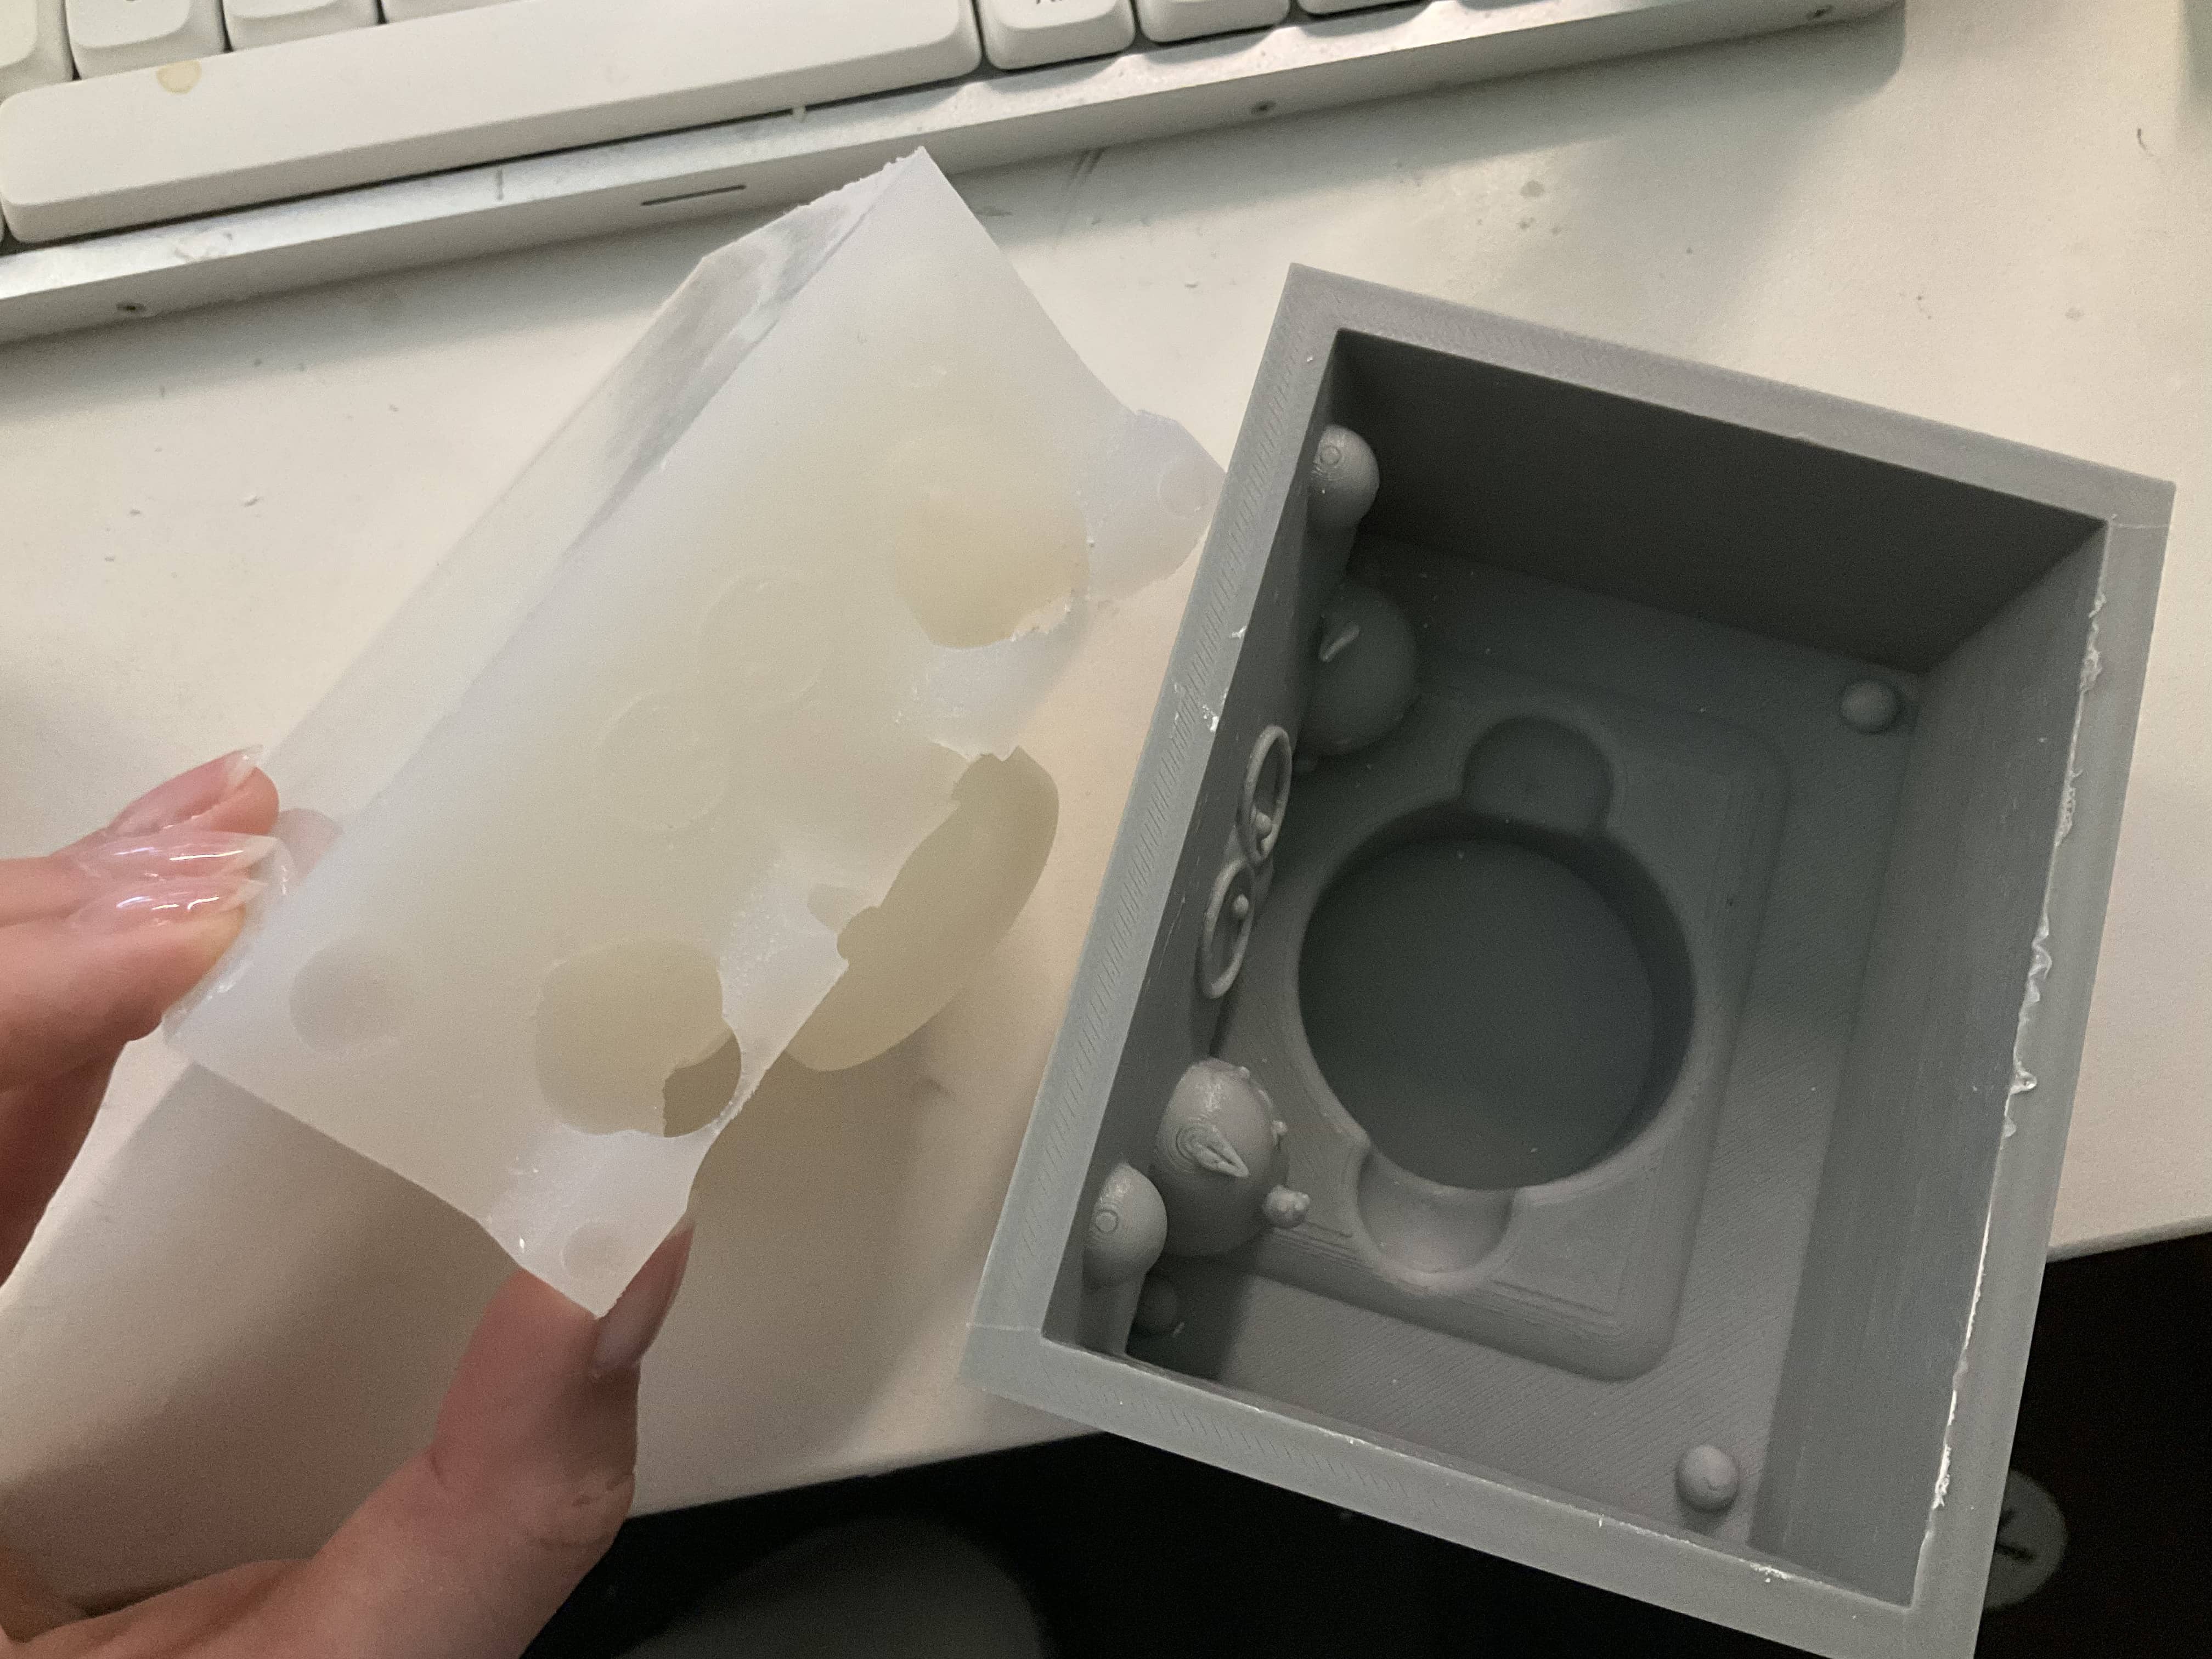
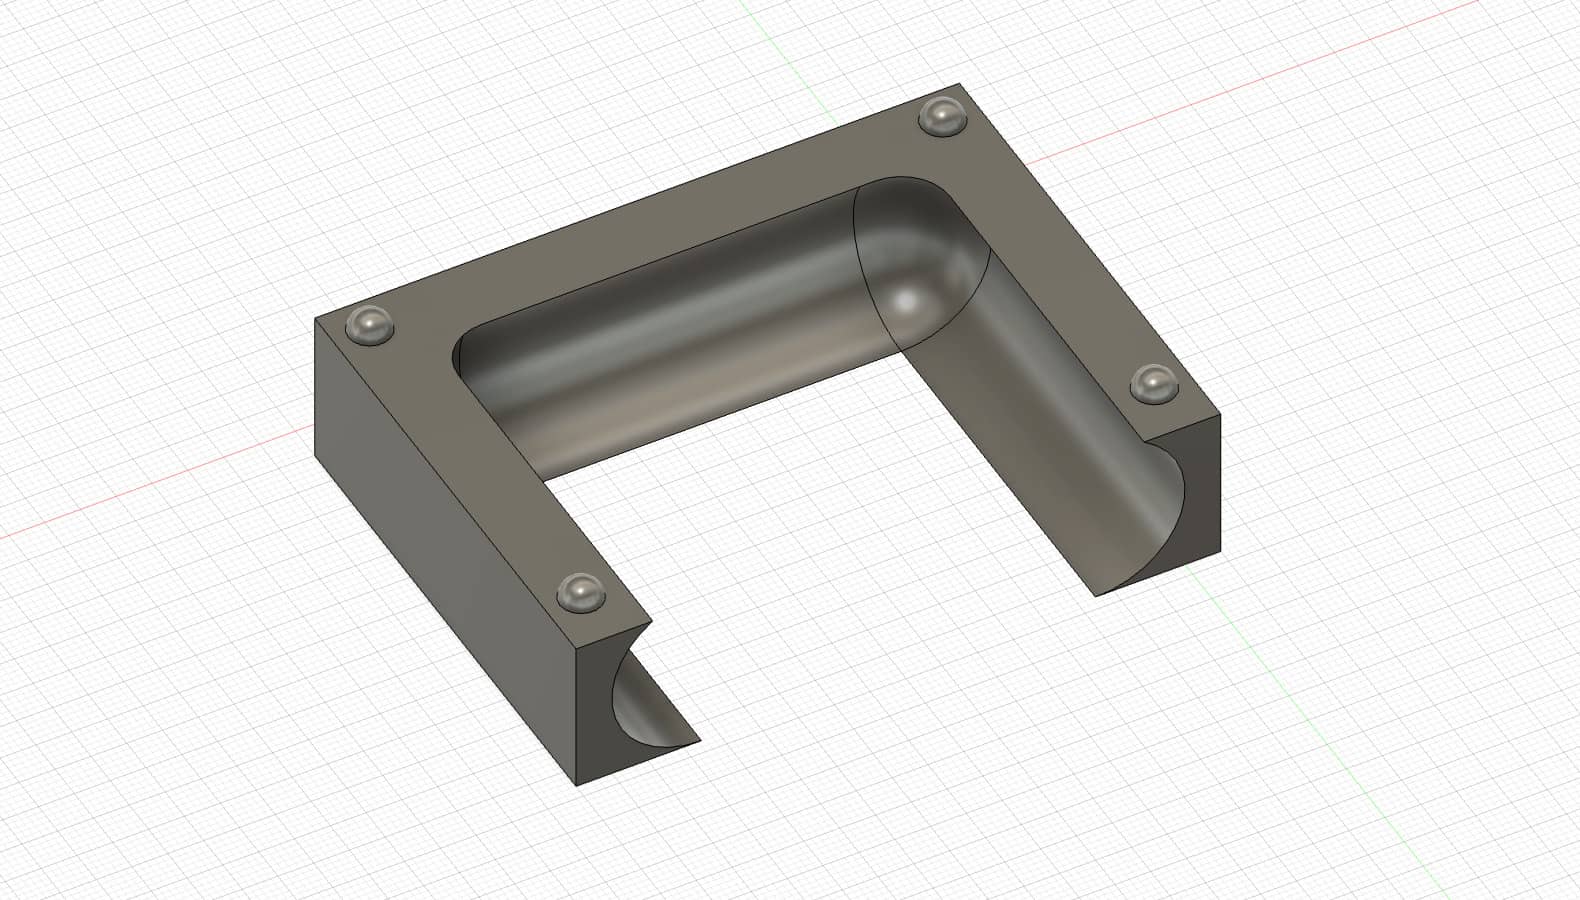
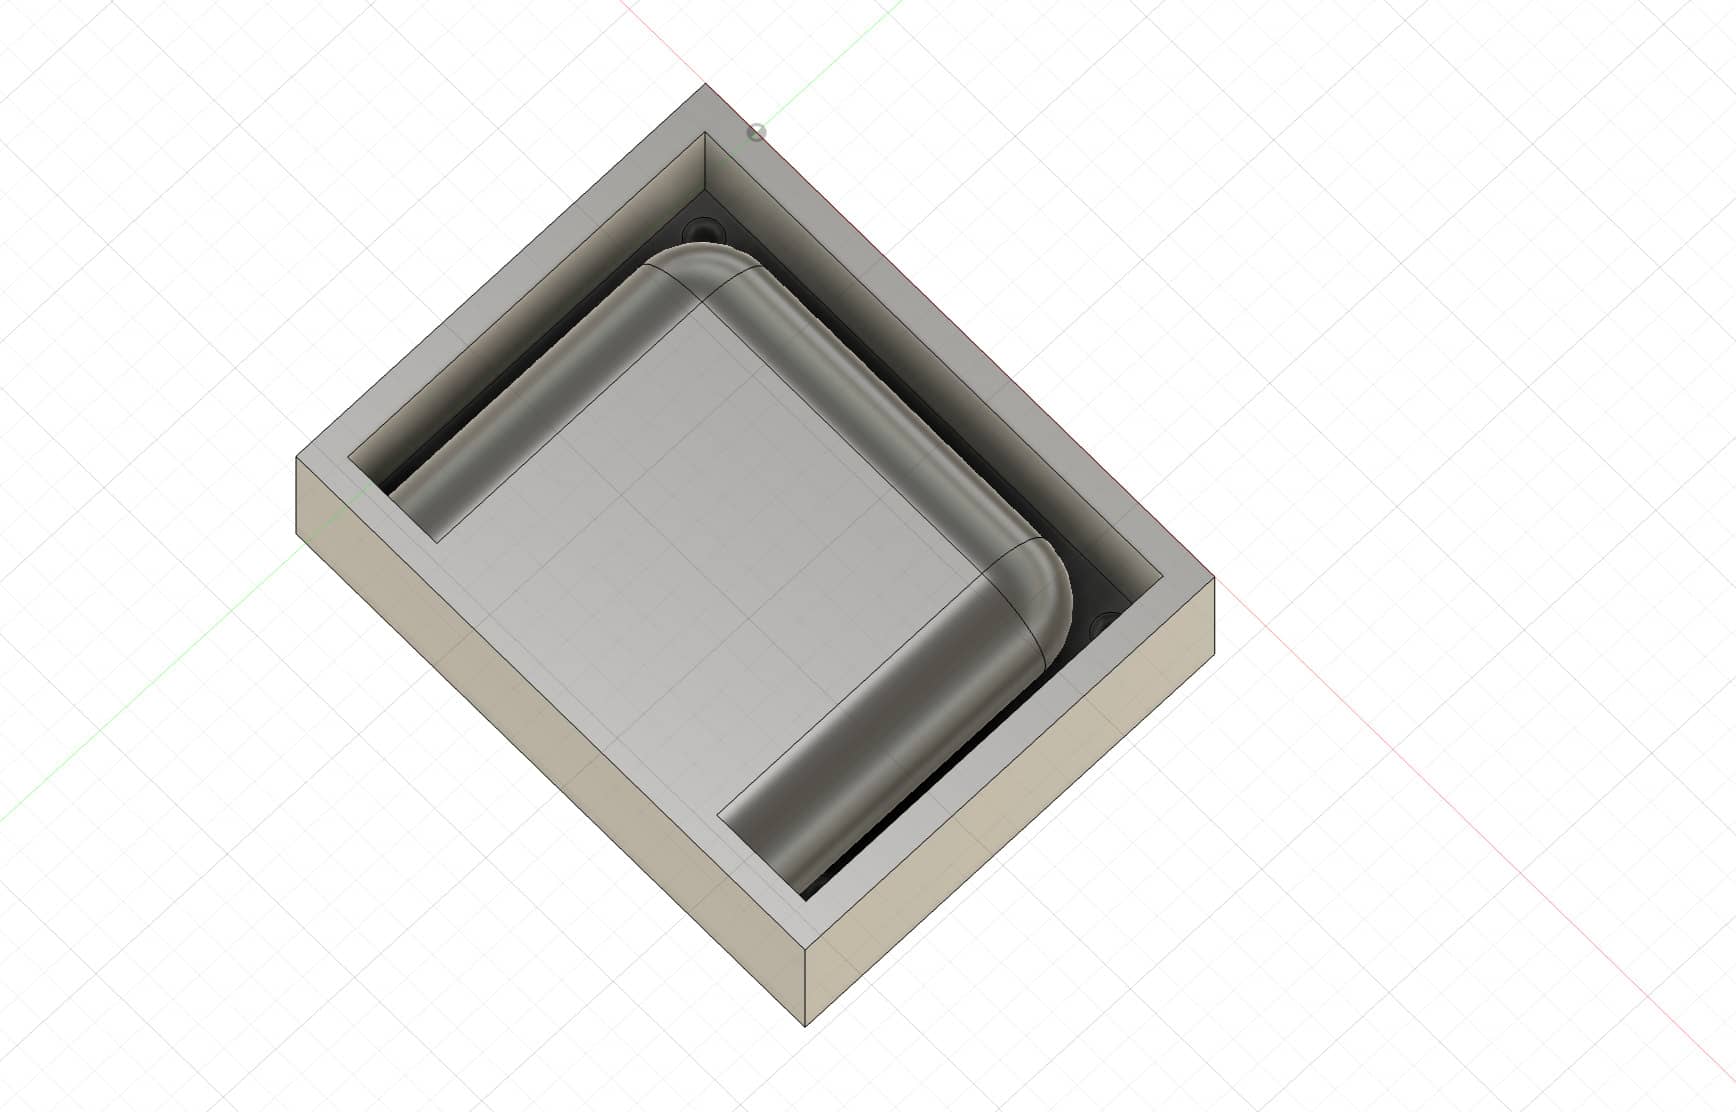
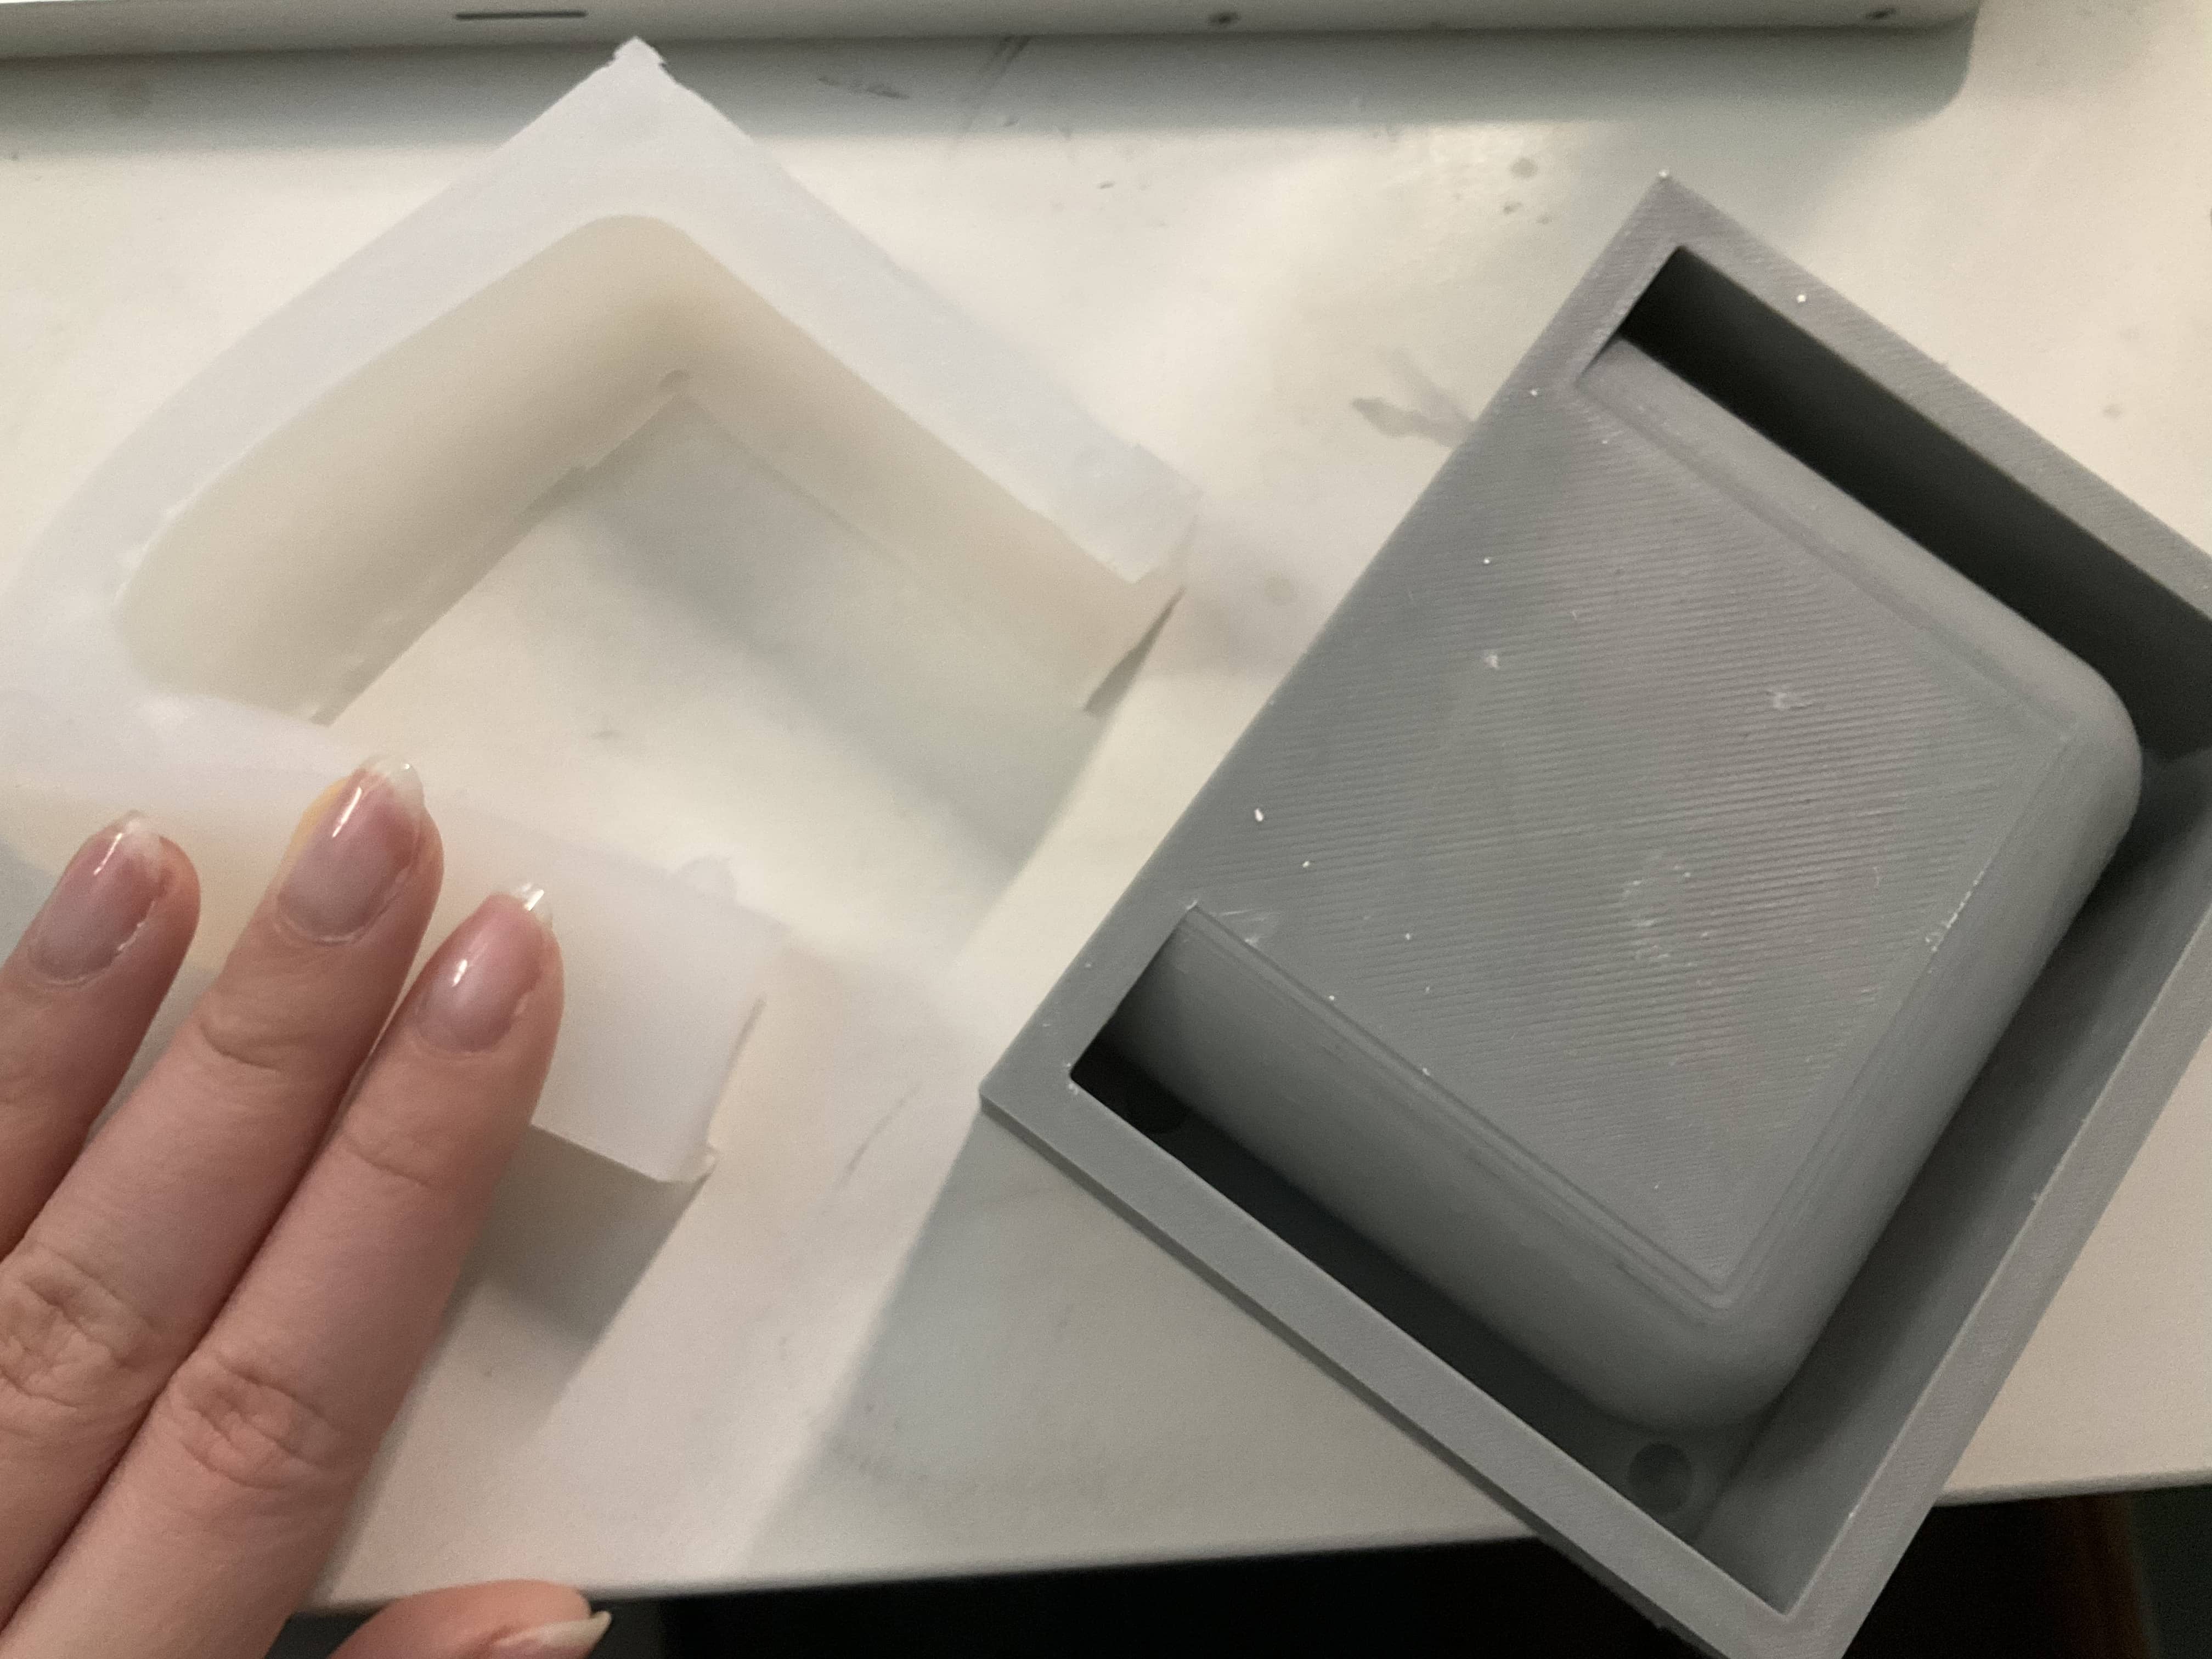
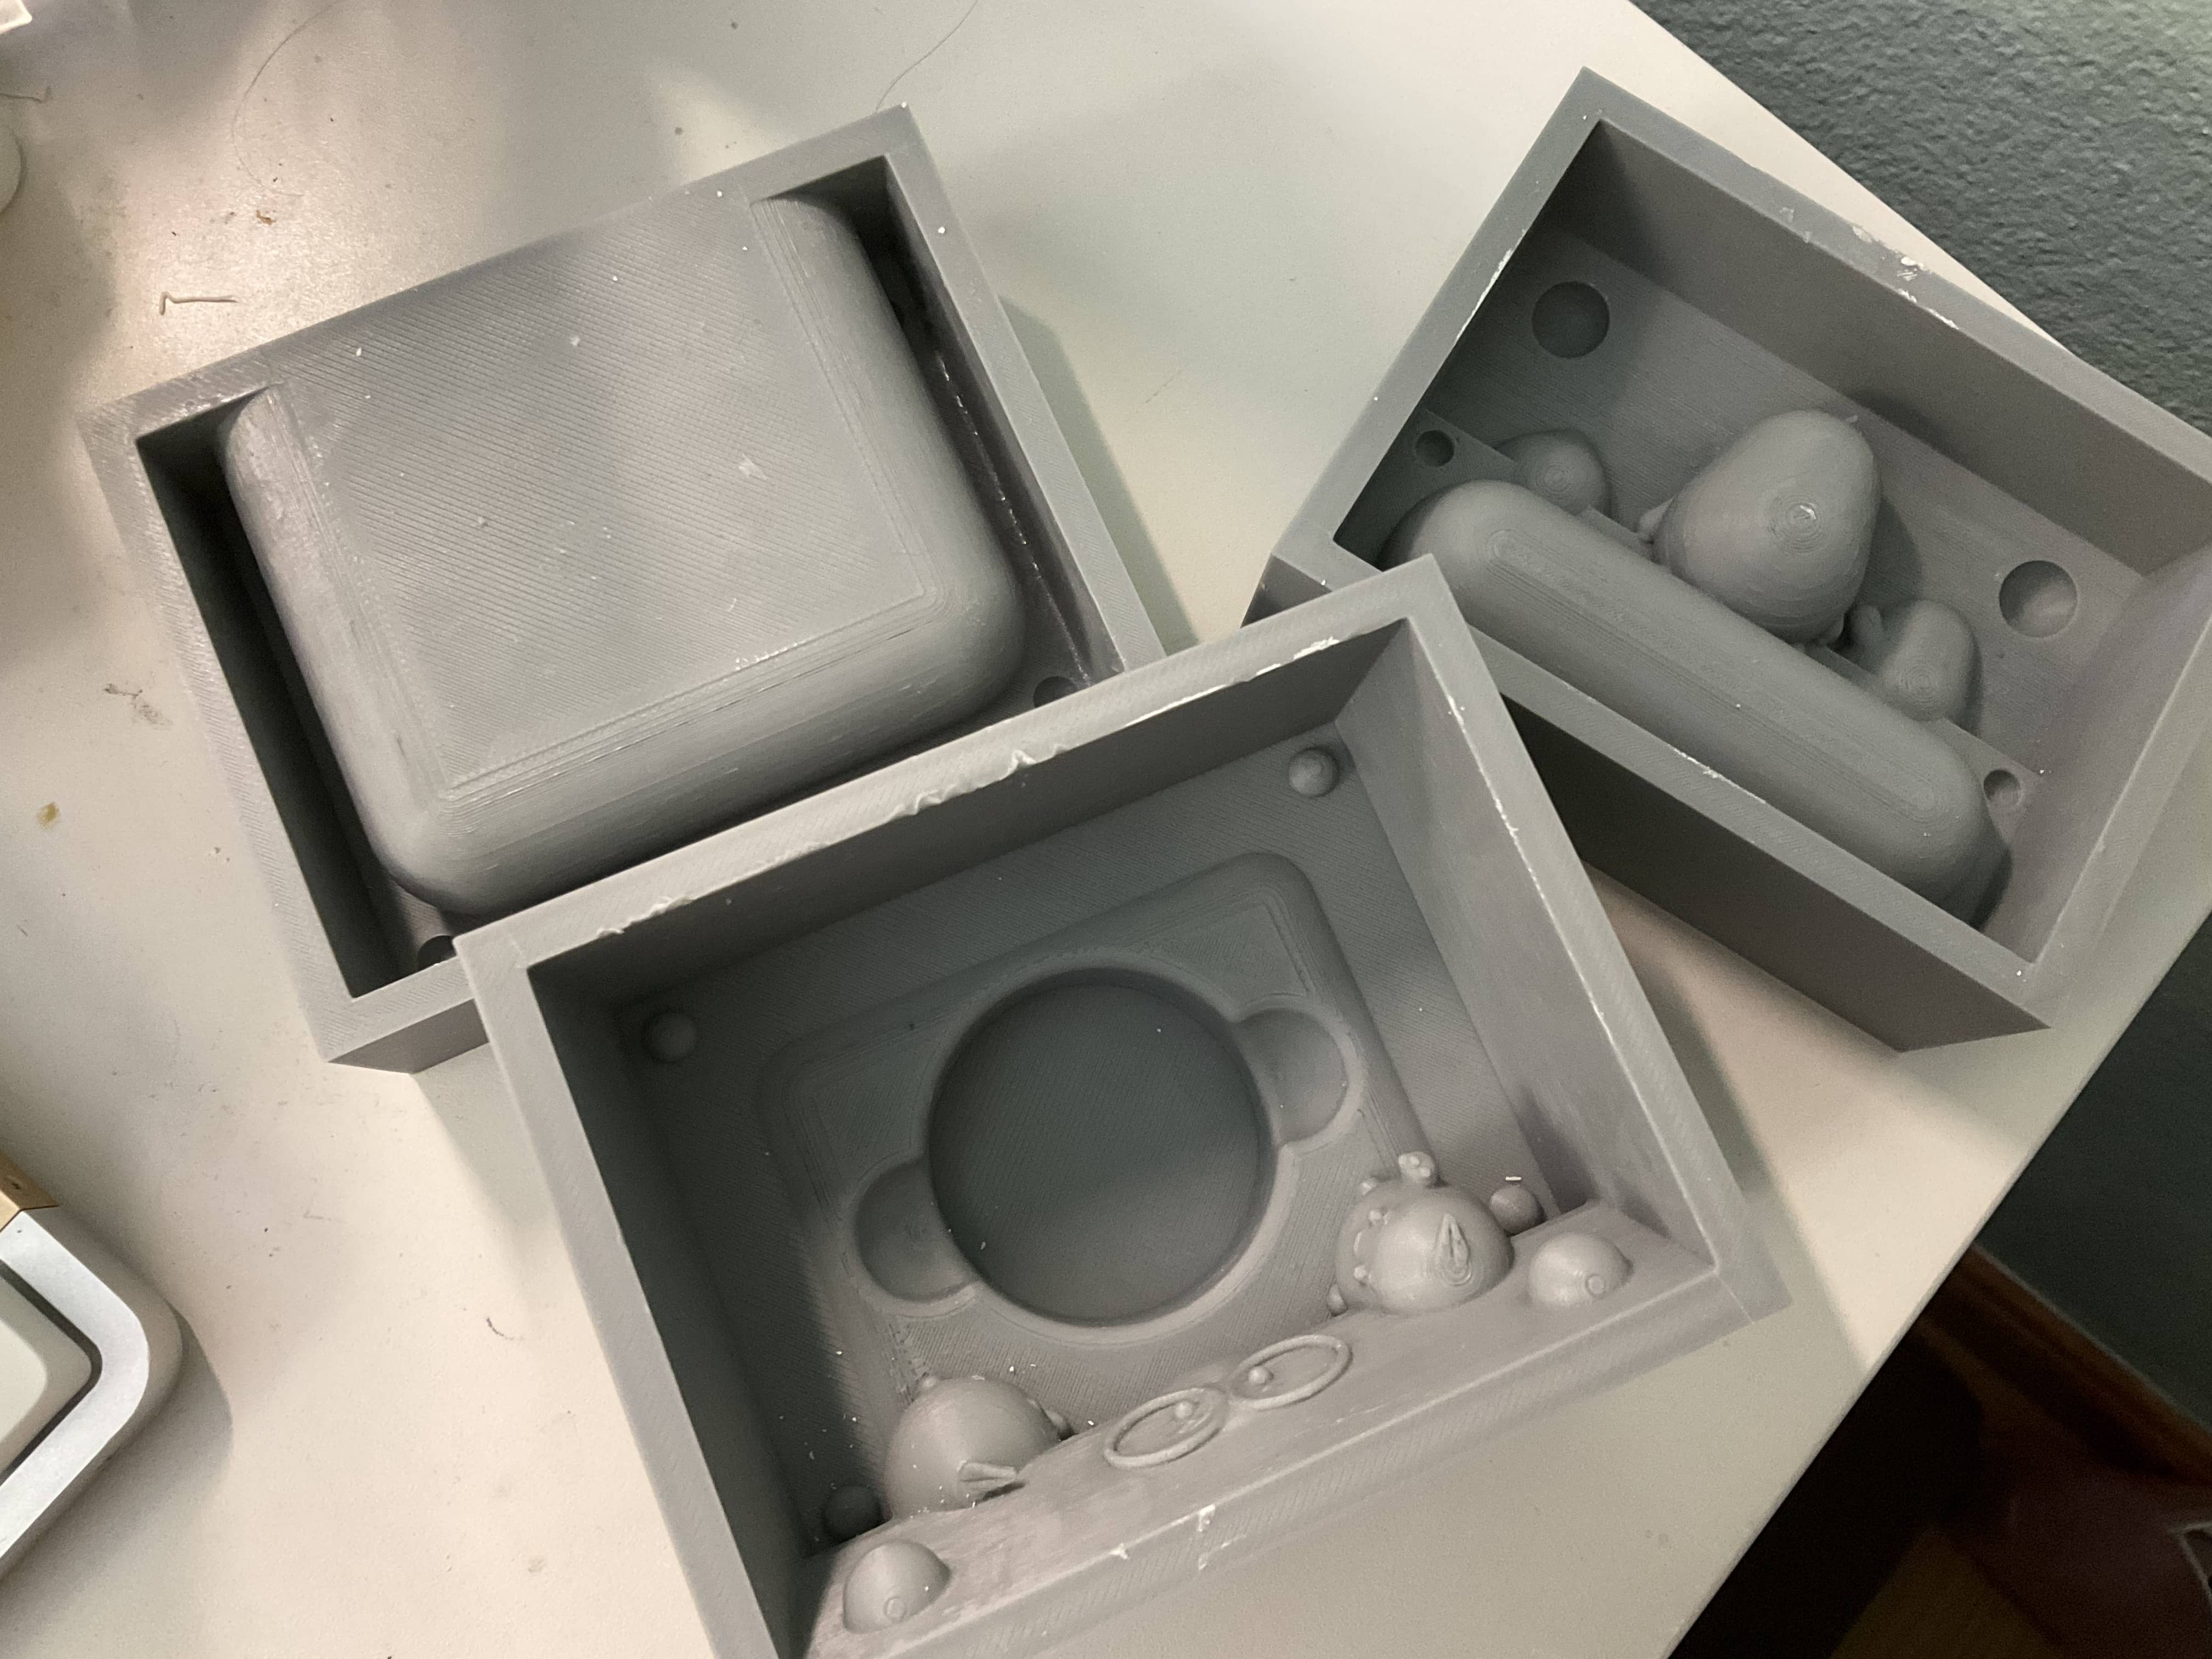
During the de-molding process of the silicone mold, I found that using a thing layer of Vaseline made the de-molding process very easy without compromising the details on the original model.
One change I would make would be the keys for the mold box, which where too thin and fragile. In fact, during the casting process, two of the keys in the mold box ended up breaking. Otherwise, I was happy with my silicone mold since I could see the detail captured in the more fragile components of the original model.
Phase 4: Casting in Plaster
After putting together my mold, placing it in my mold box and keeping everything together with 2 elastics, I mixed together my plaster and hoped for the best.
When mixing together my plaster, I added a little more water to have a thinner consistency since I wanted to make sure the plaster flowed into all the small details in the mold. I filled the characters (since I was filling in mold from the bottom) and tapped the mold on all sides to make sure the plaster flowed into all the details and to release any air bubbles in the plaster. However, looking back, I should have added sprues into the mold for all of the high points of the mold and areas where air bubbles could stay trapped (arms, legs, and leaves).
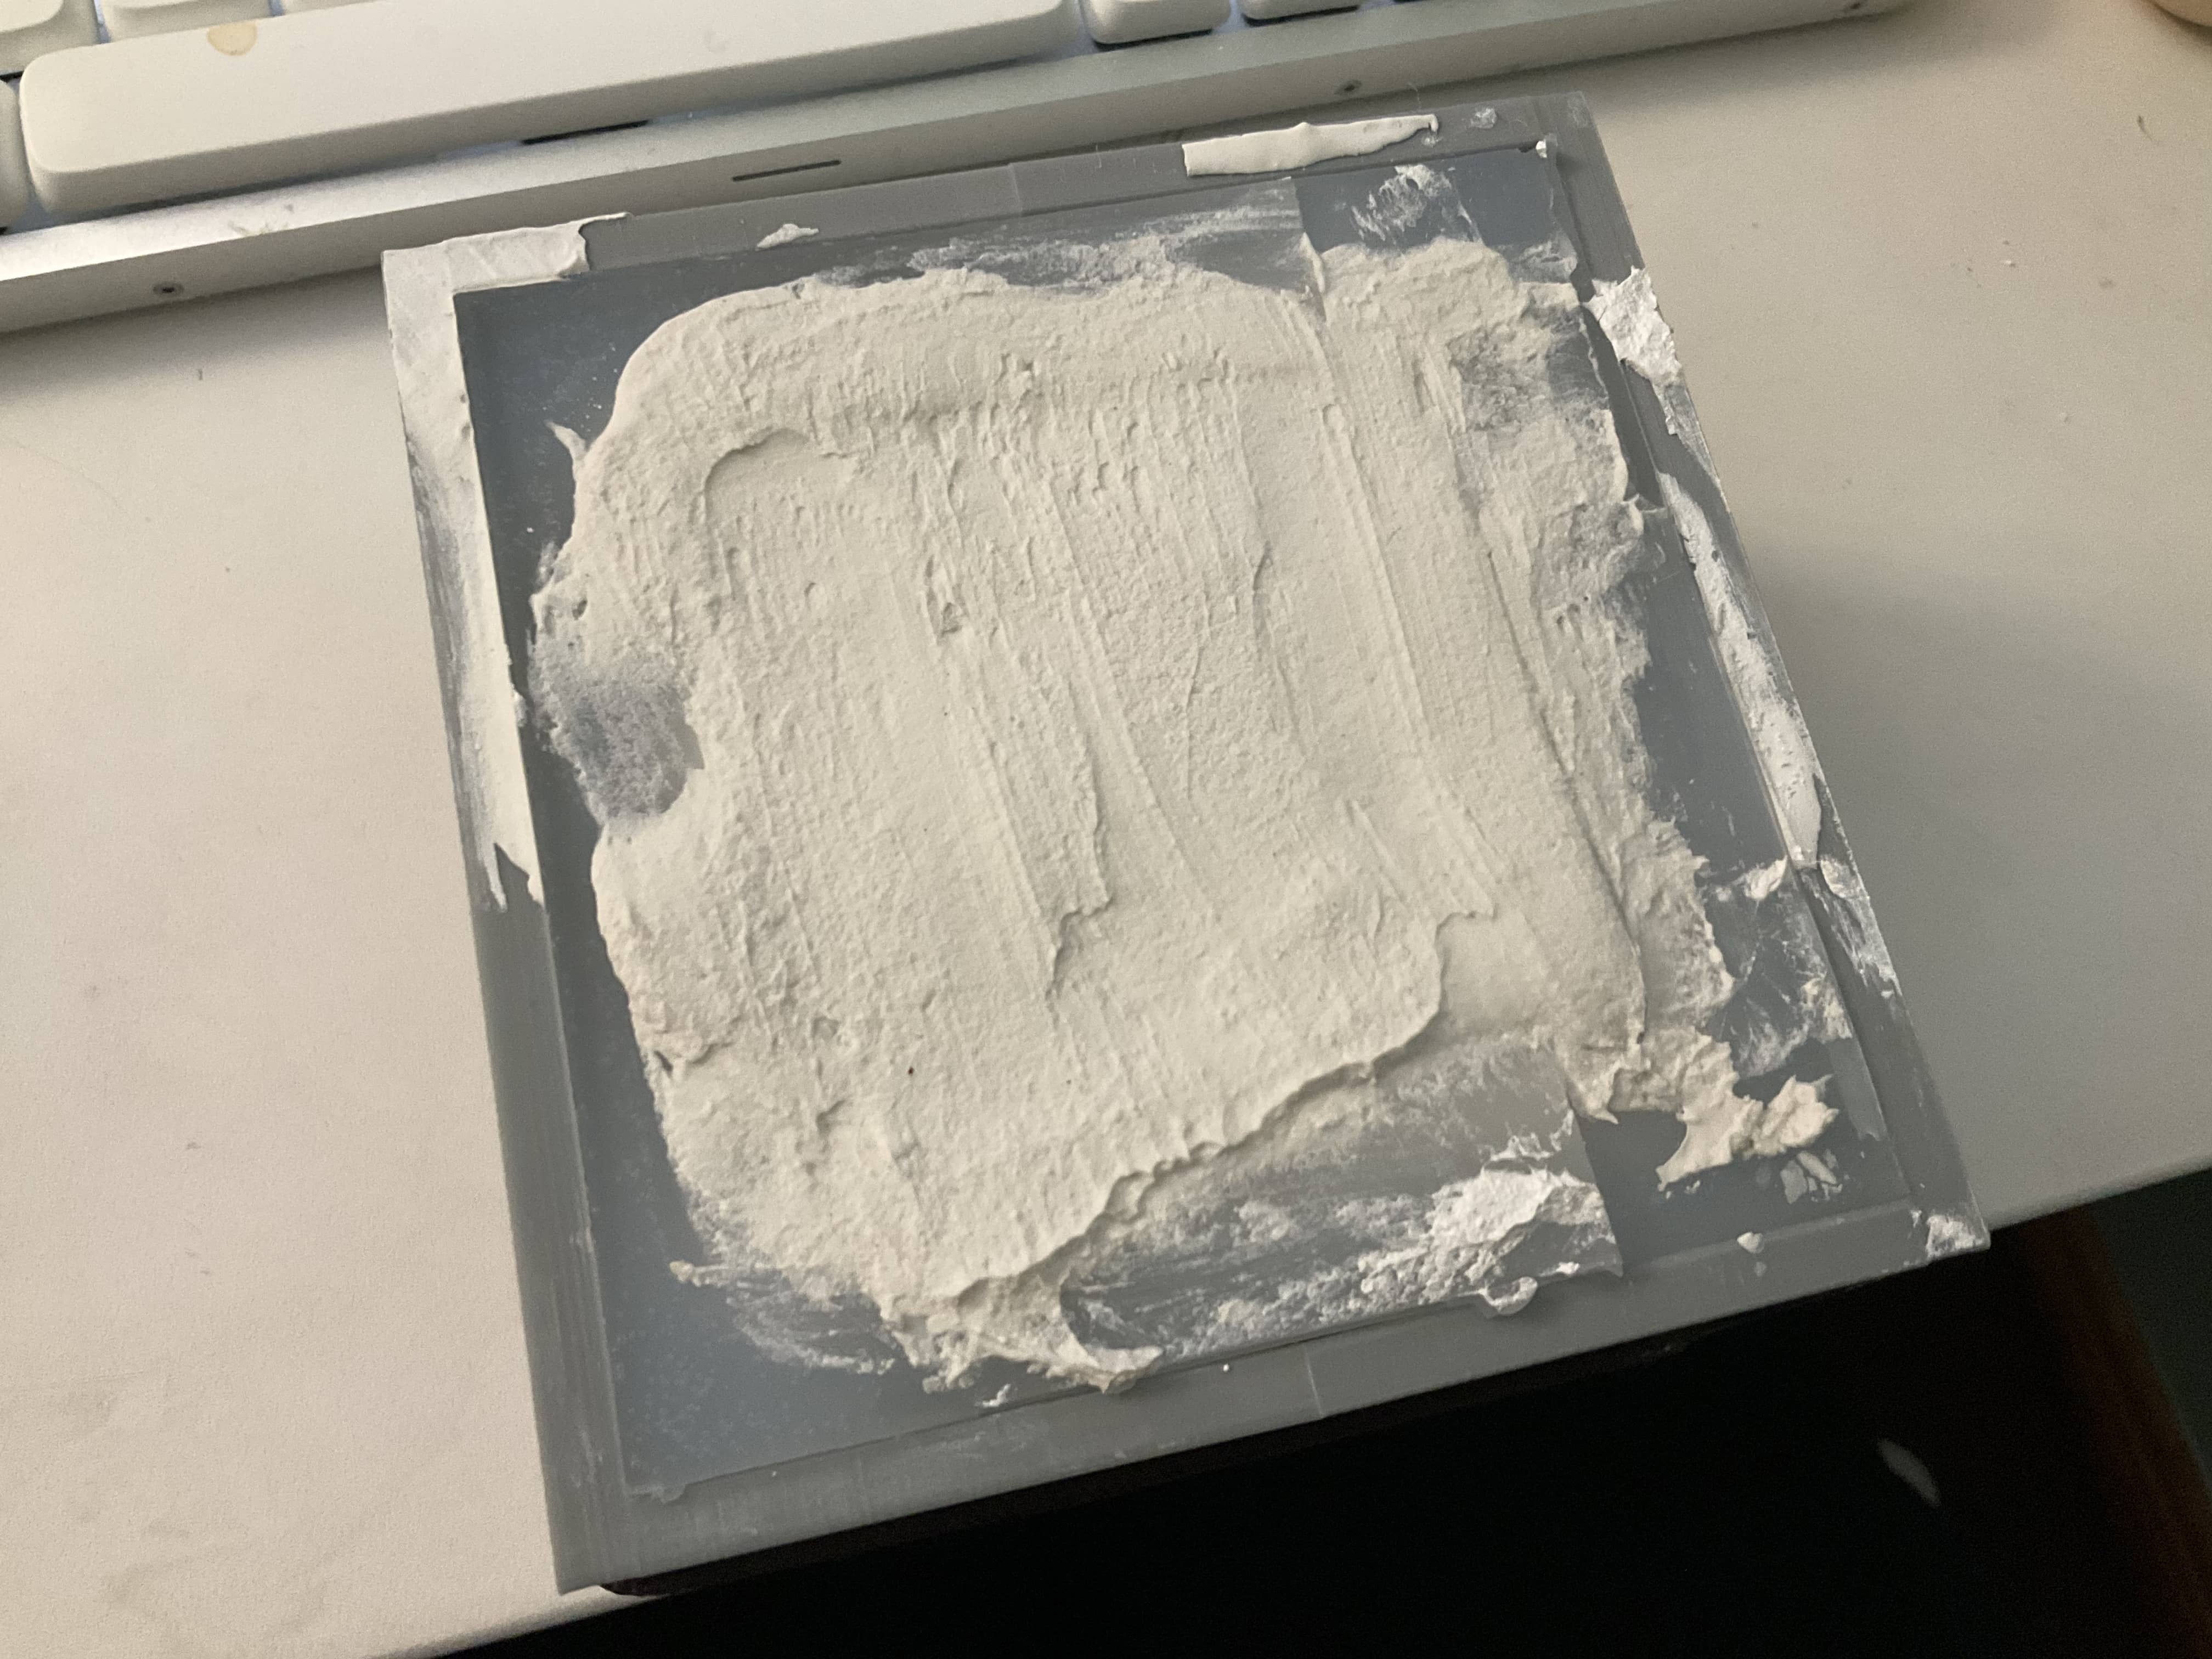
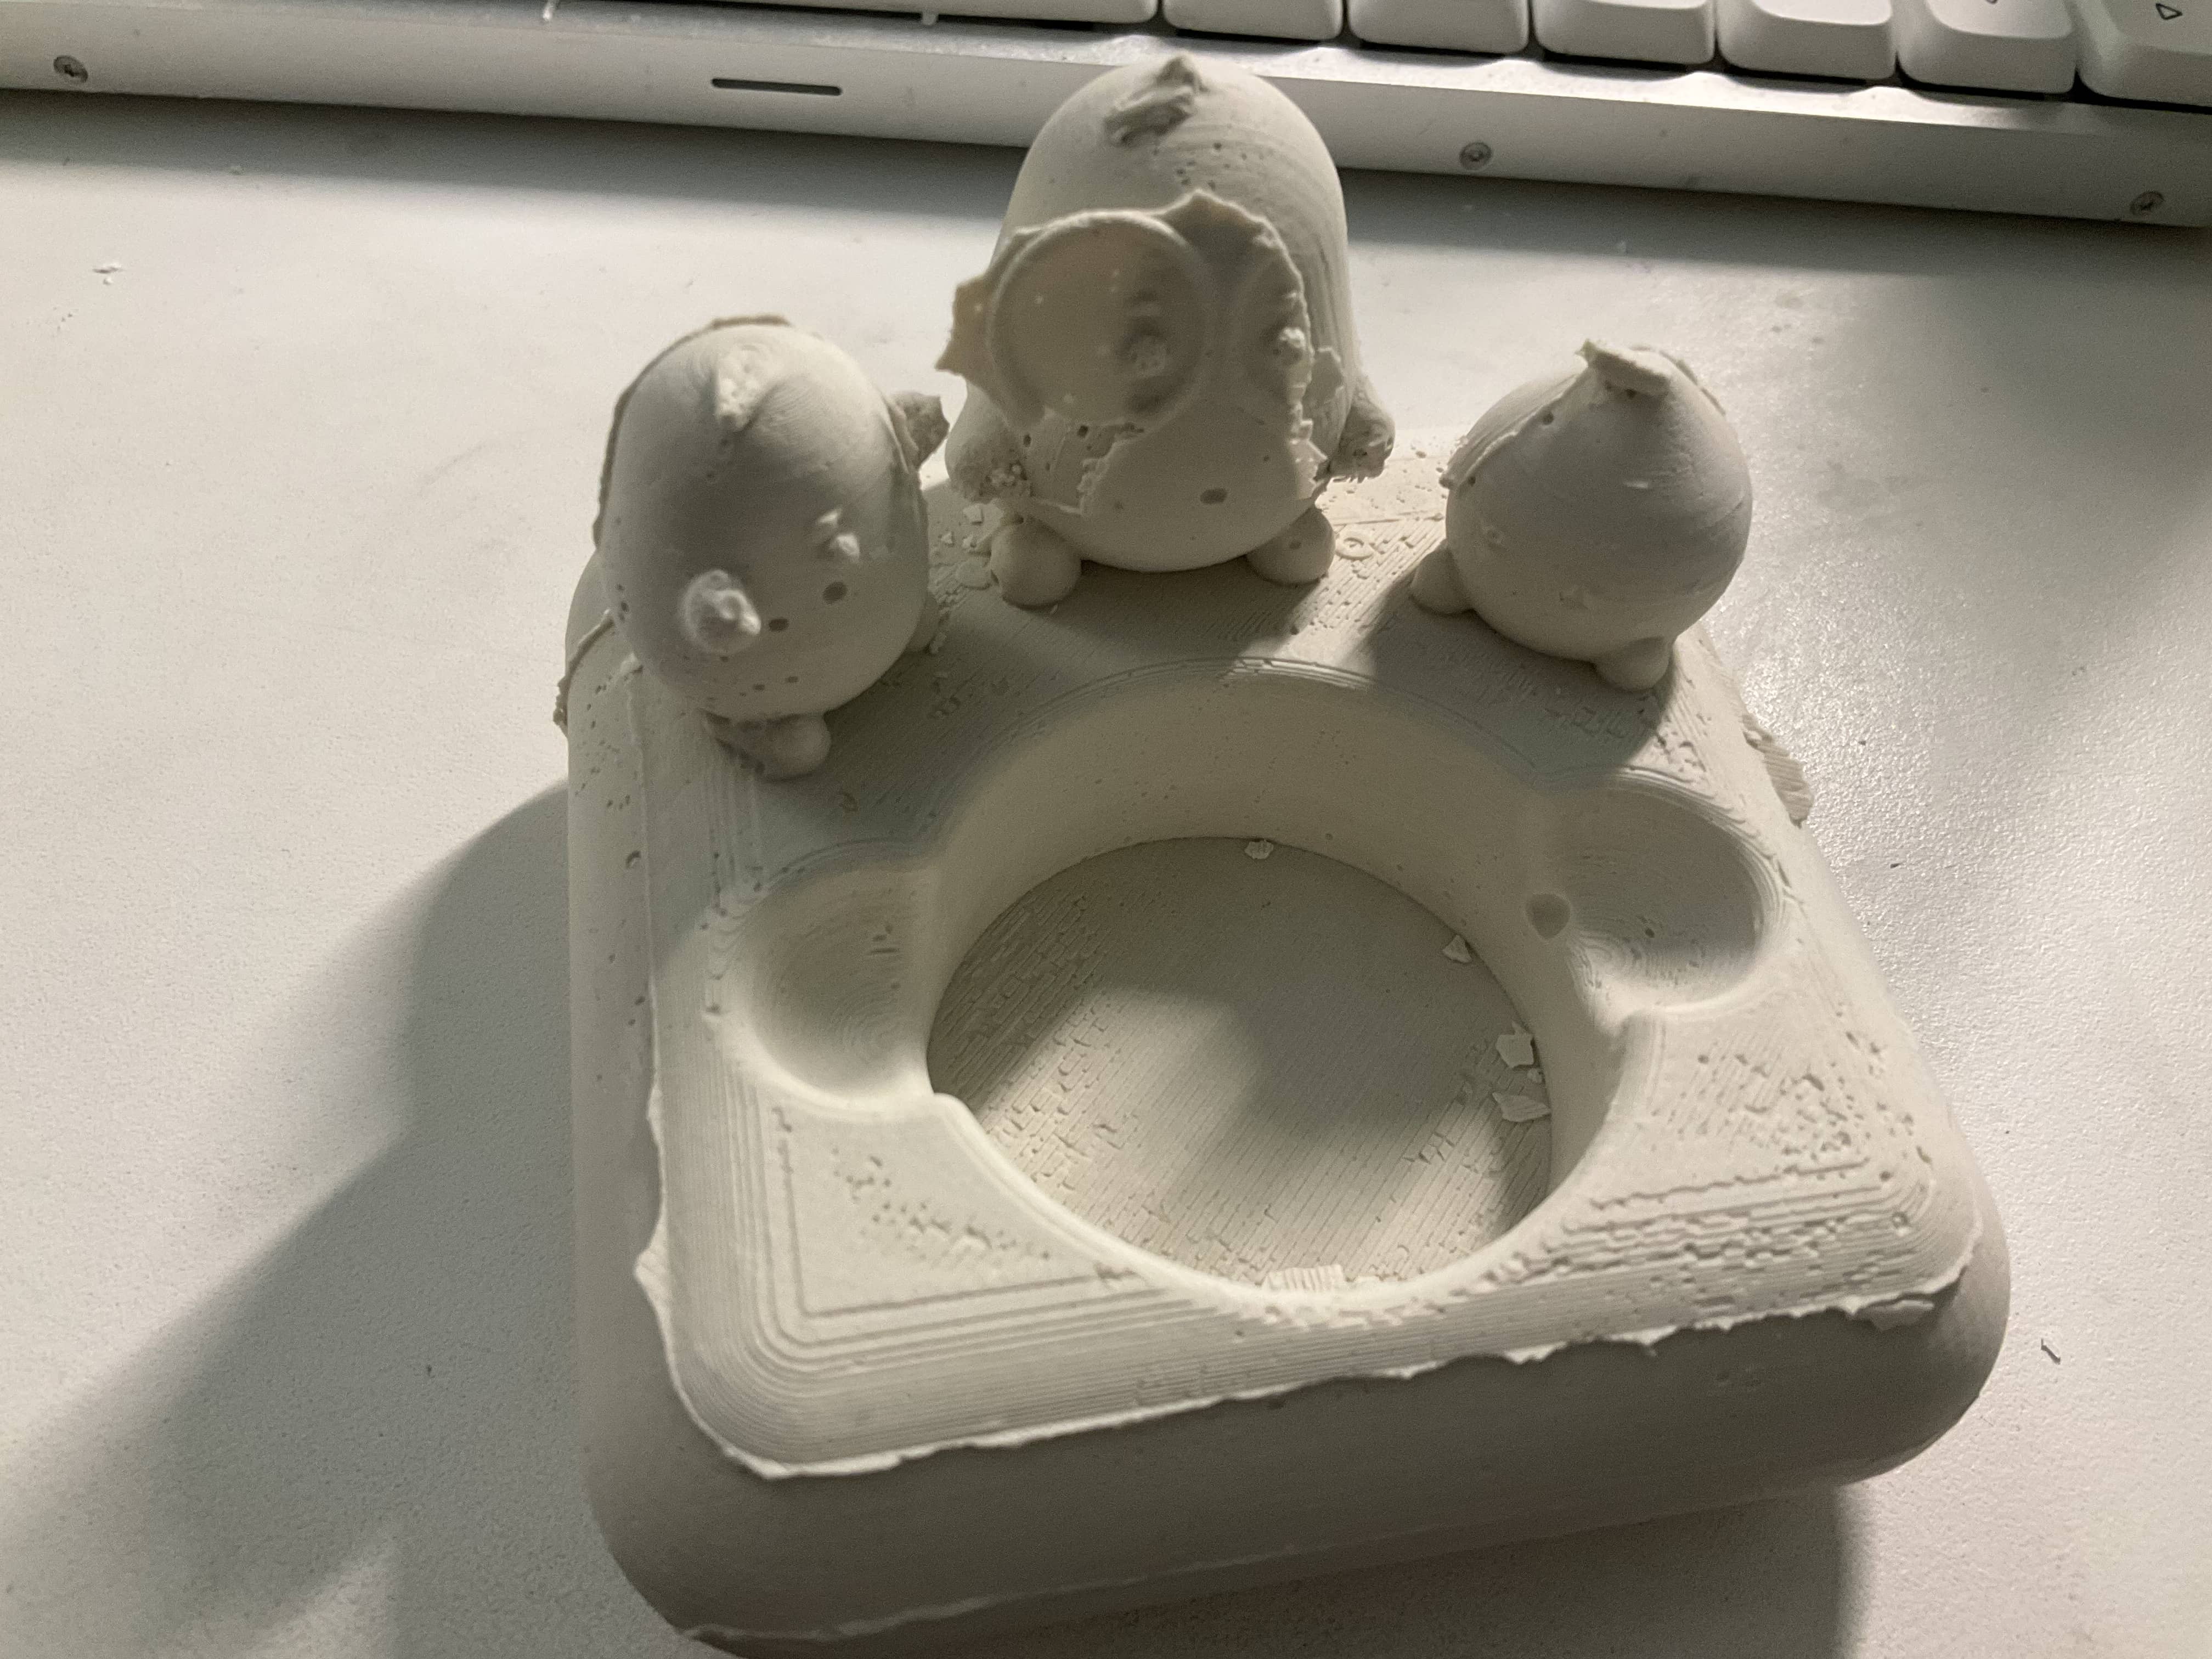
Although I took a lot of care into removing the cast from the mold, I broke off the small fragile details everytime to my dismay. The glasses and leaves would break off regardless of how careful I was or how long I let the plaster cure. For one of my earlier casts, I even broke off one of the arms on the cast.
I am assuming this happened due to the fact that plaster is brittle which makes it difficult for it to hold fragile and thin shapes well. I wonder if casting in a more durable substance like resin would allow the smallest details to be captured in the final cast.
Phase 5: Sanding & Reflection
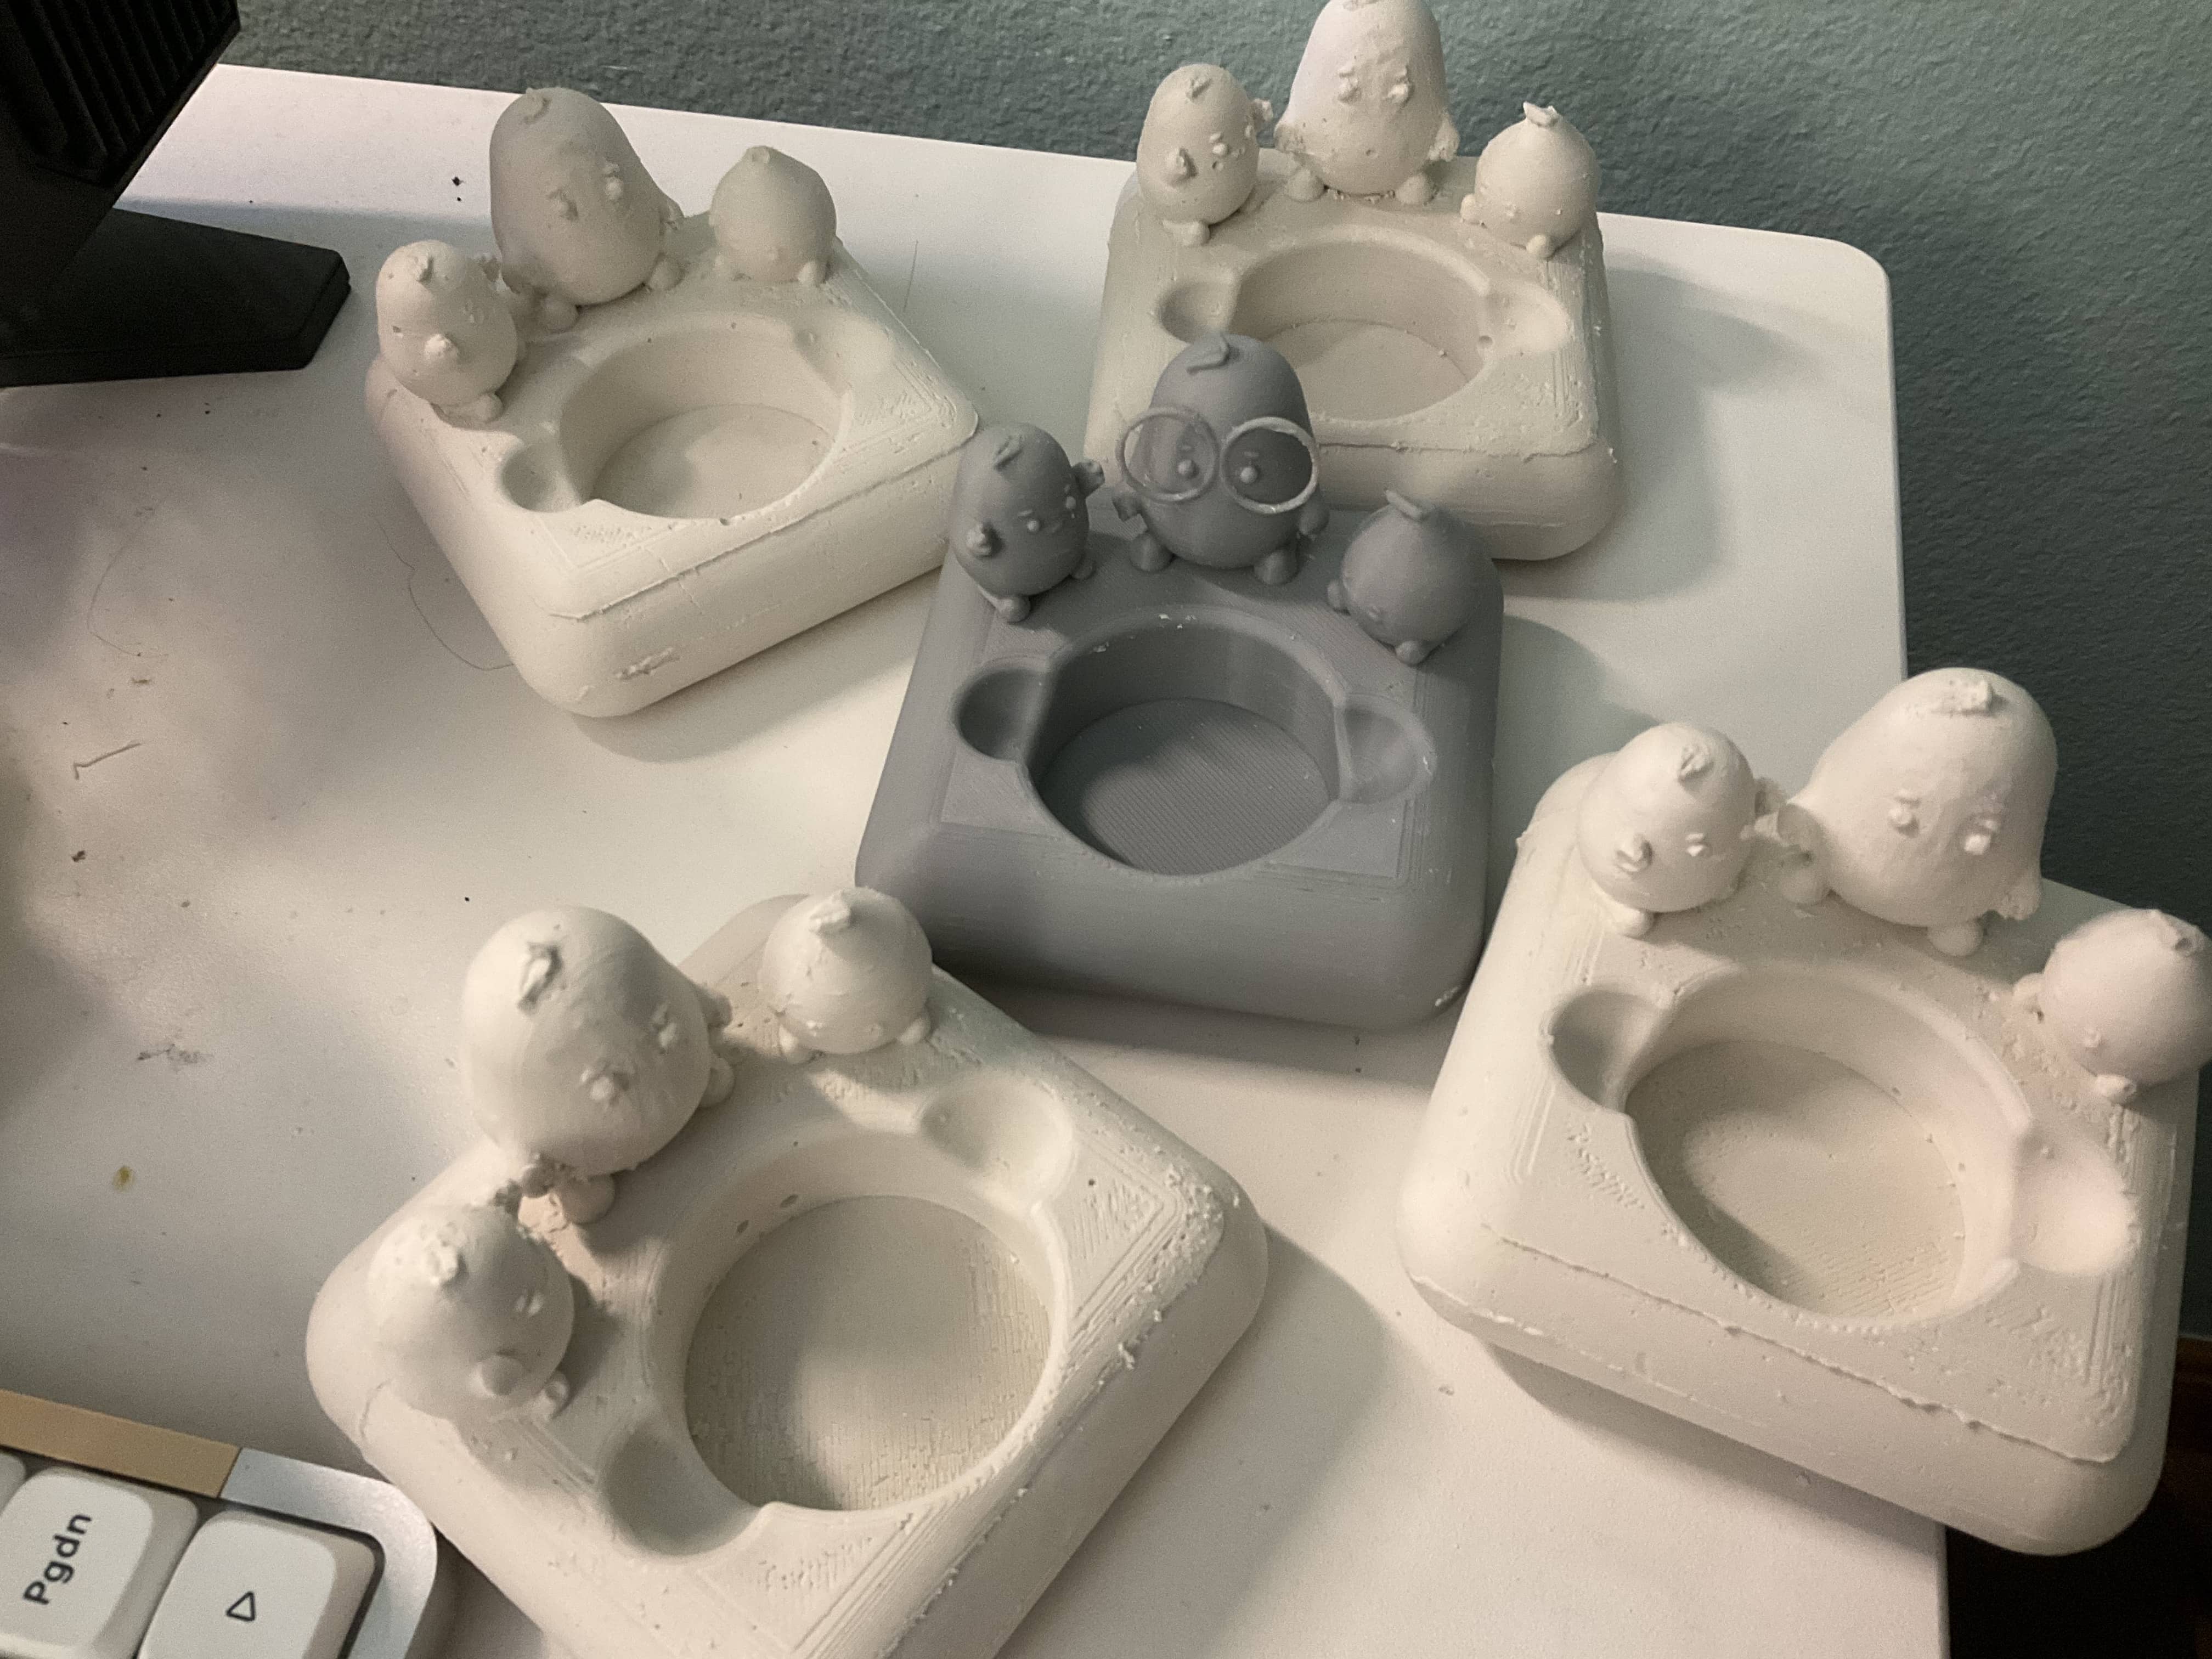
I ended up sanding off any remnants of the glasses off the final casts to make them more presentable.
Overall, I think this overall assignment was not as successful as I hoped for it to be. I believe my main oversight was making very small, delicate and fragile components in the original model and expected it to cast in plaster, which is a material I have not used often and was unaware of how brittle it is.
Taking this as a learning experience, I am aware that in the future, if I wanted to cast in plaster I should model simpler, uniform (not having hanging or open pieces), and thicker components.