Assignment 5: Getting Meshy & Lamps!
Assignment Details
Part 1: Modify the mesh of two STLs to produce a single printable STL. You may use whatever STLs you want, e.g. downloaded from Thingiverse or elsewhere! When exporting the STL from Rhino, it should pass all checks for rapid prototyping.
Part 2: Please make (a start on) a lamp! Using your lamp innereds' measurements as a point of departure, make a lamp that can be assembled around the innereds. You must make the lamp using digital fabrication techniques from prior weeks. You should be able to remove the lamp from the innereds again, so you cannot attach the lamp to the innereds with glue, fasteners, adhesive, etc.
Phase 1: Ideation & Sketching
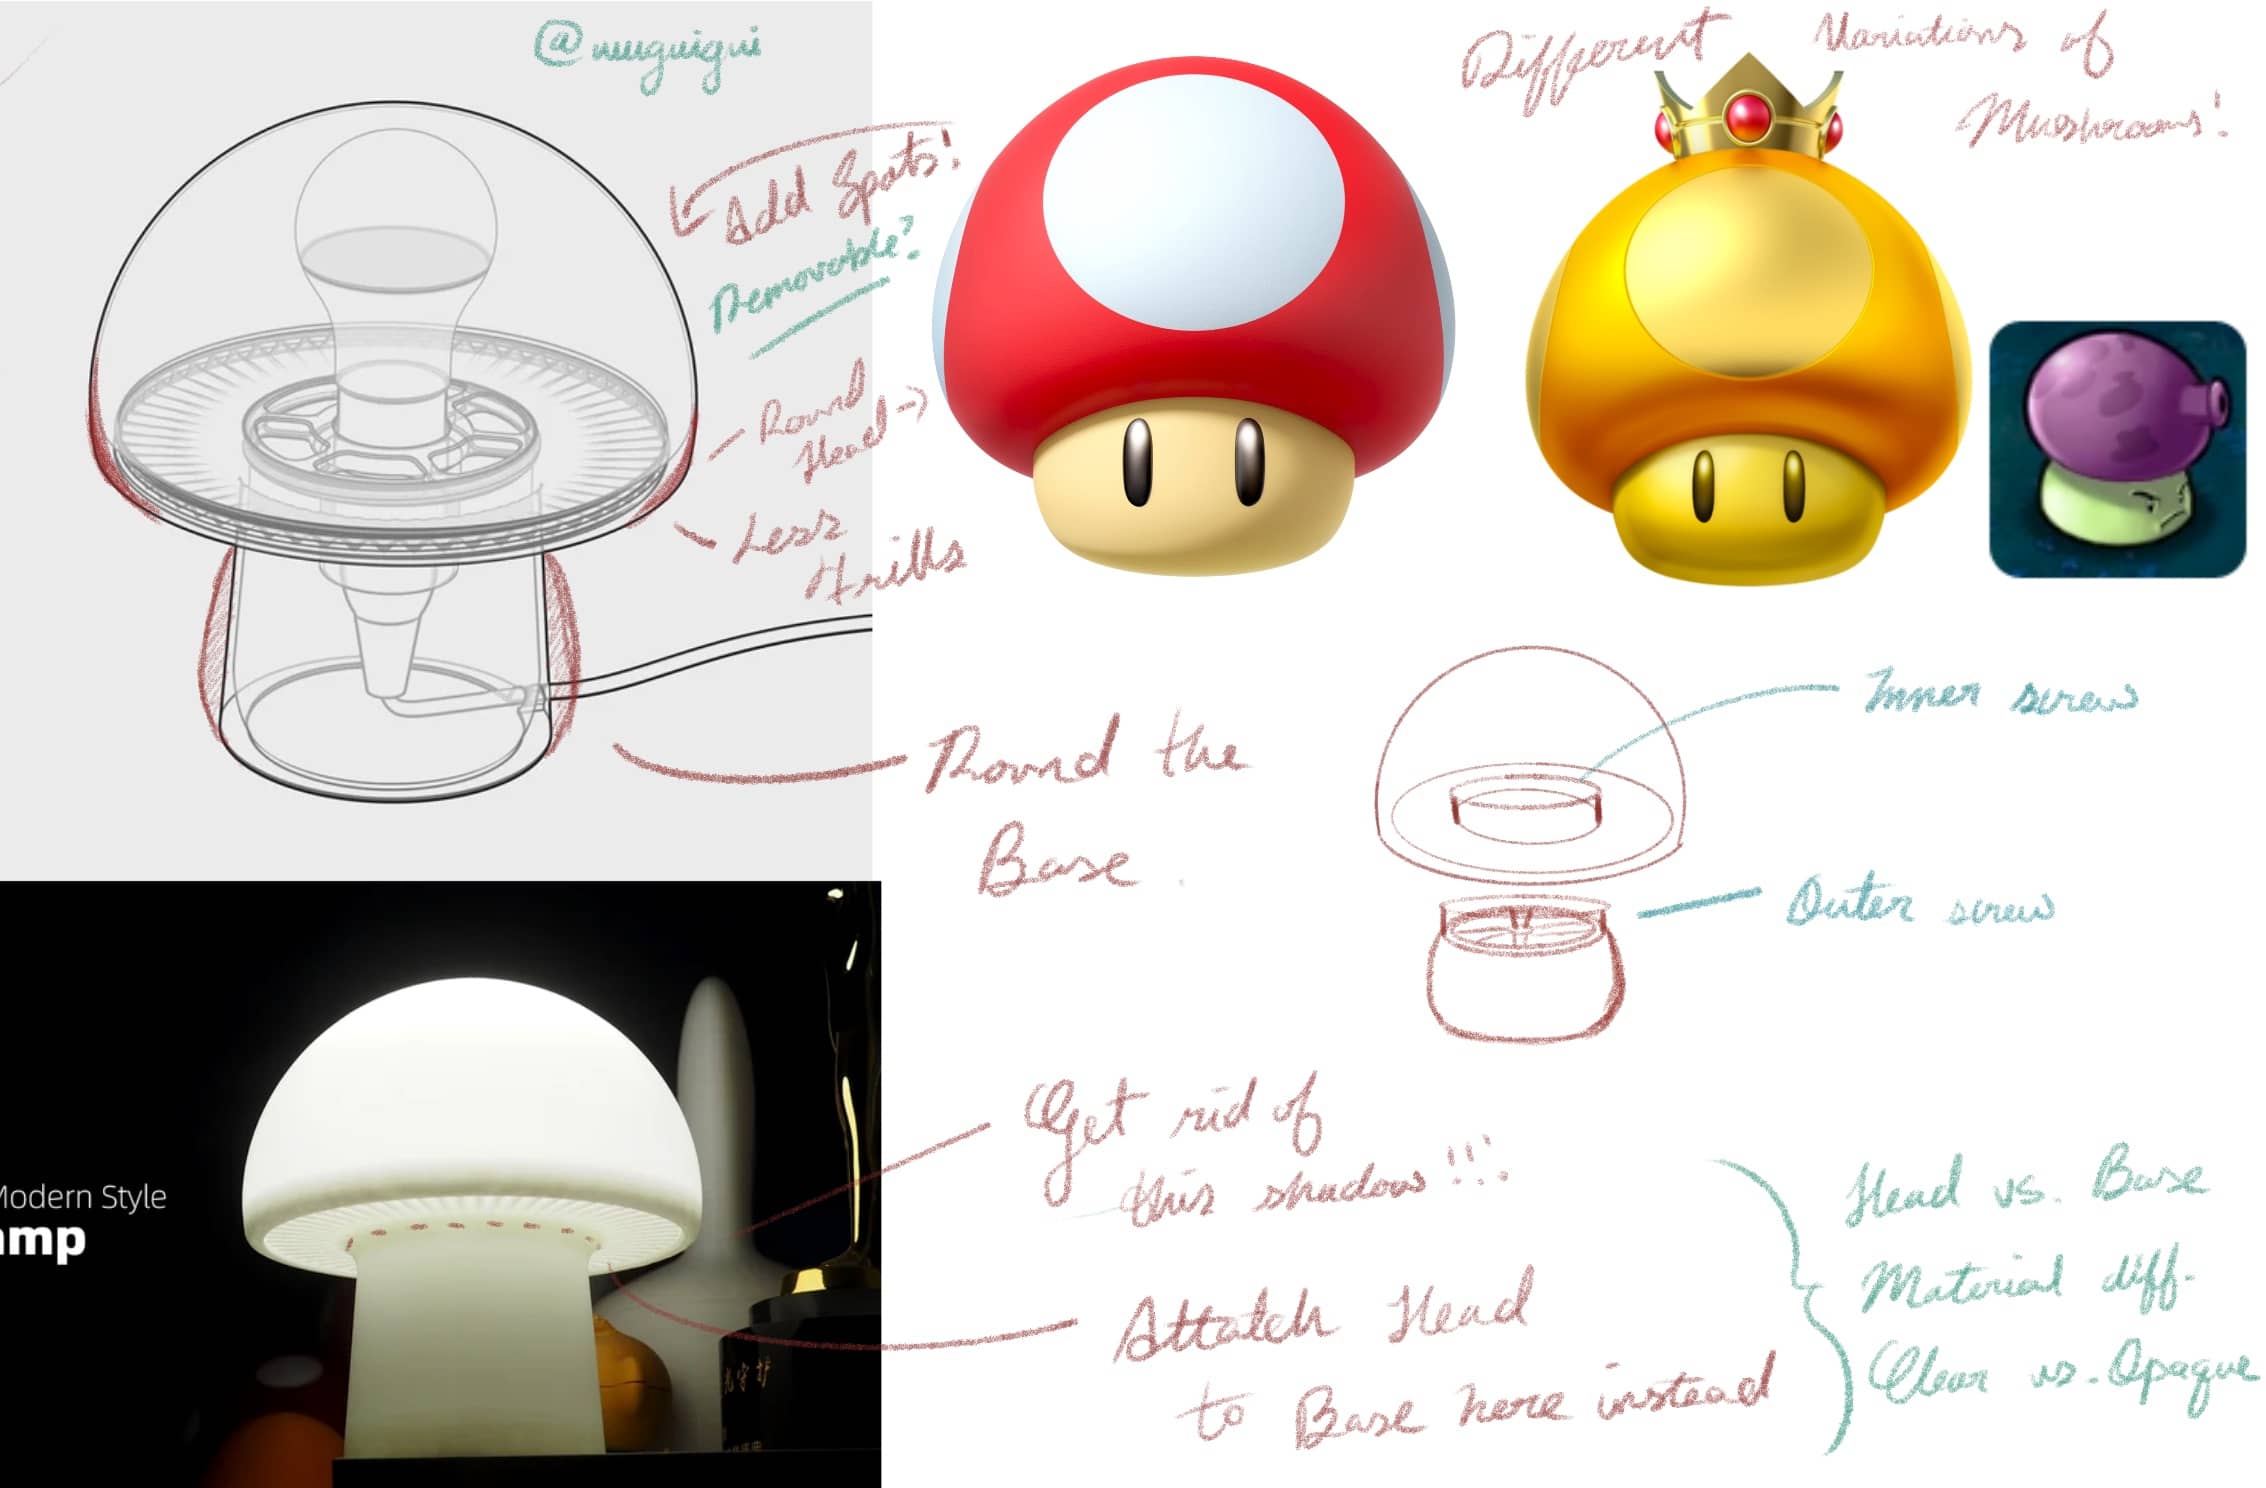
To be honest, I began this assignment in reverse order and completely forgot about Part 1 for most of the week. I began with looking through Thingaverse and Pinterest for ideas for lamps and decided to make a variation of a mushroom lamp.
After finding a few existing projects on Thingaverse, I sketched out my ideas and made notes on my goals for this project. I decided that I really wanted to test out varying filament materials and play with transparent materials since the goal of the assignment was to make a lamp.
Phase 2: Modeling & Failing in Fusion 360
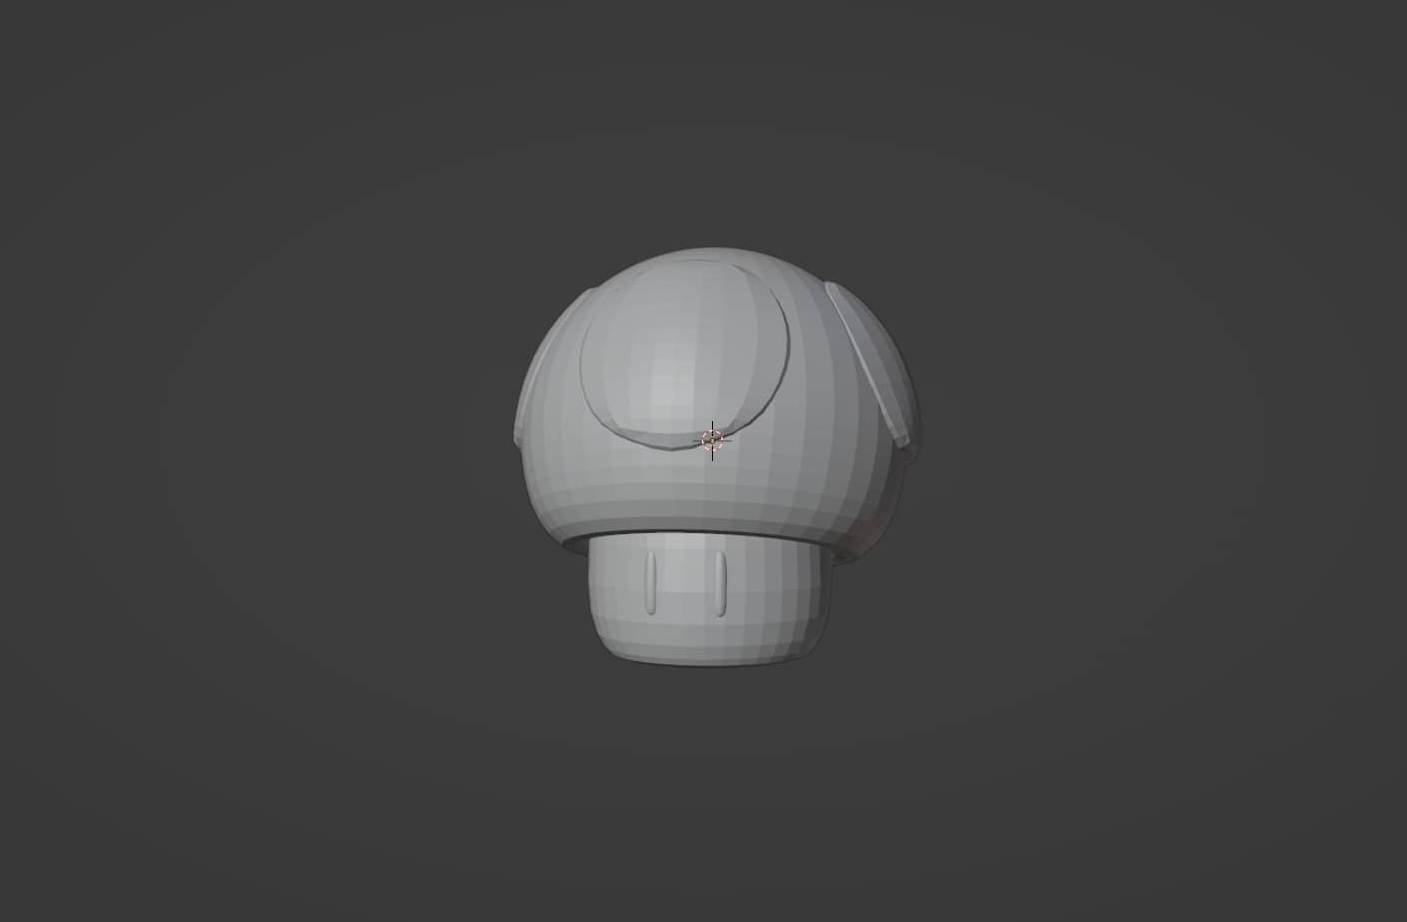
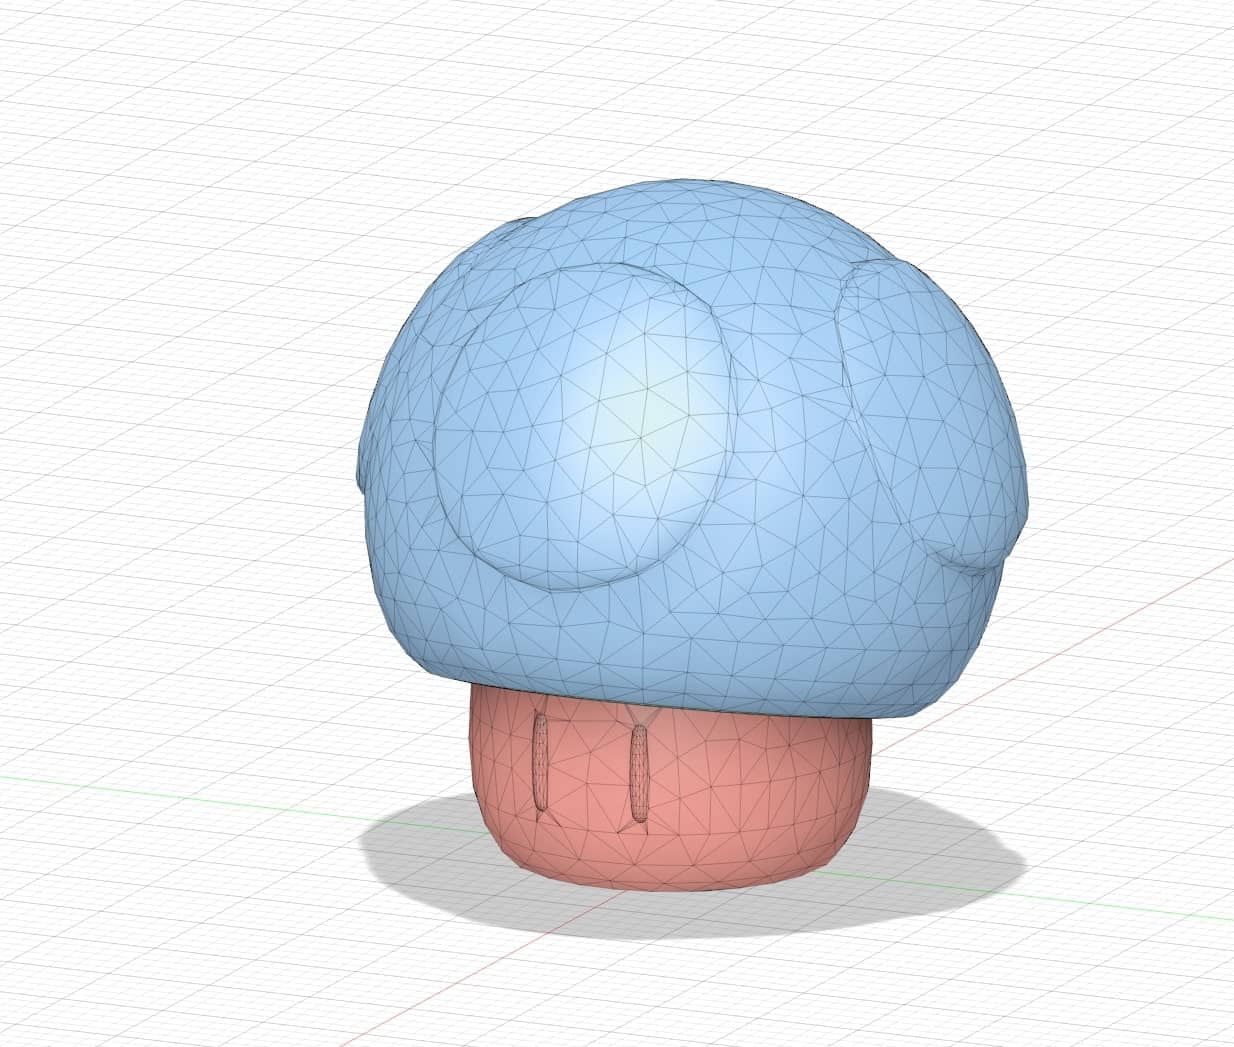
I wanted to make a Mario Mushroom (Nintendo please don't copystrike me ԅ[ •́ ﹏├┬┴┬┴) so I began to model a simple Mushroom in Blender. I was not particularly concerned about creating the model to scale for now, since I knew I could scale it in Fusion360 later.
After exporting my model from Blender as an .stl, I needed to import it into Fusion360 to model and create the more technical parts of my design (innereds and screw mechanisms).
However, I spent DAYS ˚‧º·(˃̣̣̥⌓˂̣̣̥)‧º·˚ trying to import my model into Fusion360.
In the end, I had to remodel my Mushroom in Fusion360 instead. I was mainly running into an issue where my original model had too many faces and Fusion360 would crash before my .stl could be converted into a editable solid. I tried reducing the mesh, but then I would lose all the detail I wanted to keep. It ended up being easier to remodel the Mushroom in Fusion360, even if I had to lose some of the slopes and angles I had in my original model.
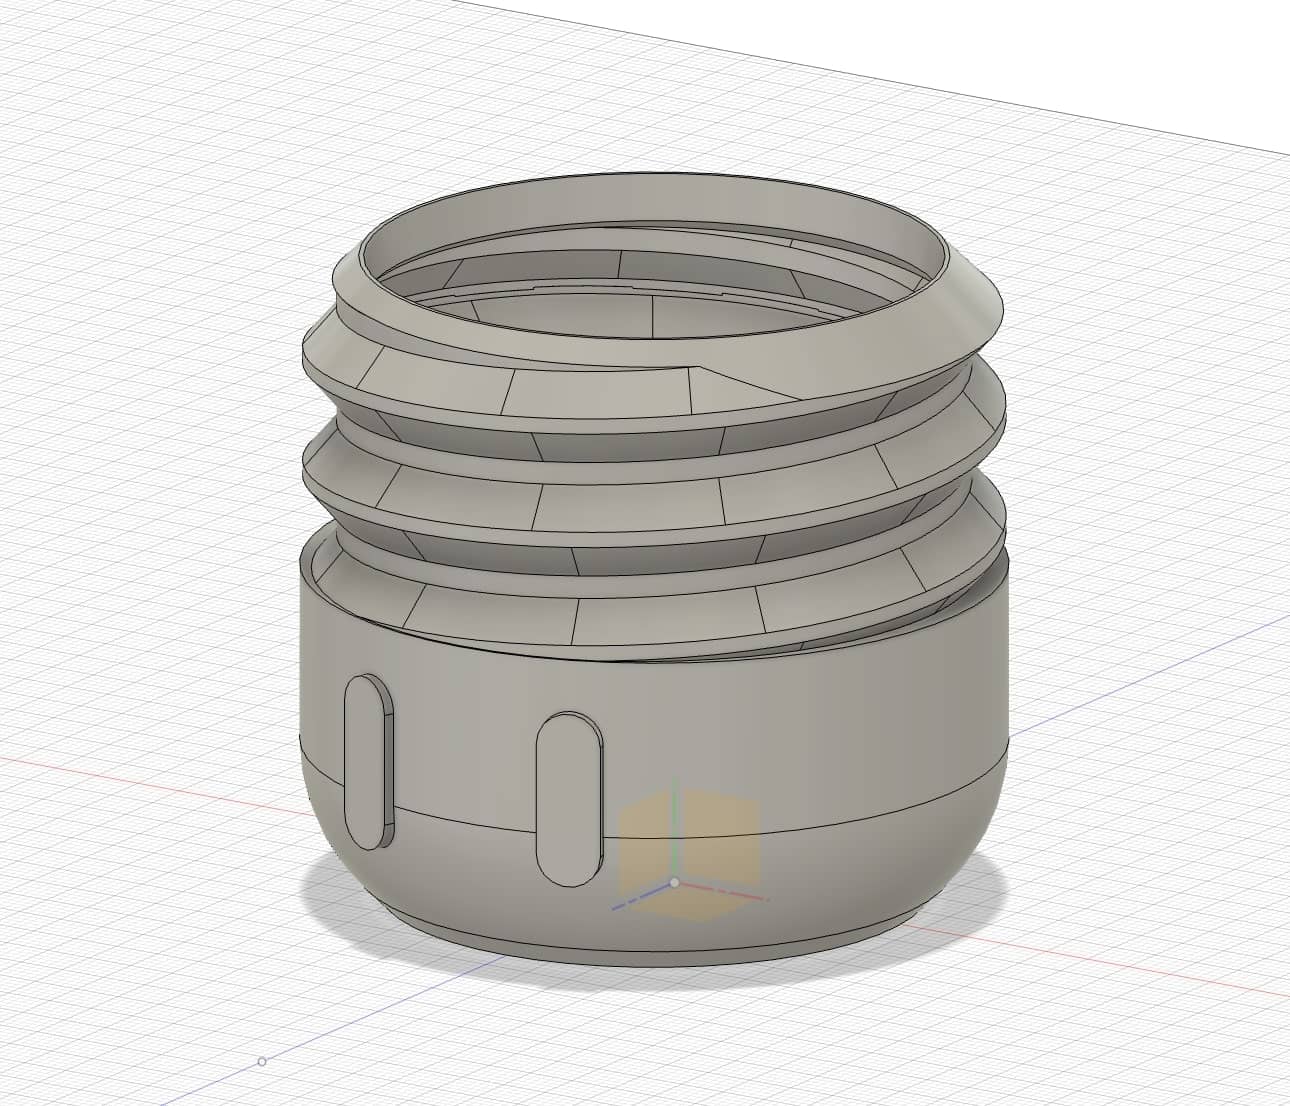
When creating my Mushroom in Fusion360, I decided to focus on the outer design and function before I focused on the innereds (also because my lamp base didn't arrive yet (Ŏ艸Ŏ)). I focused on making sure the top and bottom could screw together, so that the bulb and lamp base could be replaced/removed in the future. Luckily, Fusion360 has a lovely "screw" function and with the help of this Youtube Tutorial. I also wanted to make the bottom of the base removable so that the lamp cable could be removed, but the base of the lamp would still look neat (I haven' gotten to this part yet, but it is planned!).
Phase 3: Panic! at Part One of the Assignment
If I didn't mention earlier, remodeling in Fusion360 also took another few days. So by this time, I had maybe one or two days to complete Part 1 of the assignment (╥╯⌒╰╥๑).
In order to save time, I used my original model created in Blender and decided to make the Golden Mushroom from Mario. This was fine, considering I couldn't find a Golden Mushroom on Thingaverse that I liked and was true to the original design (again, Nintendo don't come after me (ㆆ ᴗ ㆆ)).
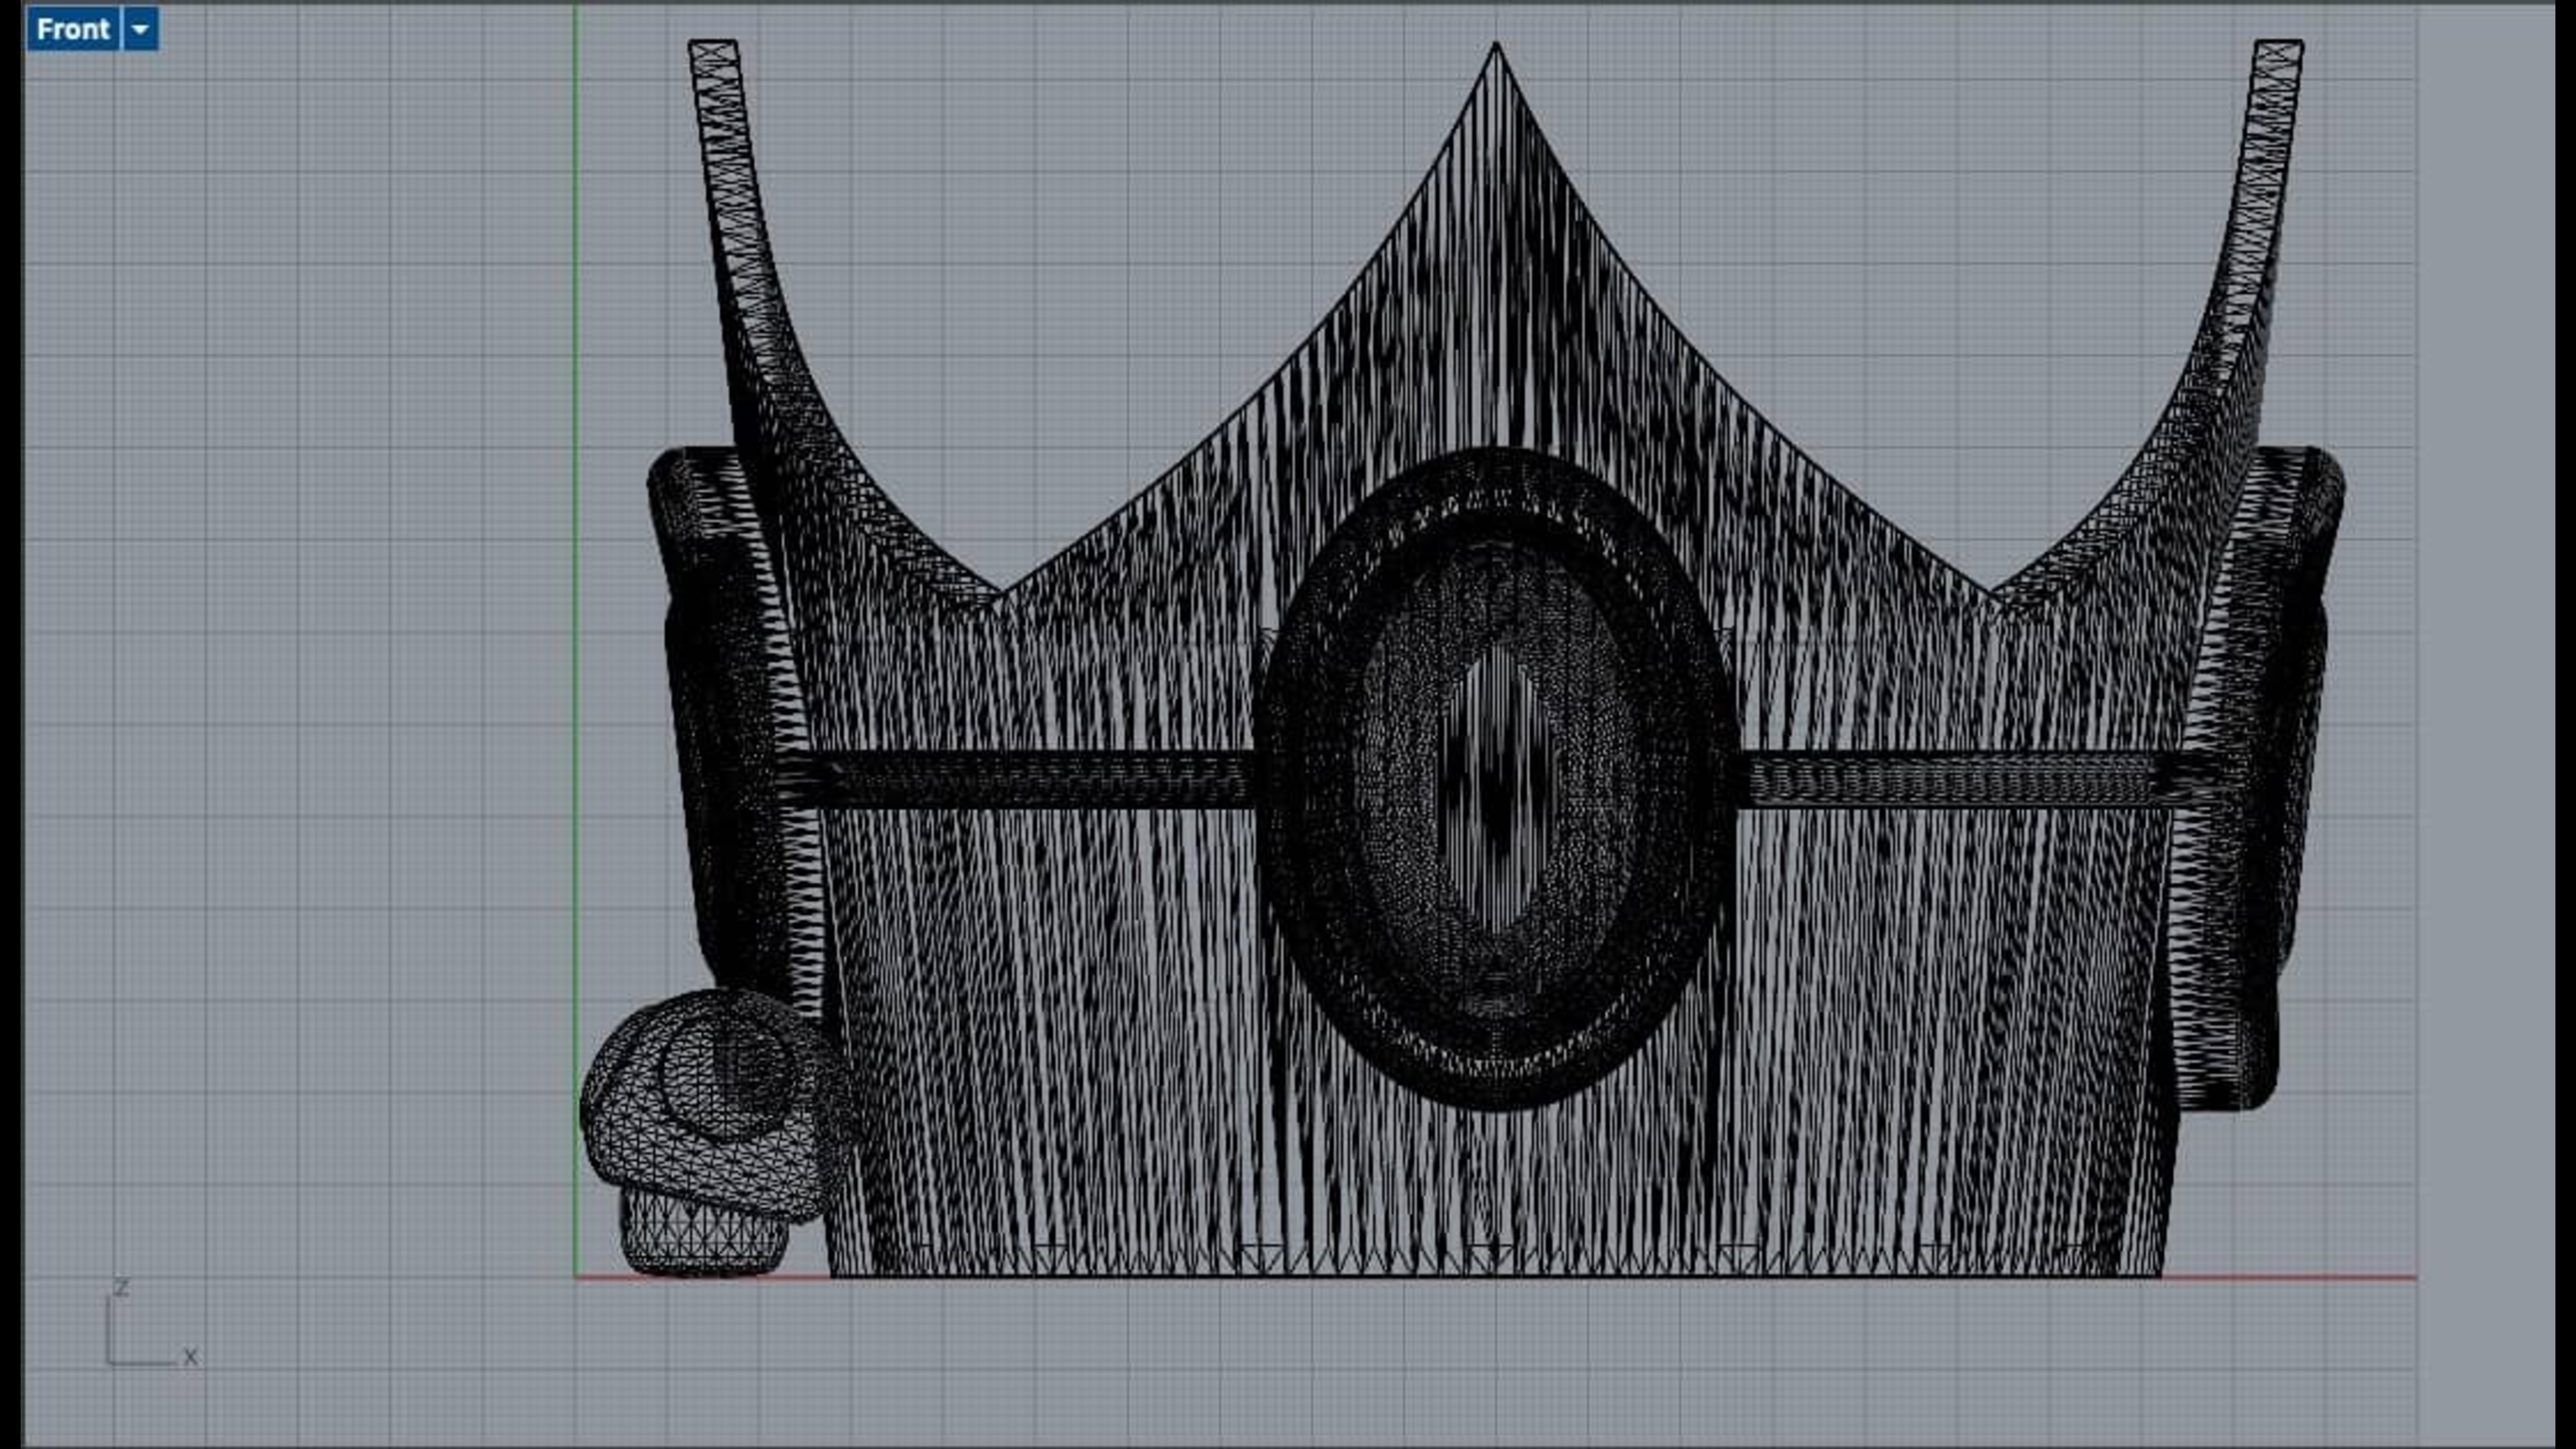
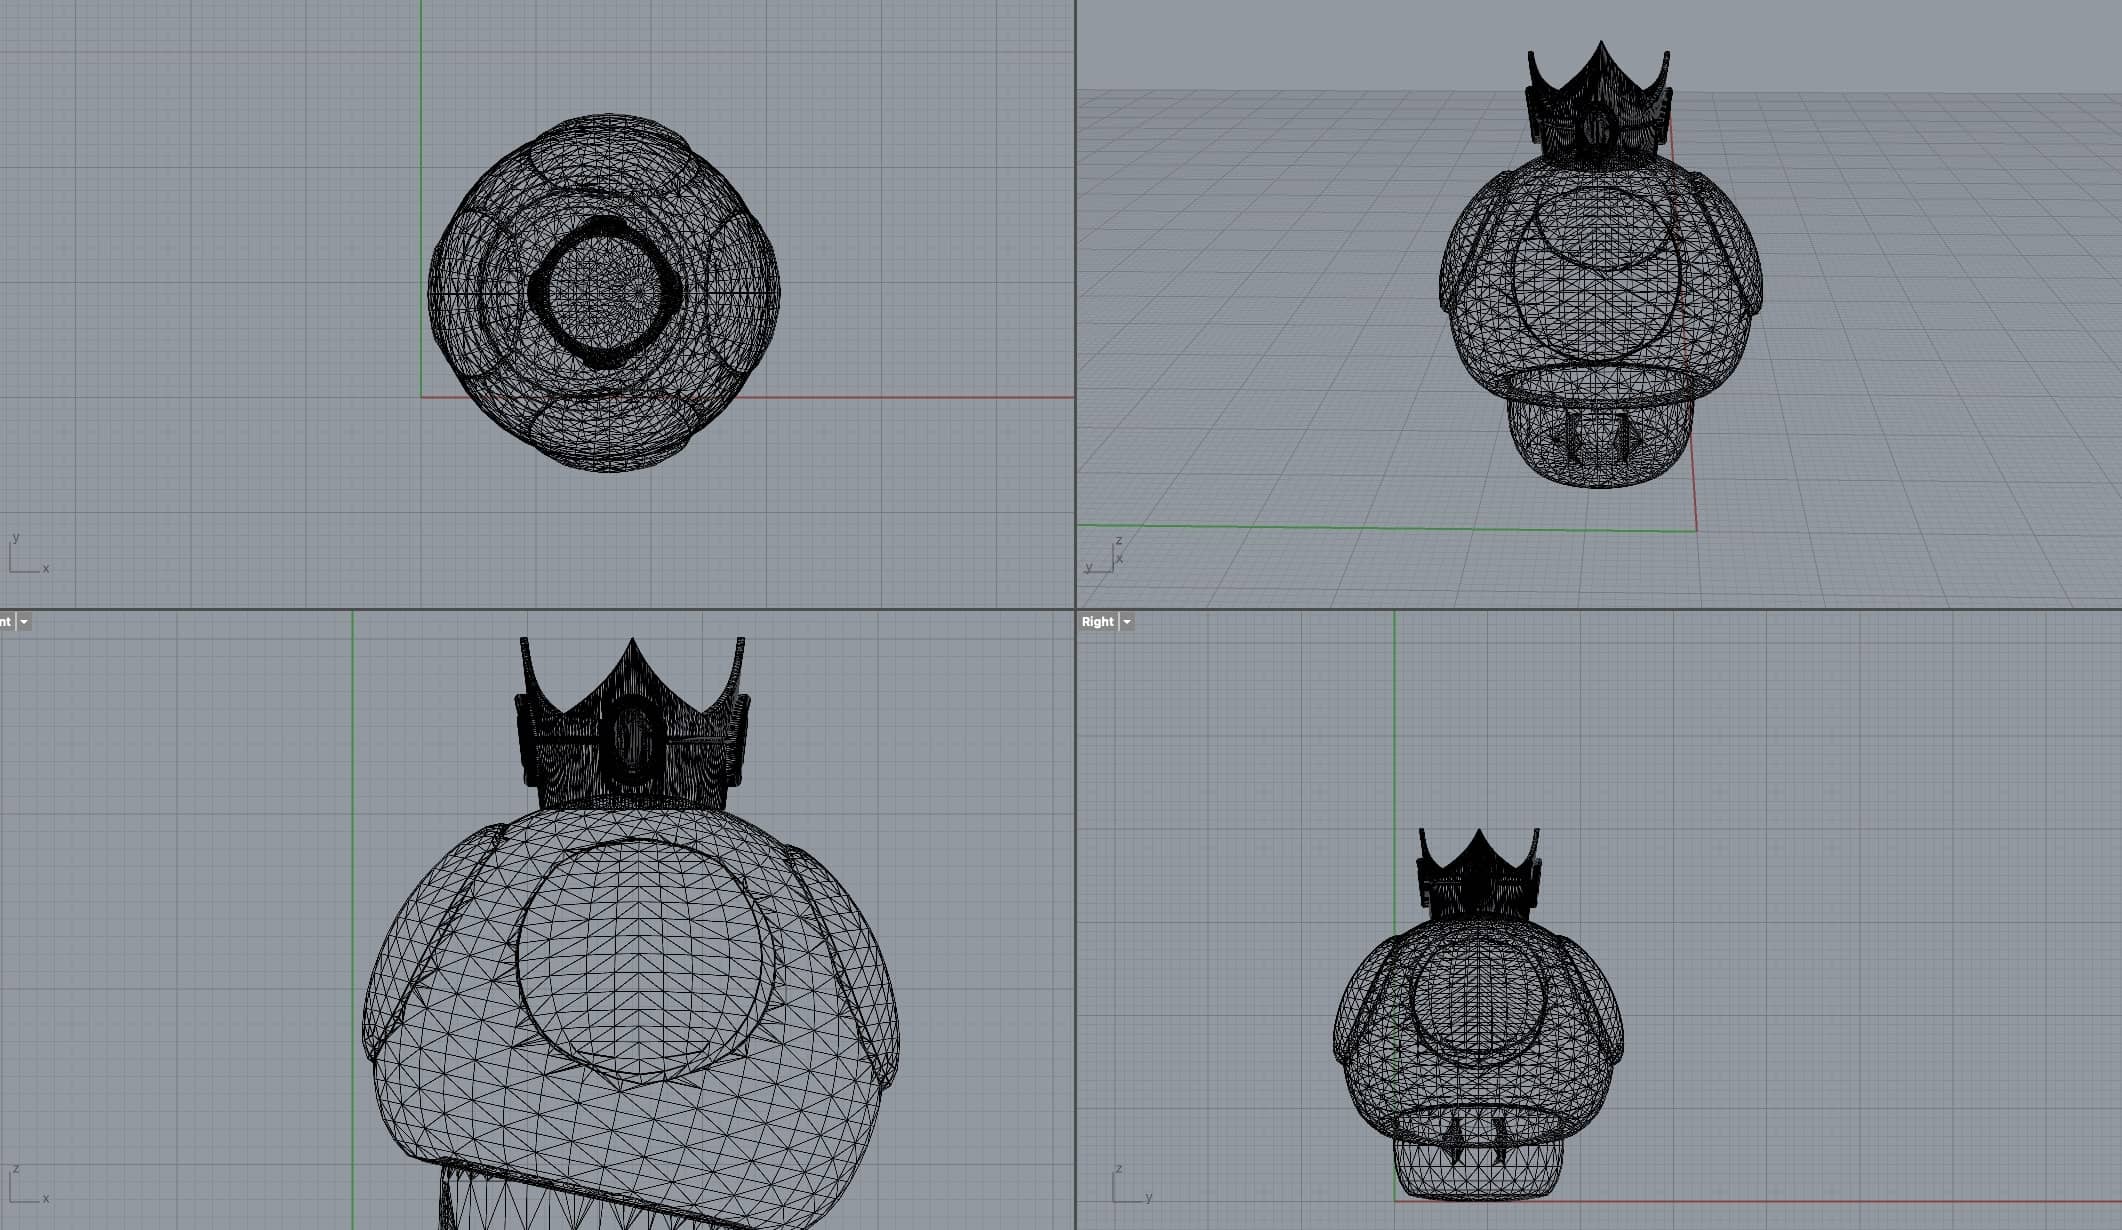
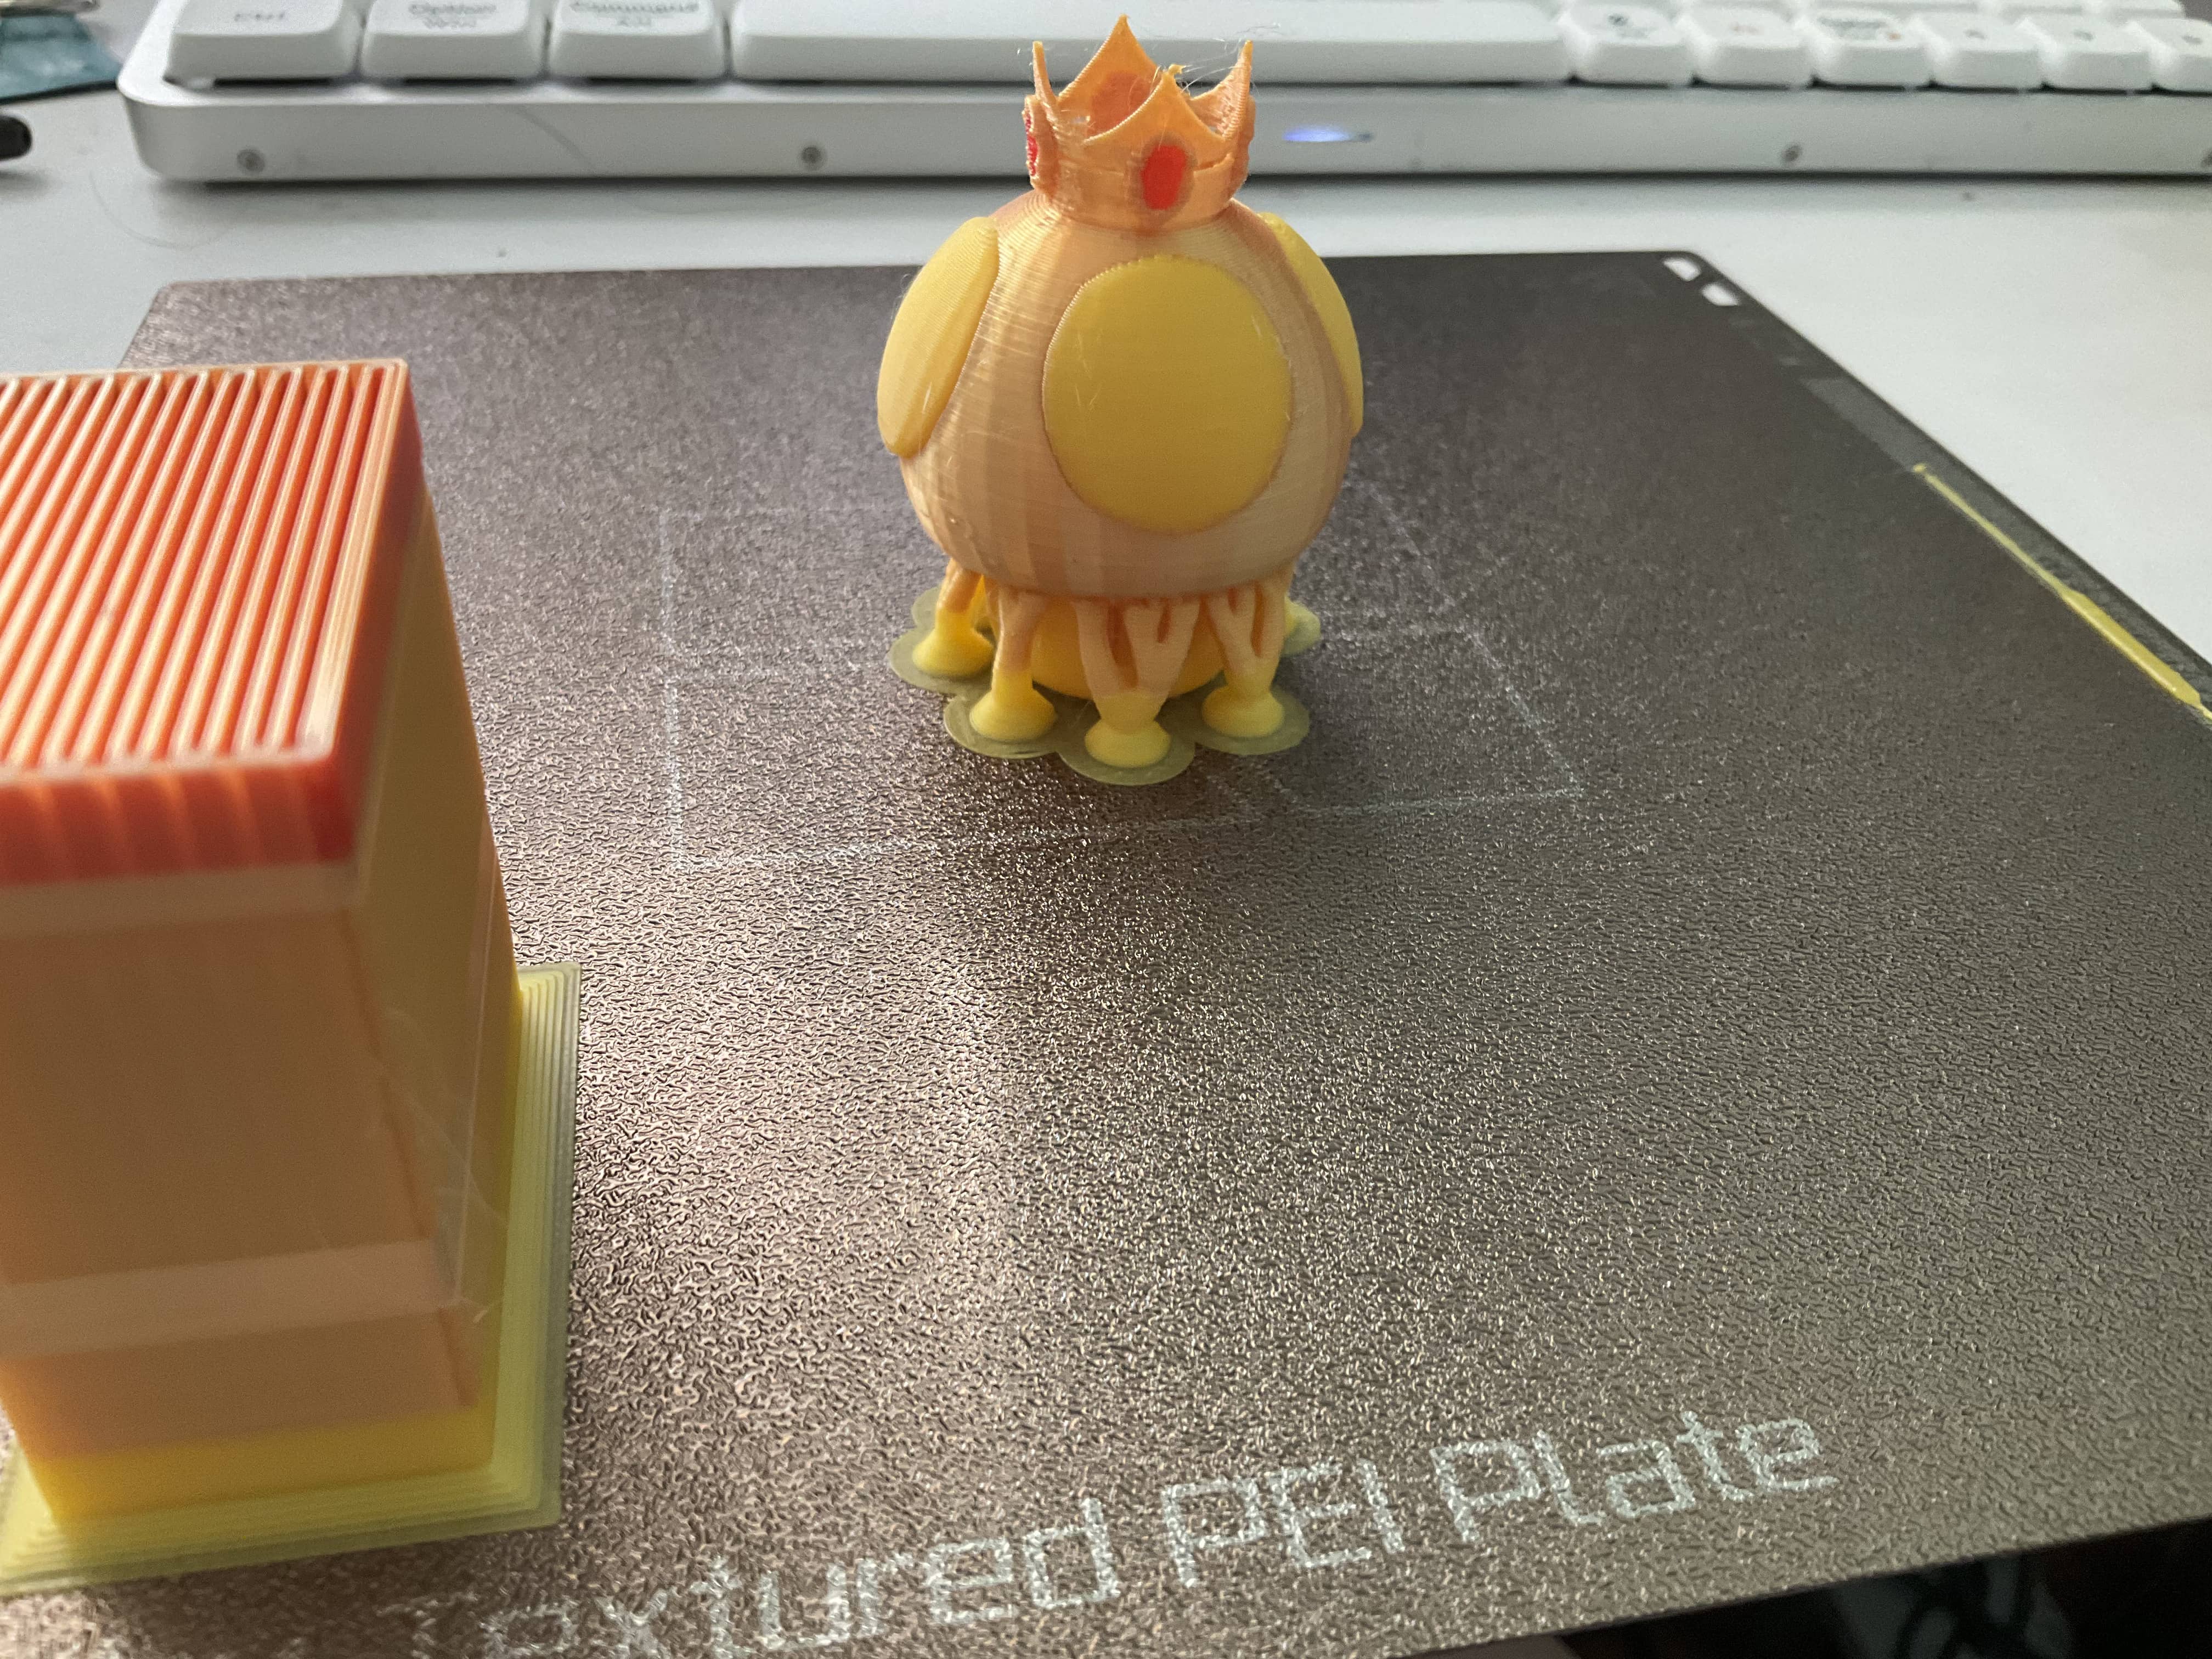
I ended up finding a Princess Peach Crown on Thingaverse (credits to Killonious) that I could use for the Golden Mushroom crown and imported both of these .stl files into Rhino.
I ended up not having to make too many edits to the meshes after some scaling, aligning, and rotating of the two meshes. I used the Join command to join the two meshes together into a single mesh to be printed.
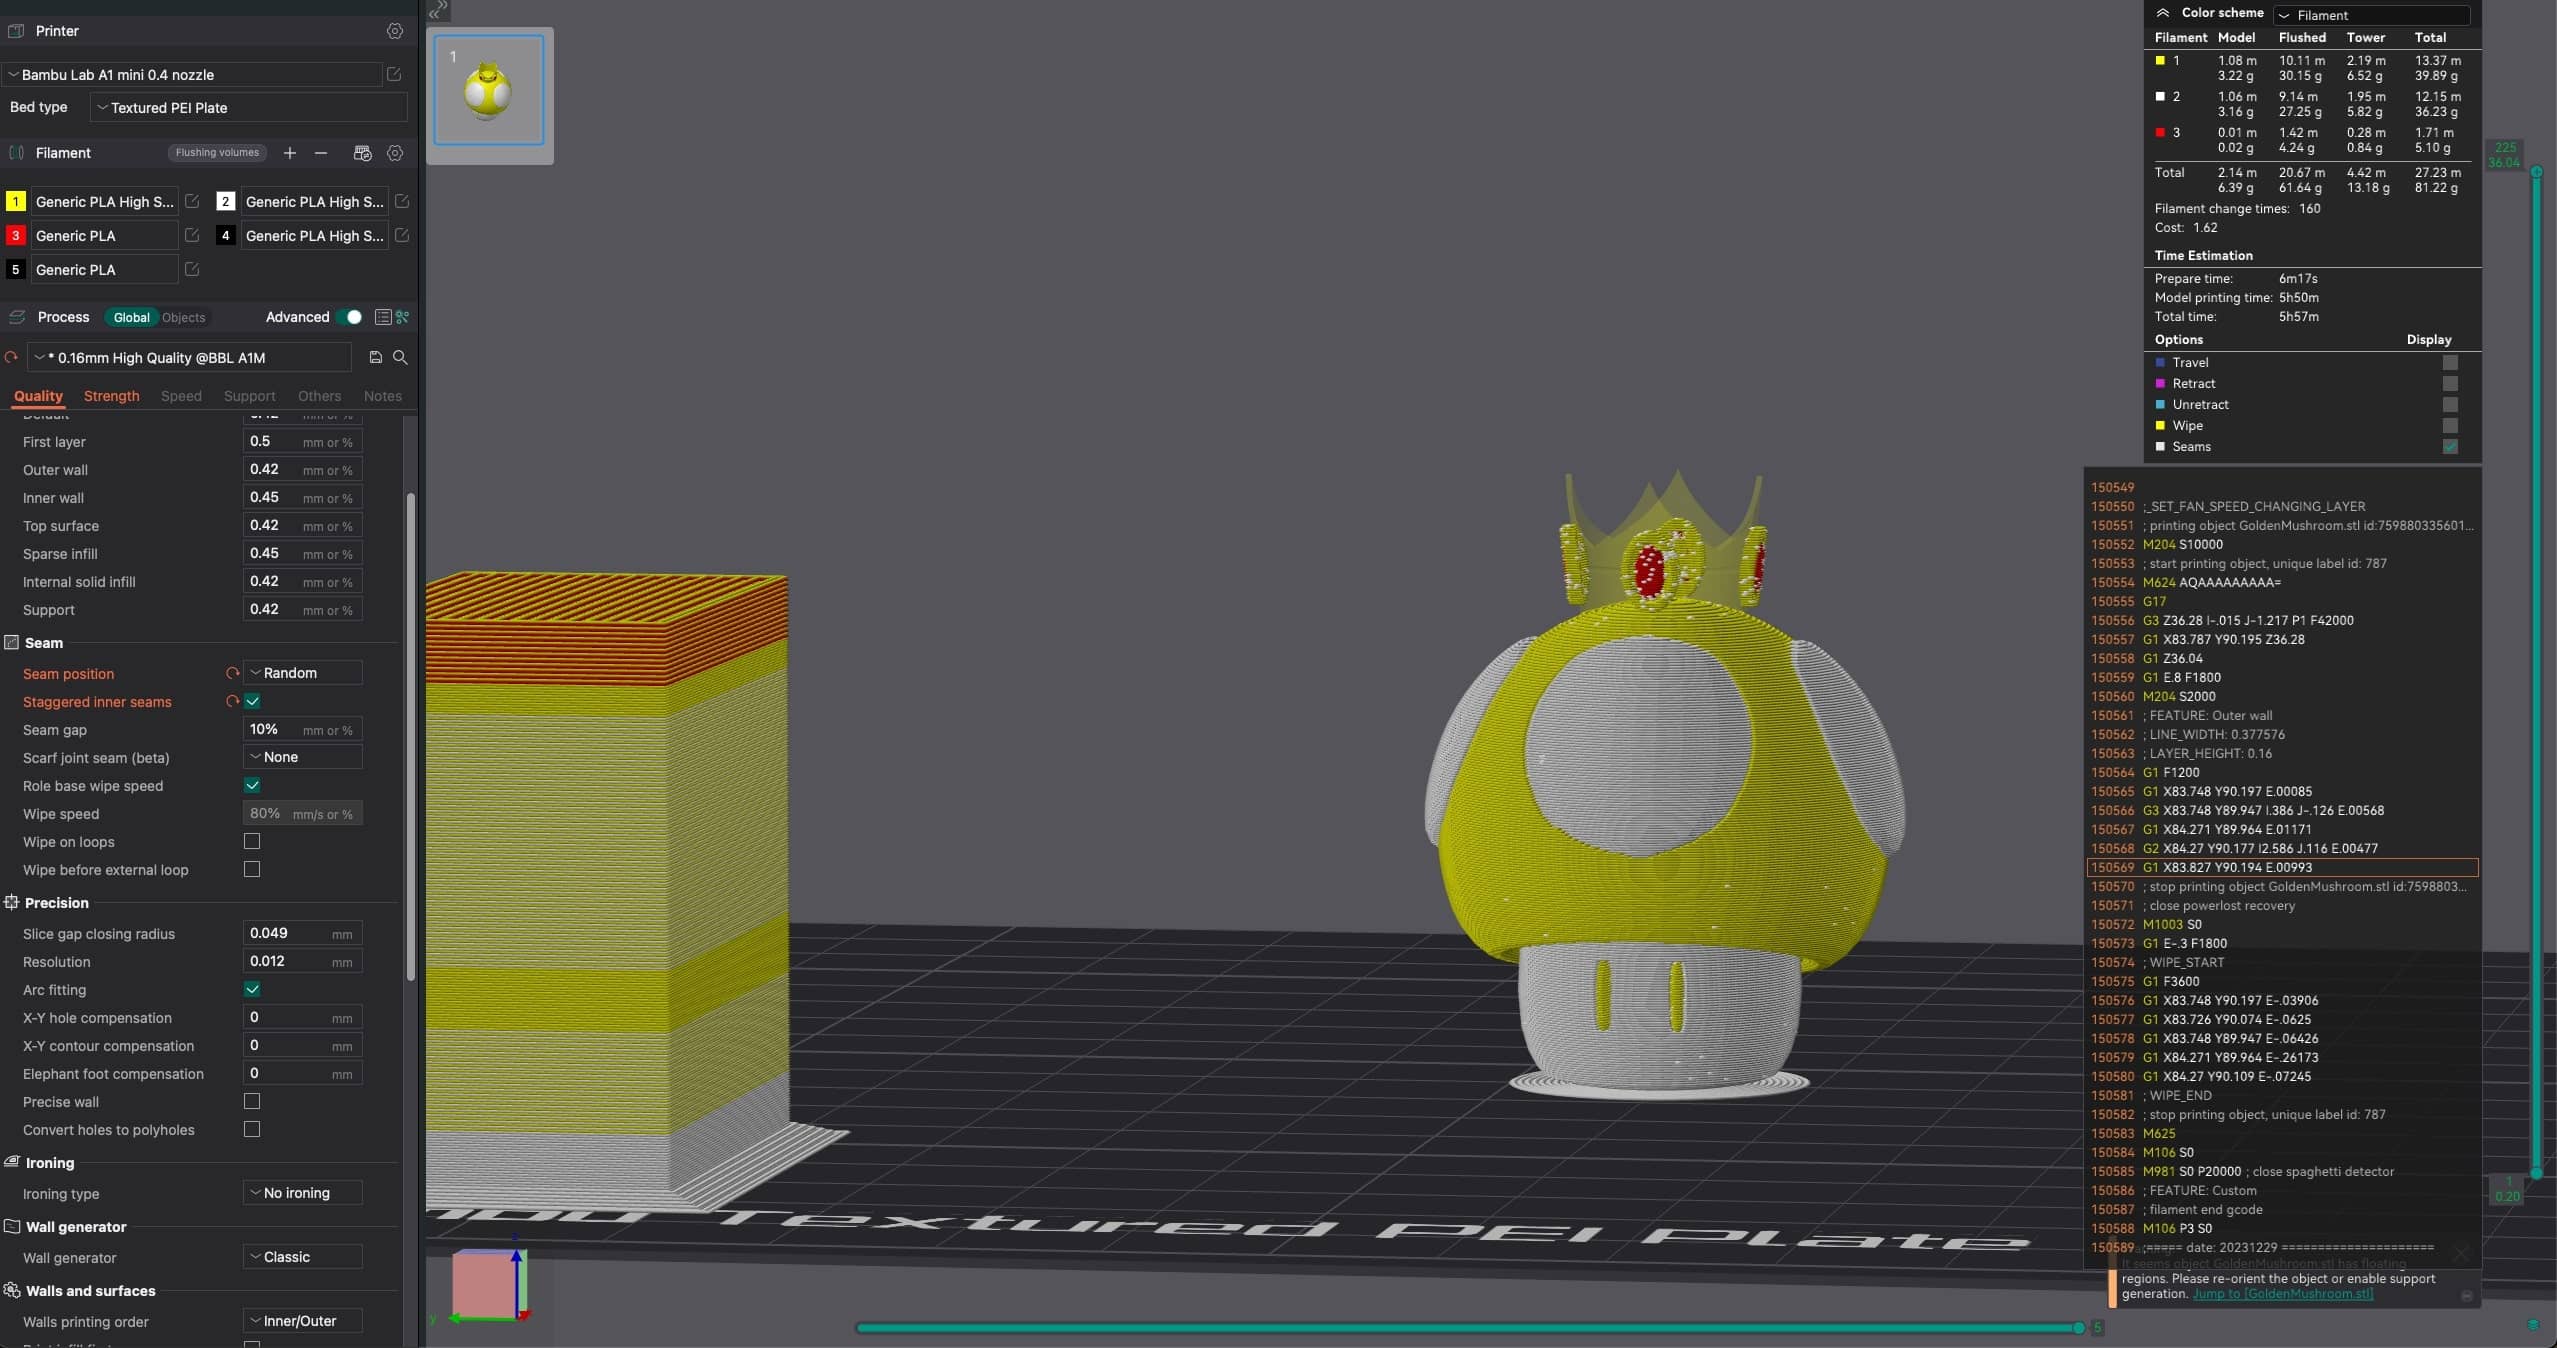
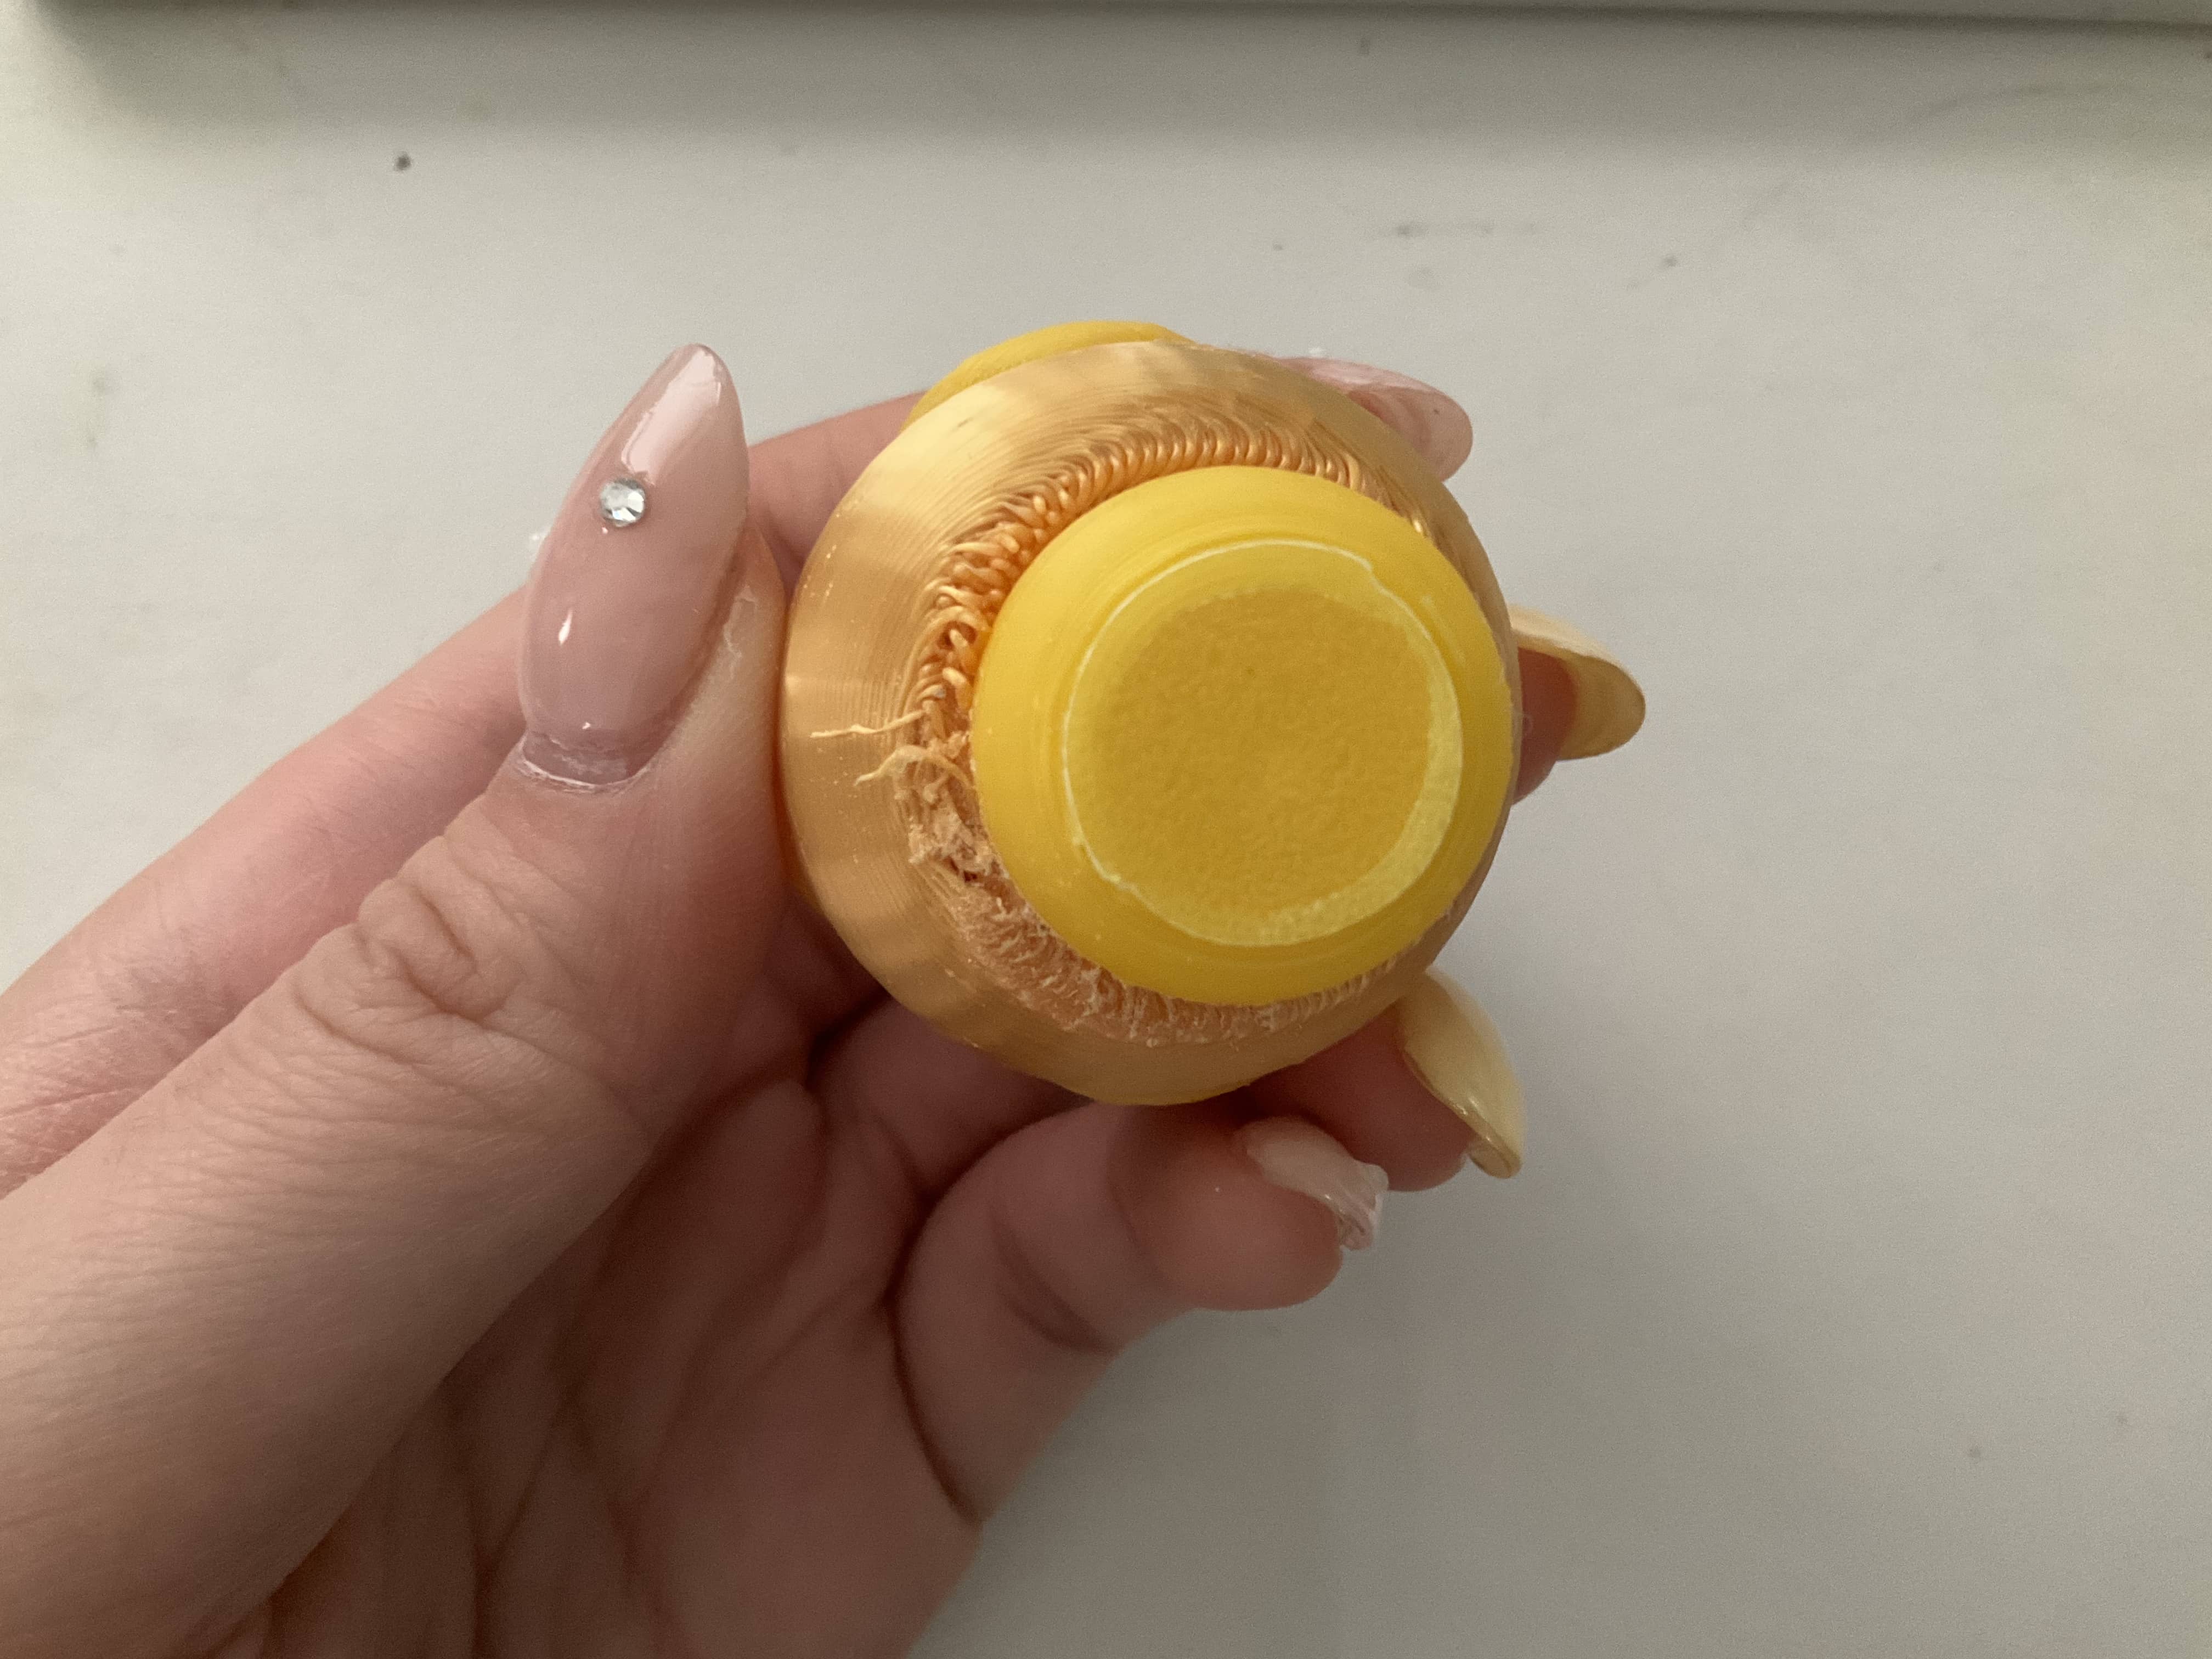
After importing into Orca Slicer, I edited some of the settings (0.16mm High Quality Setting; Concentric Shells; Random Seam Alignment) in order to achieve a quicker print. I reduced the infill to 0% and my final print took about 7 and a half hours. HOWEVER, after I was finished with my print, I realized that I definitely needed to add supports, since the underside of my mushroom was mangled. This mushroom still could be saved with some sanding and a finishing spray, but I decided to print another mushroom with Tree Supports to see if I could ended up with a neater final product.
Phase 4: Final Product & Reflection
The tree supports definitely helped! The final product looks much neater! °˖✧◝(⁰▿⁰)◜✧˖°
Overall, I felt like I spent a lot of time moving from one file format to another. While I have more experience with Blender and feel more comfortable modeling meshes in Blender, it was a giant PAIN to import meshes into Fusion360. I was better off creating a simpler model in Fusion360 even though I would lose some of the detail I had in my original model.
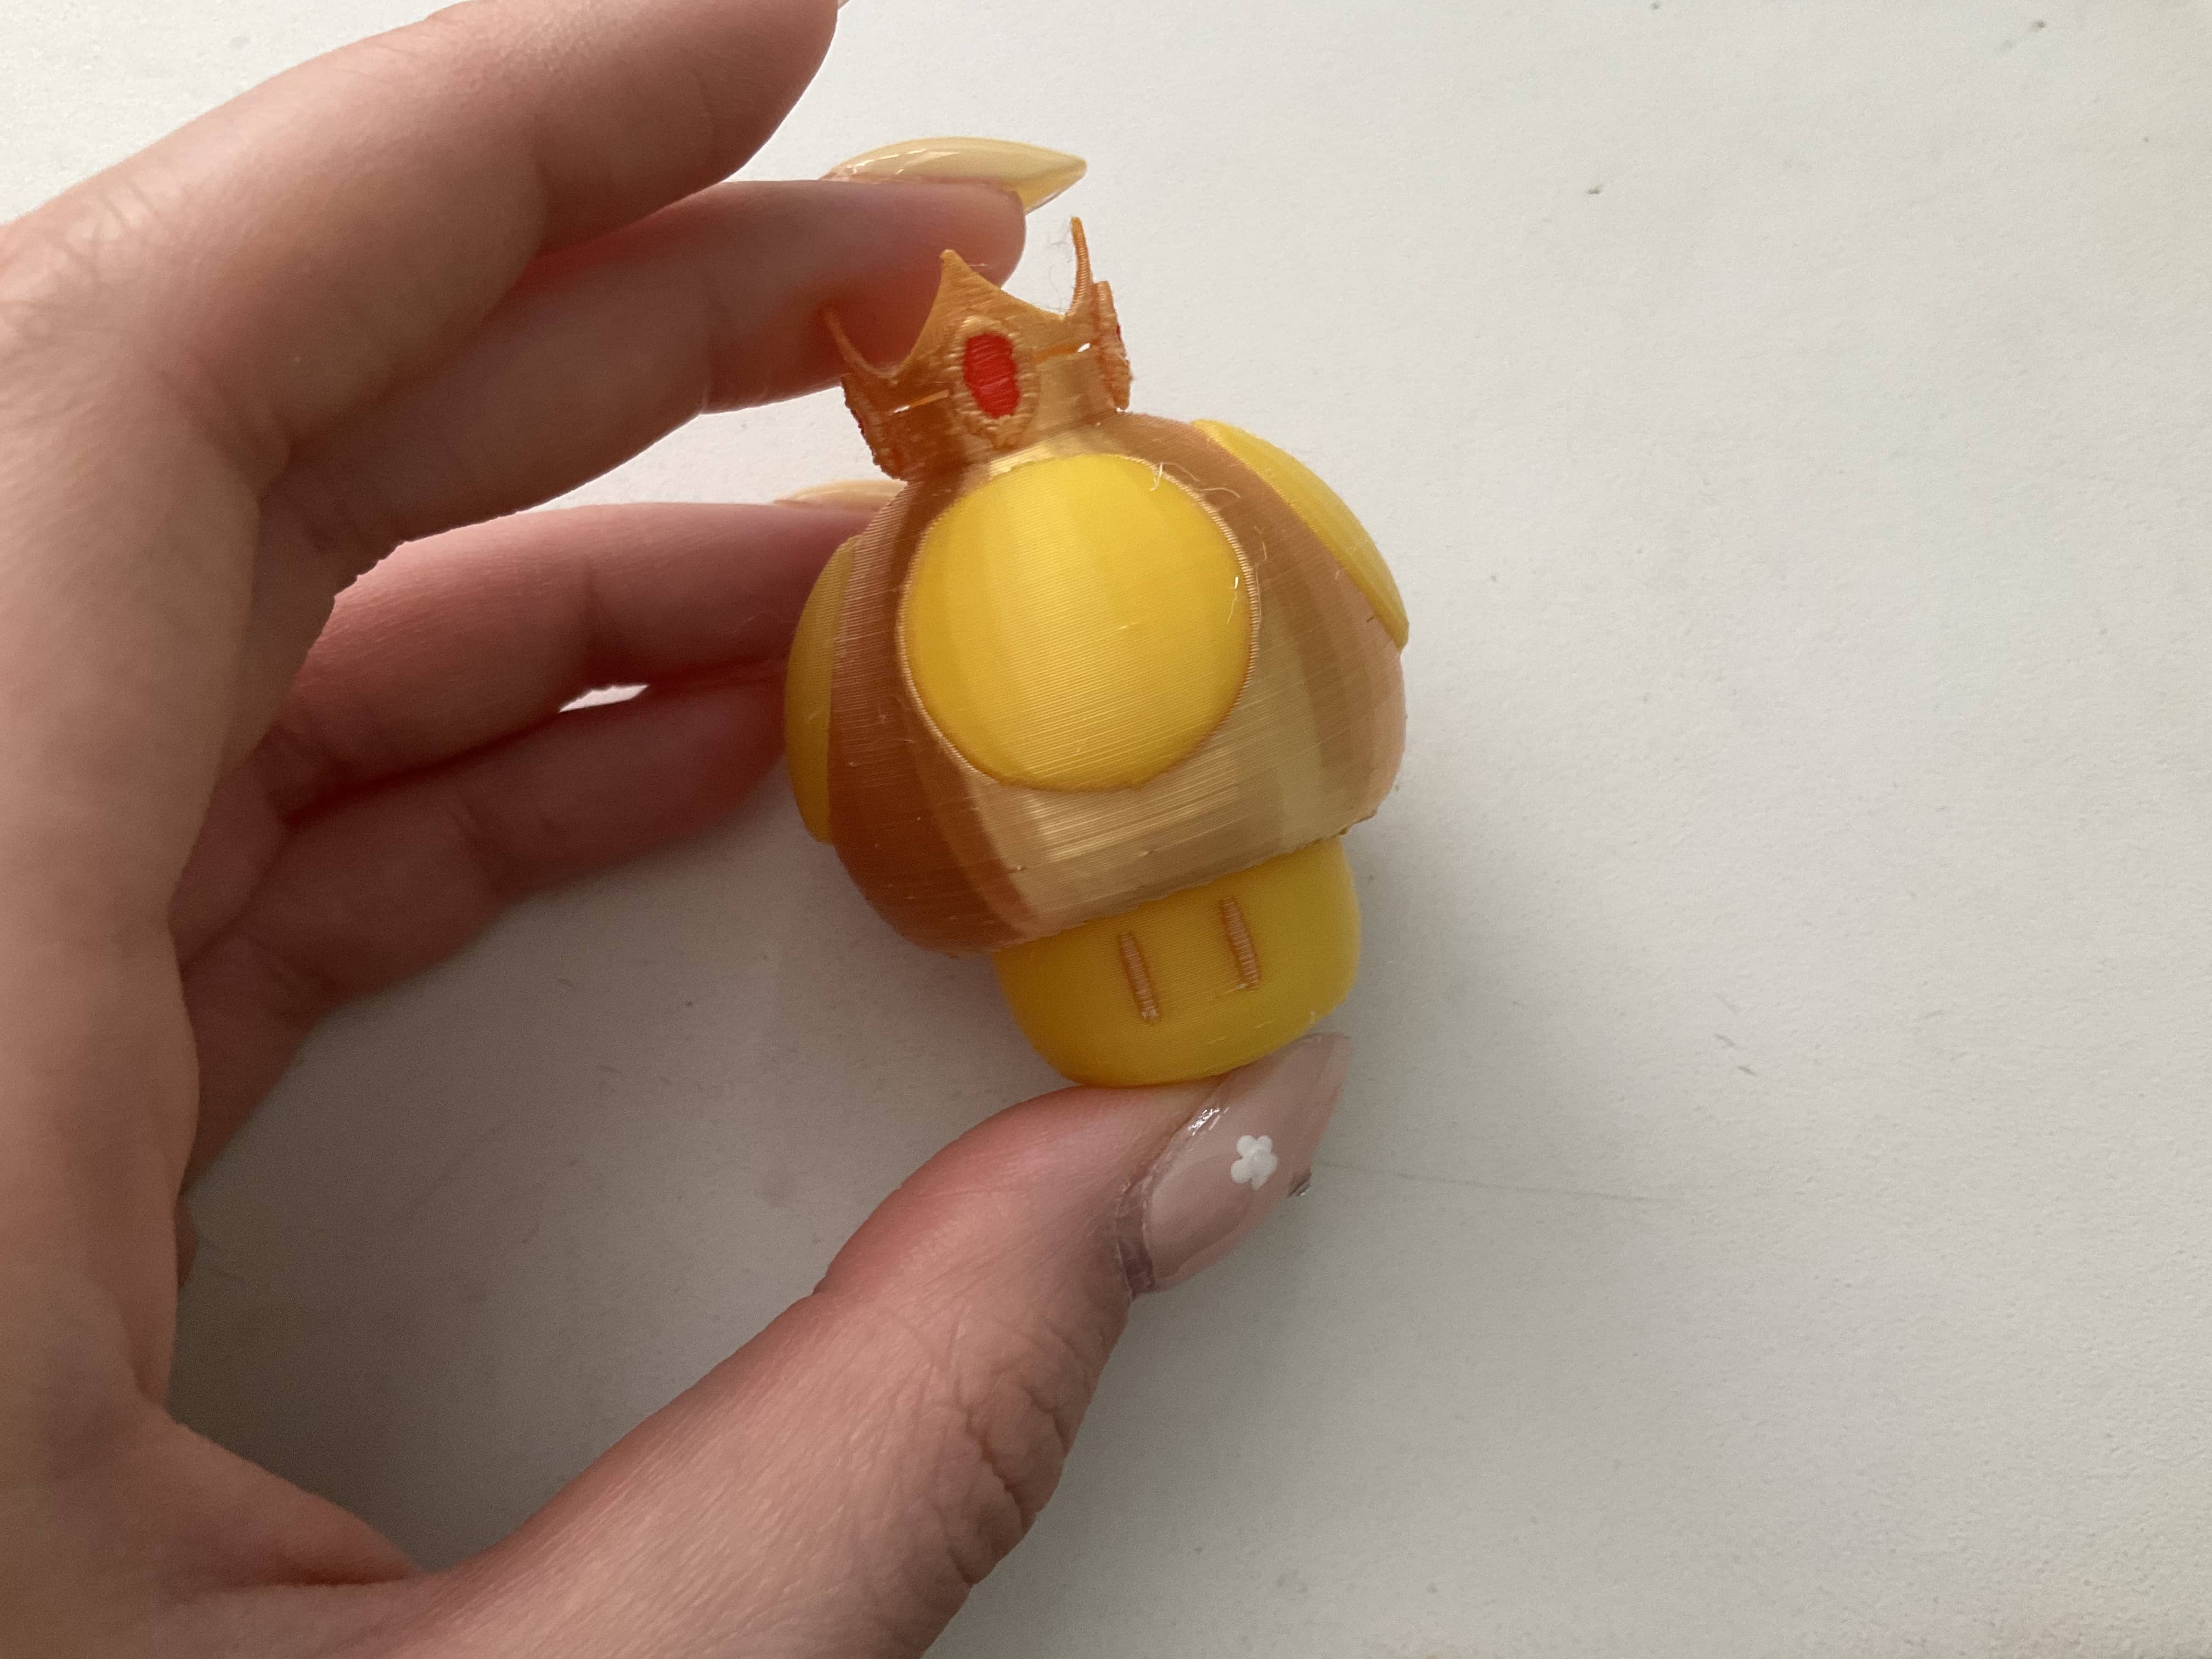
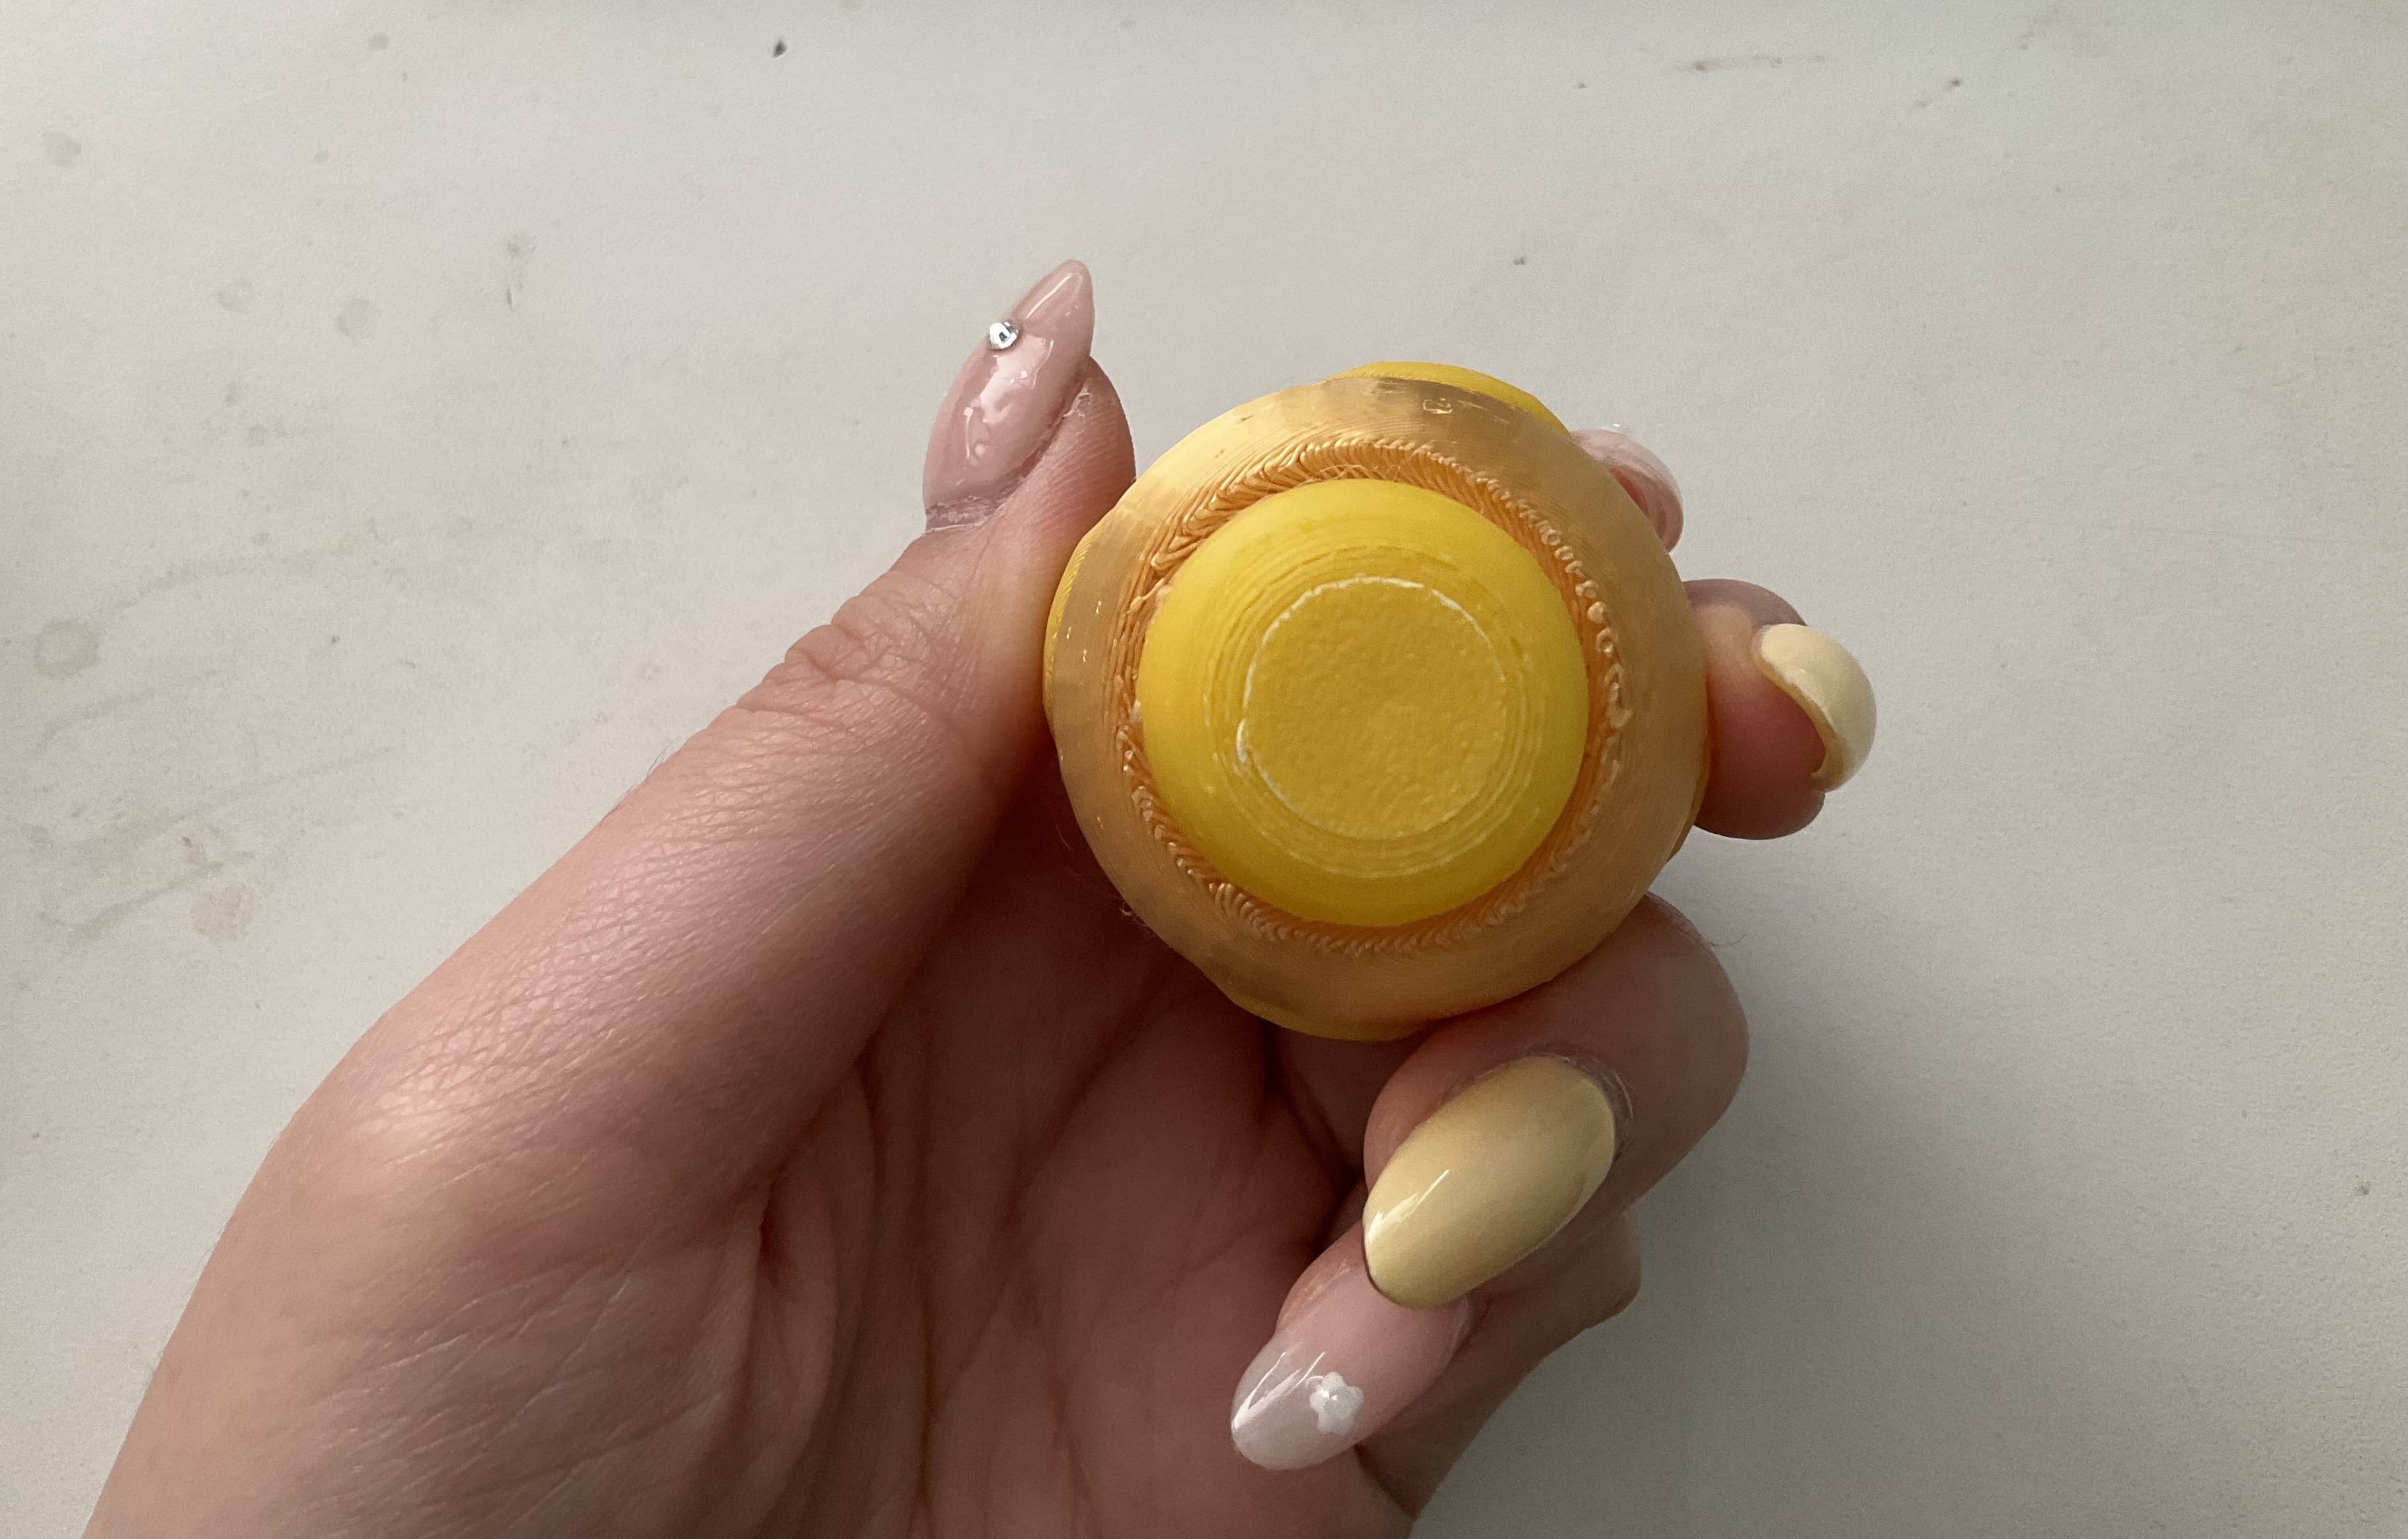
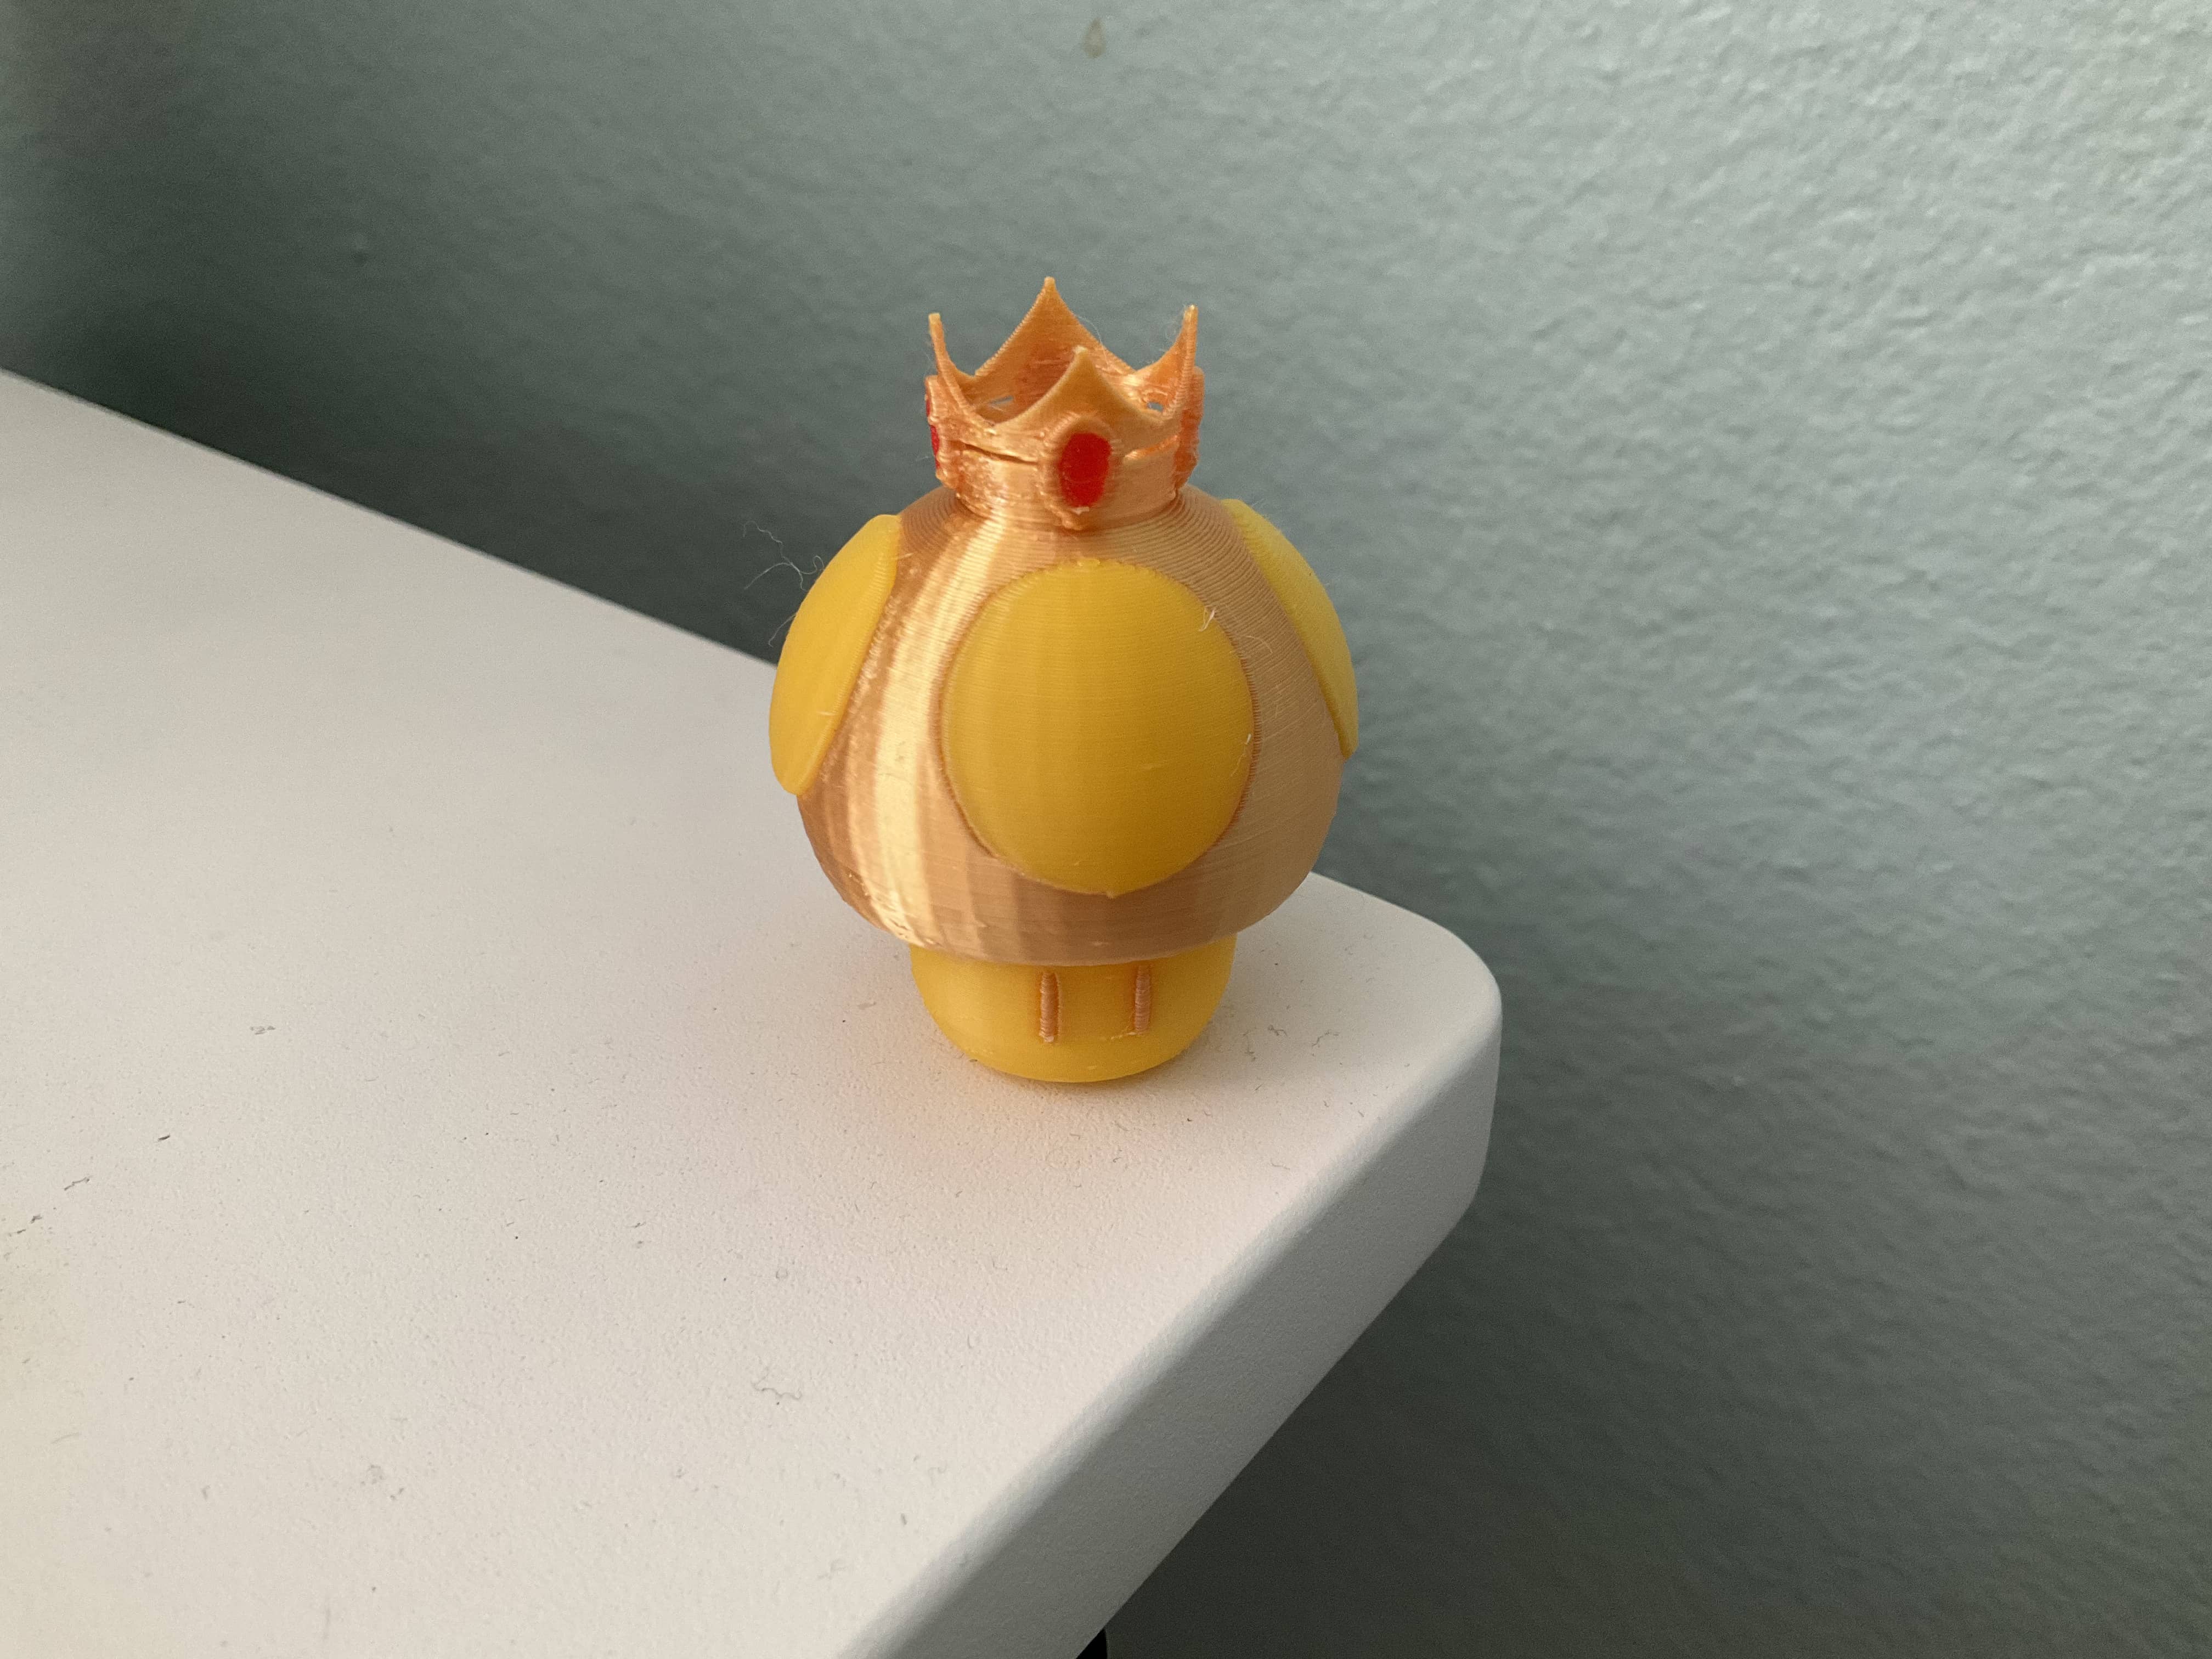
For the next assignment, I am keeping in mind the next steps for my lamp model and need to make sure my lamp base has a good tolerance fit. I am excited to play with different materials once I finish my model and see which materials achieve the best lighting.
Phase 5: Measuring & Testing Lamp Parts
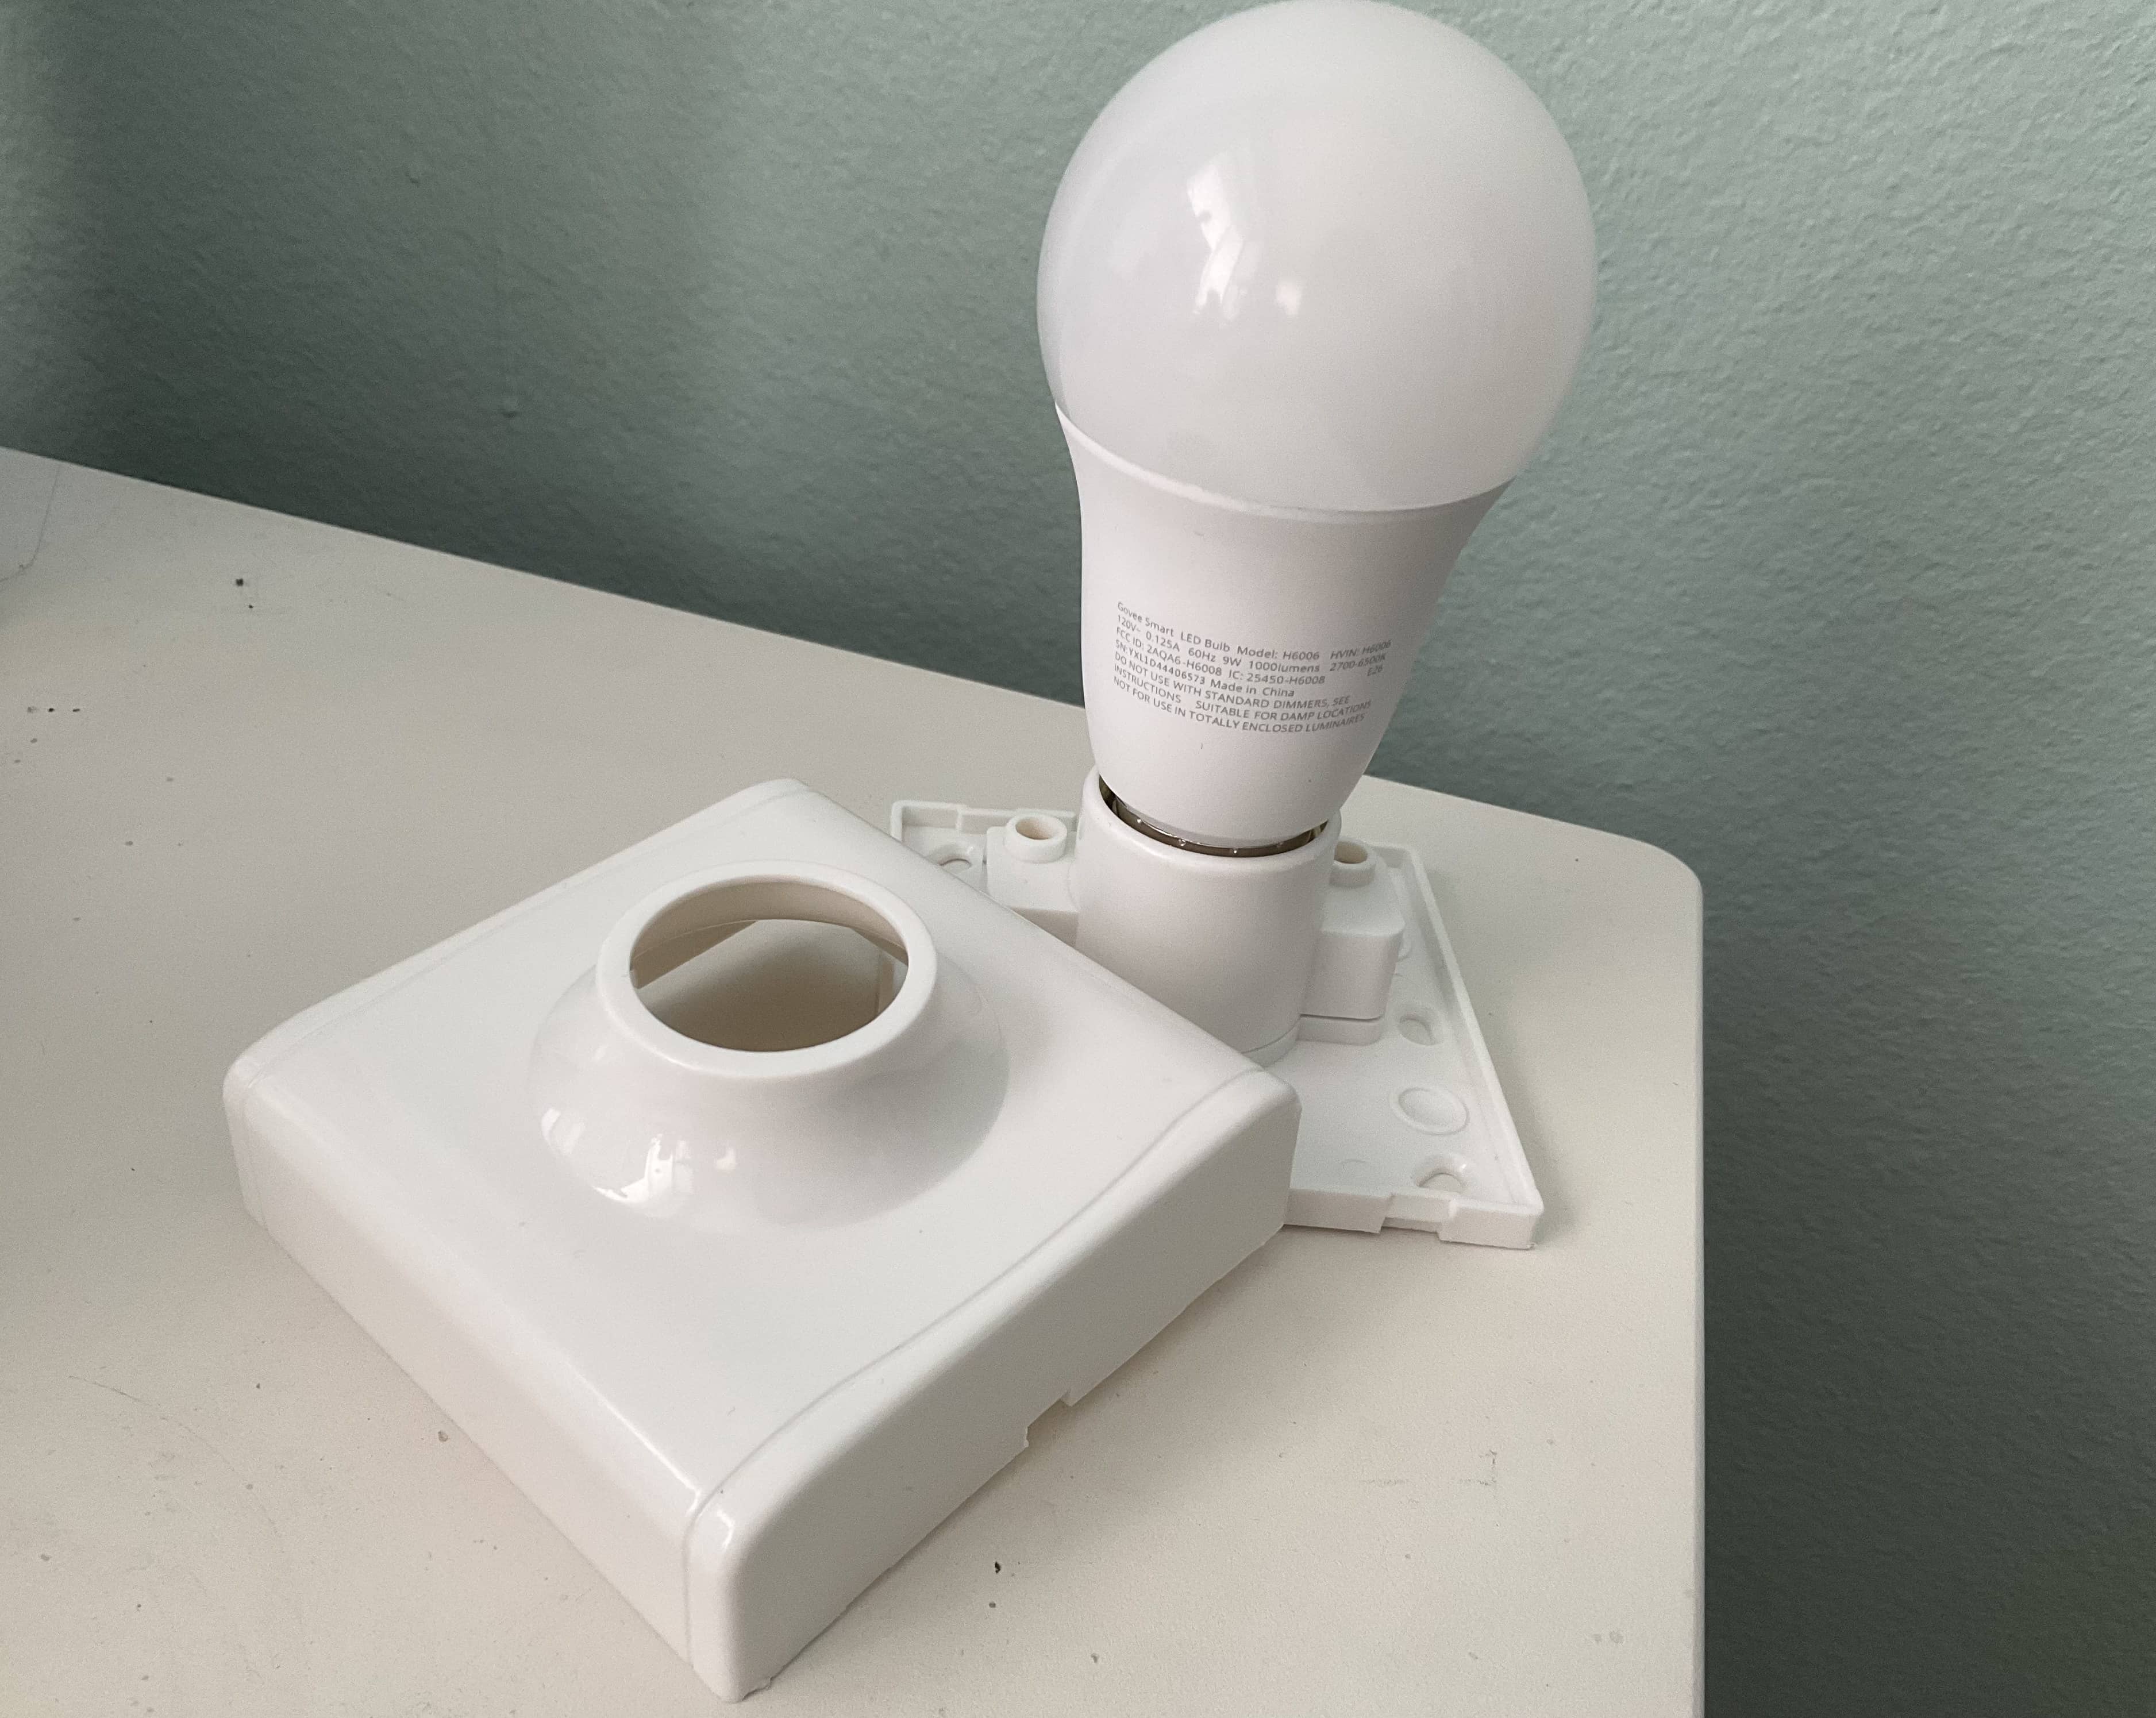
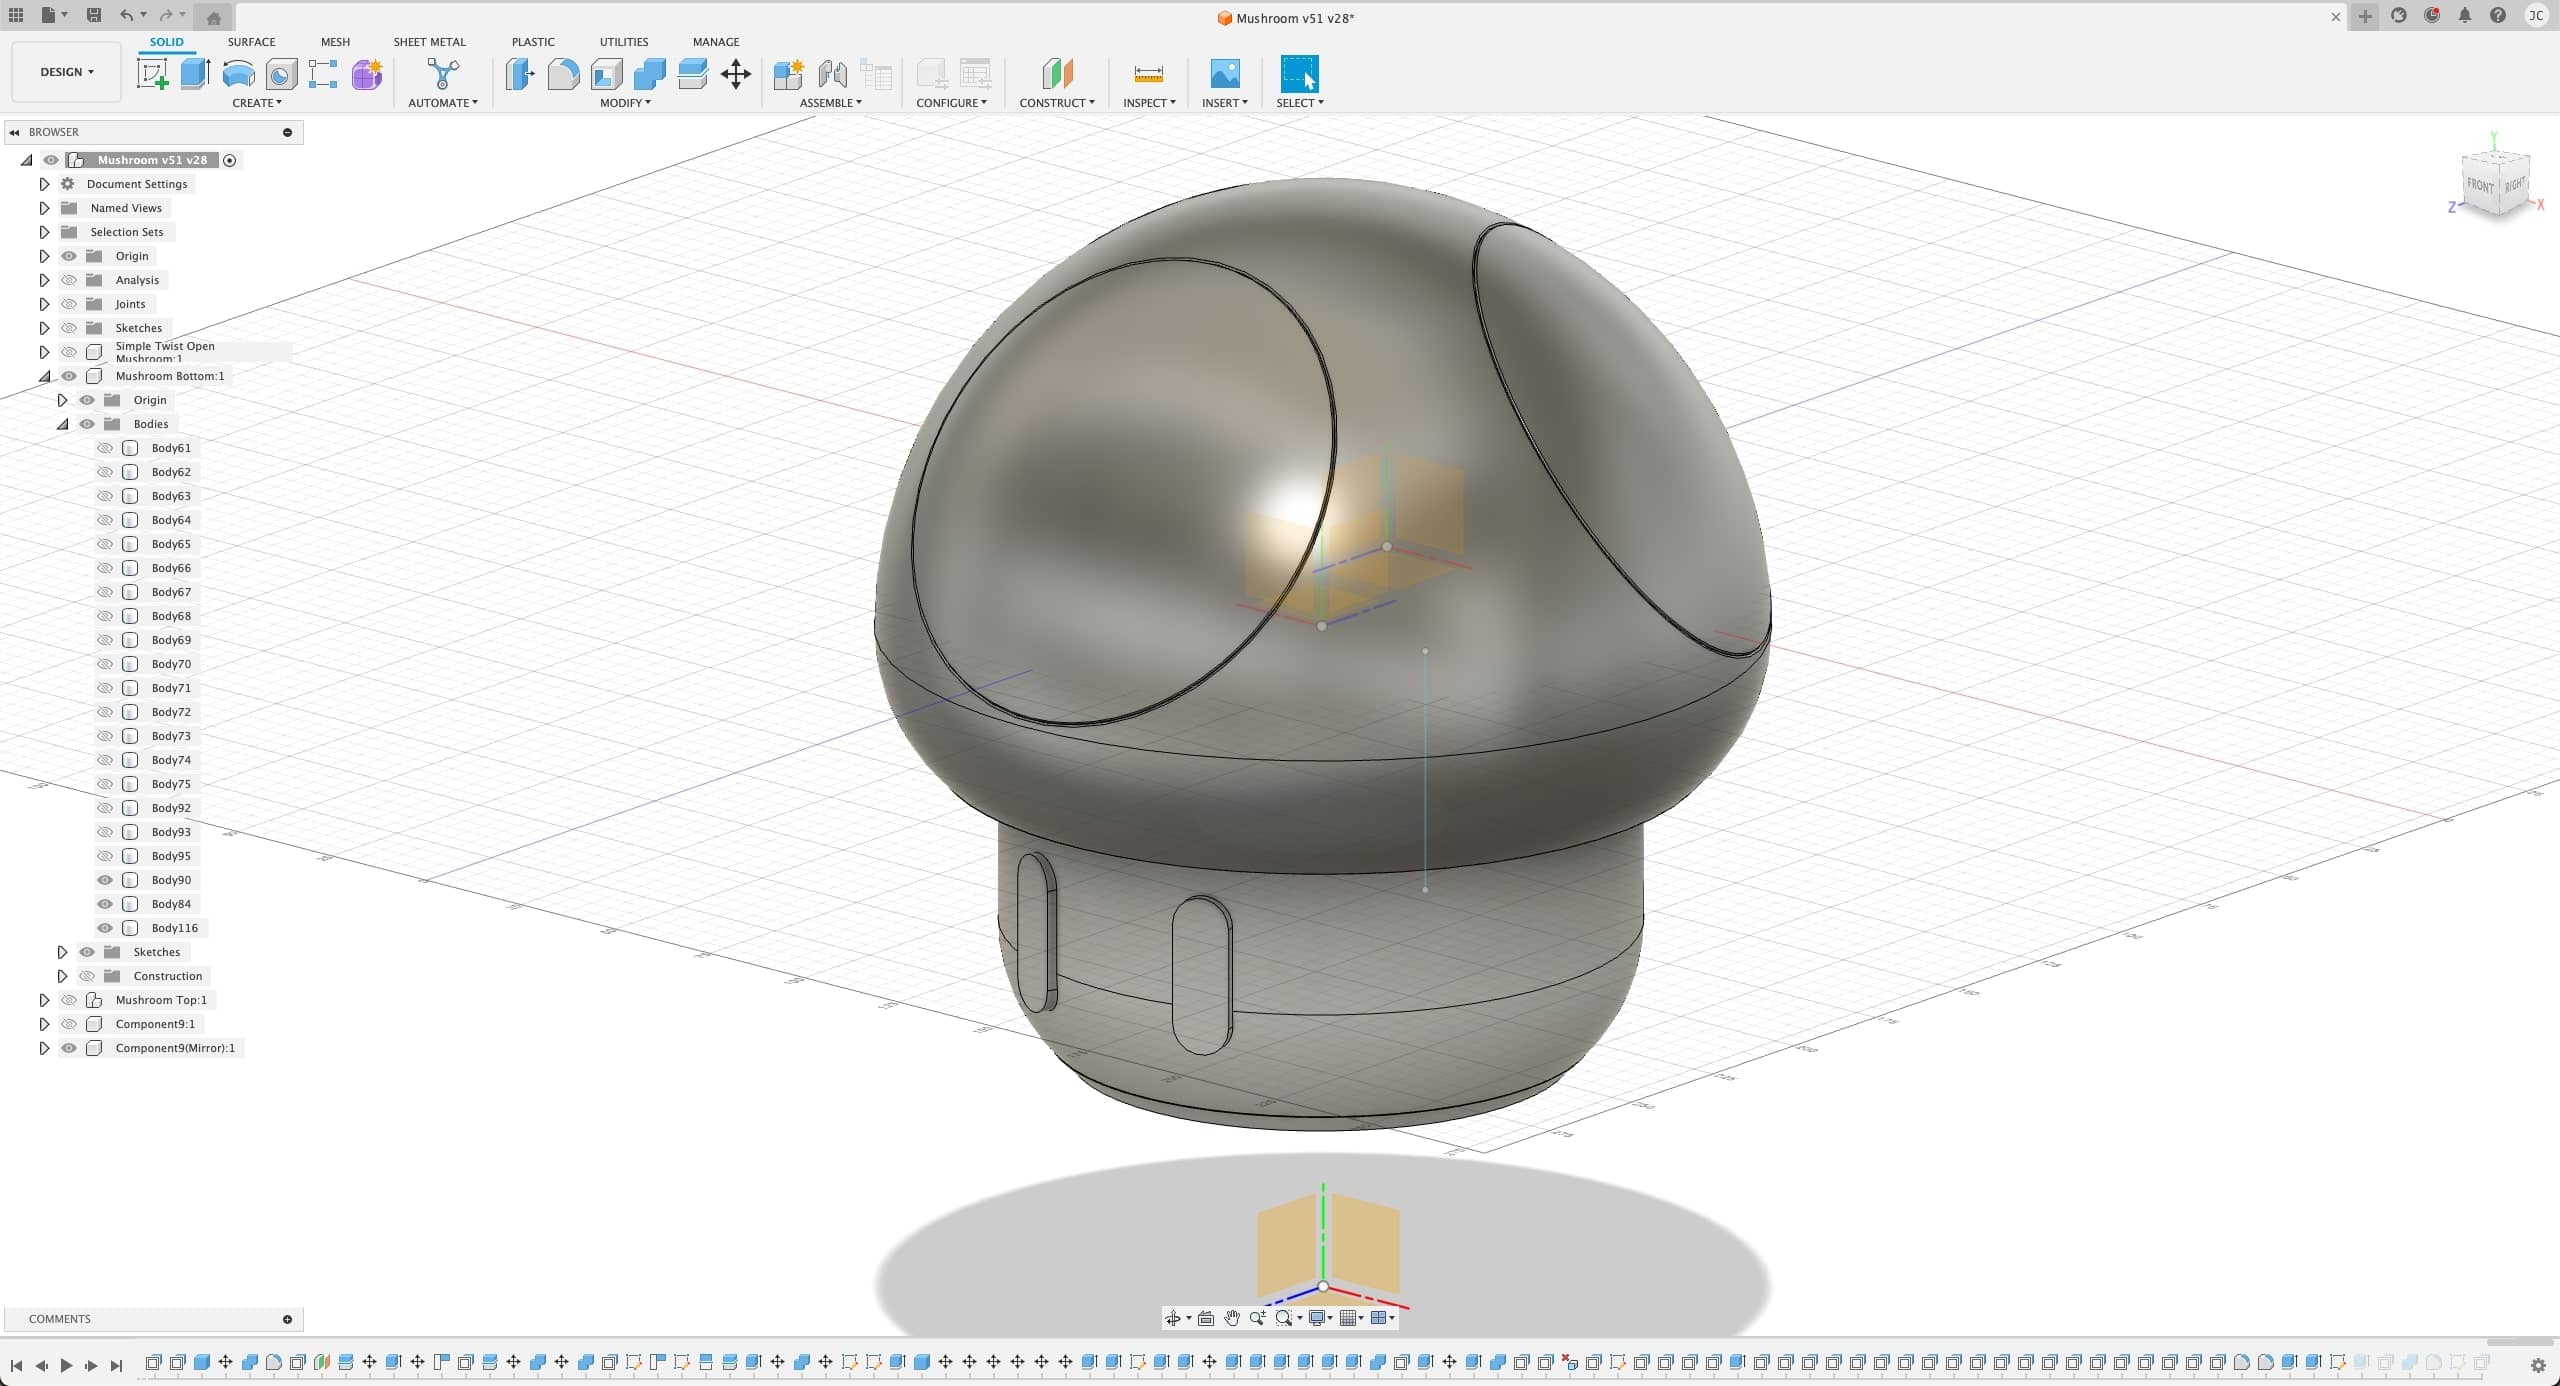
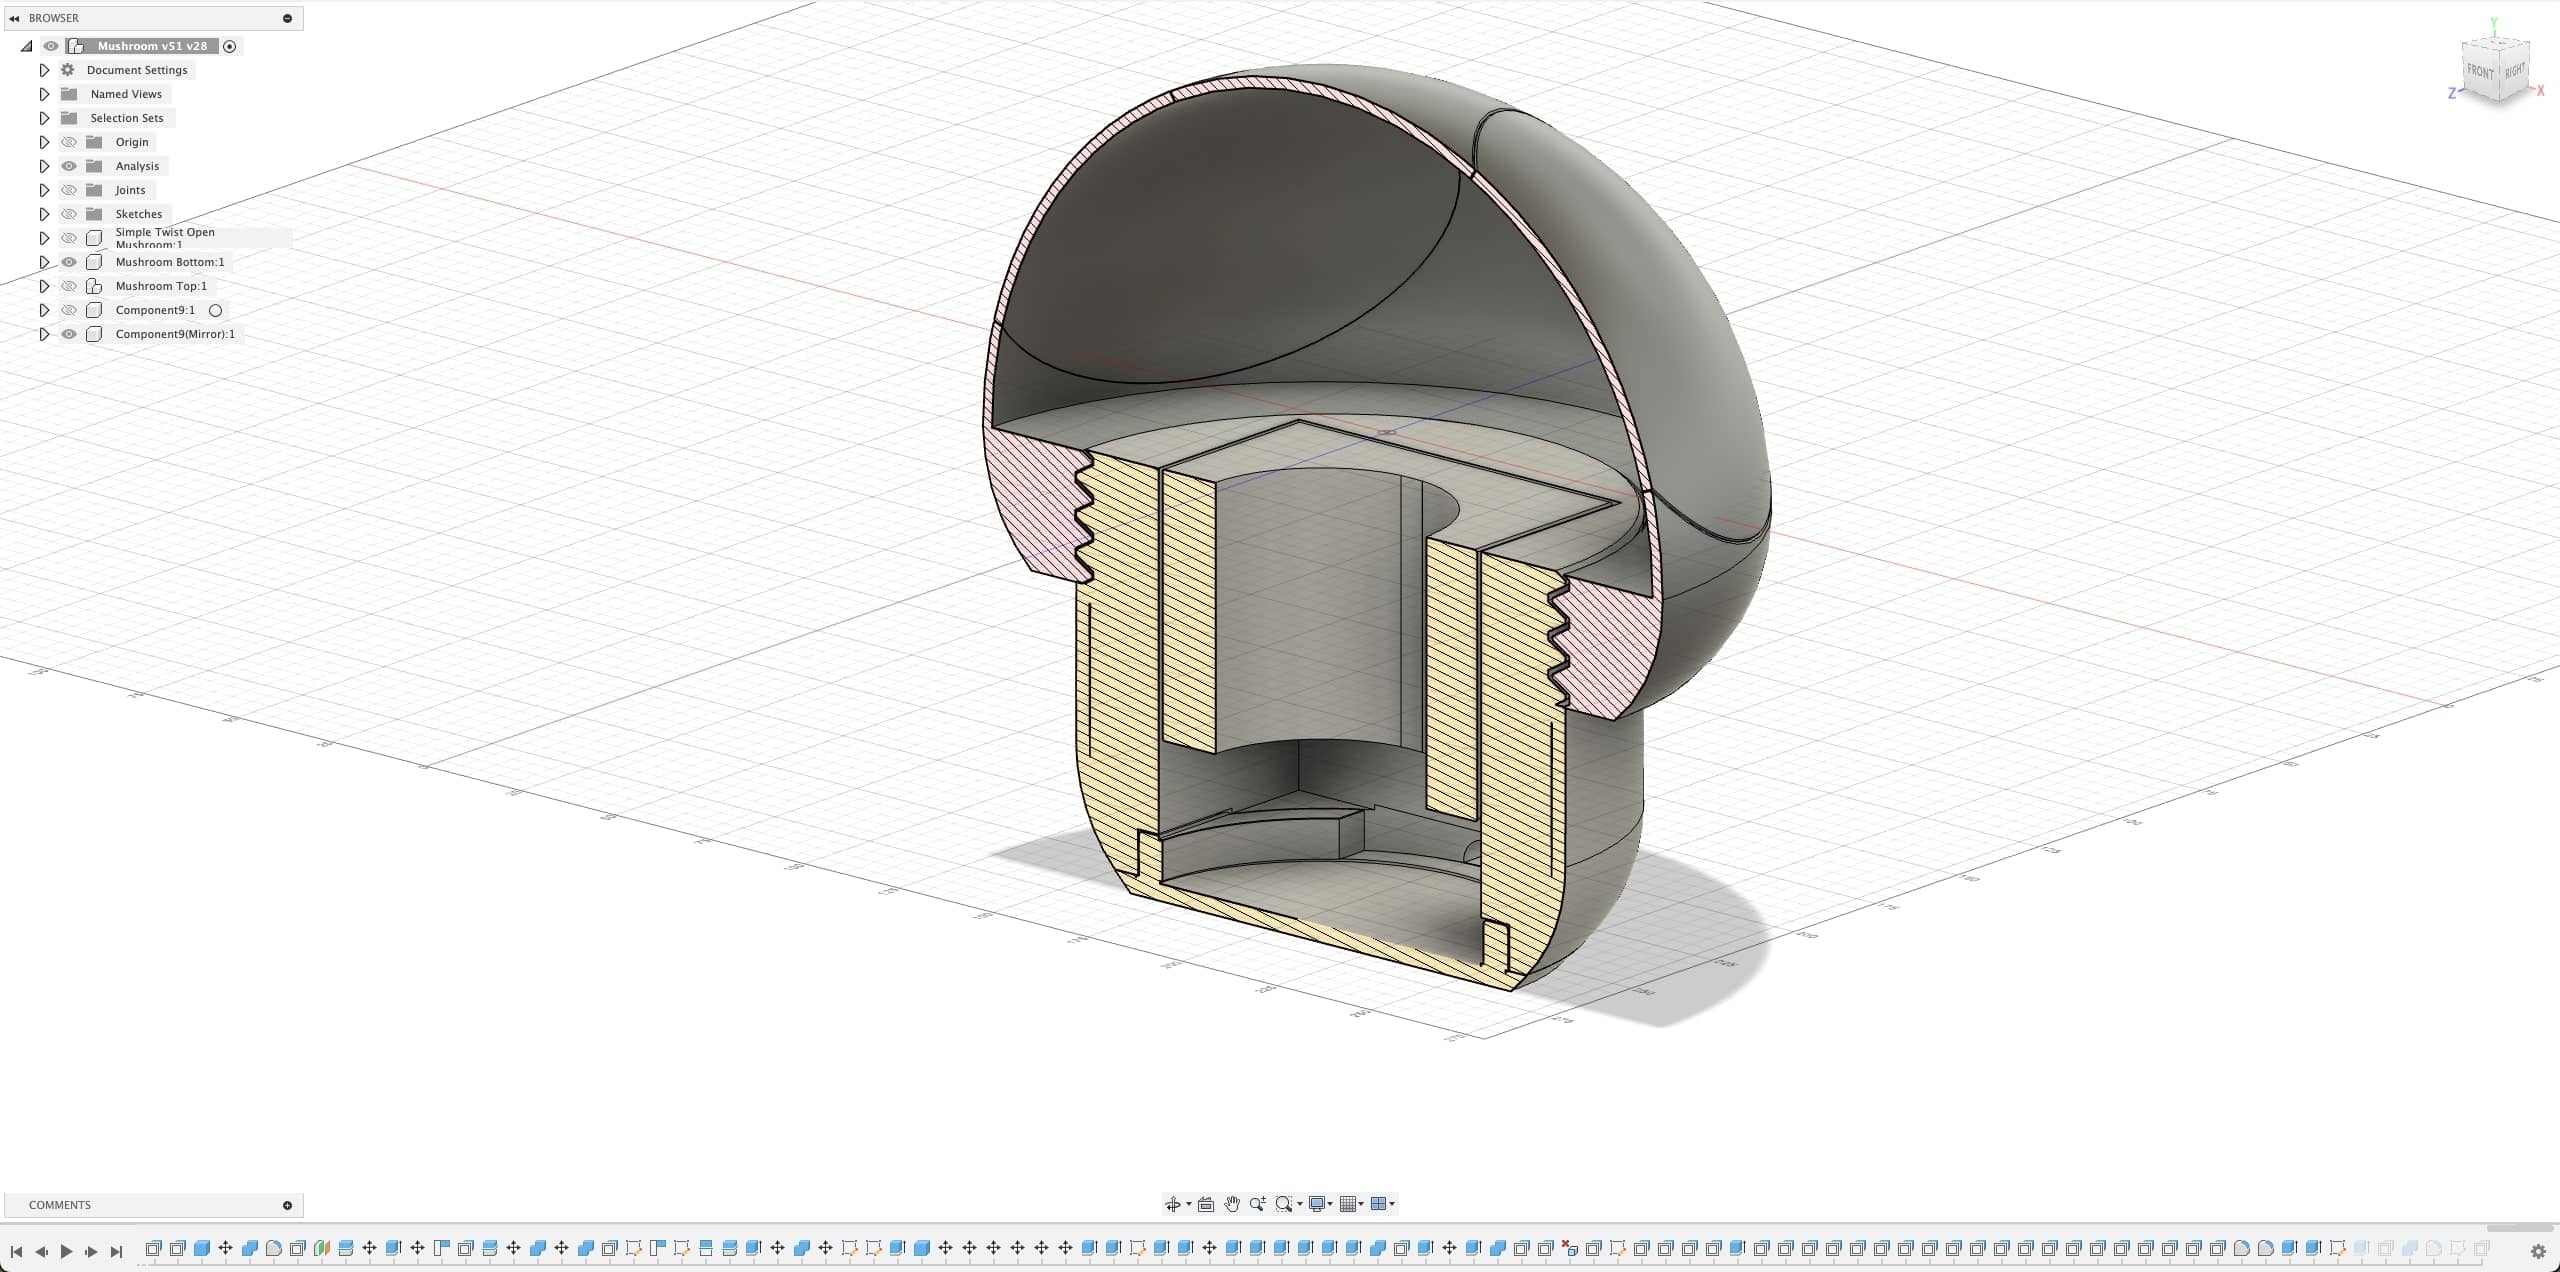
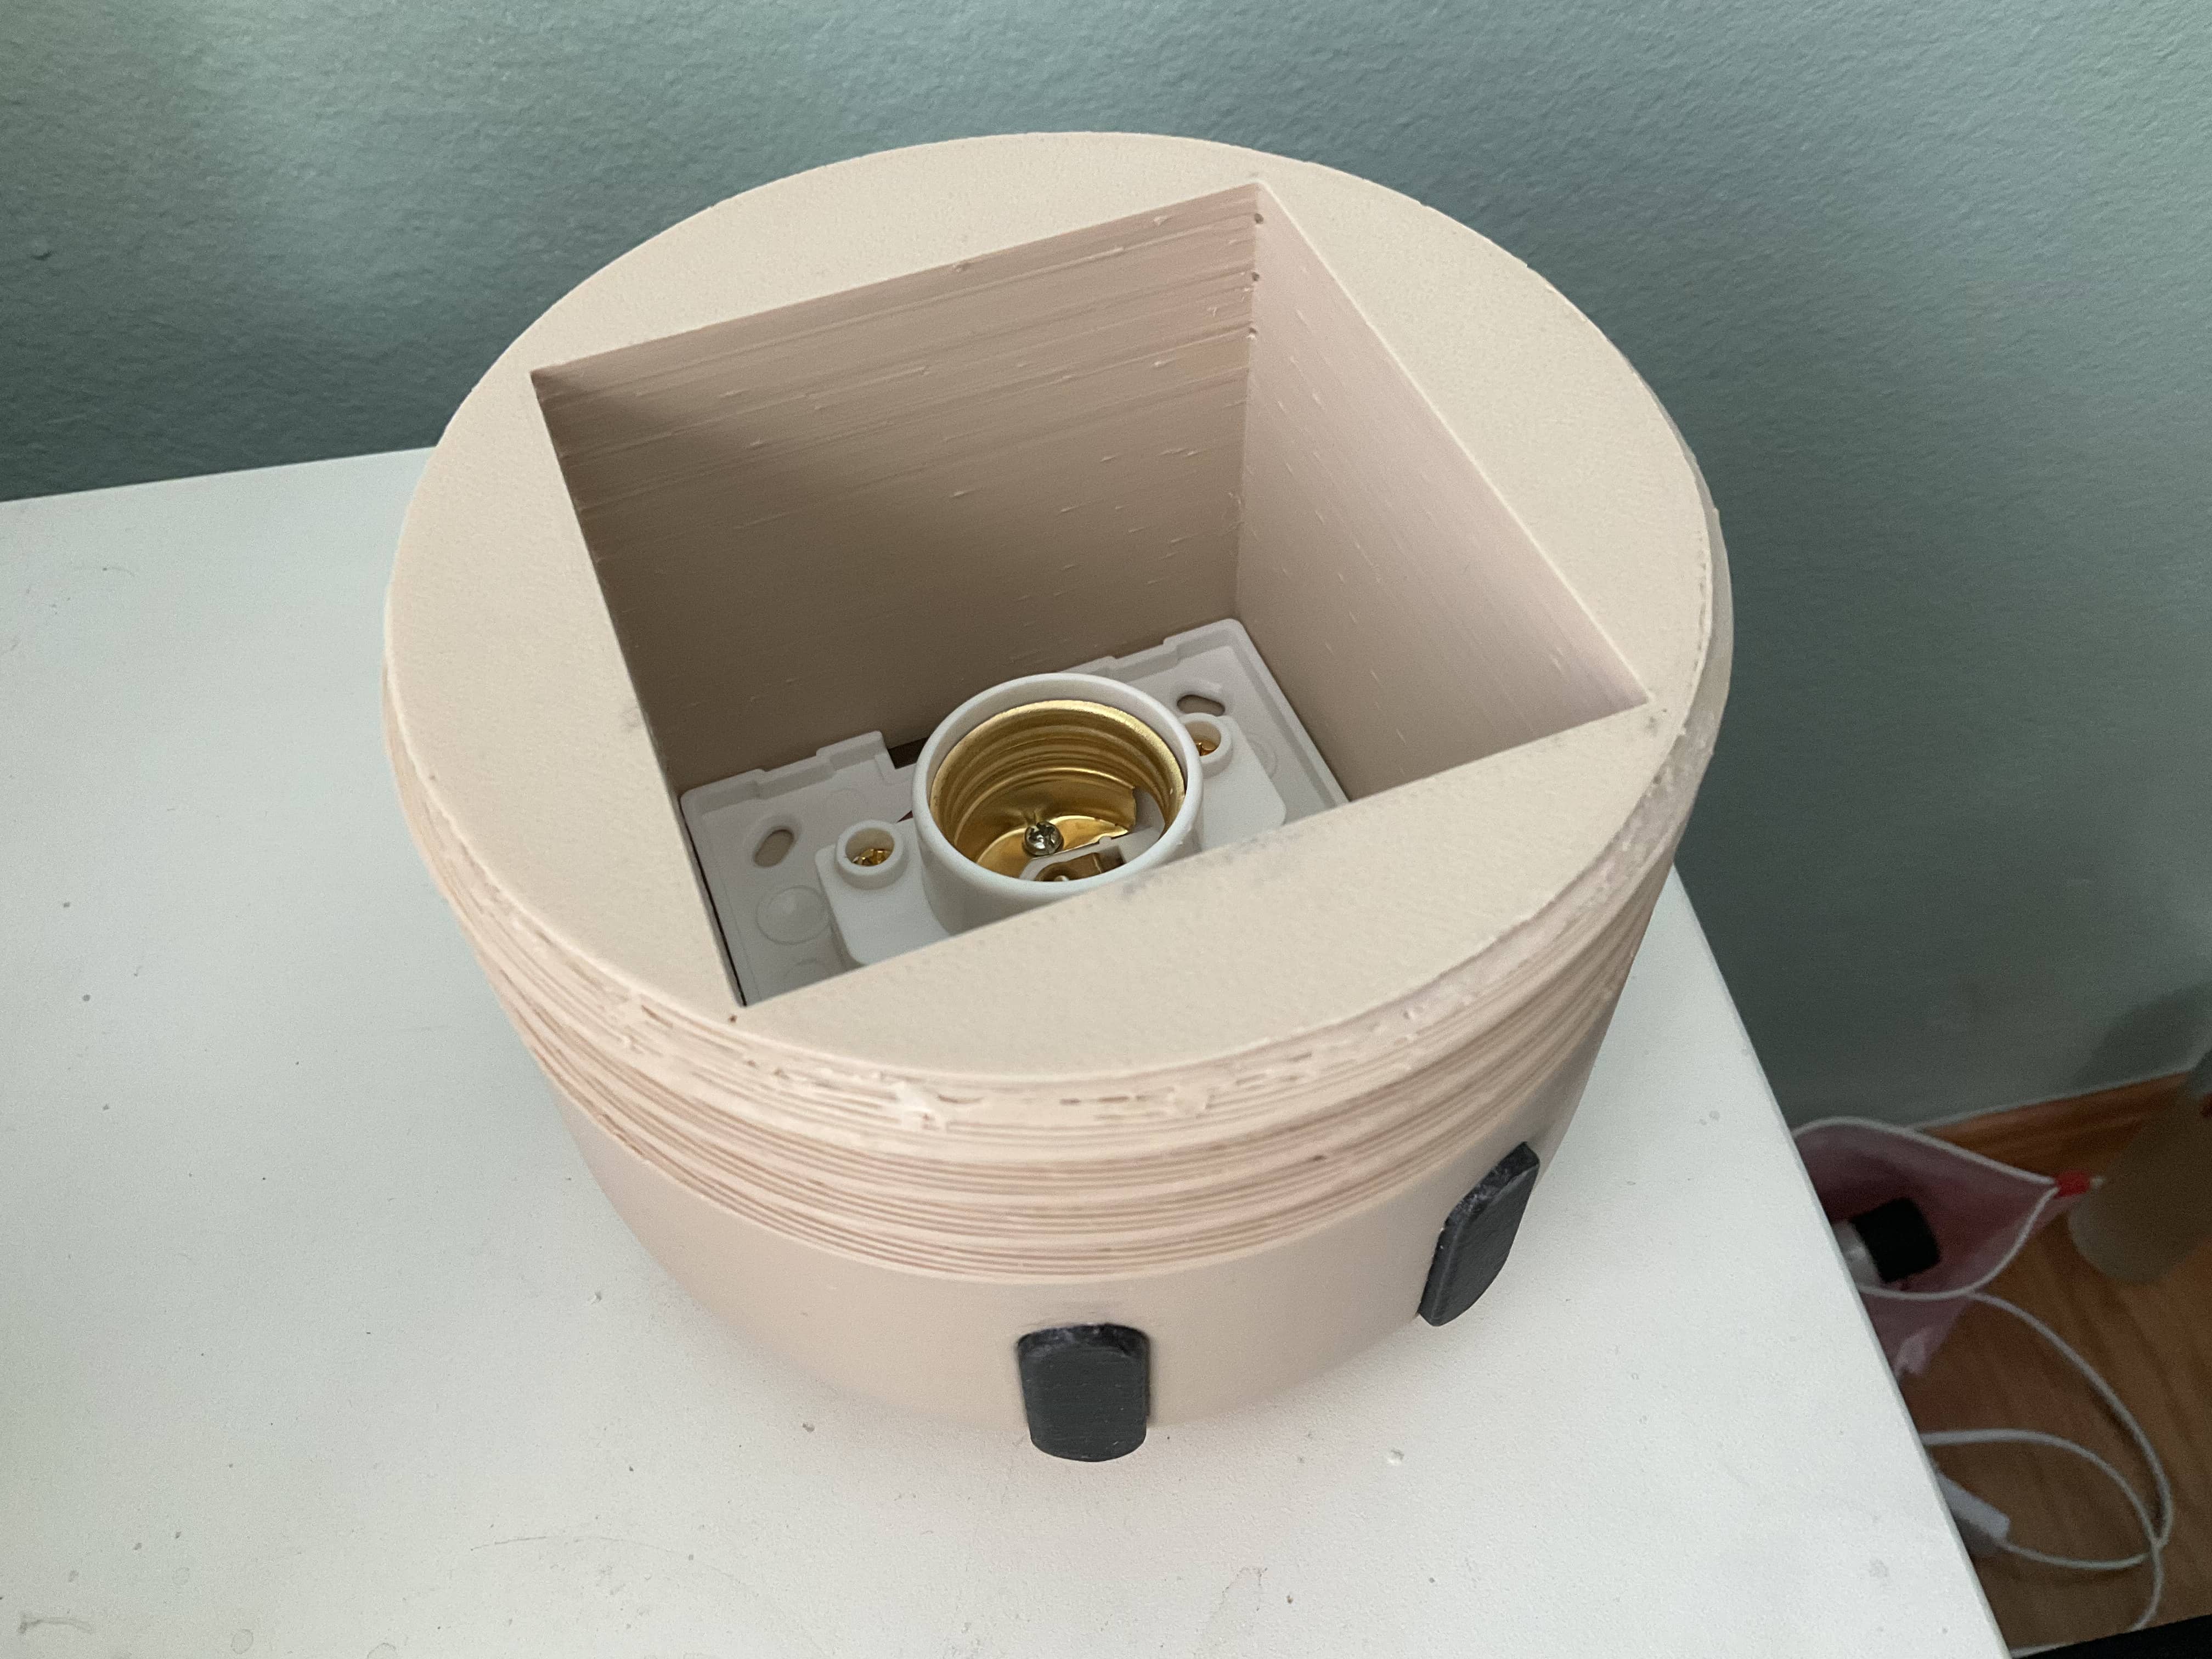
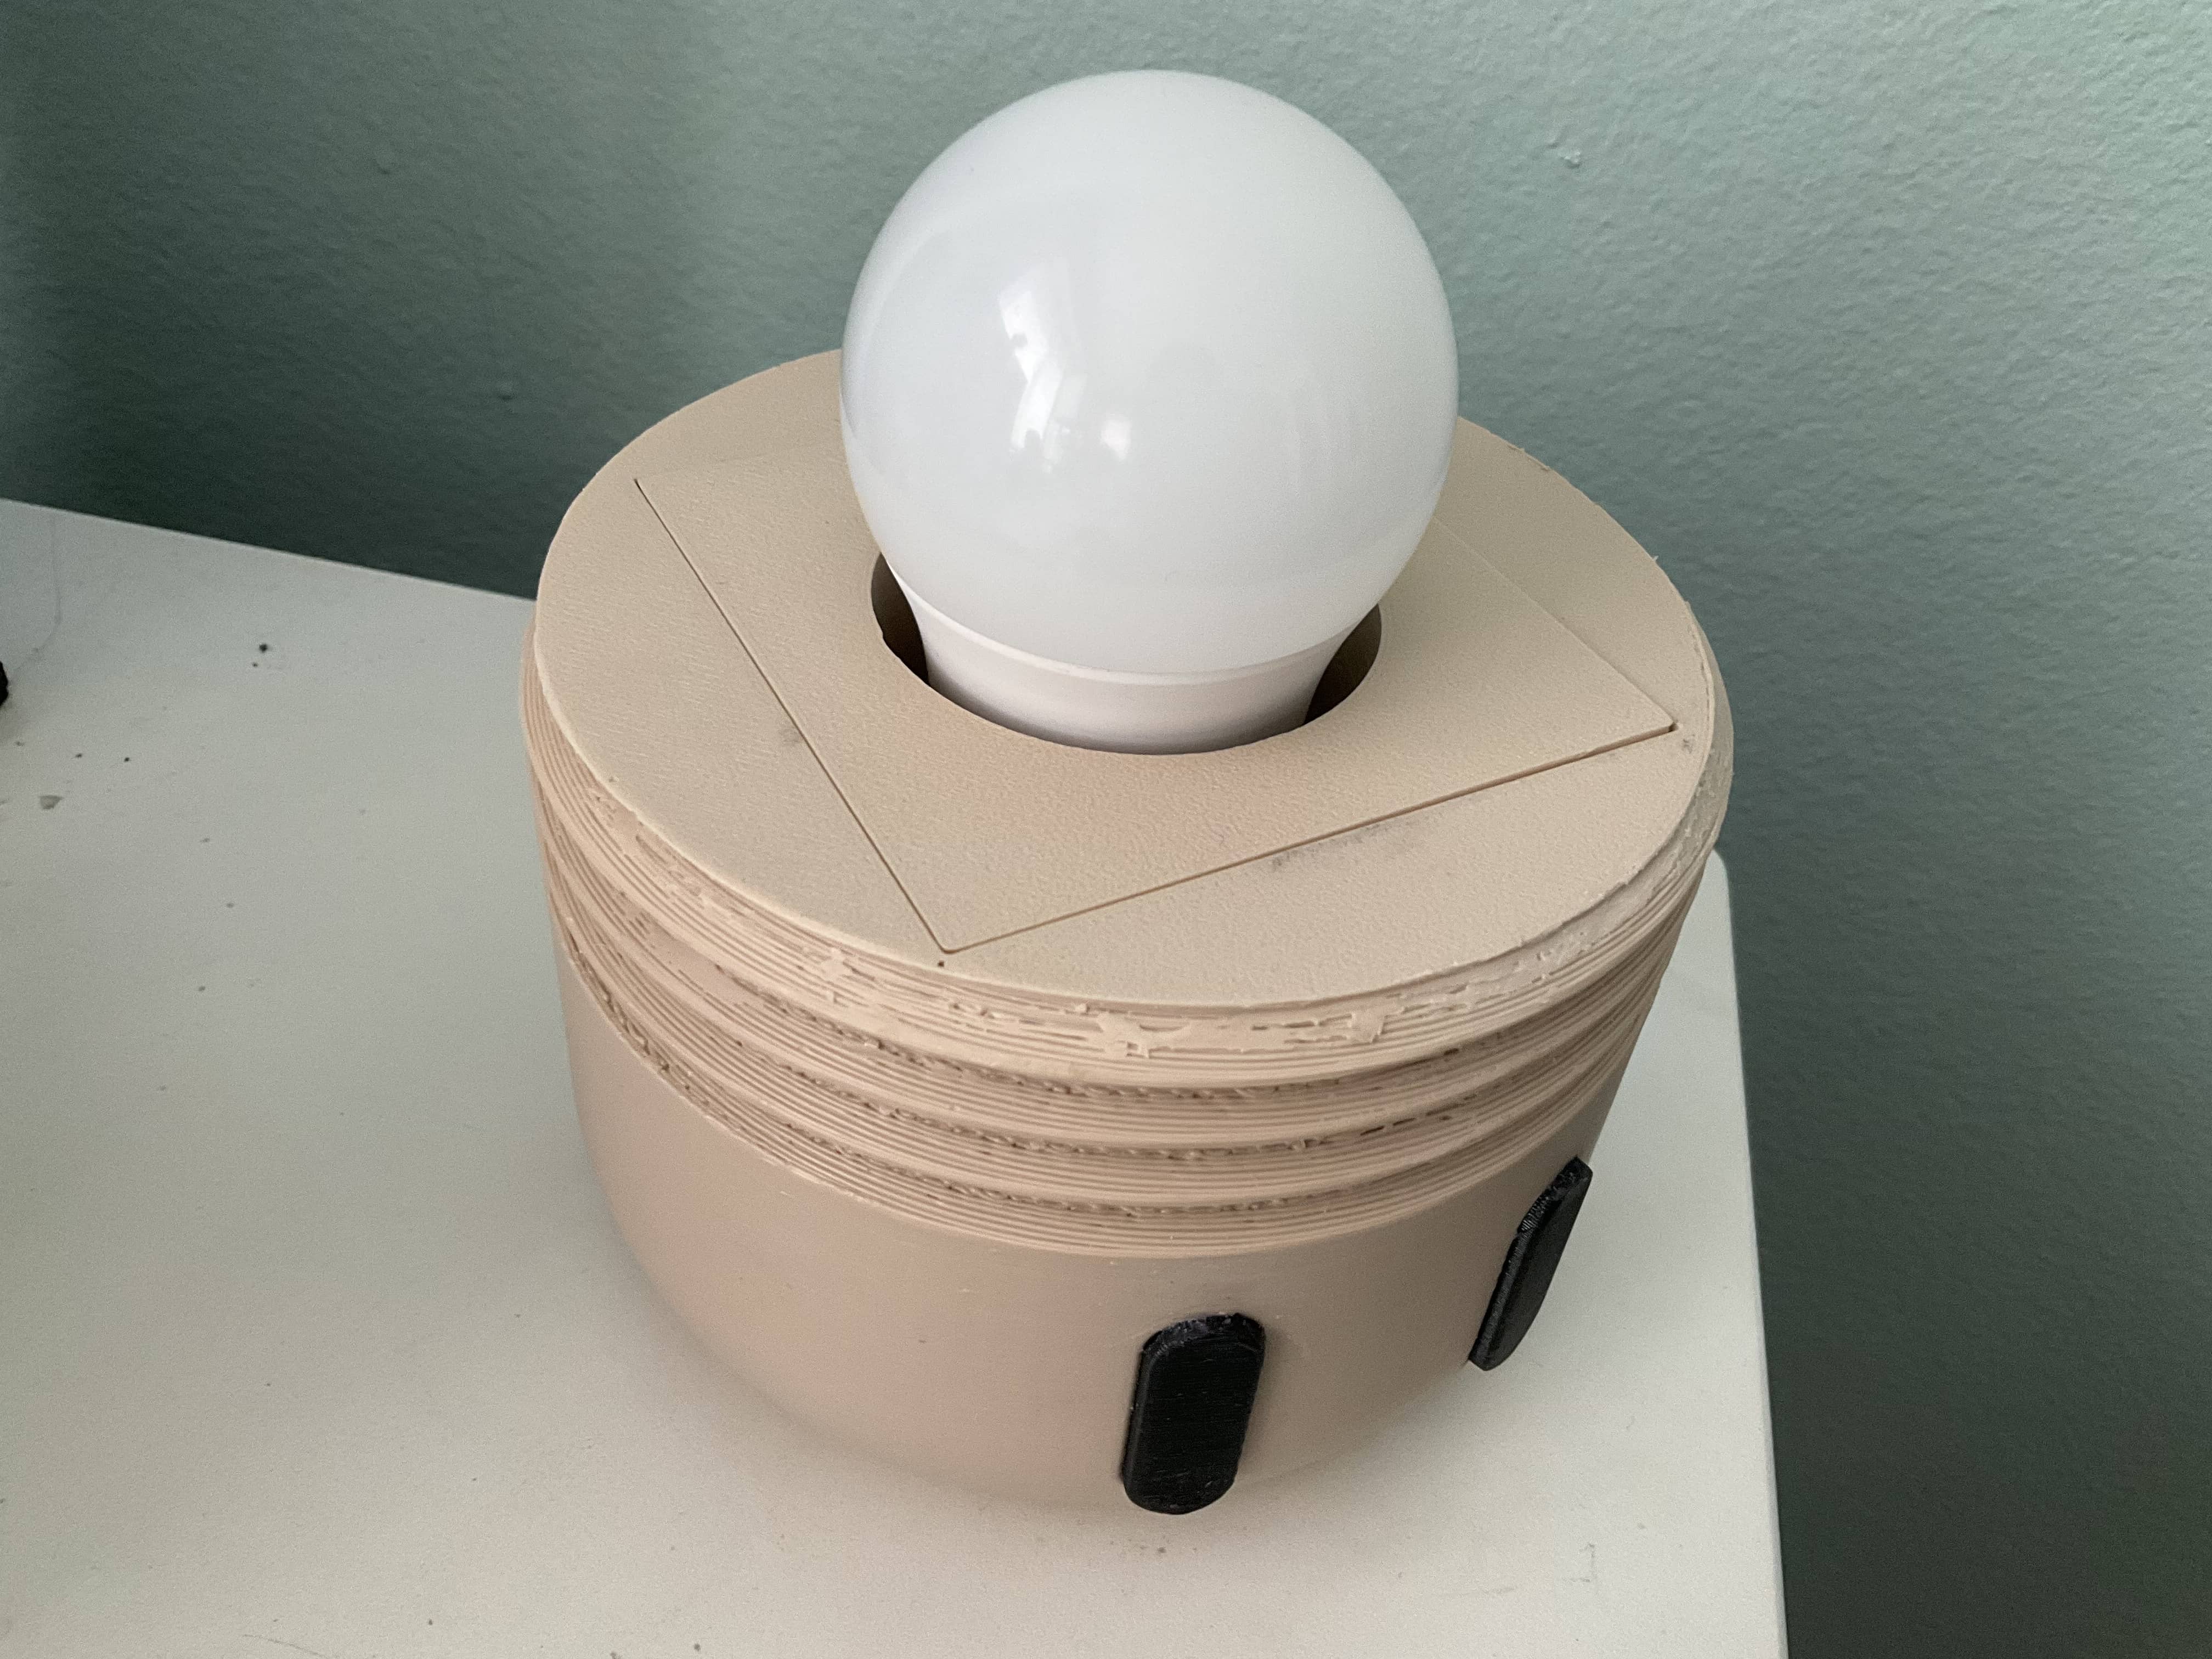
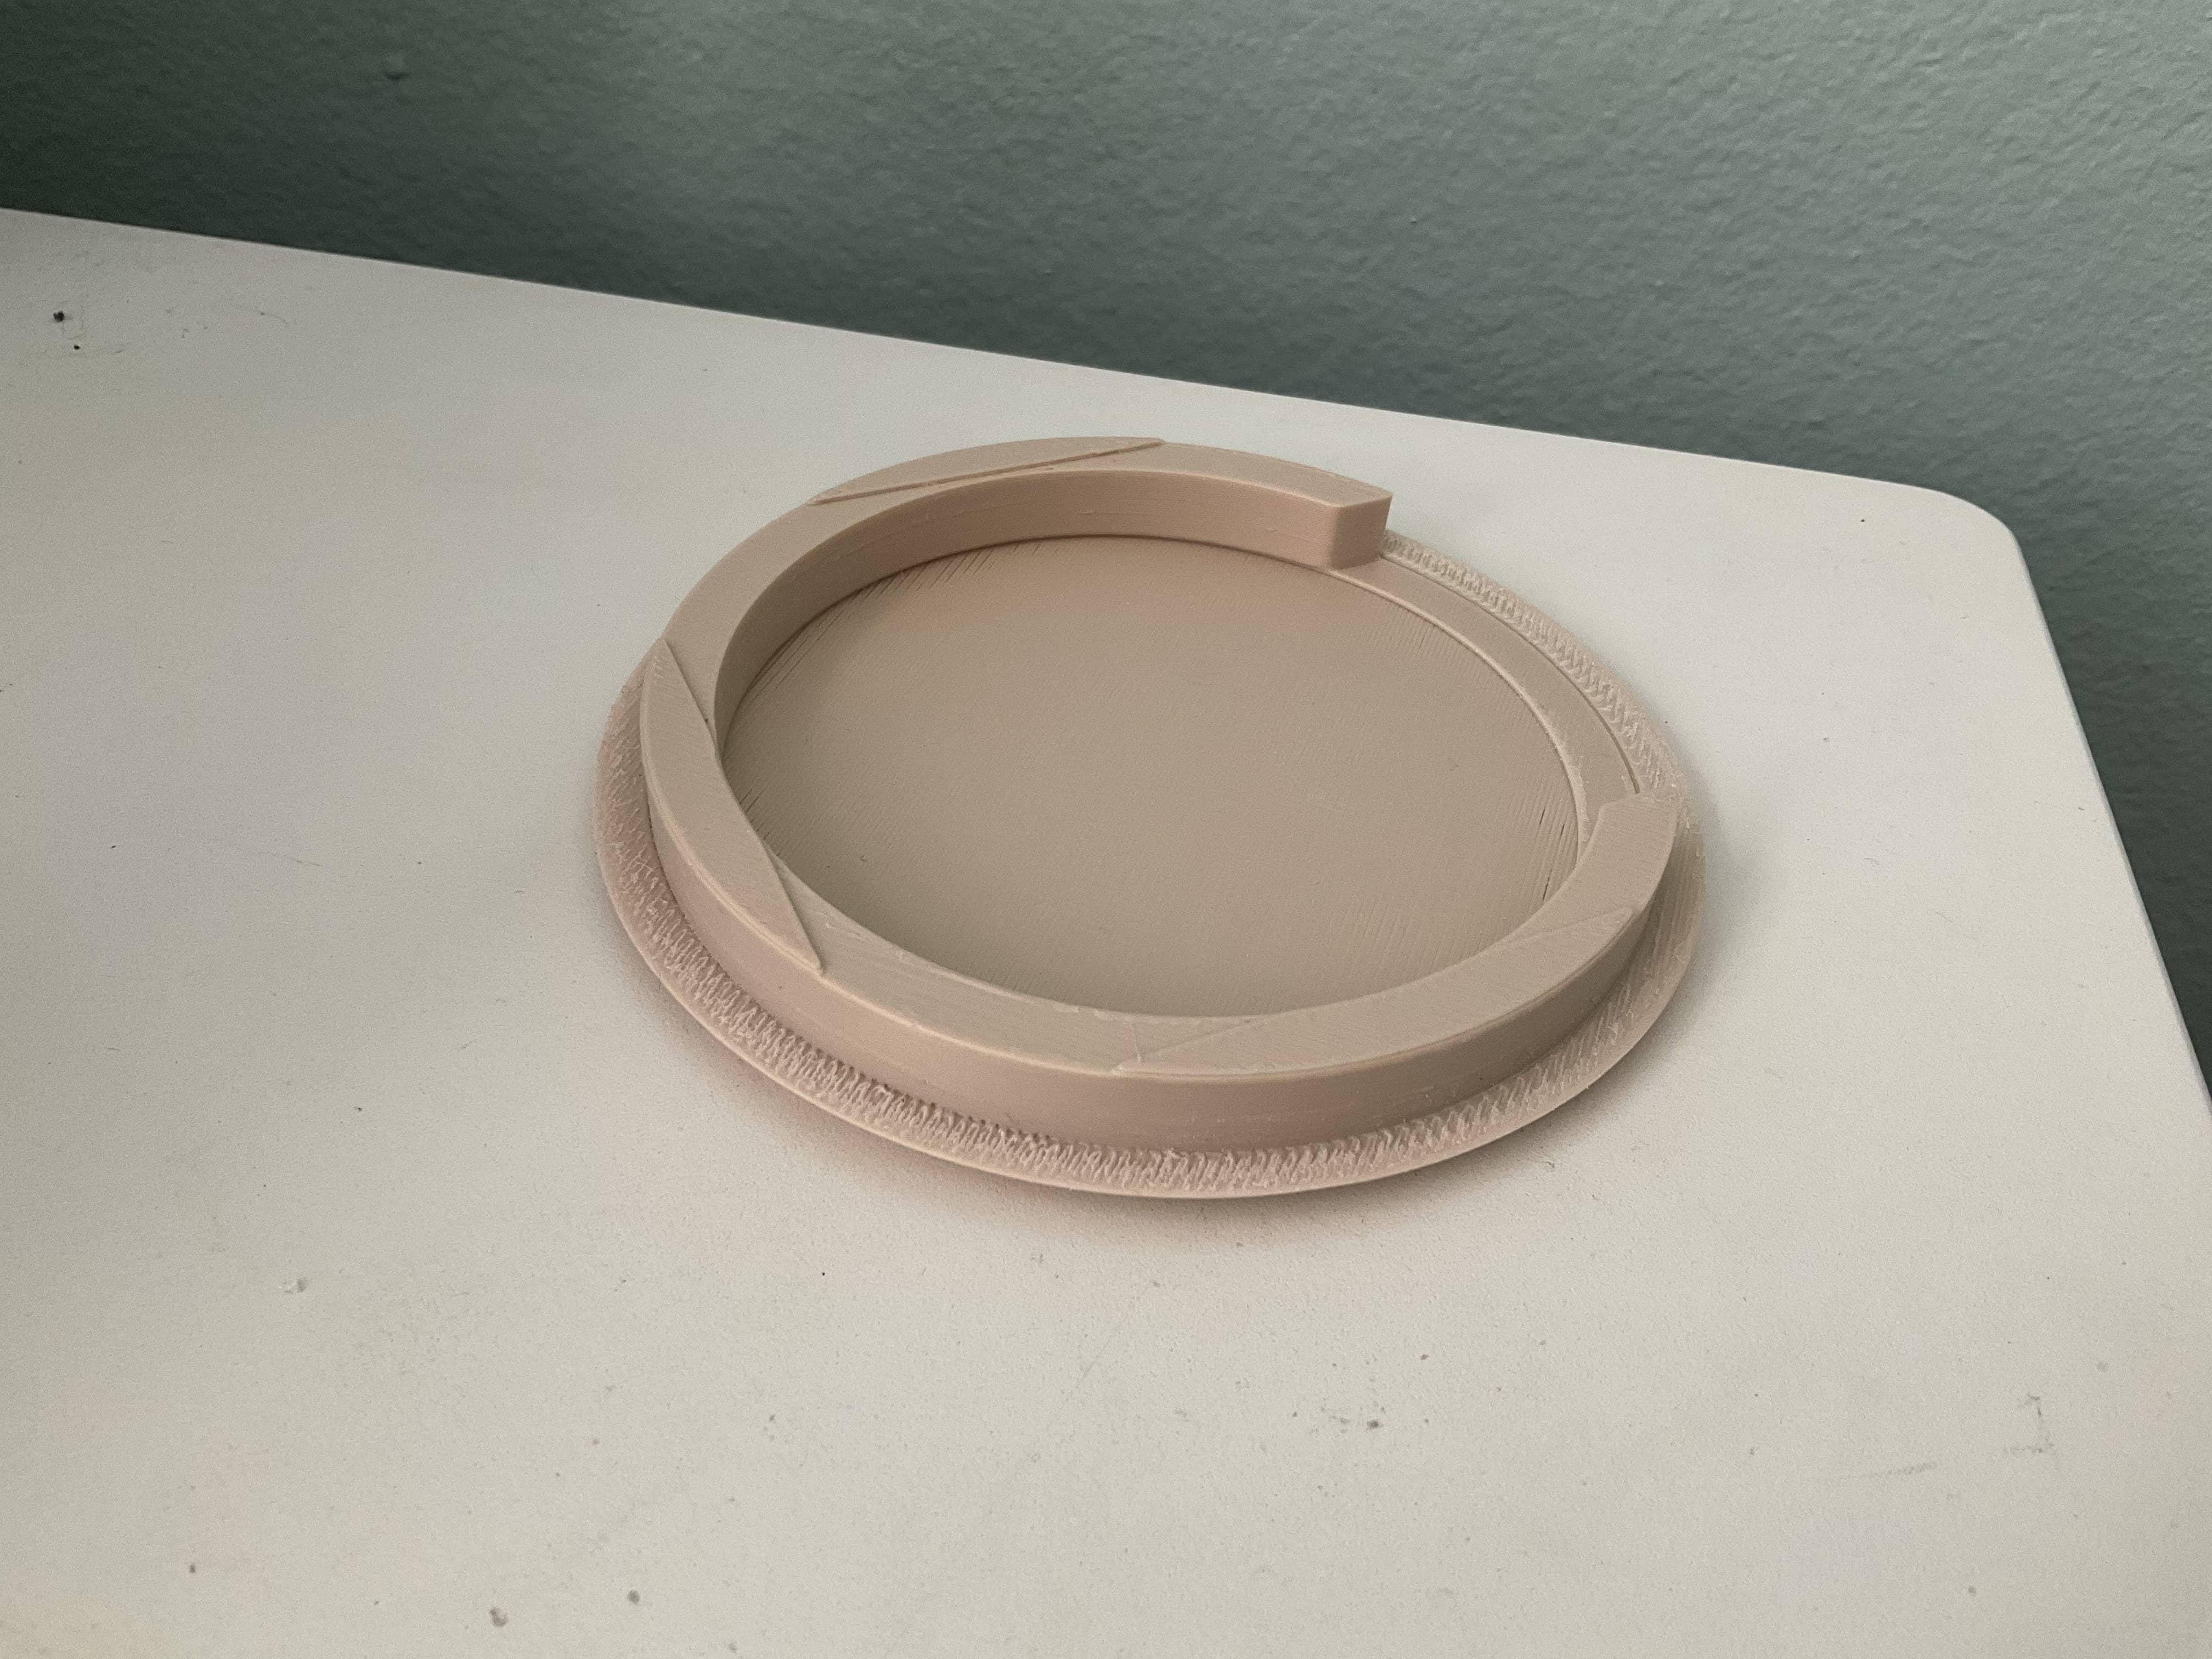
For the next week I tested different lamp parts (base and bulb) and measured their sizes to compare how I would fit these parts within the model I had made. I had already designed the mushroom to have 3 main parts: the body (where the lamp parts and majority of the bulb would go), the cap (where the light part of the bulb would go), and a detachable bottom (for the wire to escape).
What I had to keep in mind was how big my print plate was (180mm x 180mm x 180mm) and needed to make sure I was not scaling my lamp to be so large that I could not print it. I ended up needing to disassemble my lamp base in order for it to fit.
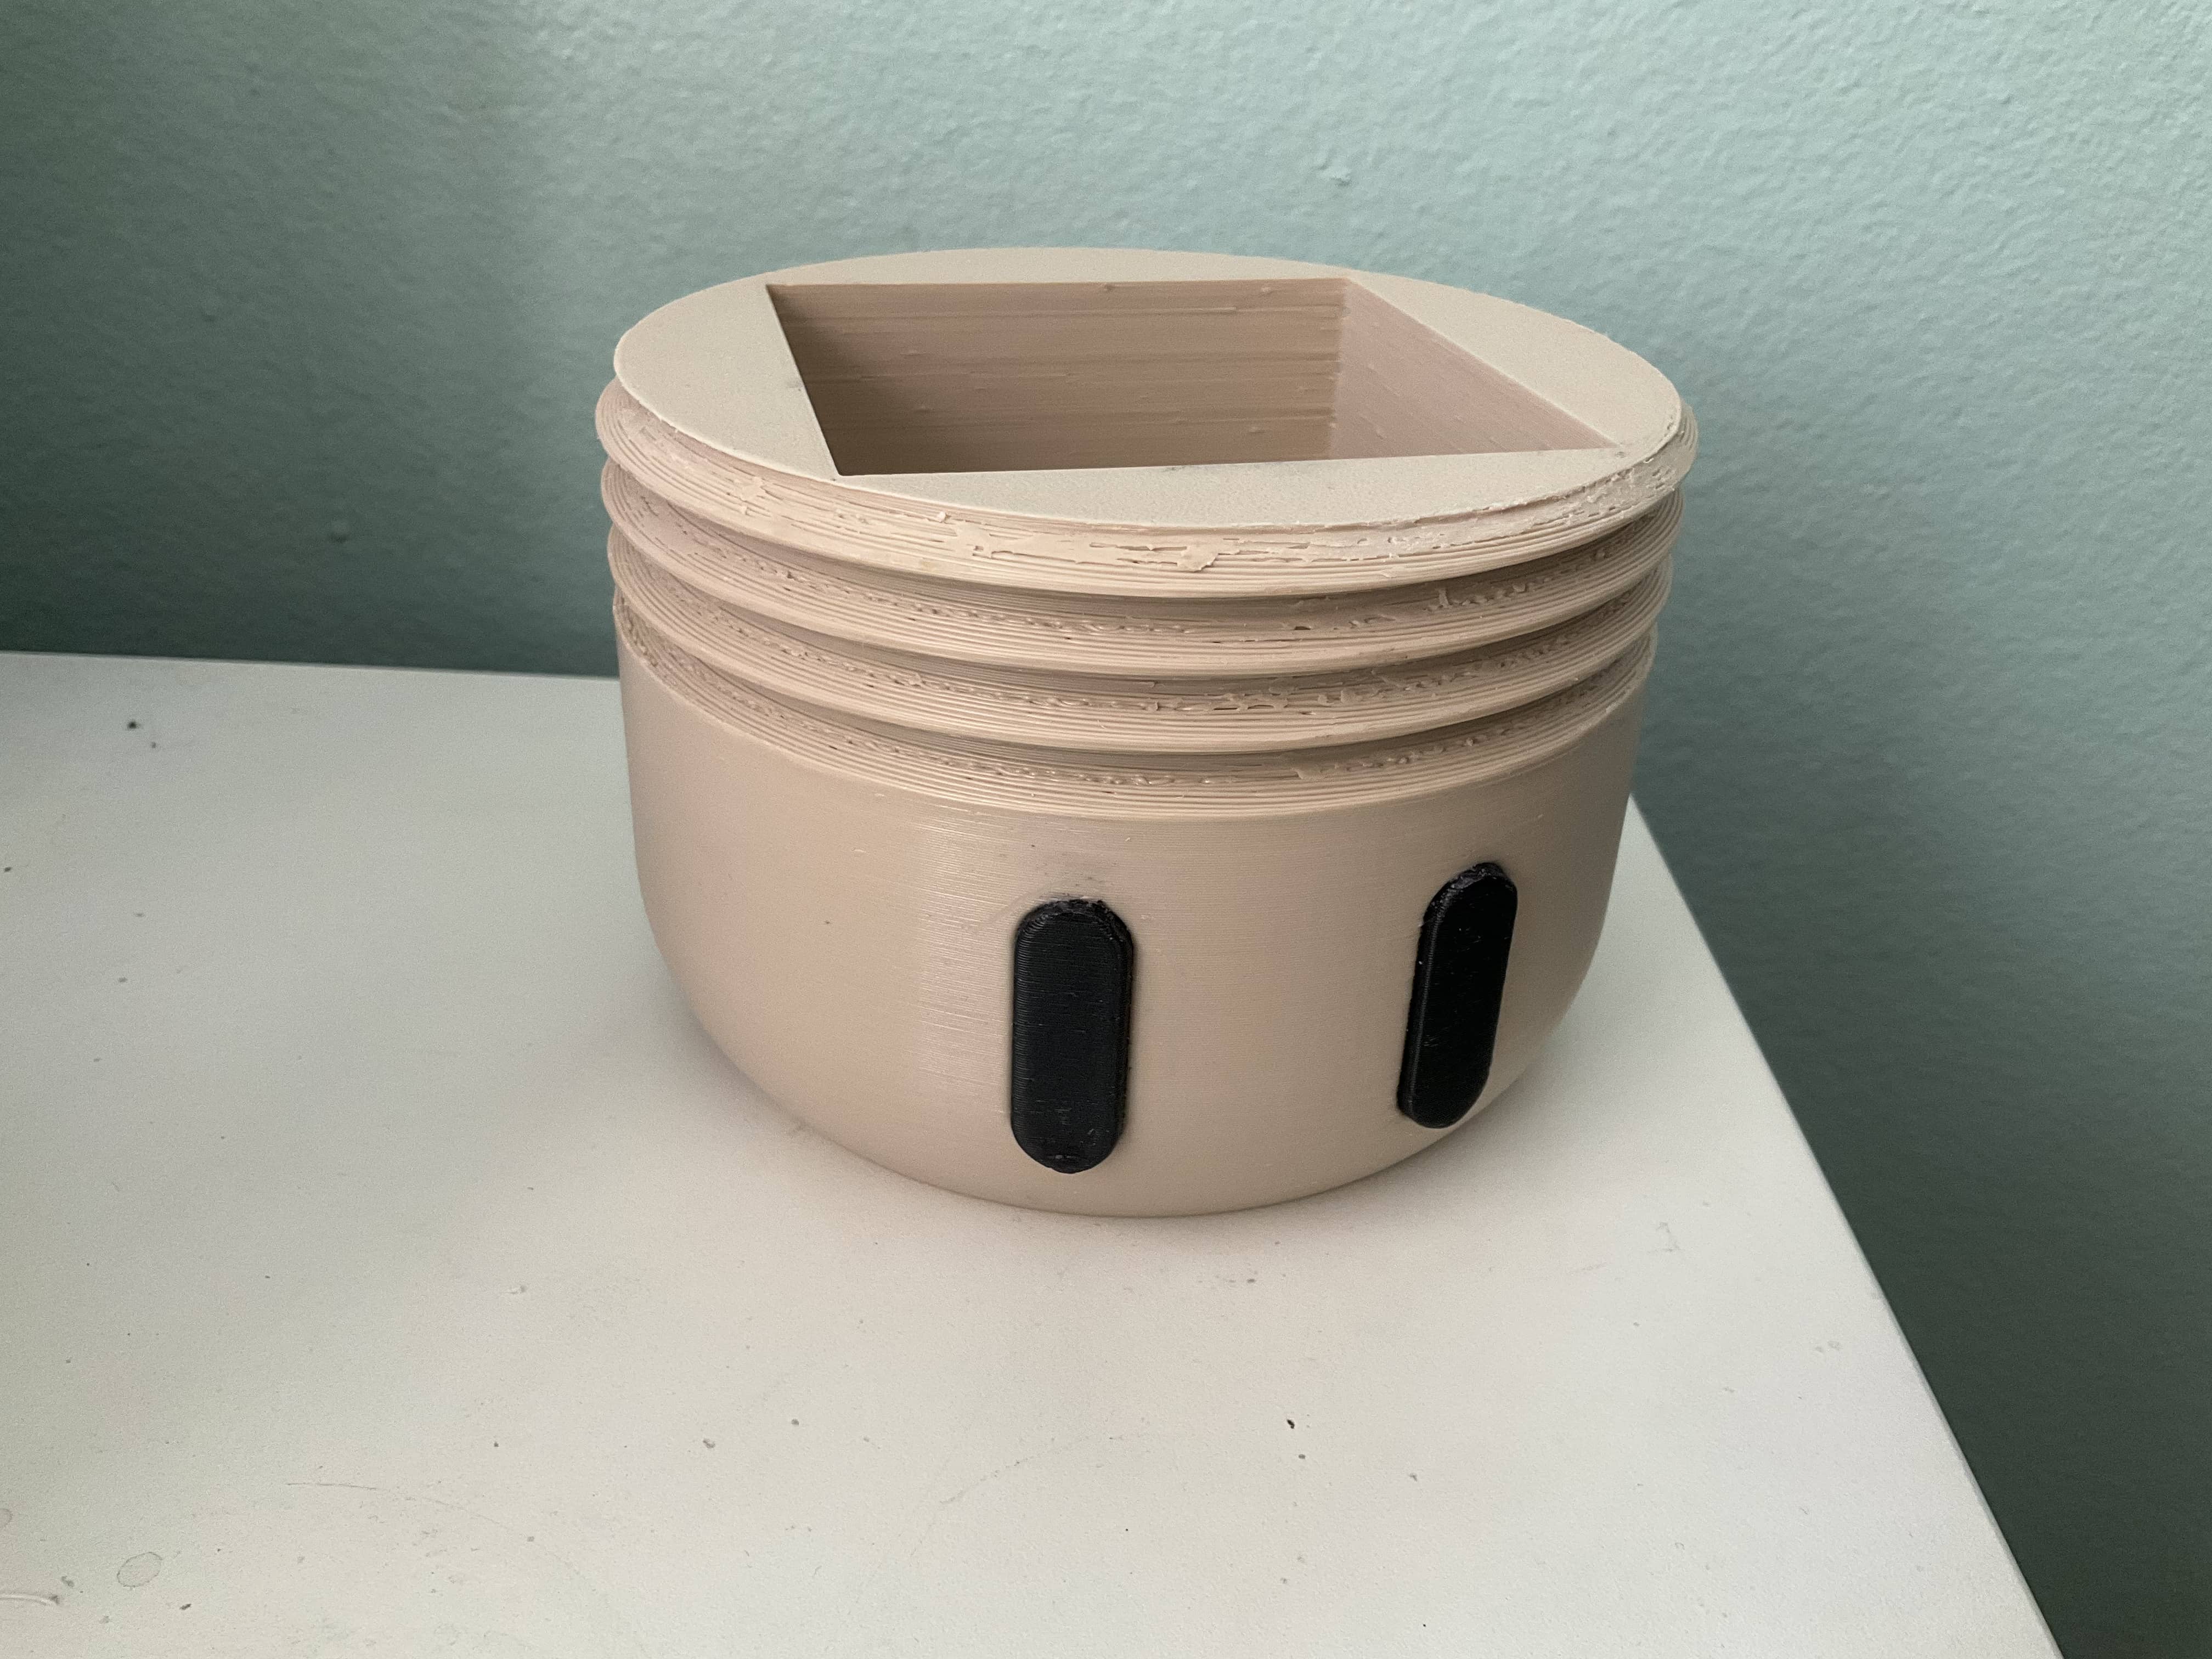
When creating the space in the body for the lamp parts and bulb, I ended up needing to create another part to keep the lamps parts from moving around inside. I designed this to be a press-fit section with a hole for the bulb to peek out from. Because my lamp base parts were square and my mushroom body was circular, I had to make sure the corners of the lamp base parts did not cut through the circular shape.
Phase 6: Print Settings & Filament Materials
The real trouble with this project had to do with print settings since I was using different filament materials and I was printing relatively large pieces. I reduced the acceleration by half and that prevented my printer from tearing my prints apart. However, this would make my printing times very long due to the machine running slower. In order to counter balance this, I did a few things:
Changed my nozzle to 0.4mm to 0.6mm
Printed at the 0.3mm layer height
Reduced infill to 10% Line
While this did make the layer lines on my pieces much more noticeable, I was content with the more reasonable printing times.
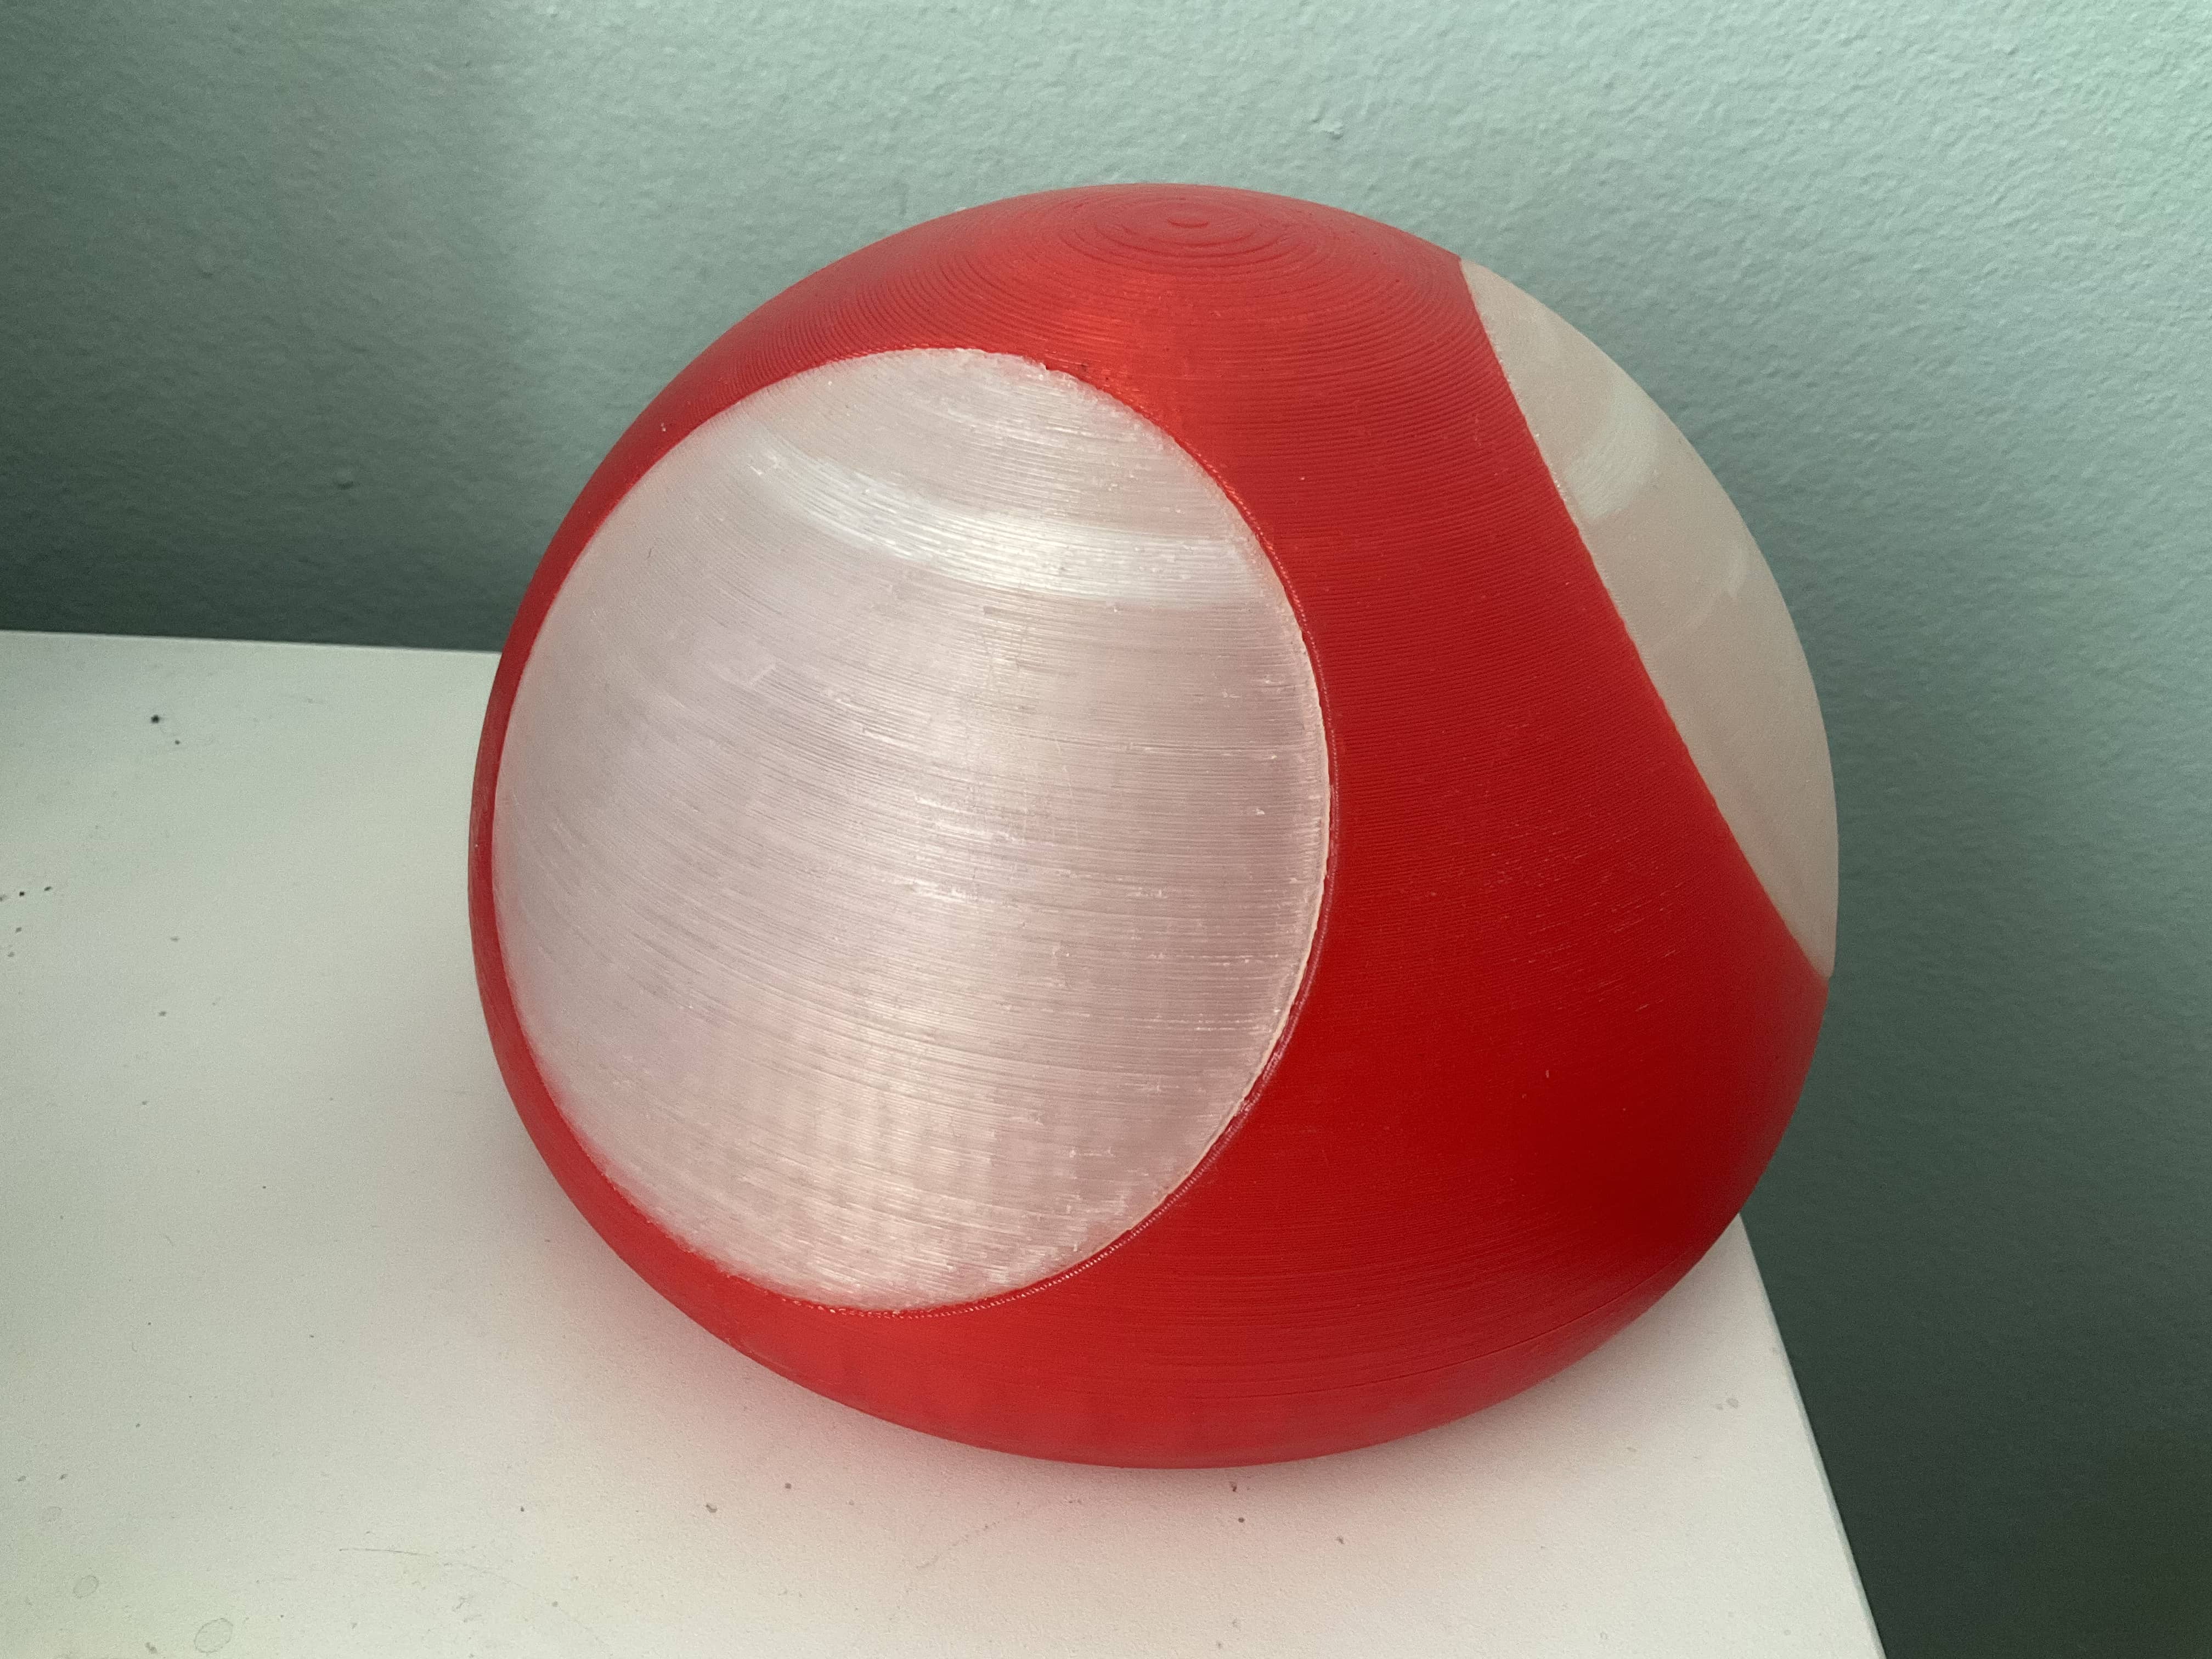
The only piece I would reprint with higher quality settings would be the Mushroom Cap since with the clear filament, it was very apparent where the imperfections were.
I would also consider making the infill 100% for the Mushroom Cap since you can see some of the infill pattern. Infill is necessary for the cap because of the screw threads structure, which needs support to print correctly.
Phase 7: Final Product & Reflection
Overall, I am happy with what I was able to accomplish, even if the quality of my print was not as high as I wanted it to be.
For my first relatively large print, I was made aware of my machine's limitations and the relevant settings I needed to adjust and change for a cleaner print.
I am relatively happy that I have a functional desk lamp, but I am not sure if I want to print larger pieces on my printer given the smaller size that it is.
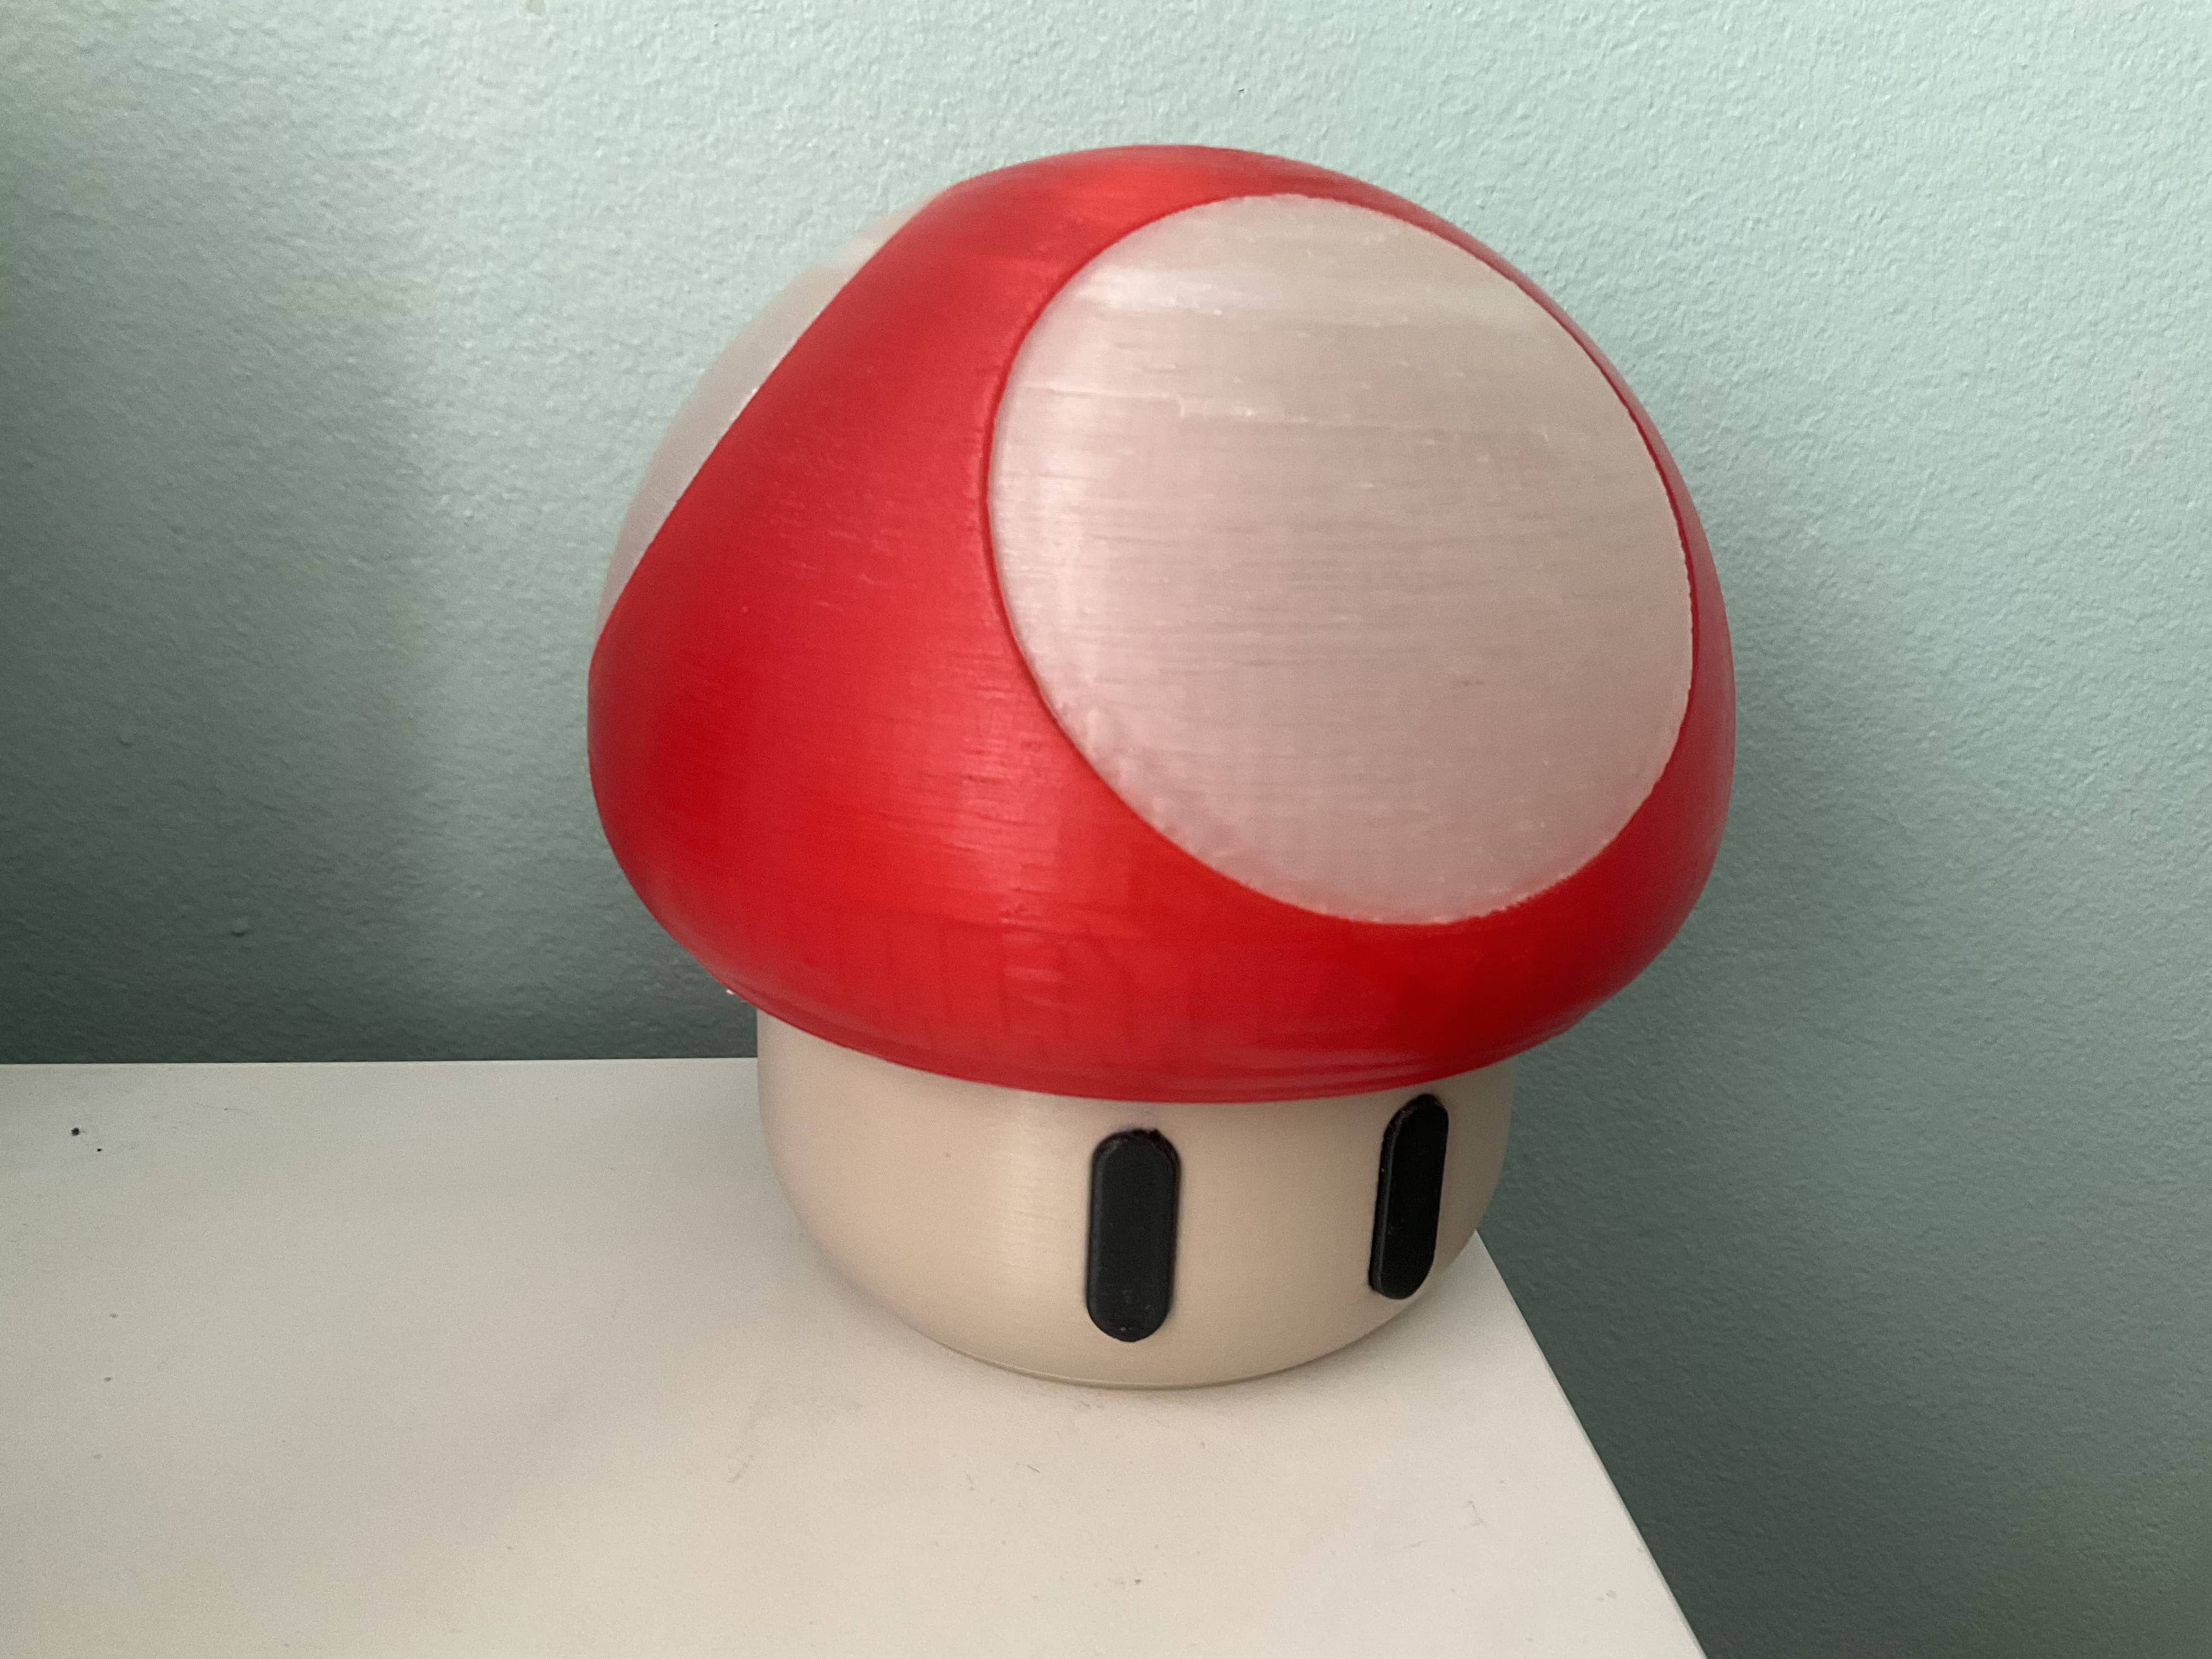
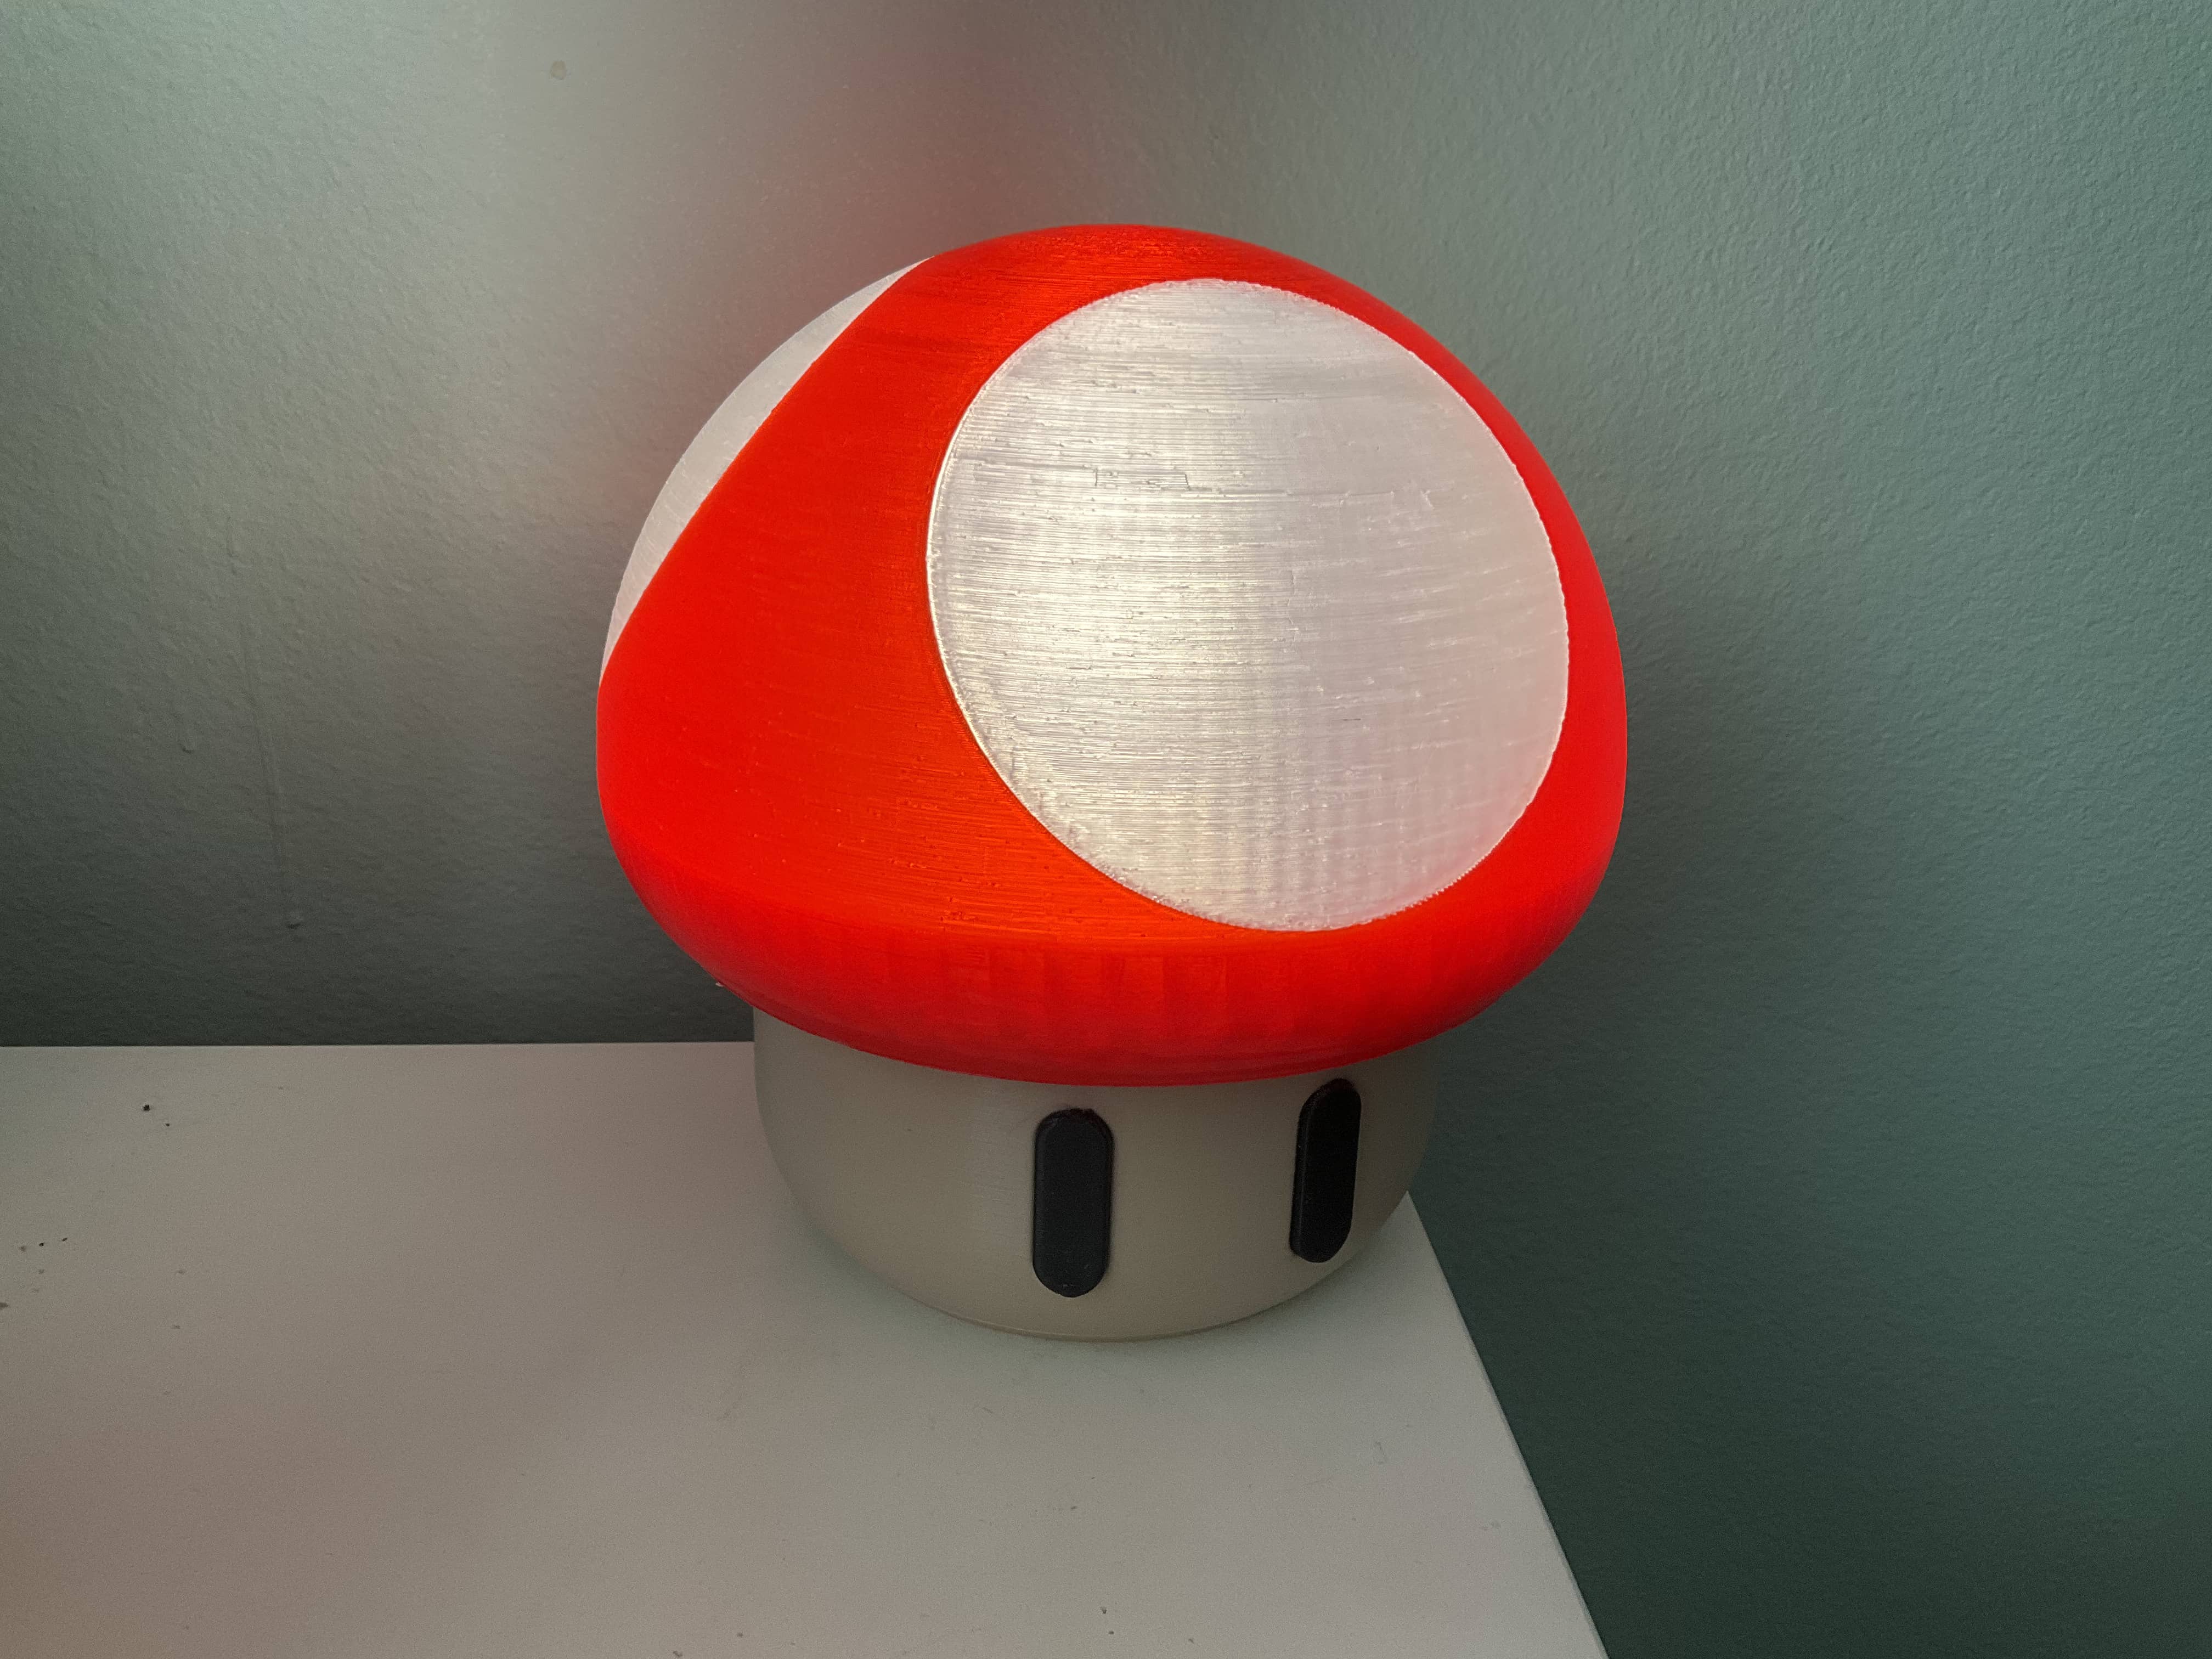
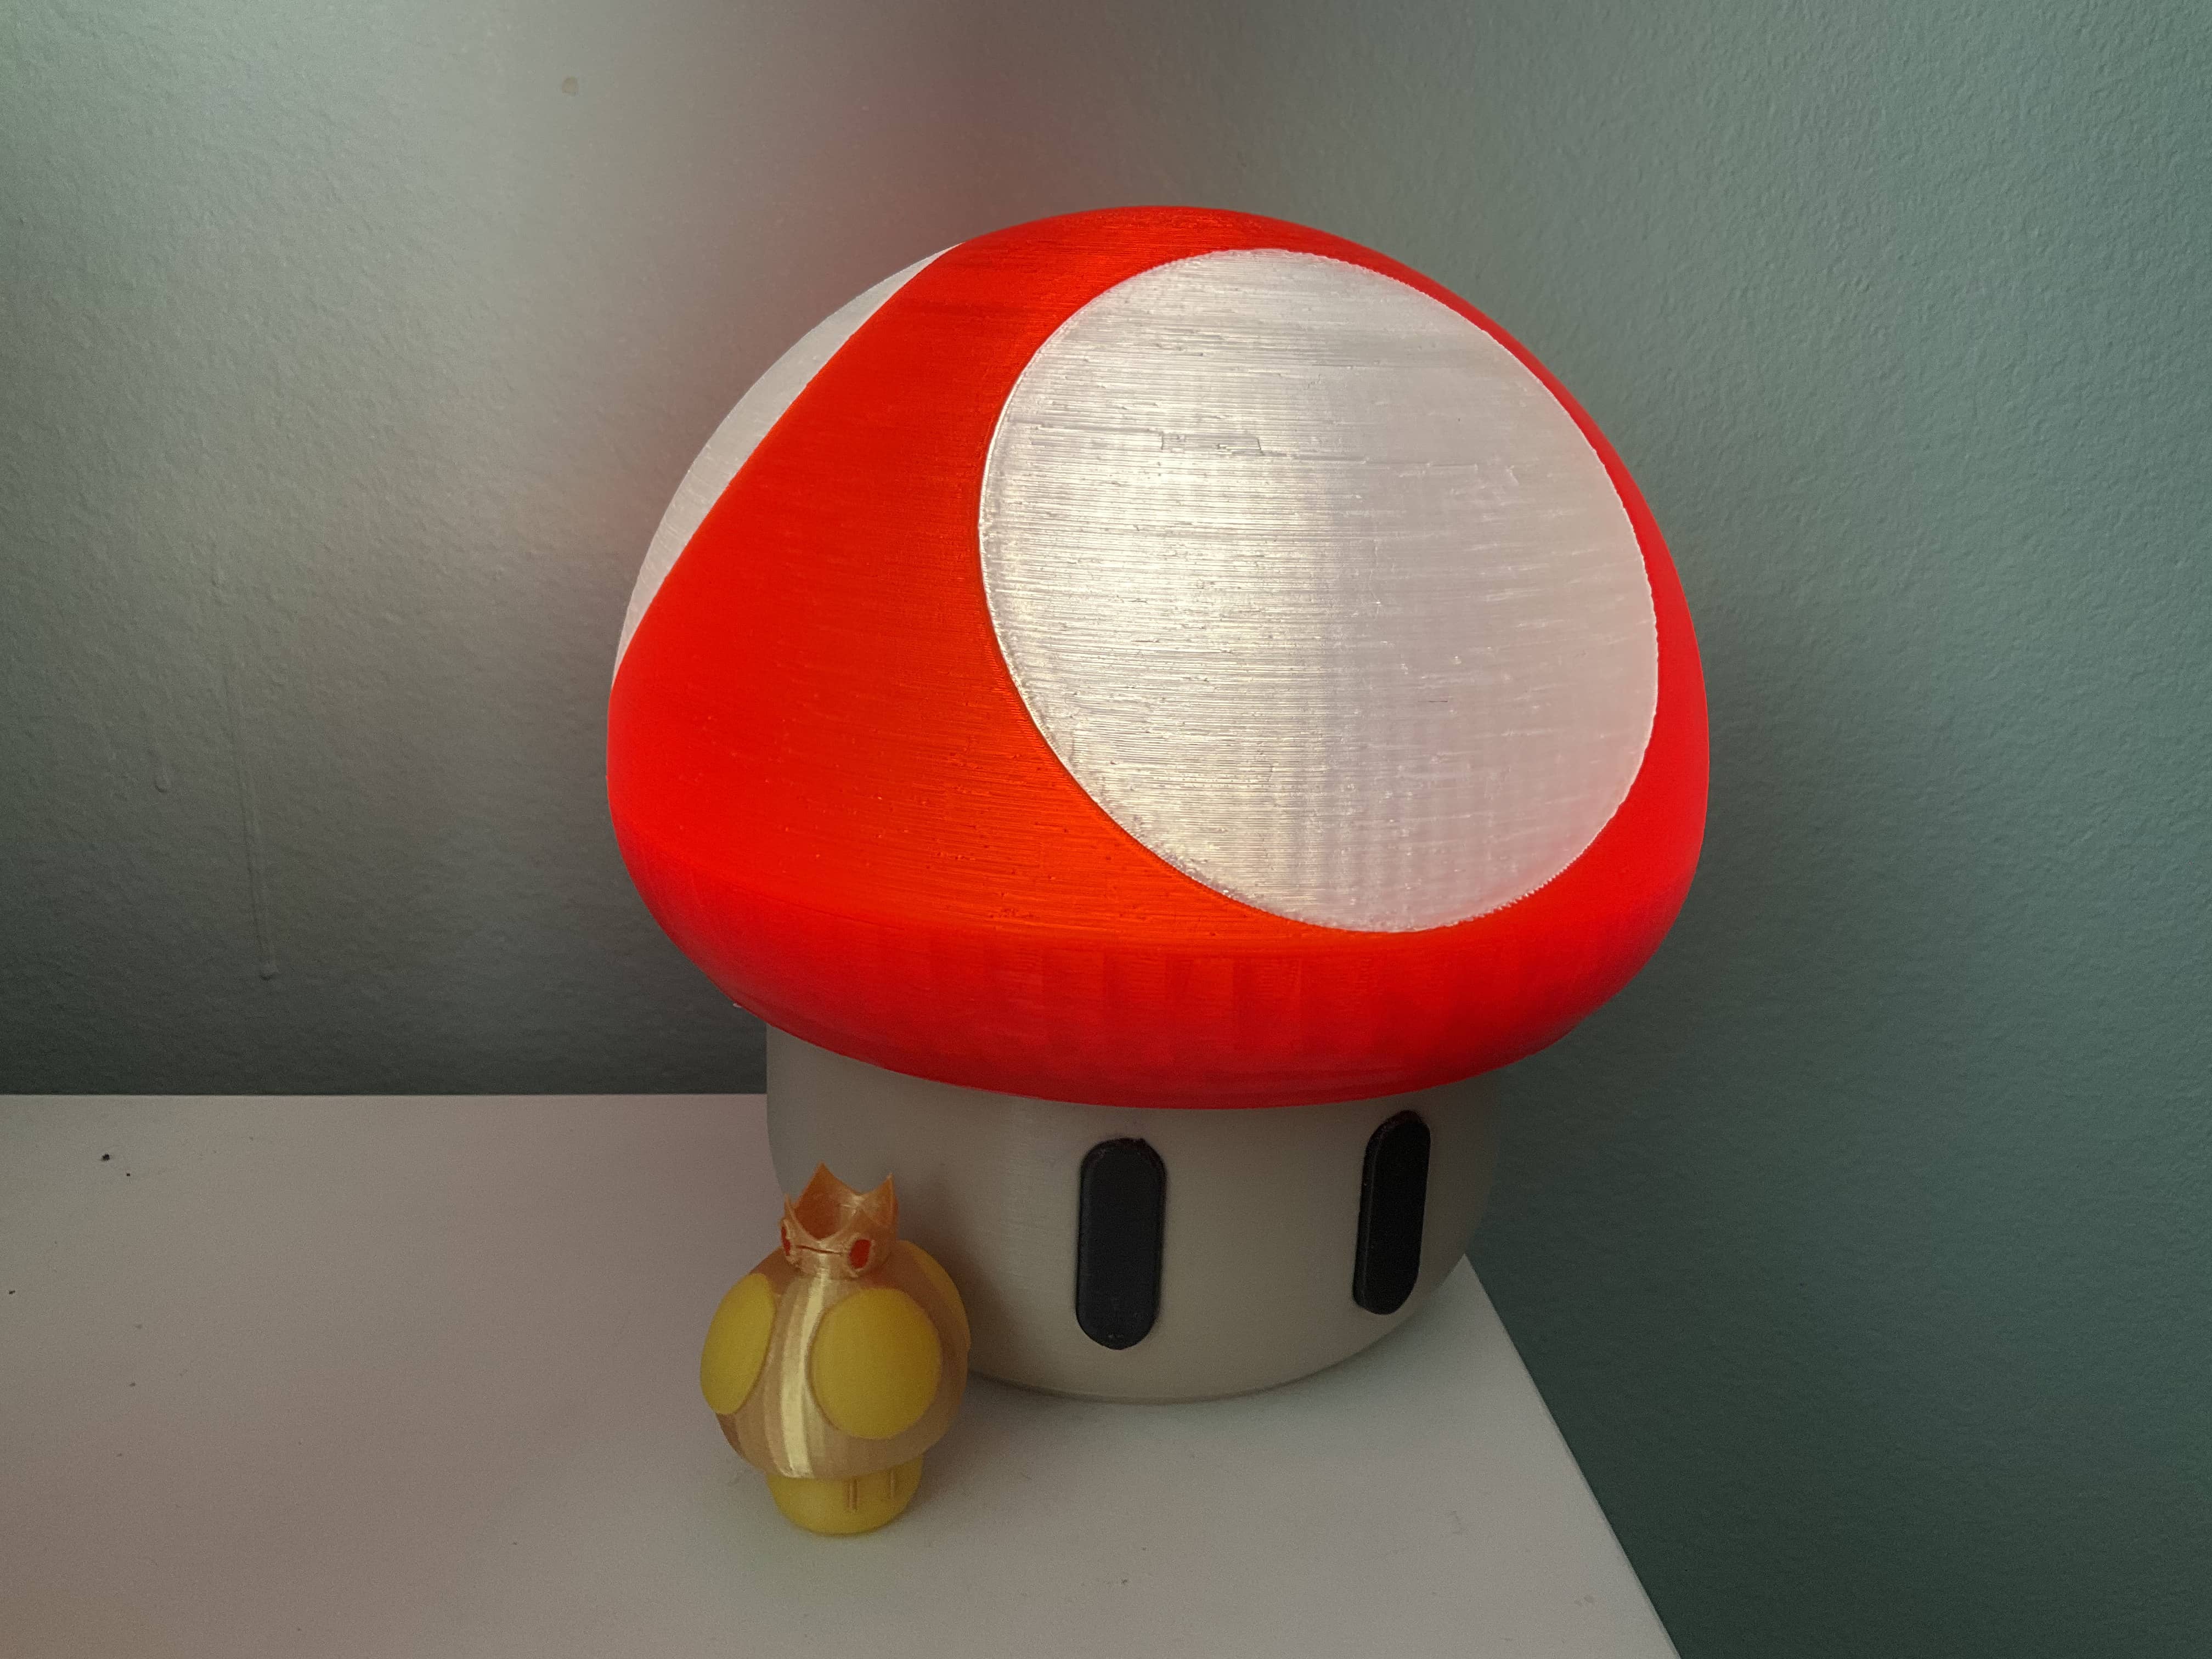
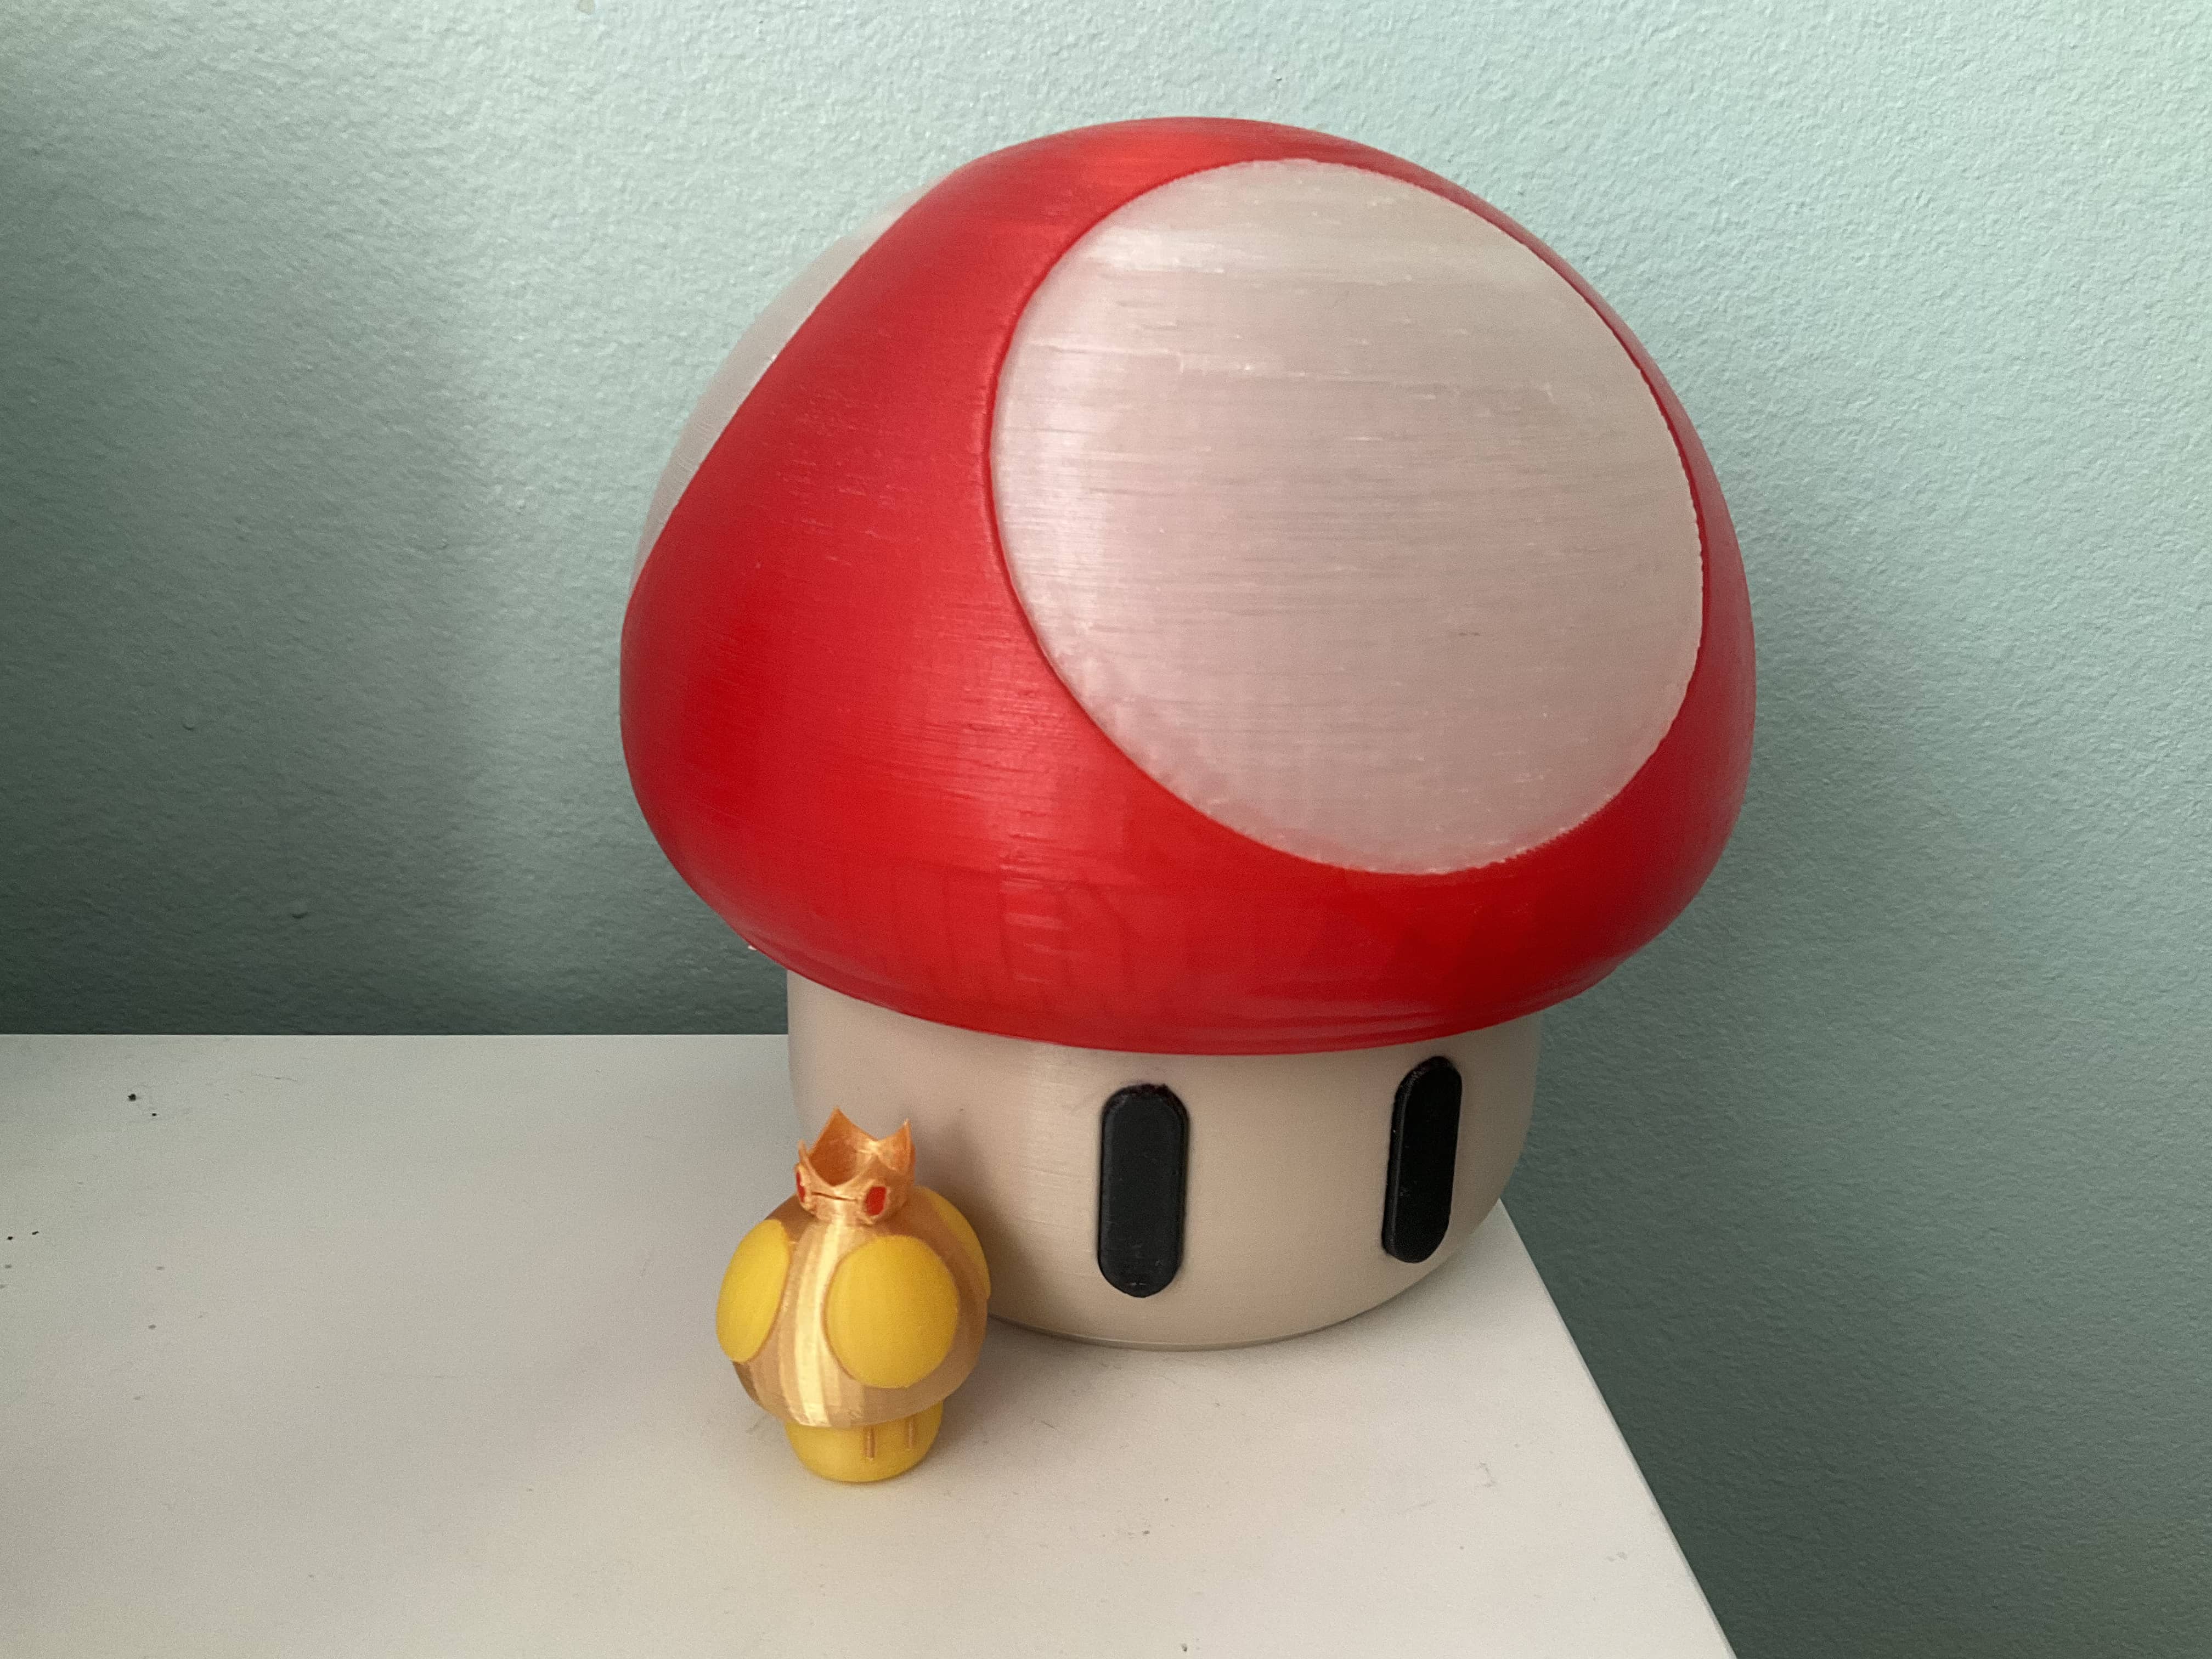
For the future, if I were to do this project again, I would increase the quality of the print and give the machine more time to run to print. However, given the current time frame for this project, I needed to optimize the print for time. I would also avoid using Matte PLA in the future as I ended up disliking the finish of my base. I would also want to experiment more with my clear filament as I have read multiple sources about sanding and polishing clear filament until it can look like glass.