Assignment 3: 3D Printing!
Part 1: Setting Up the 3D Printer
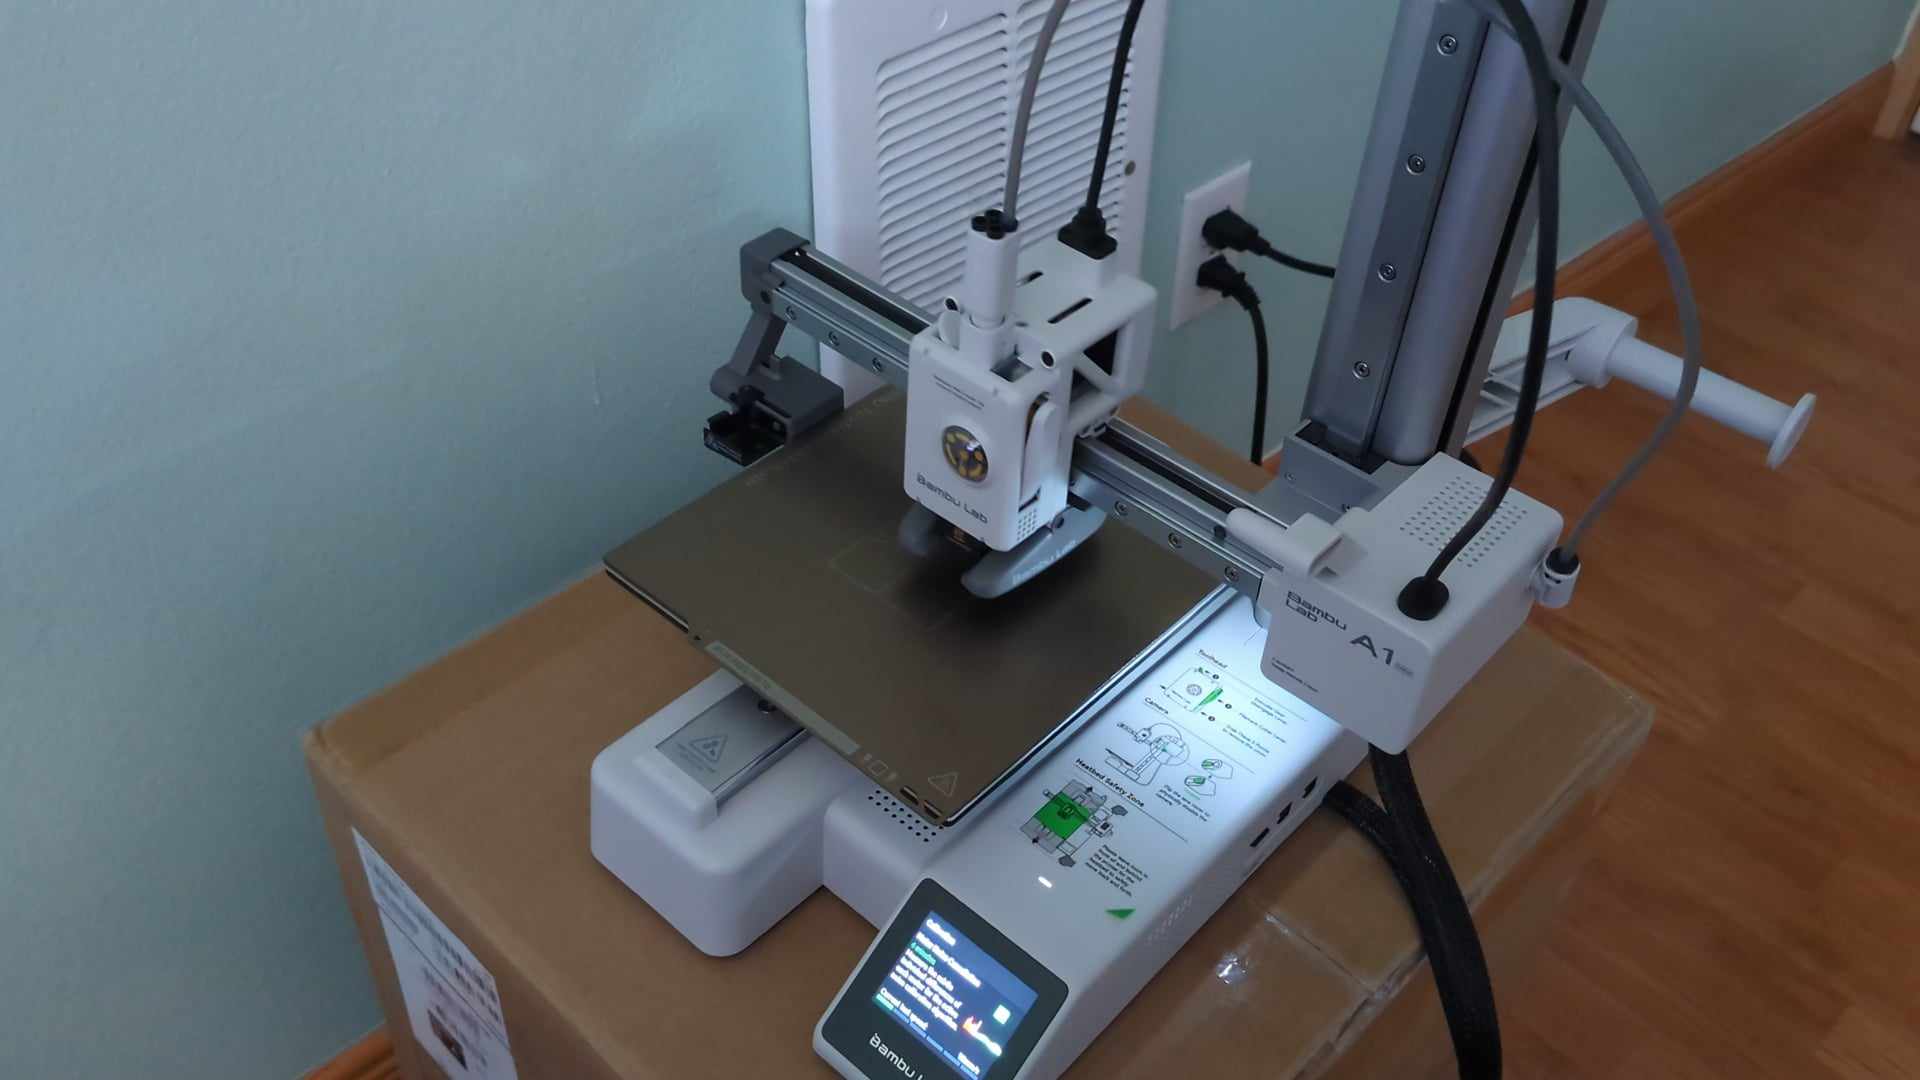
The 3D printer I have and will be using for my subsequent projects is the Bambu Labs A1 Mini. Luckily for me, the A1 Mini comes ready to print straight out of the box has an easy extruder swap system, and has auto bed-leveling, so I was fortunate enough to just clean the textured bed plate and plop it onto the bed!
Since the A1 mini has auto bed-leveling, I decided to print a different bed leveling protocol specifically made for Bambu Lab printers. Overall, I saw no issues with the auto bed-leveling feature!
Part 2: Observing & Adjusting Print Settings
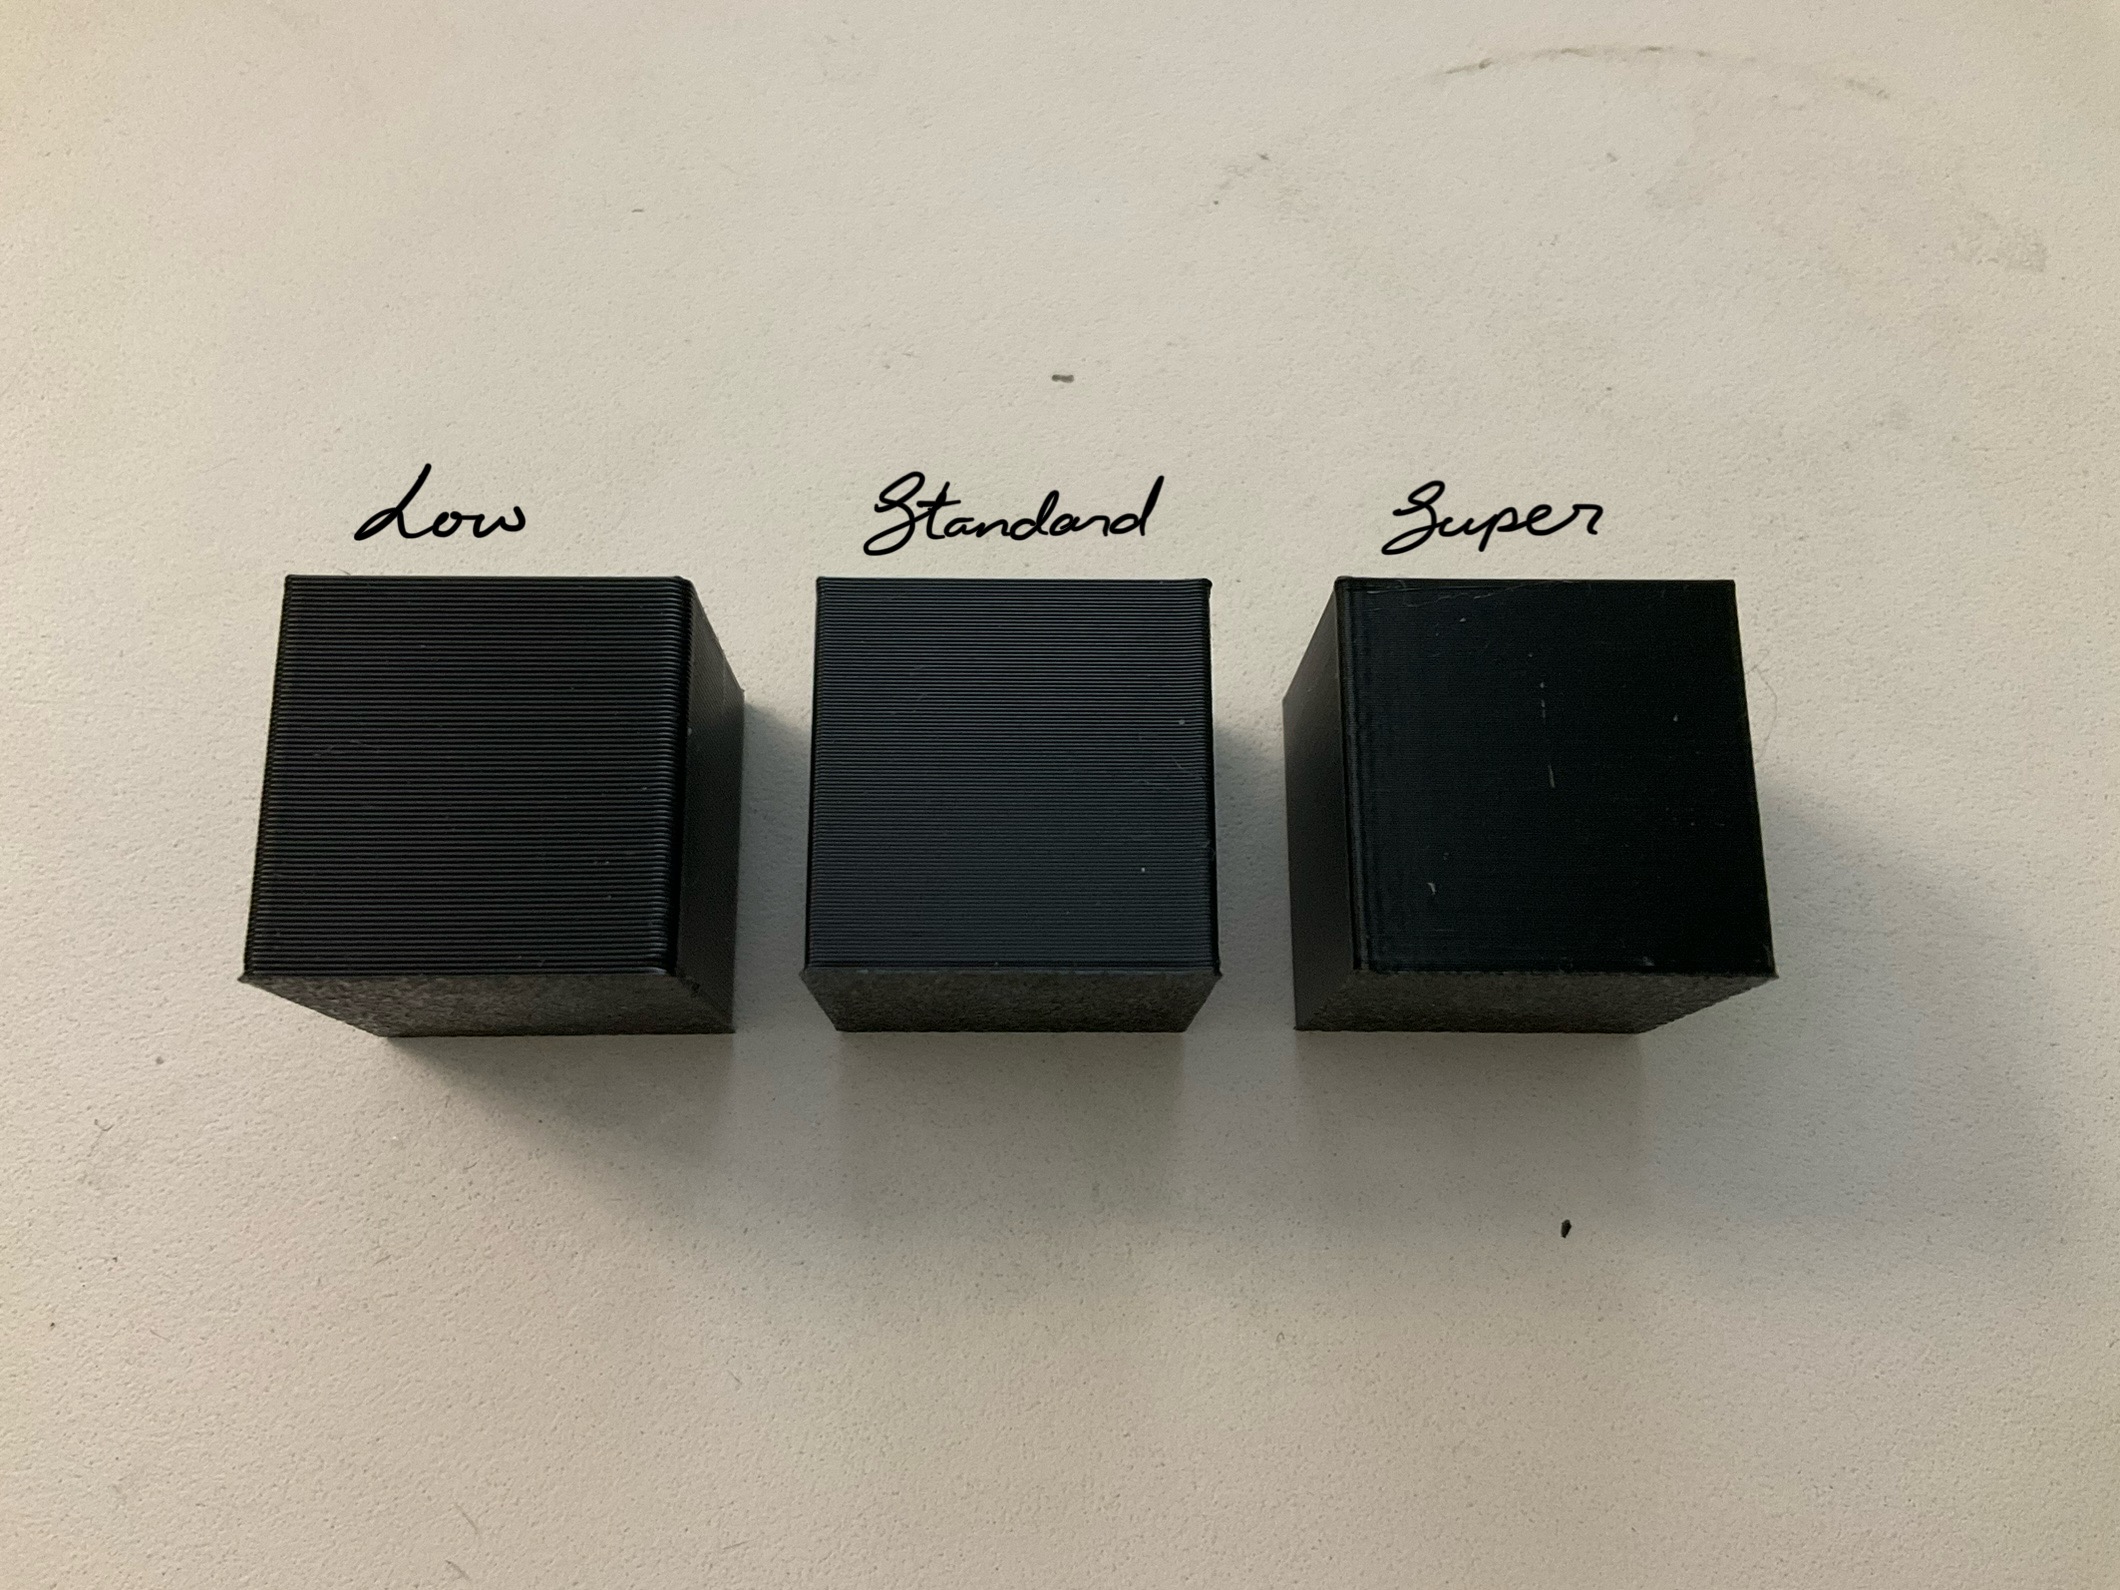
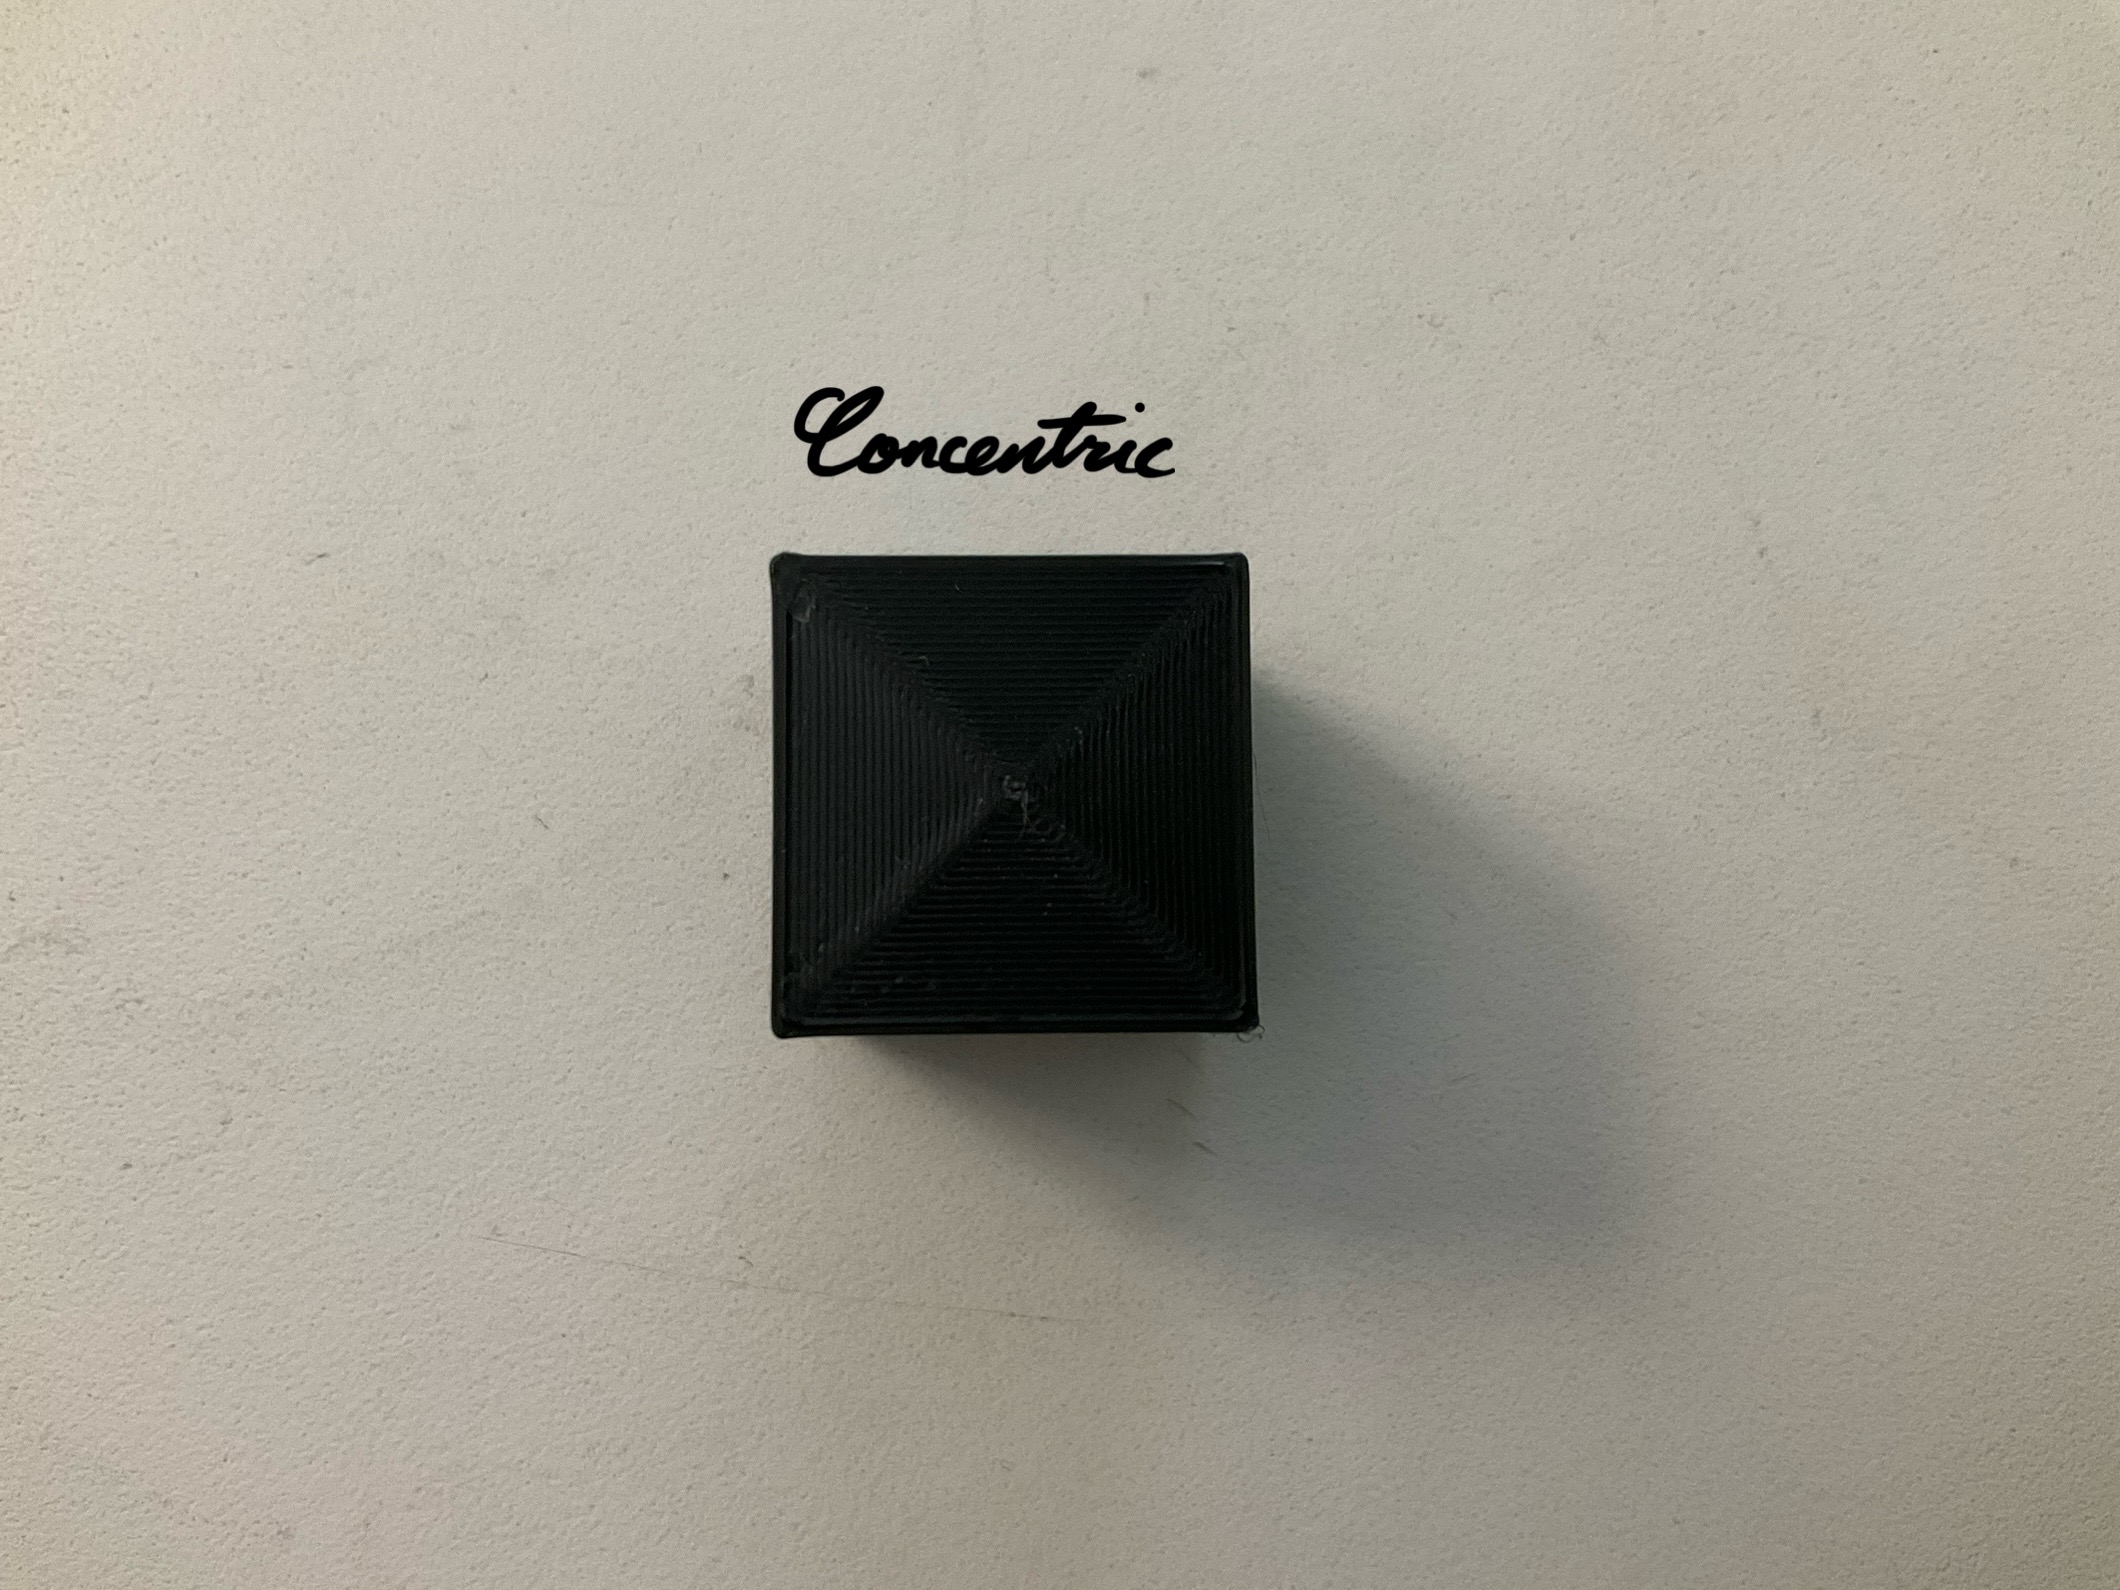
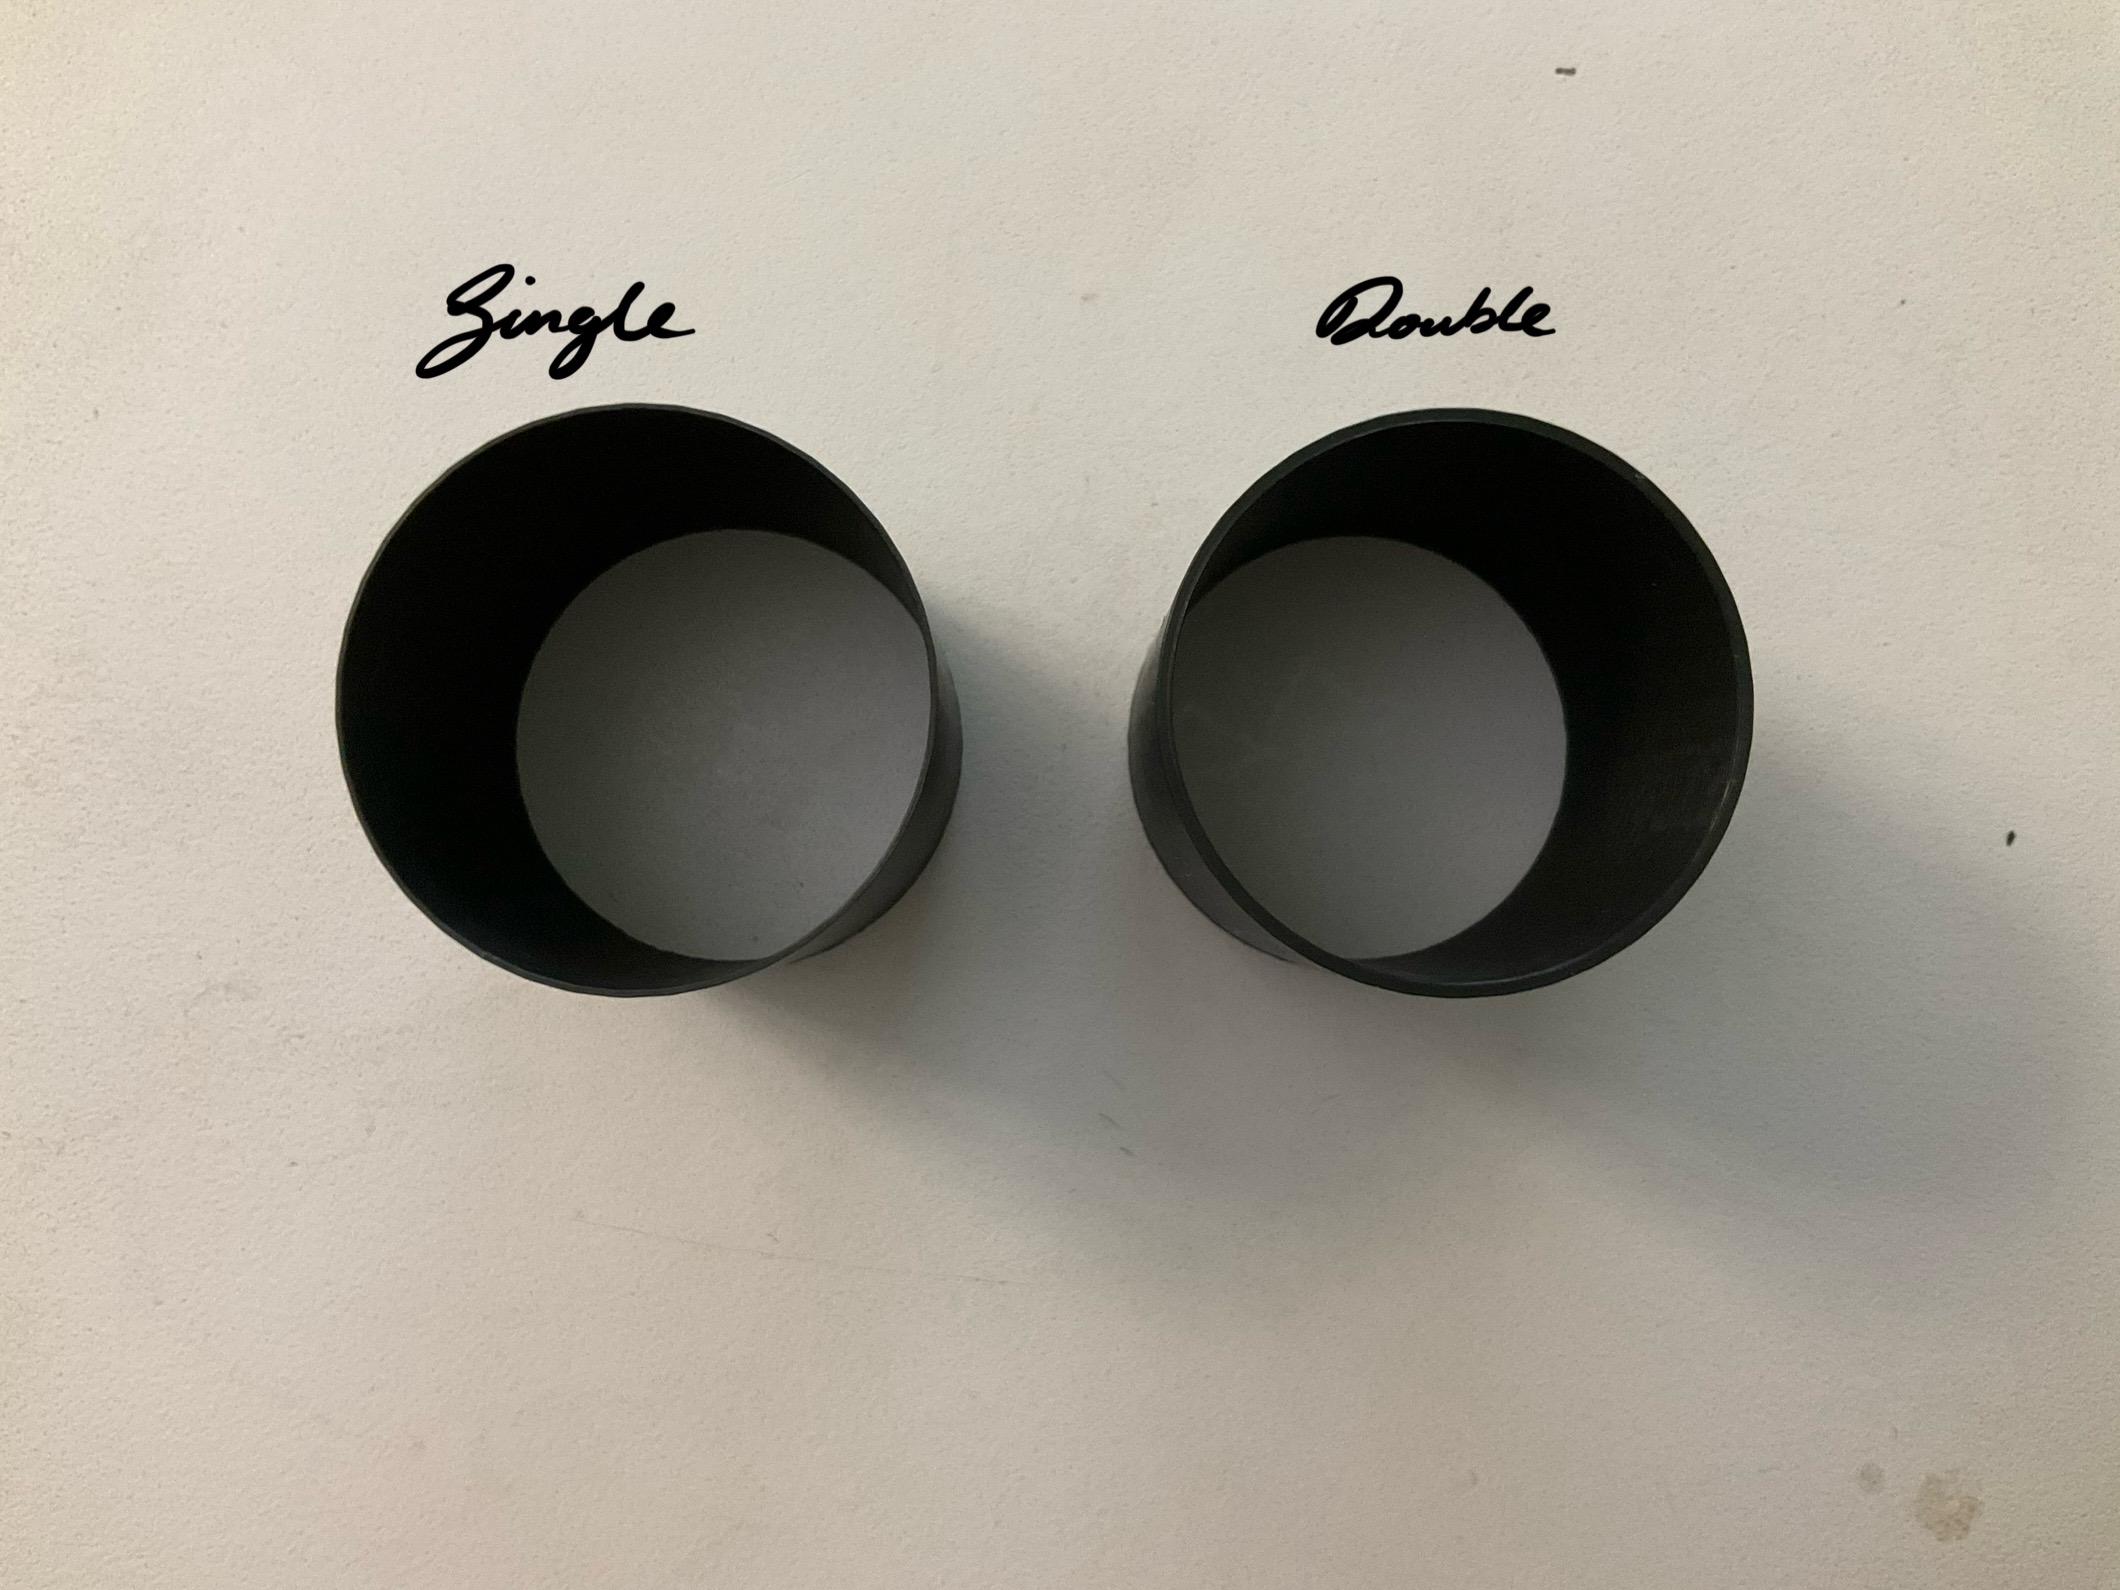
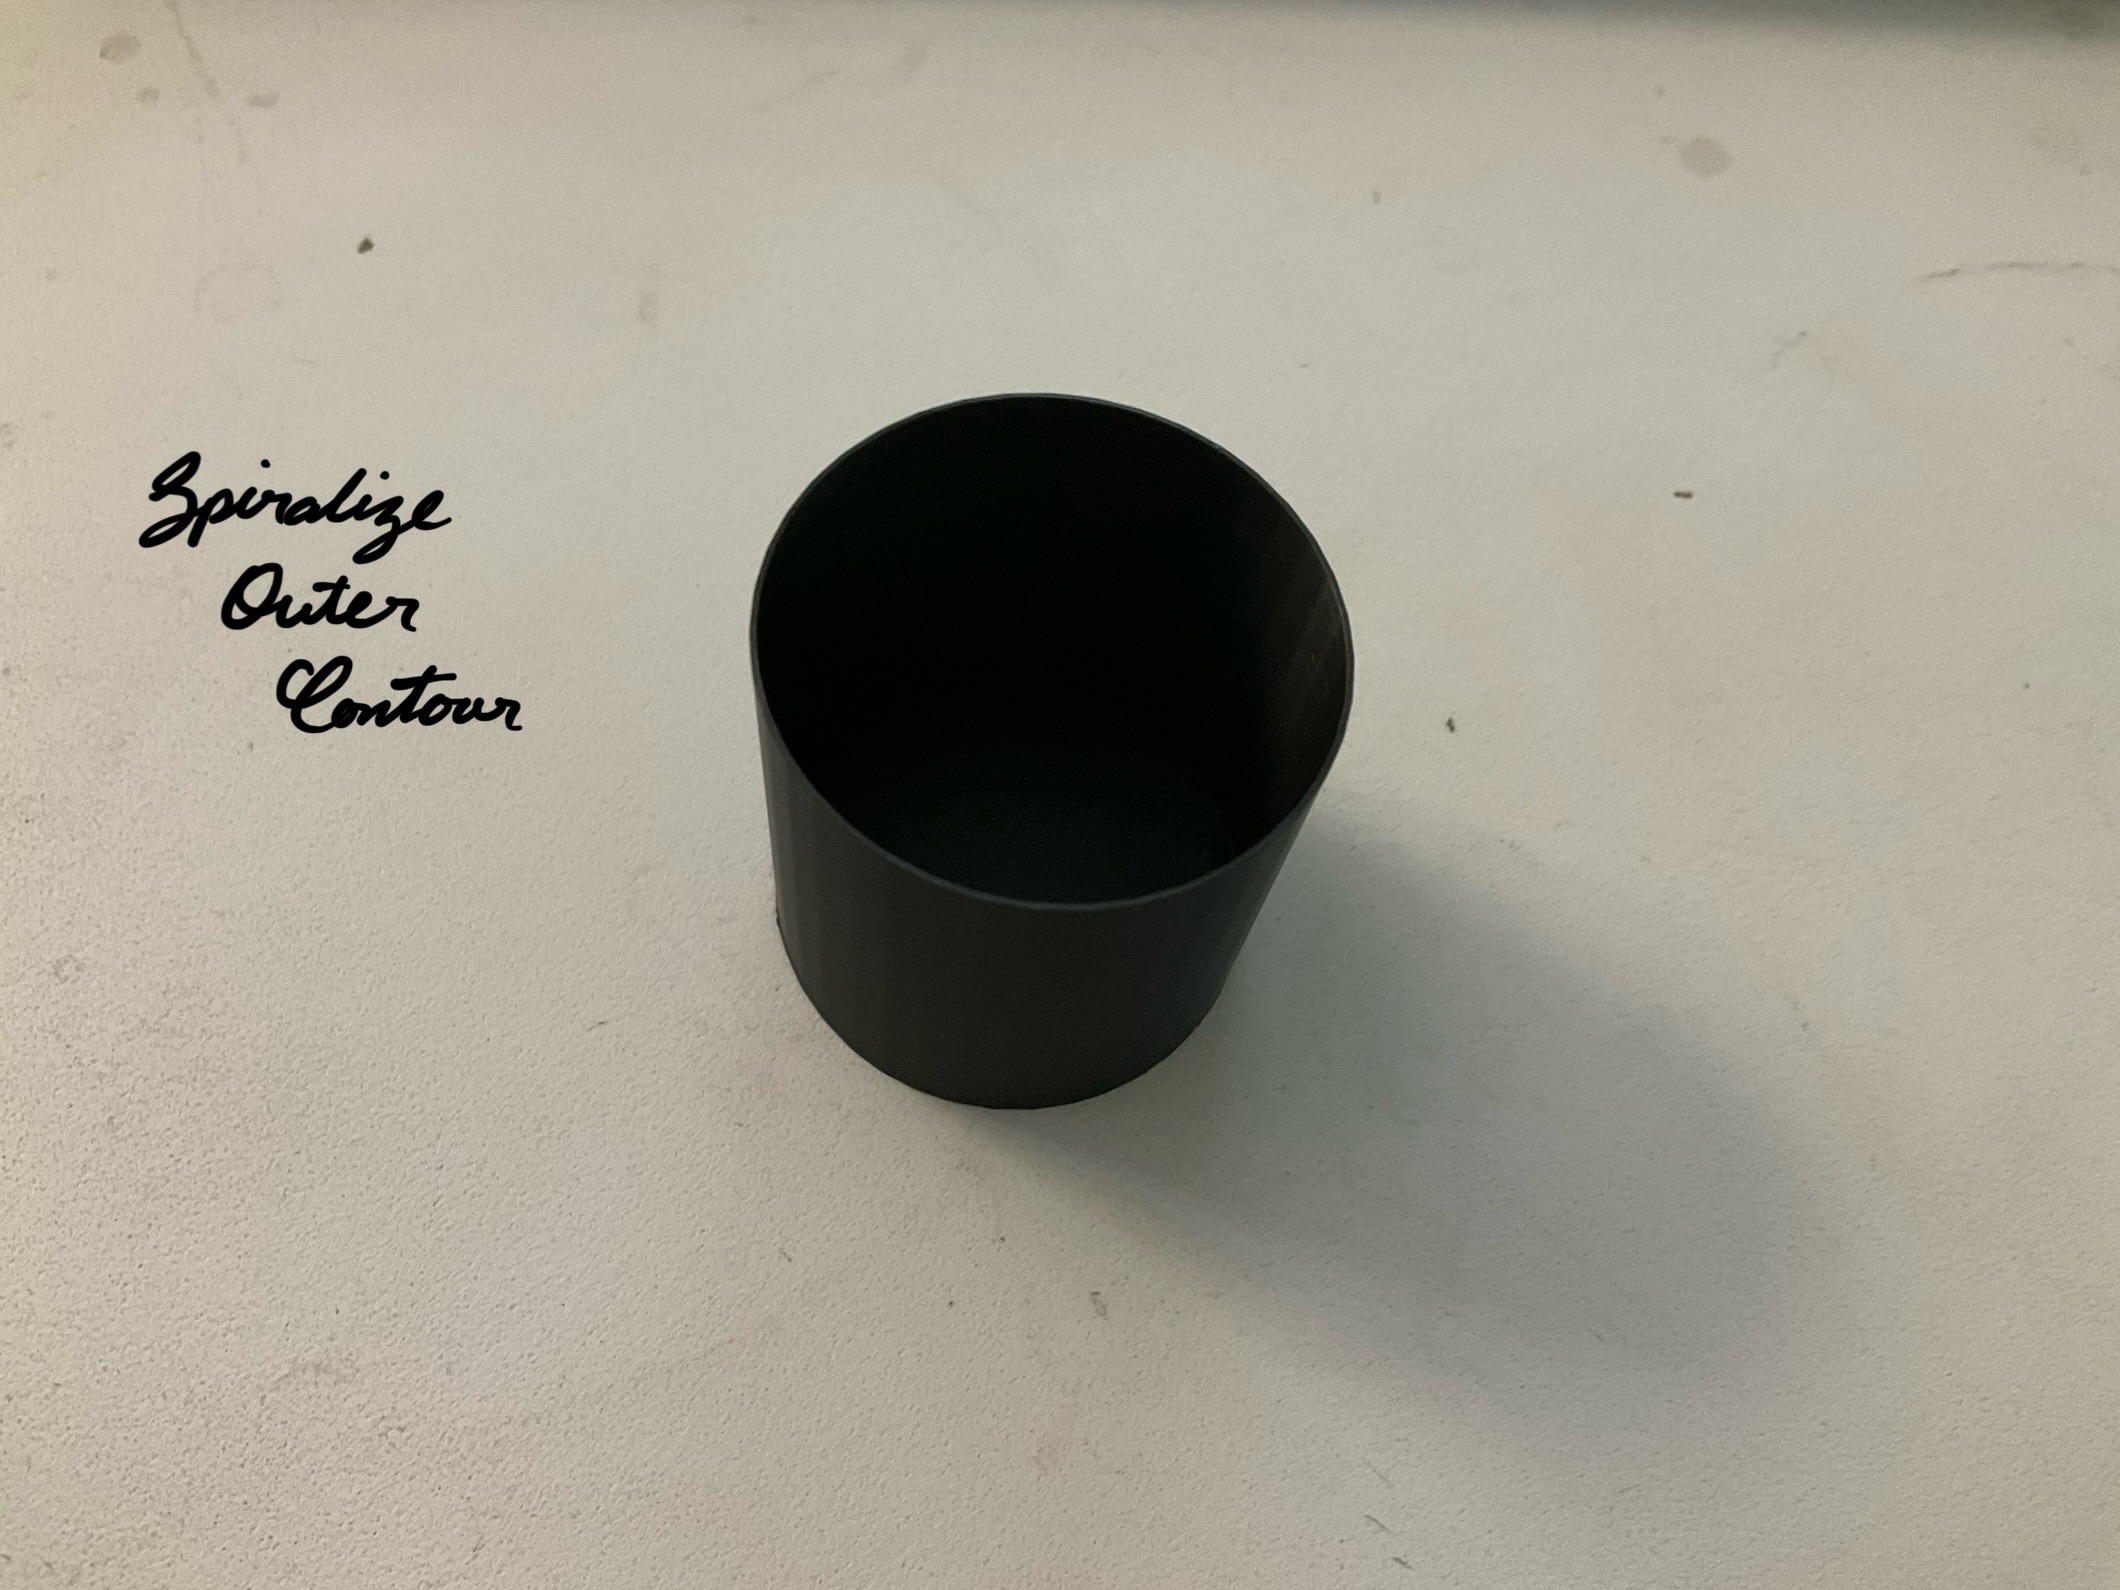
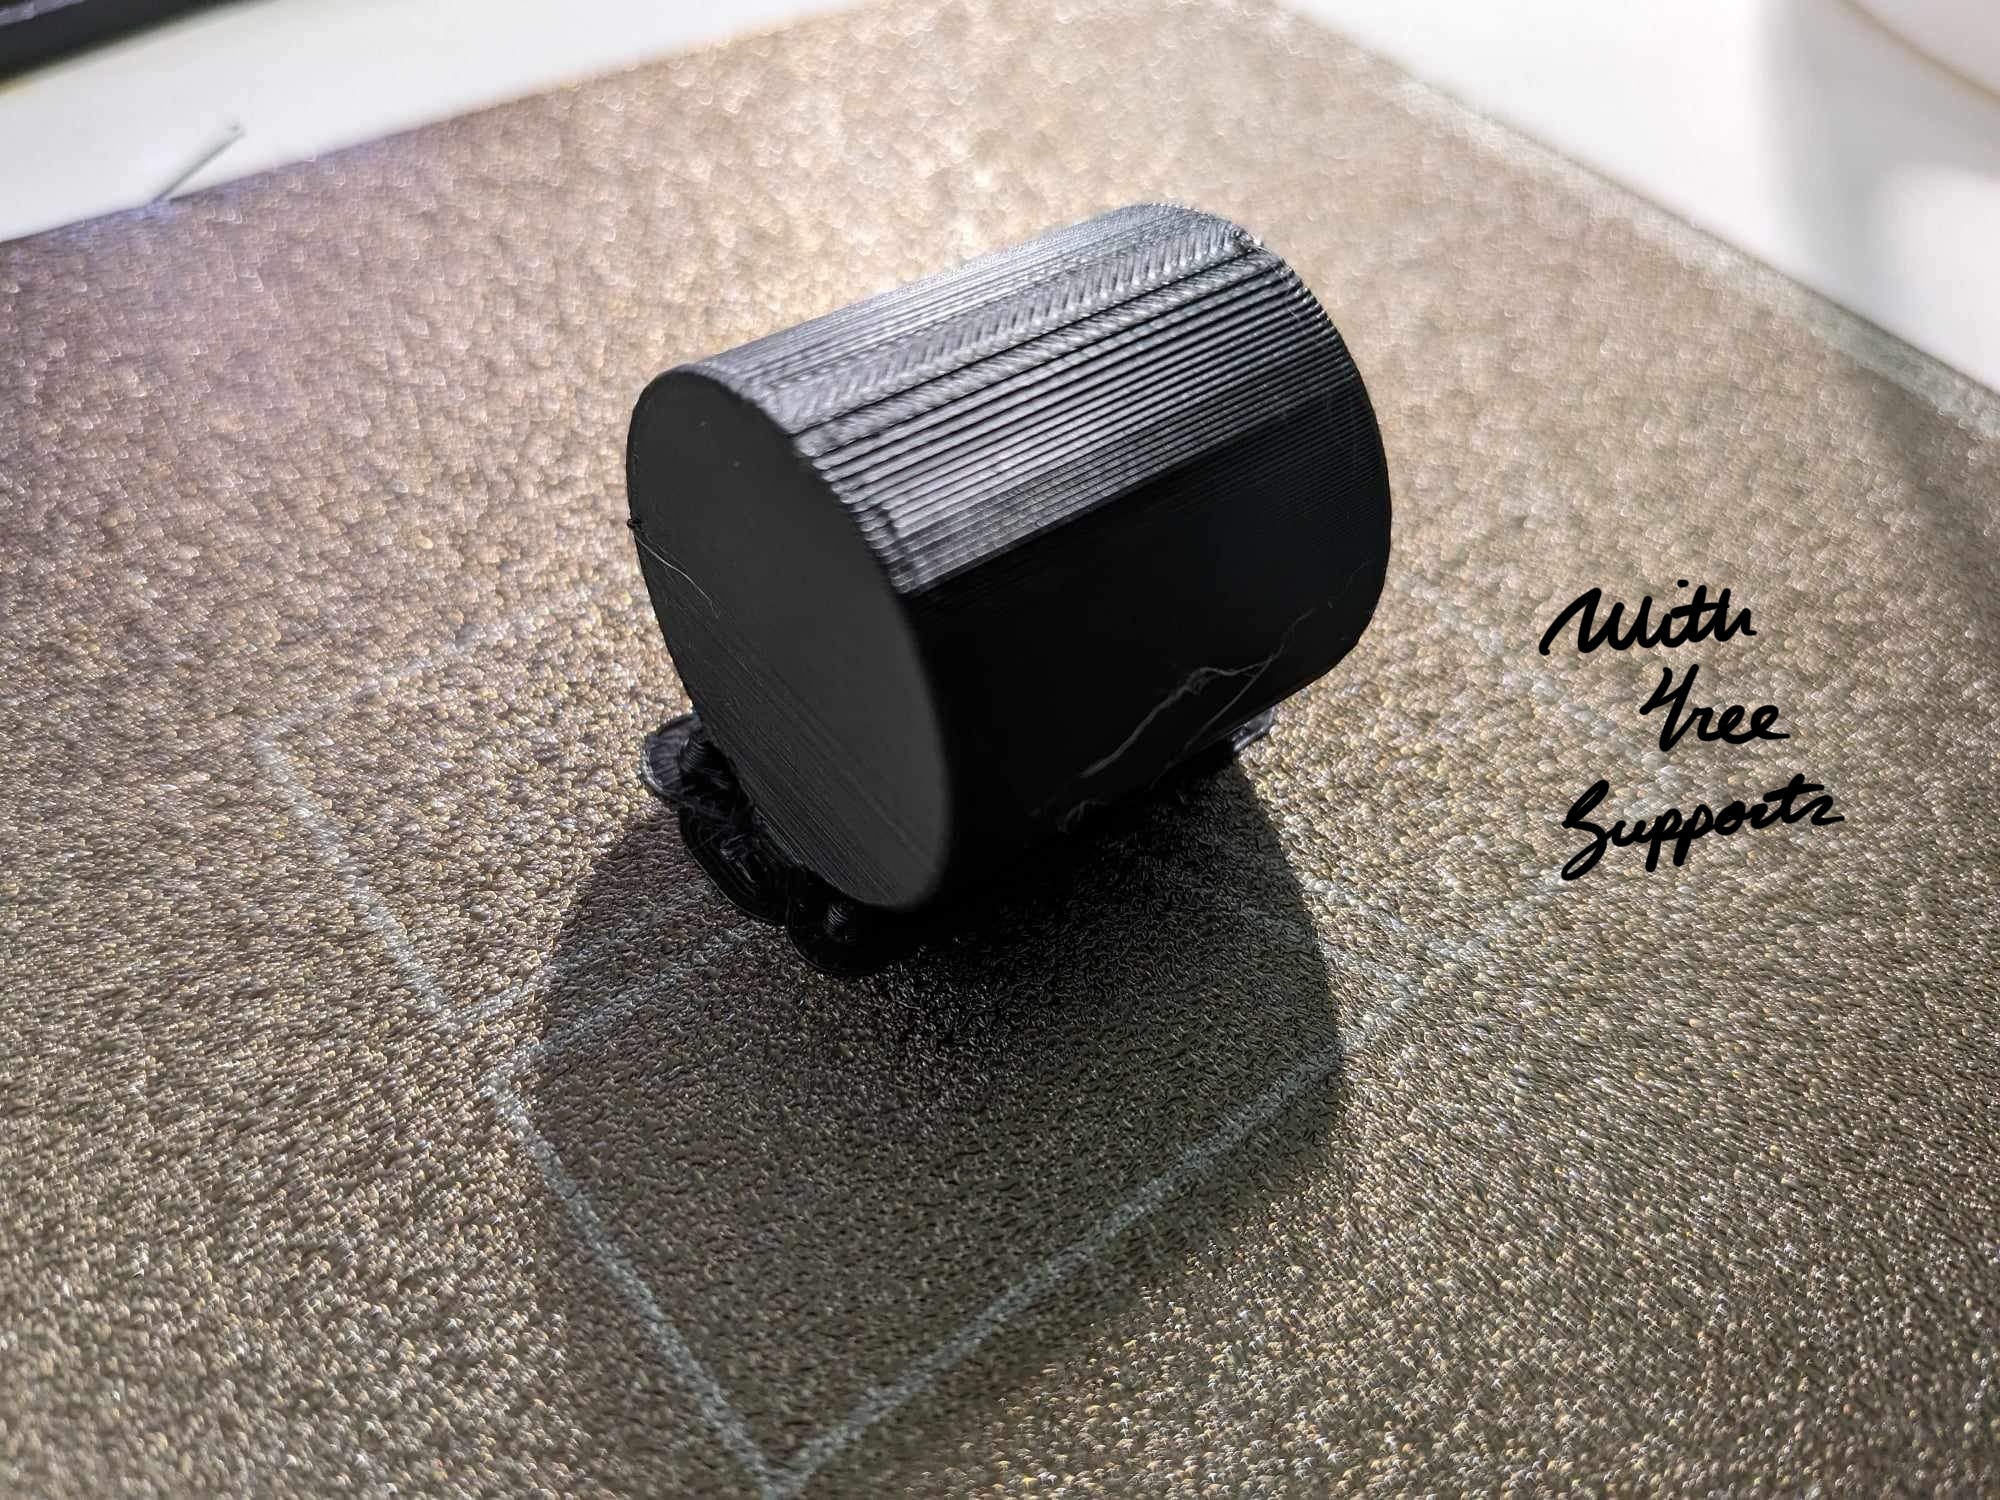
I first made a simple 20mm cube and 30mm cylinder in Rhino. Given that they were simple shapes, they were simple to form and export as .stl files with no issues. I created a simple square/circle and used the ExtrudeCrv command to create the 3D objects.
Since I was using a Bambu Lab 3D printer, I opted to use Orca Slicer instead of Cura since Orca is optimized for Bambu Lab printers. I was able to do a quick Google Search to find the equivalent settings and used Orca to configure and produce the G-code for my printer.
When measuring my final pieces, I noted that my pieces were generally within 0.2mm print error margin, so I knew my settings were functional for future projects.
| Configuration | Orca Equivalent | Print Duration | L x W x H (mm) |
|---|---|---|---|
| "Low Quality" 2cm Cube | 0.28mm Draft Extra Draft | 11m 46s | 19.92 x 19.85 x 20.11 |
| "Standard Quality" 2cm Cube | 0.20mm Standard | 15m 50s | 19.80 x 20.00 x 20.10 |
| "Super Quality" 2cm Cube | 0.12 High Quality | 26m 54s | 19.95 x 19.93 x 20.05 |
| "Standard Quality" 2cm Concentric Top/Bottom Cube | 0.20mm Standard with Concentric Top & Bottom Faces | 15m 53s | 19.92 x 19.93 x 20.03 |
| Single Extrusion 3cm Tube | 0.20mm Standard Spiralize Outer Contour 0.4 Wall Thickness | 11m 55s | 29.90 x 29.9 x 30.00 |
| Double Extrusion & Random Z-Seam Alignment 3cm Tube | 0.20mm Standard Spiralize Outer Contour 0.8 Wall Thickness | 11m 46s | 29.96 x 29.96 x 30.02 |
| Spiralize Outer Contour 3cm Cylinder | 0.20mm Standard Spiralize Outer Contour Smooth Spiral | 12m 50s | 30.00 x 30.00 x 30.00 |
| Supported & Side Printed 3cm Cylinder | 0.20mm Standard with Tree Supports | 25m 23s | 29.95 x 29.95 x 30.02 |
Part 3: Designing Clips
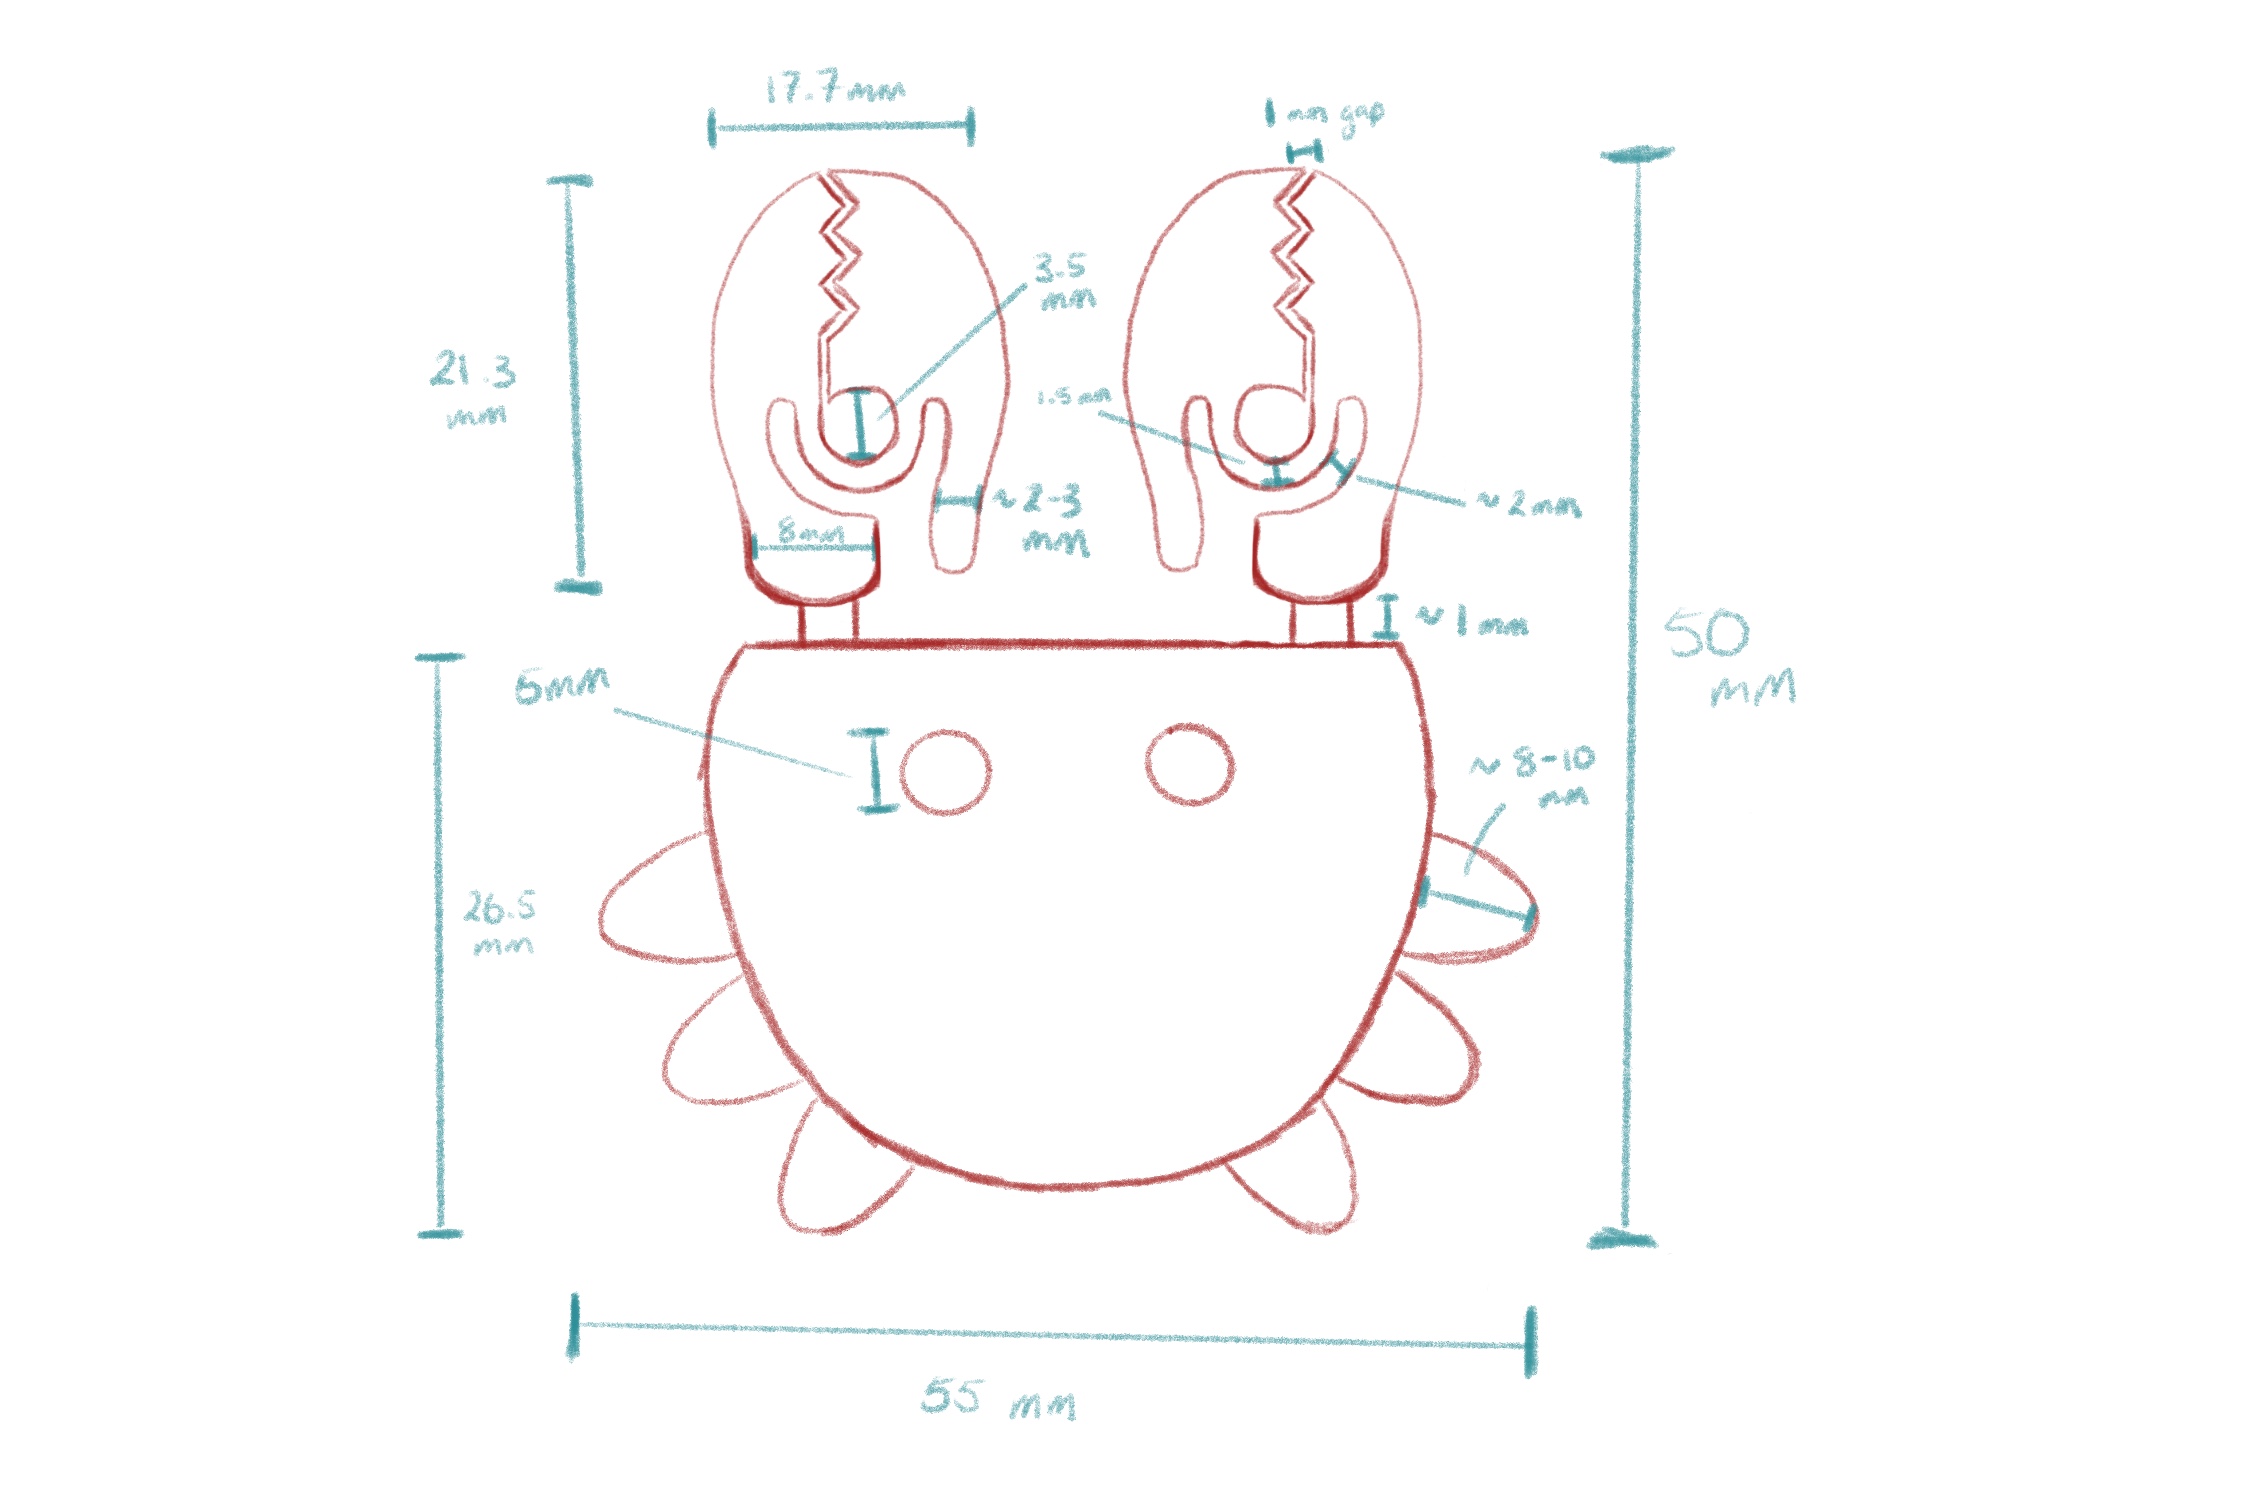
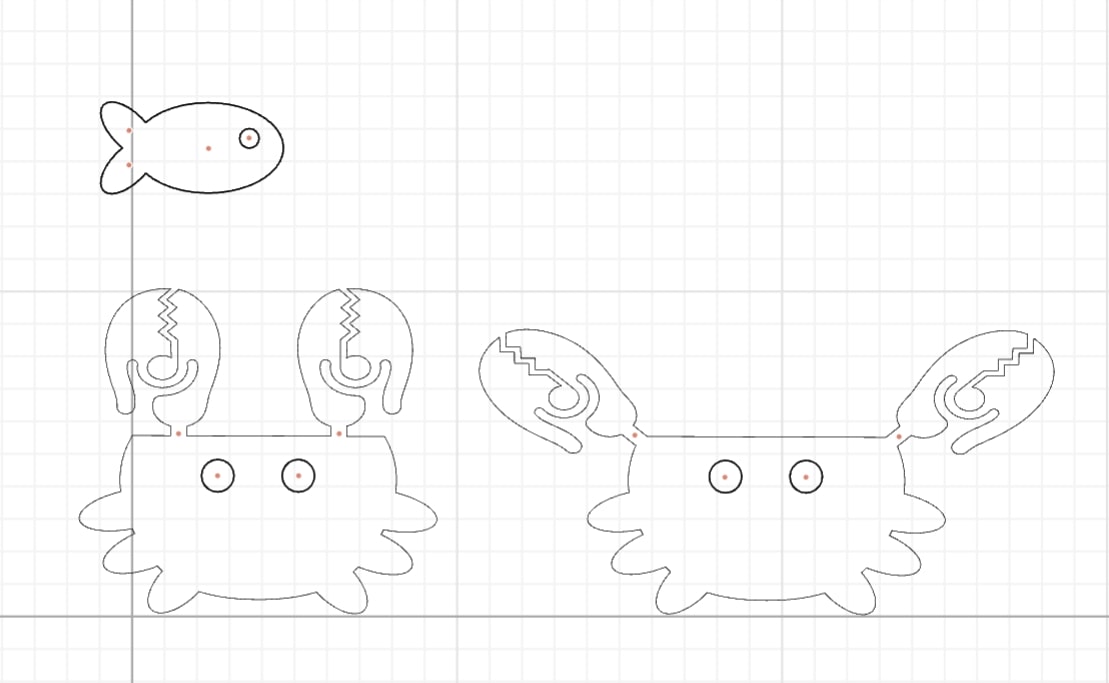
When I think of clips, I think of claw clips -- specifically in the shape of a crab's claws. I sketched out the shape of a crab and more specifically, the claw that uses a "flexible" circular center to open and close. I referenced this circular pattern from other clip designs I saw from Maker World.
I imported my sketch as a reference in Cuttle (I tried Rhino and lost my mind for 3 hours before I went back to Cuttle) and recreated my sketch into a .svg. I created different variations of the same claw clip by rotating the claw and positioning them at different angles.
I then imported my SVG into Rhino and used PlanarSrf to create a surface to extrude (I find that this makes a much cleaner model in the slicer). I used ExtrudeCrv to extrude my surface and make it three-dimensional. Then, I exported my my file as an STL.
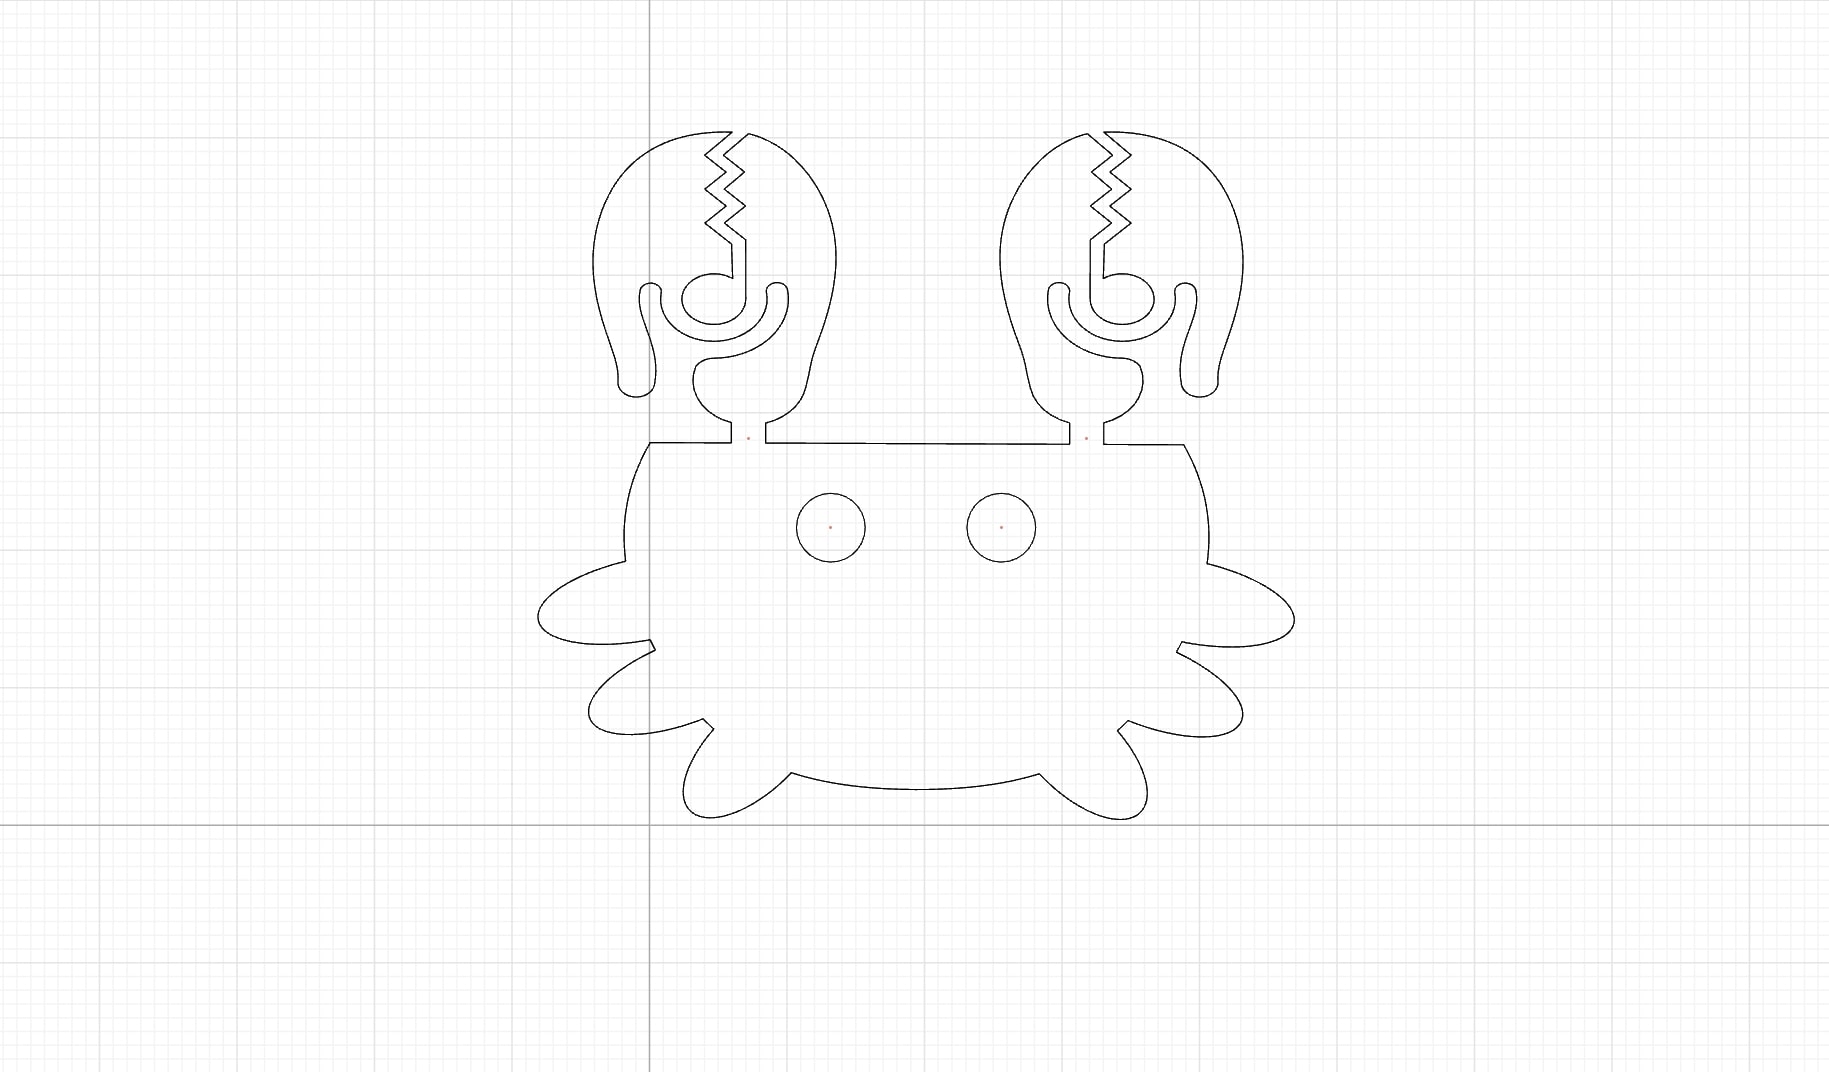
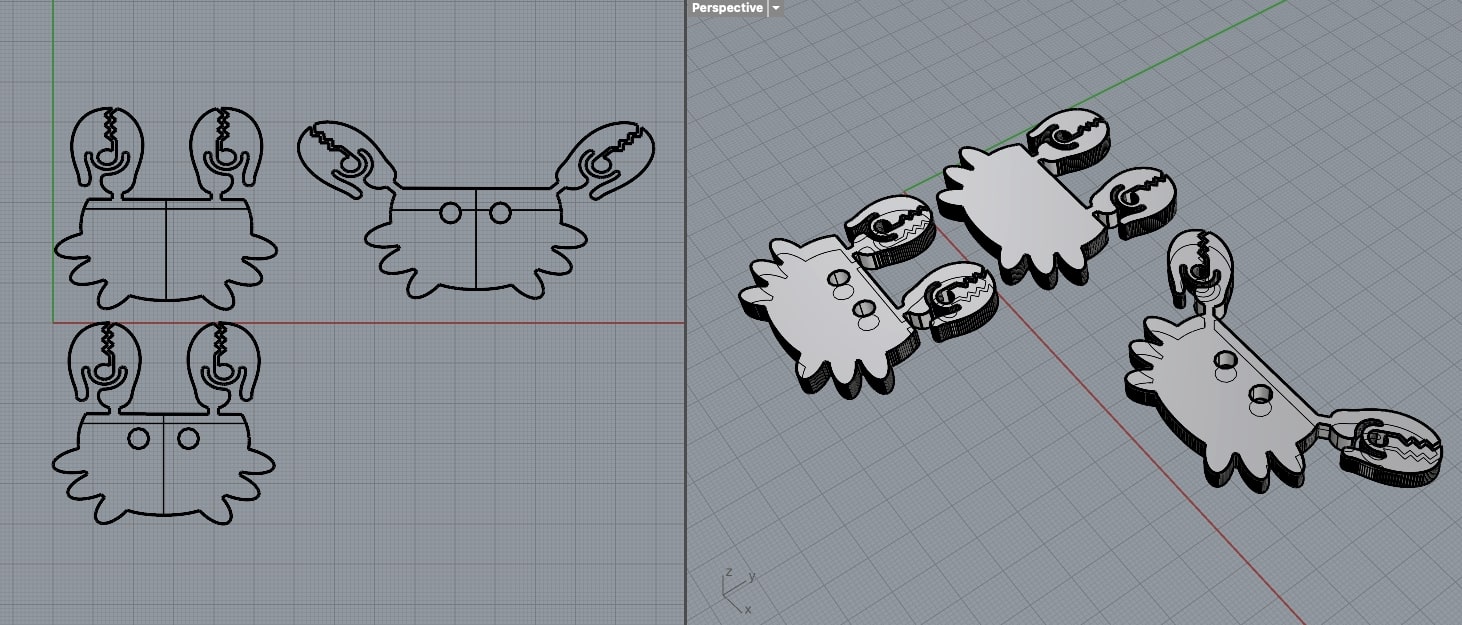
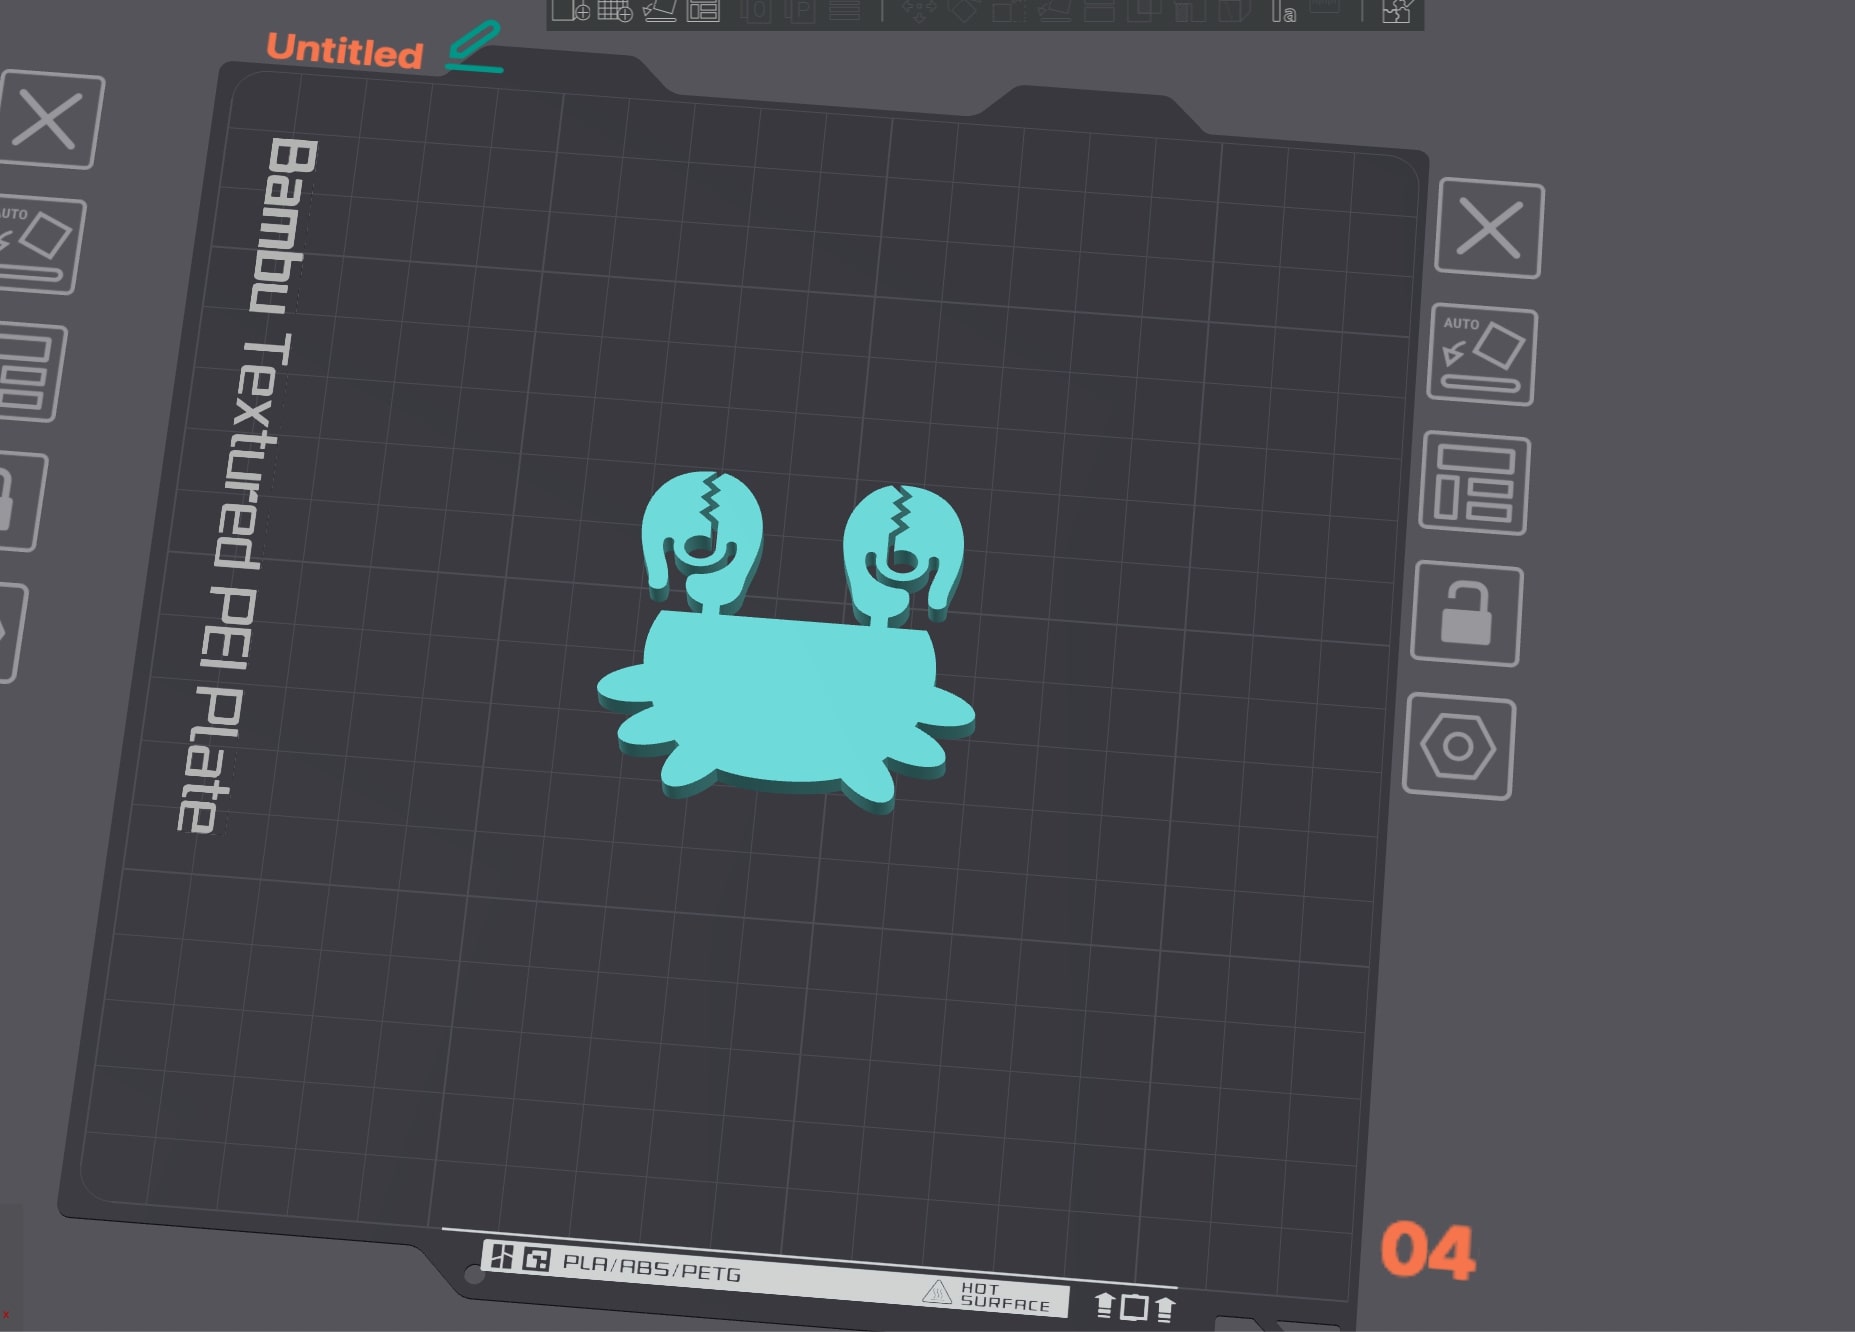
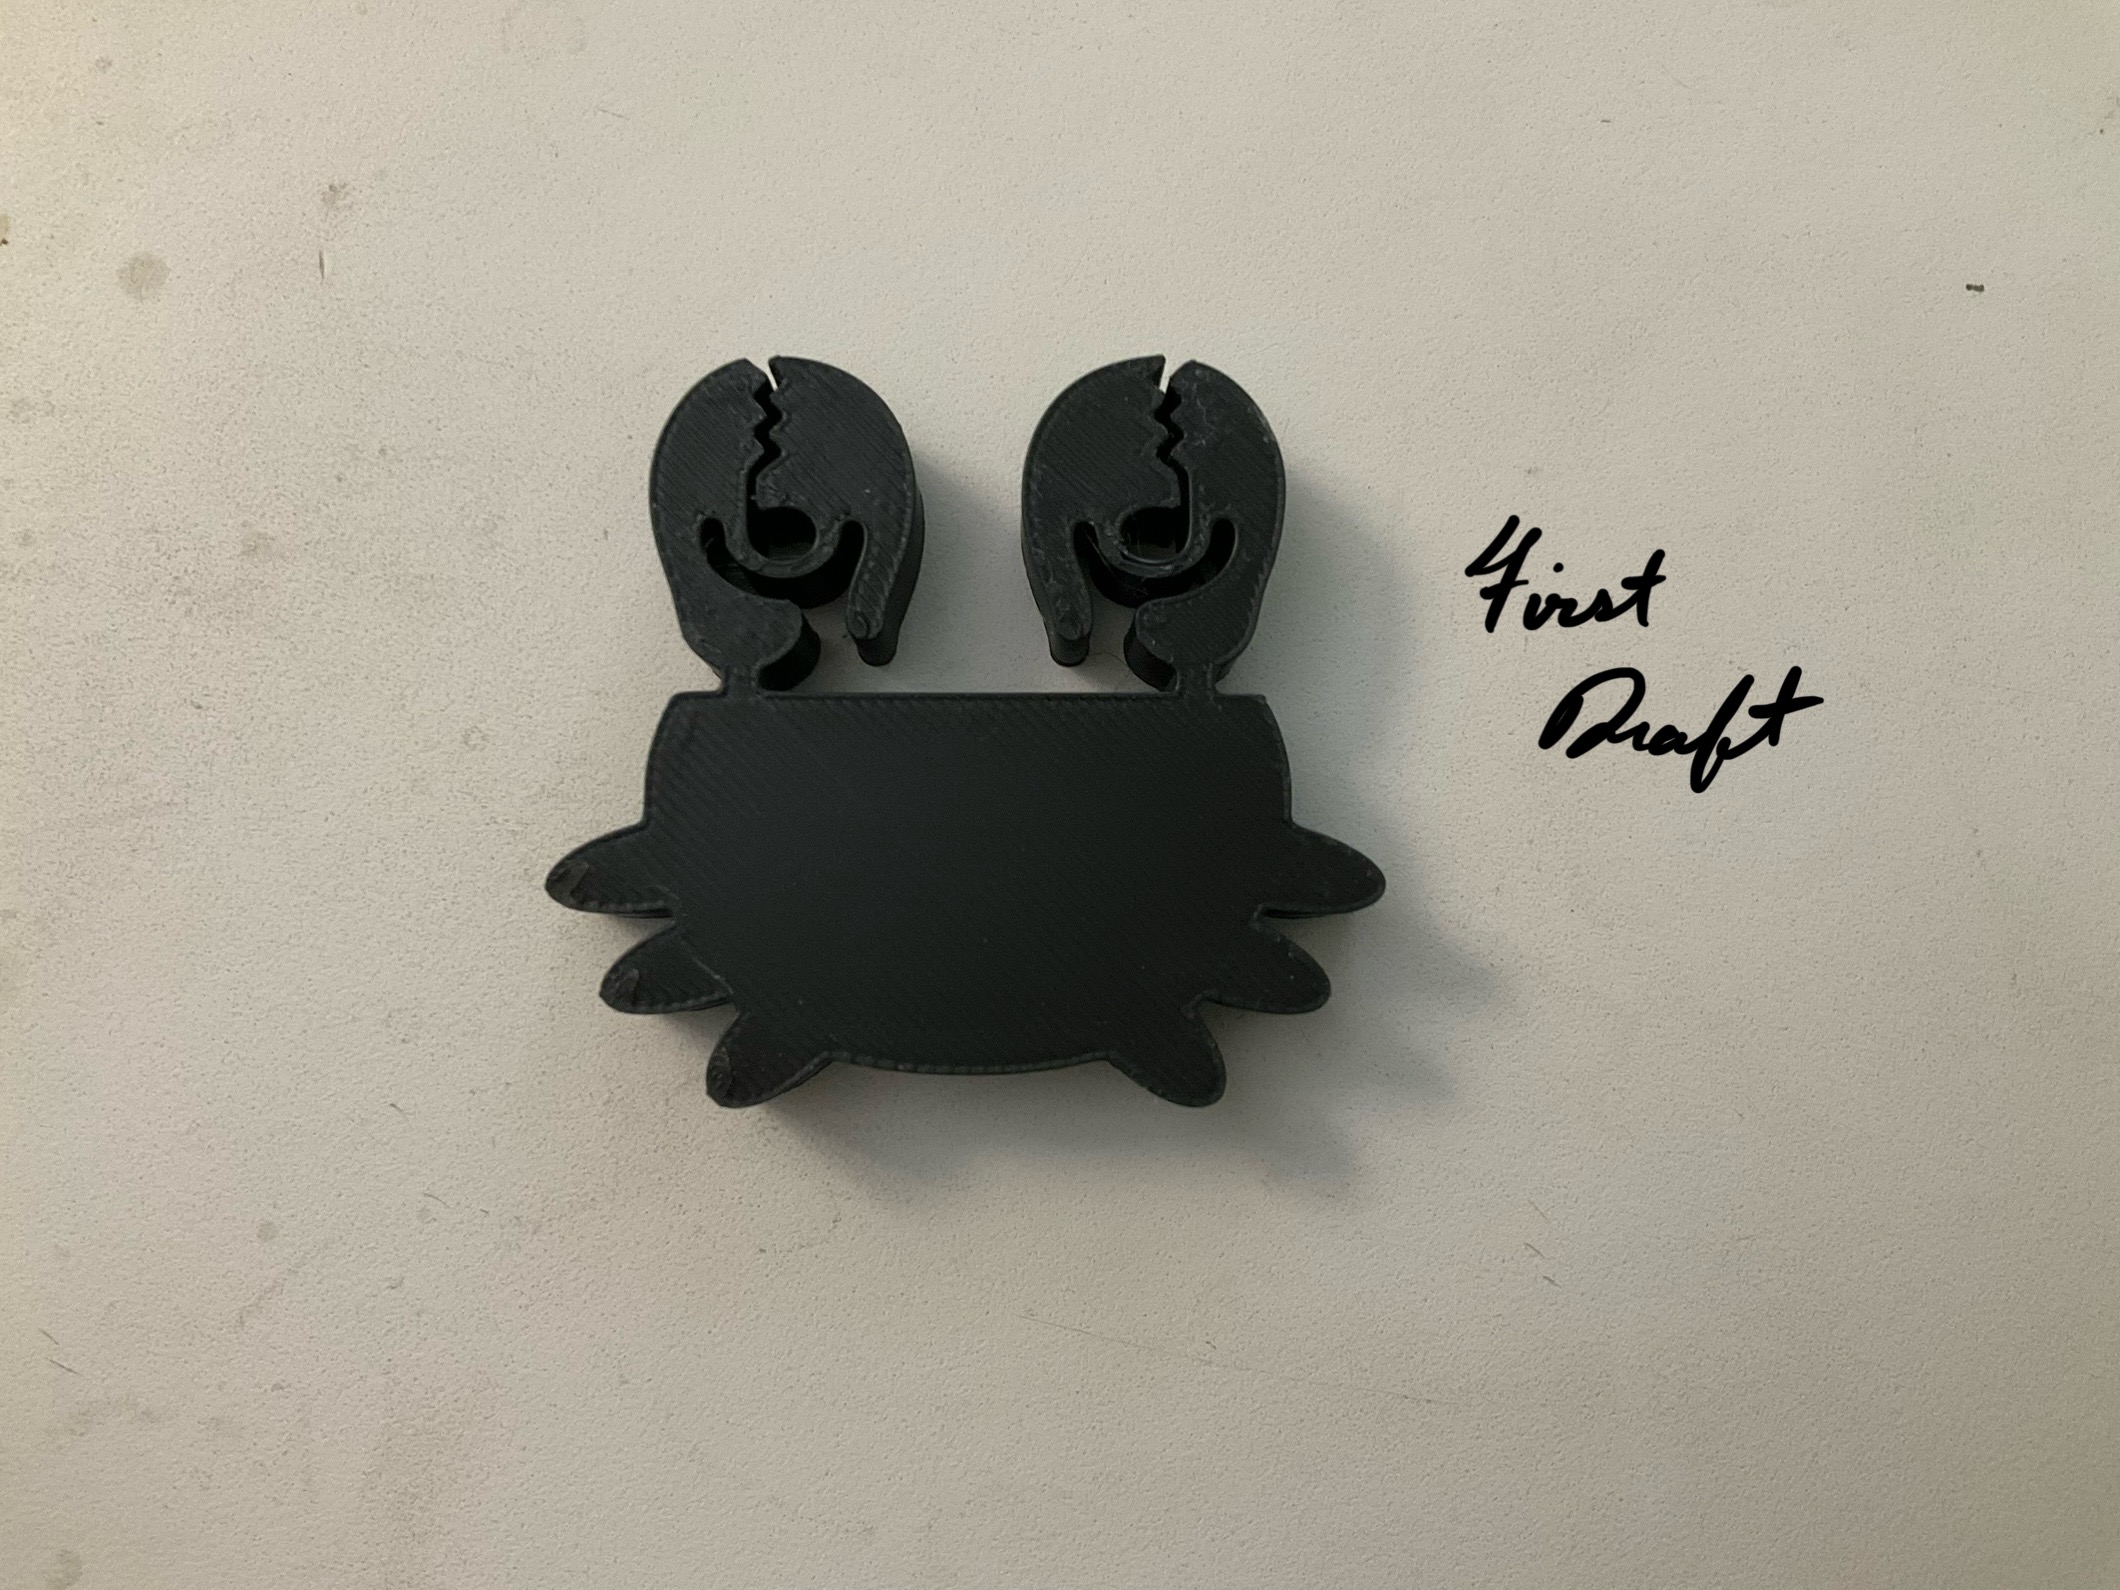
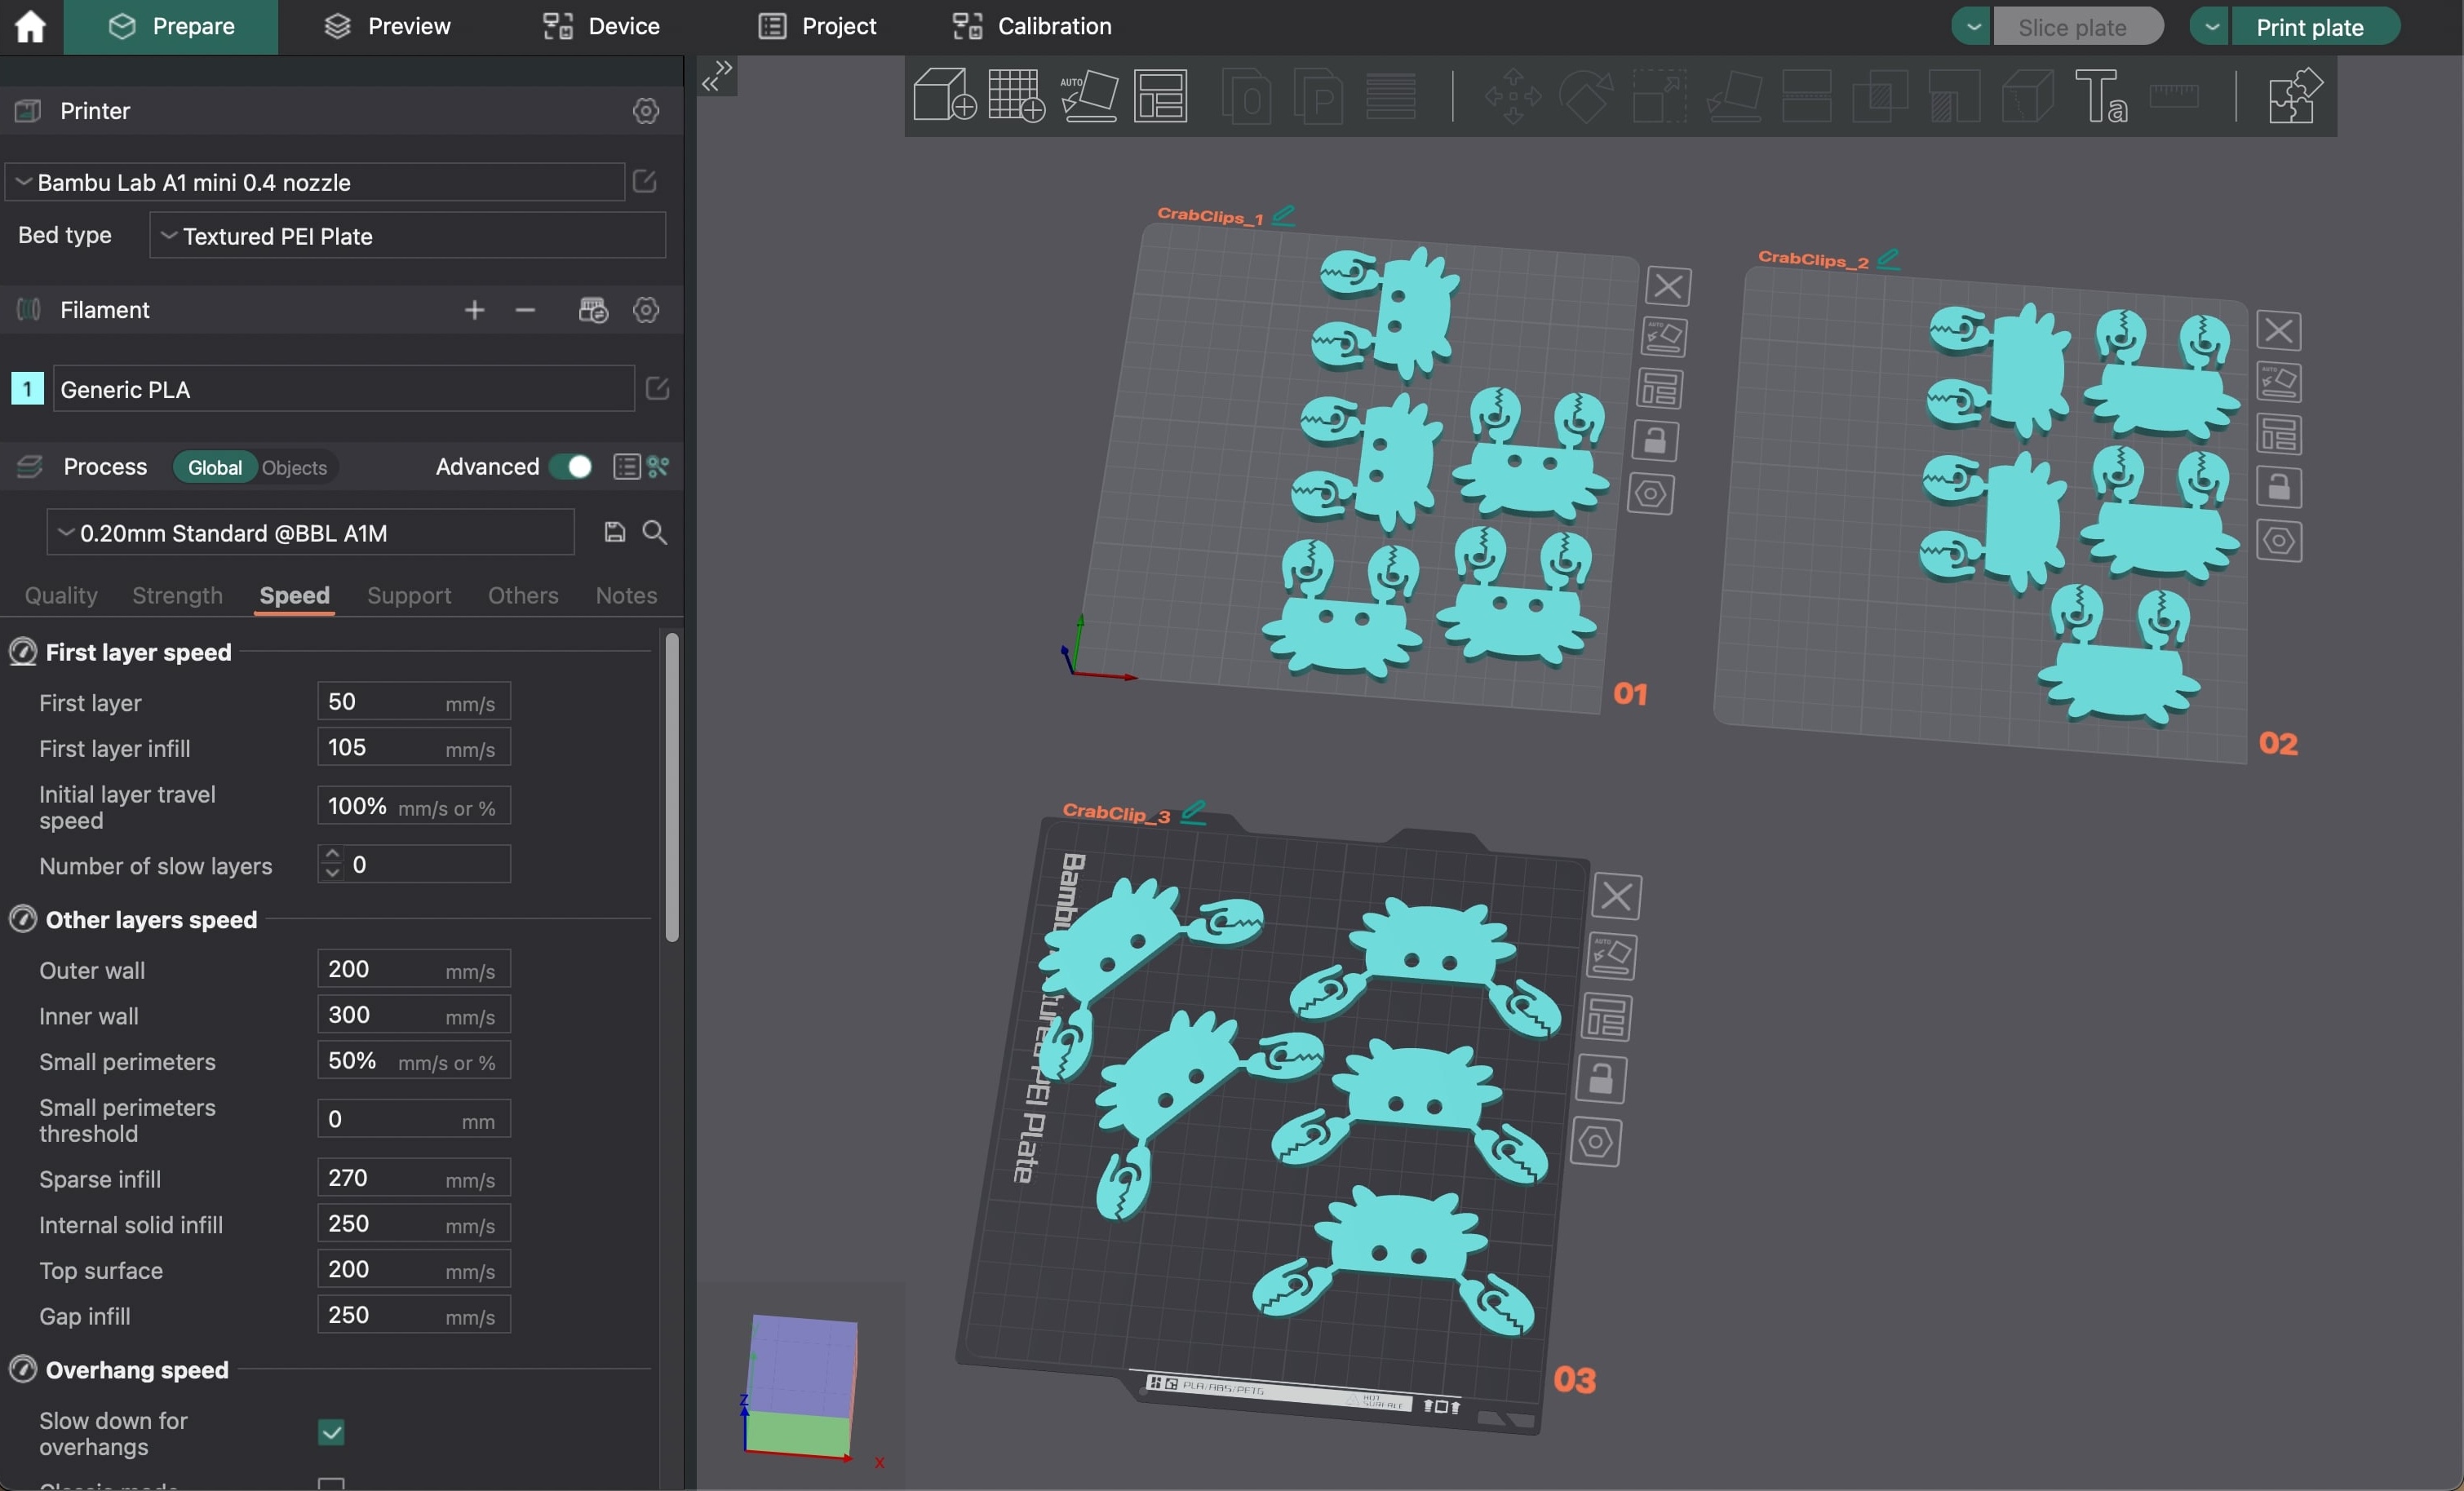
I imported my STL into Orca and decided to use a draft setting to observe the first iteration of my claw clip. This meant I was running my machine relatively quick at 200mm per second and printing with a 0.28mm layer height. This would take about 12 minutes to print a single claw clip!
For my first iteration, I realized that I made my clip much too thick! The thickness reduced the flexibility of my clip, which made it difficult to open and close the clip. I also realized that I needed to flip my claws so that the area where you would push down to open the claw faces the outside (easier to push) rather than the inside.
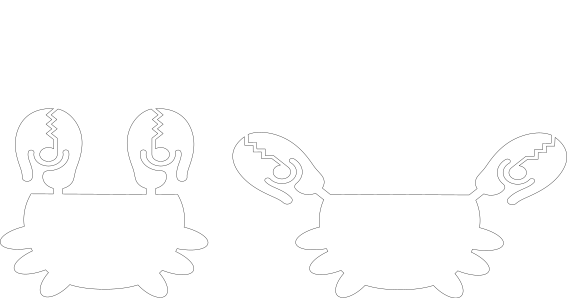
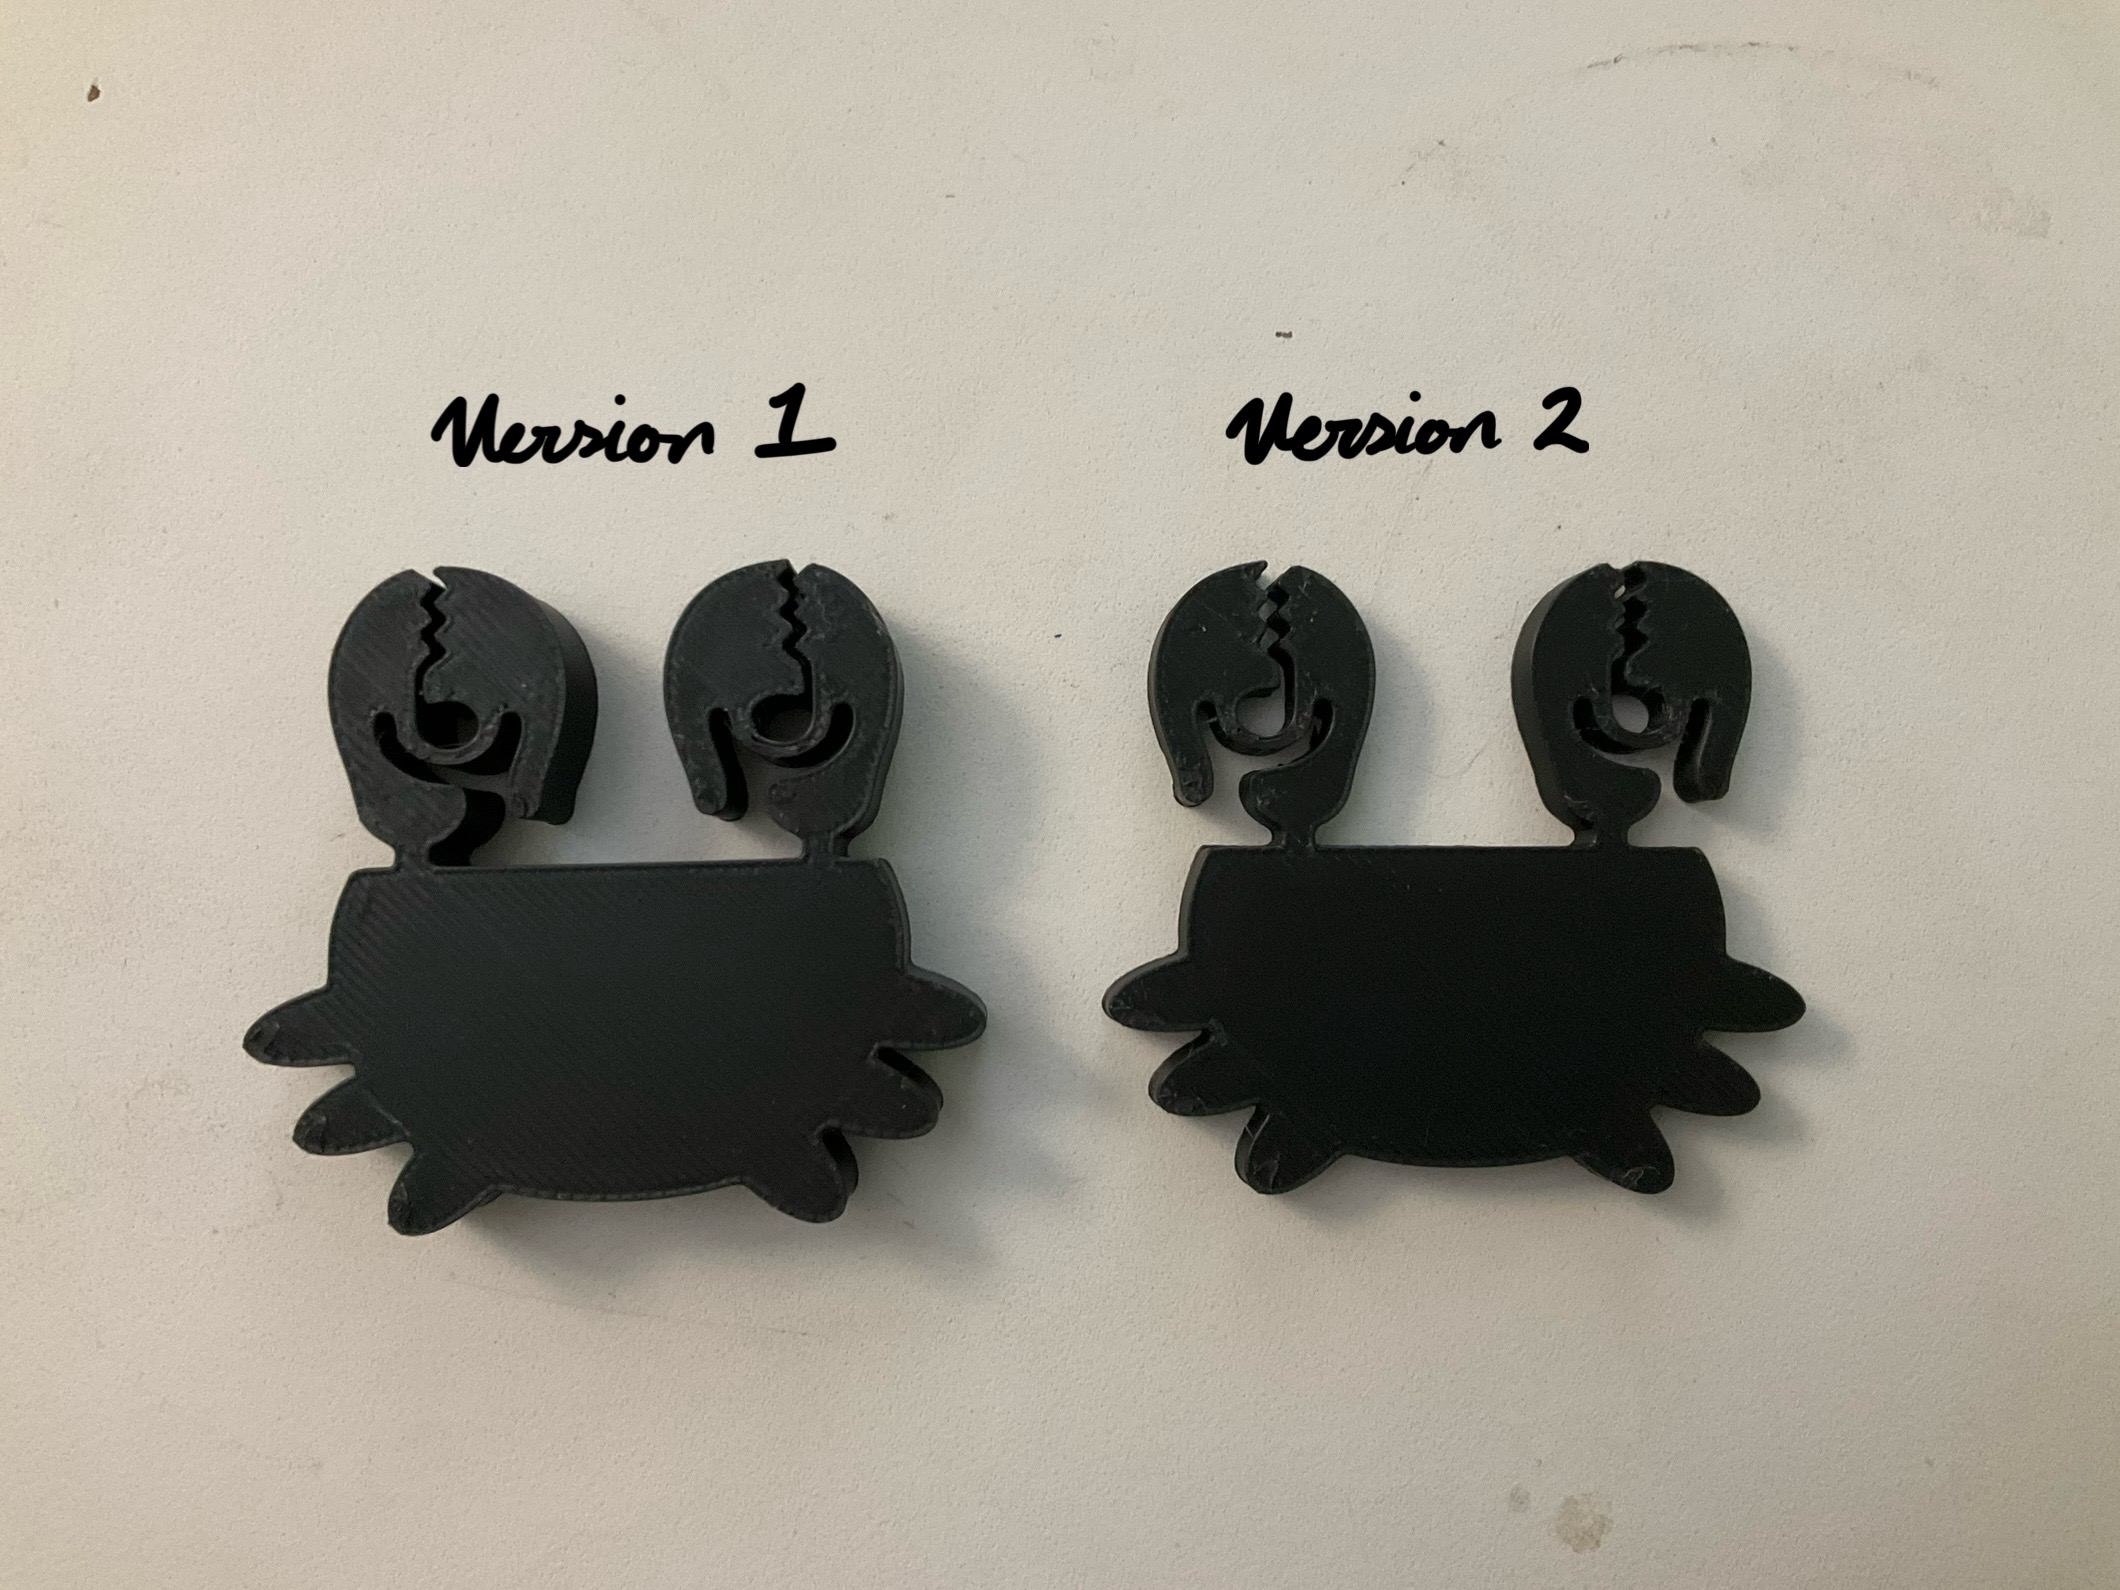
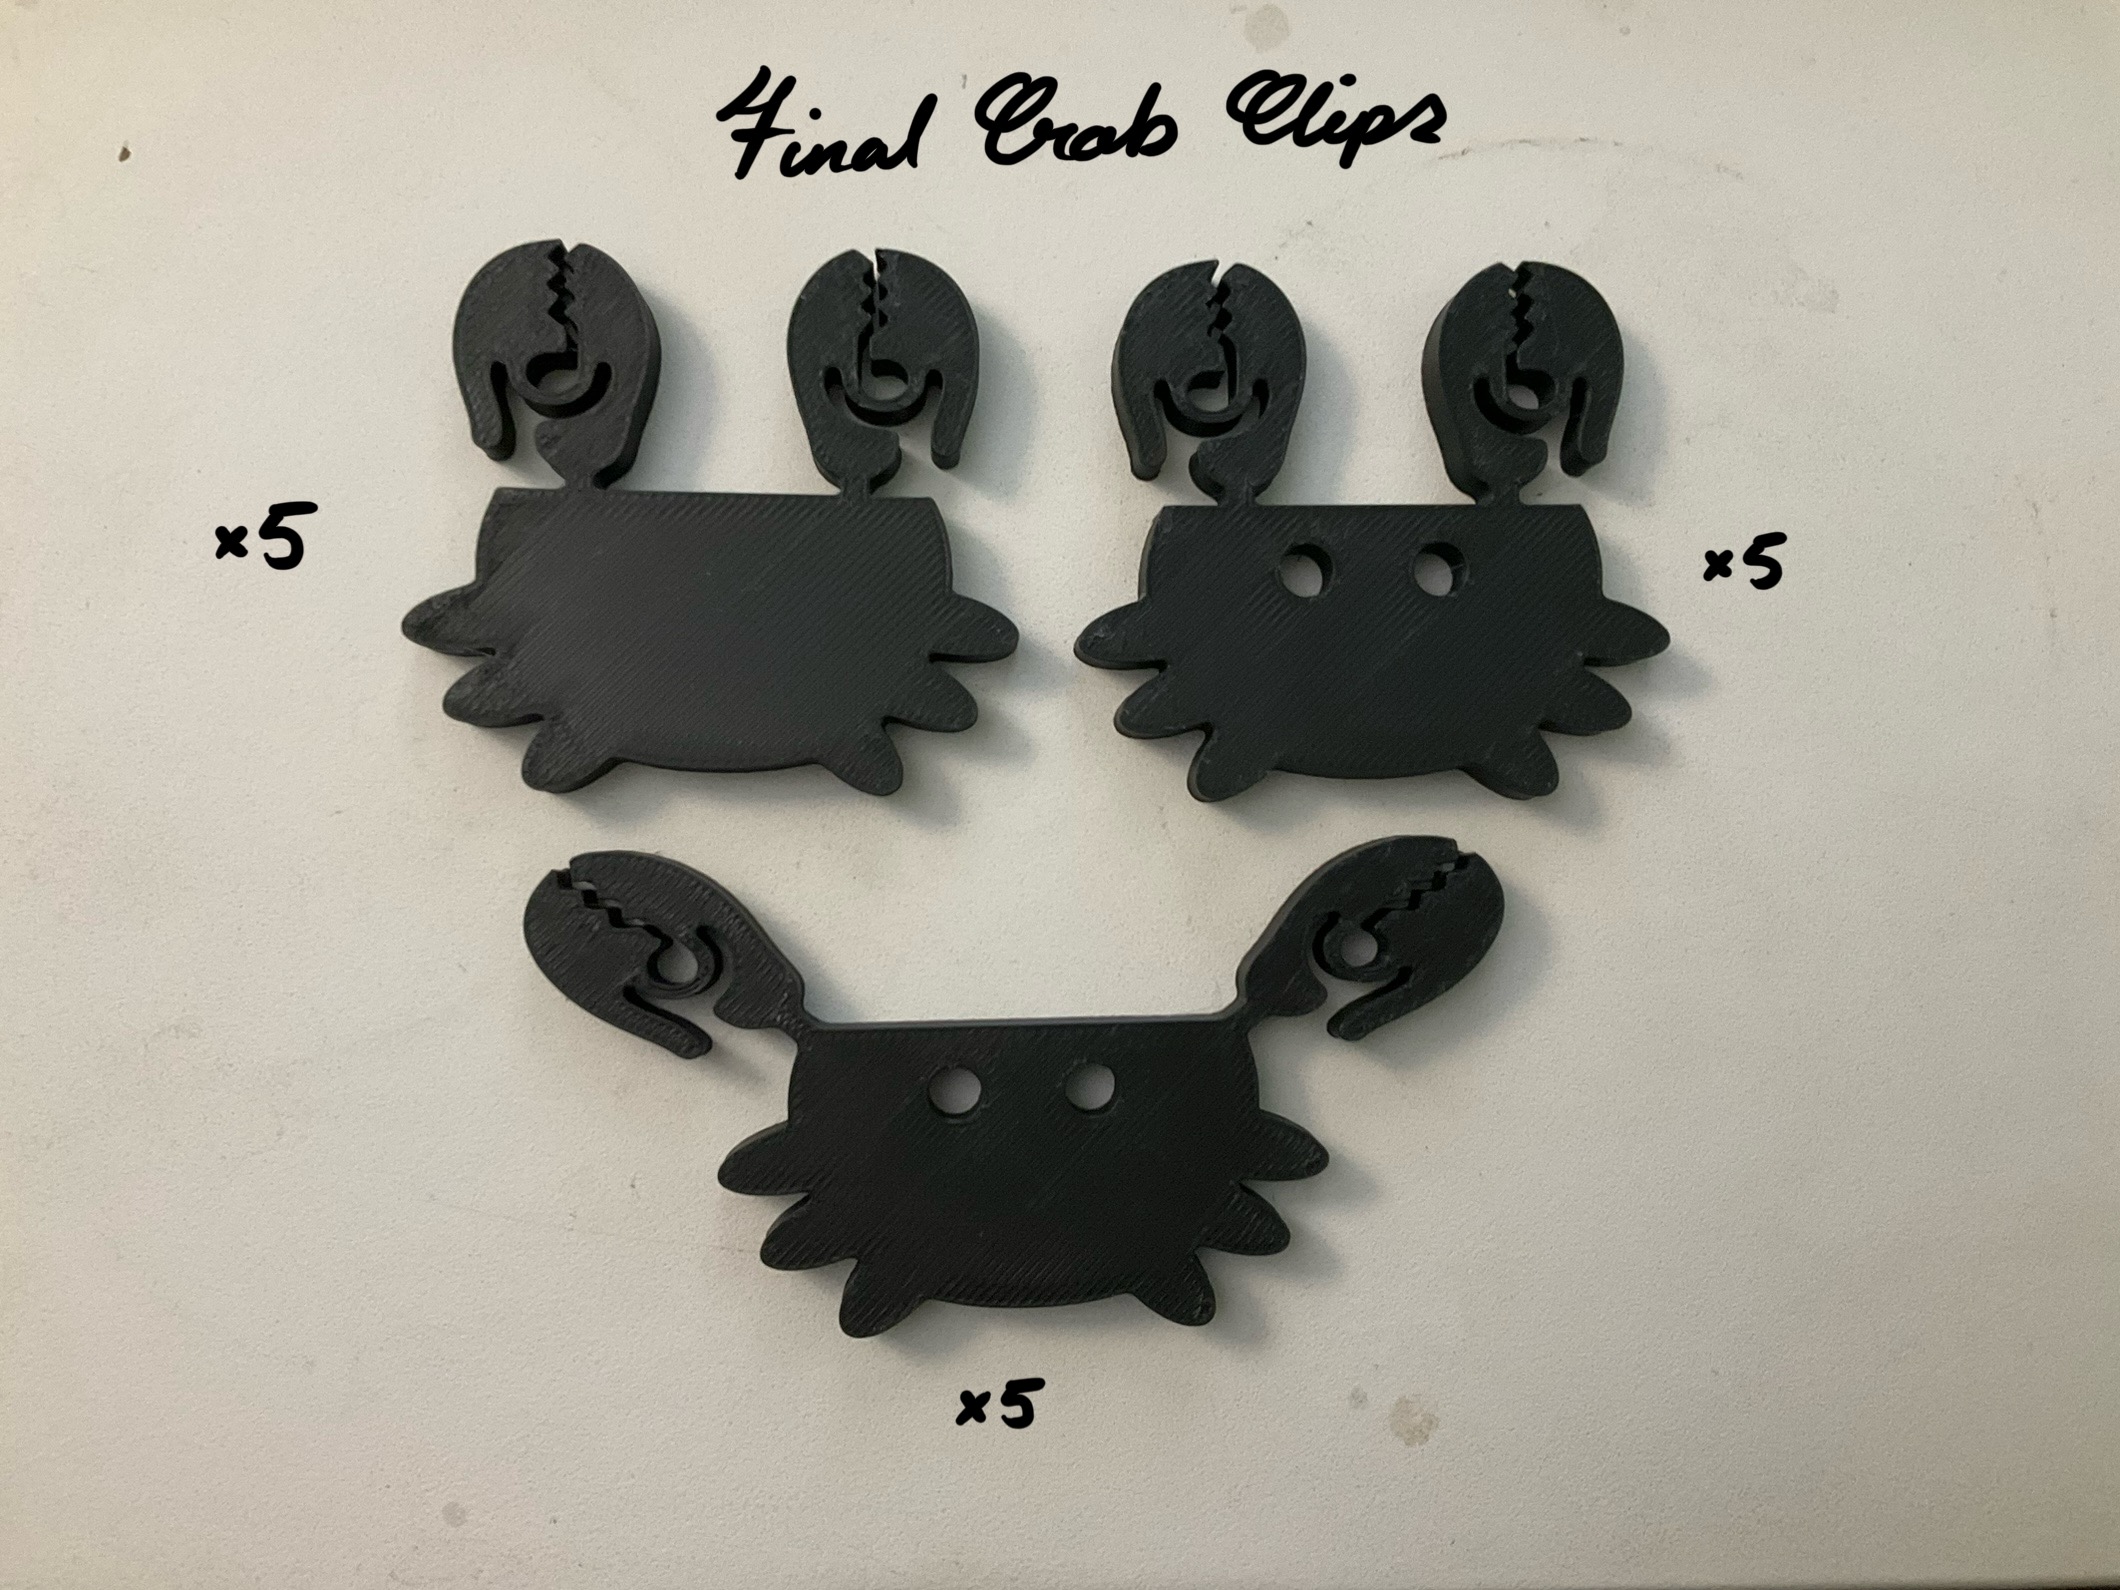
I went back to Cuttle and flipped the claws. I went into Rhino and extruded less (from 10mm to 5mm). I imported the new STL into Orca and did another test print with the same draft settings. The second iteration was able to open and close much more easily, but still retained its shape! Now I just needed to print out 15 of these crab clips!
Orca Slicer allows you to create multiple plates and orient your object for each plate, so I made each of the print plates have a different variation of my crab clip. I decided to use the 0.20mm Standard Quality setting to compromise print time and quality of print. This meant each plate would take about 1 hour to print (3 hours total).
Final Product & Shake Test
Overall, I had a lot of fun physically creating a product from a sketch! I have to admit that using Rhino is still a frustrating experience for me, I much rather create a more complex figure in Blender or Fusion360 with moving parts, but for the sake of learning, I wanted to push myself to learn and use Rhino.
The Final Test...
The crab clip survived the shake test!
If I had more time, I would have made a third iteration of my crab clip the extended the portion where you would push down to open the clip, to make it easier to push. I also wanted to orient the claws so that the cardboard can be held in a different position. However, speaking about holding carboard:
Overall, I am happy with what I was able to accomplish! I ended up laser cutting some fishes out of cardboard for my shake test to match the crab clip theme and the crabs held the fish with no issue!